Adexa CV4540 User manual
CV4540 VACUUM SEALER
INSTRUCTIONS

IMPORTANT SAFEGUARDS
When using this electrical appliance, safety precautions
should always be observed, including the following:
READ ALL INSTRUCTIONS
1. Carefully read all of the instructions before using this appliance and
save for future reference.
2. Before plugging cord into wall outlet, or disconnecting, make sure
that the cover of the machine is in unlocked condition, and unplug
from outlet when not in use or before cleaning.
3. This appliance is not a toy, when used by or near children, close
attention is necessary, and store this appliance to a safe place, out
of the reach of children.
4. Do not use any bags or attachments not recommended or appointed,
and don’t use this appliance for other purpose except its intended
use.
5. Stop using the machine immediately if the cord is damaged and
have it replaced by a professional.
6. Keep away from moving parts.
7. Do not contact the hot sealing element located on edge of the top
cover of this machine. The component is hot and may scalding
8. Do not try to repair this appliance by yourself.
9. Don't use the appliance if it has fallen or appeared to be damaged.
10. Avoid to do the following: pull or carry by the cord, use cord as a
handle, close a door on cord, or pull cord around sharp edges or
corners. Do not operate appliance over cord or cord / plug is wet.

- 1 -
11. Keep away from hot gas, heated oven, electric burner or any other
hot surfaces. Do not use this appliance on wet or hot surface or near
a heat source.
12. It’s better not to use an extension cord with this unit. However, if one
is used, it must have a rating equal to or exceeding the fating of this
appliance.
13. When disconnect, to avoid any injury, please unplug by grasp the
plug, not the cord.
14. Before plugging appliance in or operating, make sure your hands are
dry and safe to do the actions.
15. When it In “ON” or working position, always be on a stable surface,
such as table or counter.
16. It’s no need to use any lubricant, such as lubricating oils or water, on
this appliance.
17. Do not immerse any part of this appliance, power cord or plug in
water or any other liquid.
18. Do not use this appliance outdoors or on a wet surface, it’s
recommended for household, indoor use only.
19. This appliance can’t be used by children aged from 8 years and
above and persons with reduced physical, sensory or mental
capabilities or lack of experience and knowledge if they have been
given supervision or instruction concerning use of the appliance in a
safe way and understand the hazards involved.
20. Children should be supervised to ensure that they do not play with
the appliance.
21. If the supply cord is damaged, It must be replaced by the
manufacturer, its service agent or similarly qualified persons in
order to avoid a hazard.
22. Cleaning and user maintenance shall not be made by children
without supervision.

- 2 -
CAUTION:
SAVE THESE INSTRUCTIONS
FOR HOUSEHOLD USE ONLY
CONSTRUCTION AND FUNCTIONS
1. Vacuum&seal : At stand-by condition, it starts the automatic operation of
vacuuming the bag and then automatically seals the bag when
vacuum is complete;
2. Cancel:
● At working (vacuuming or sealing operations) condition, it stops the
machine.
3.Vacuum Time Screen: This screen is the numeric display apparatus and
provides two functions
● show that the progress of vacuuming;
● show that setting vacuum time.
4.Seal Time Screen: This screen is the numeric display apparatus and provides
two functions
● show that the progress of sealing;
● show that setting sealing time.
5.Set:To chose setting the vacuum times or sealing times.Vacuum times set
range:15-60s;sealing times set range:3-9s.
6. “+”:To increase the vacuum times or sealing times.
7. “-”:To decrease the vacuum times or sealing times.
8. Seal: This button provides also two functions:
● To seal the open end of a bag, used to make a bag from a bag roll;
When seal the bags, the machine will start the vacuuming firstly about 7
seconds to keep tightness of the sealing bar before it seal the bags.
● When the automatic “Vacuum &seal” function is in operation, this button
stops the motor pump when the vacuum pressure reached about -25inHg
which indicated on the pressure gauge, press the "SEAL" button to seal the

- 3 -
bags immediately so that less vacuum pressure inside the bag can be
achieved by the operator to avoid crushing for delicate items.
9.Marinate:Work on vacuum 60s and no seal.
10.Vacuum Gauge:Represents the vacuum level inside the chamber.
11.Gasket:Keep air away by forming vacuum chamber with gasket. Clean and dry
or replace it when distorted or broken.
12. Sealing element: Teflon-coated heating element which is hot and seals the
bag.
13.Sealing strip: Place the bag to be sealed over this strip, Clean and dry or
replace it when distorted or broken.
14.Bag fixer: Fix and splitter the bag mouse when vacuum and
sealing.
15. Air extraction: Draw out the air in

- 4 -
OPERATING INSTRUCTIONS
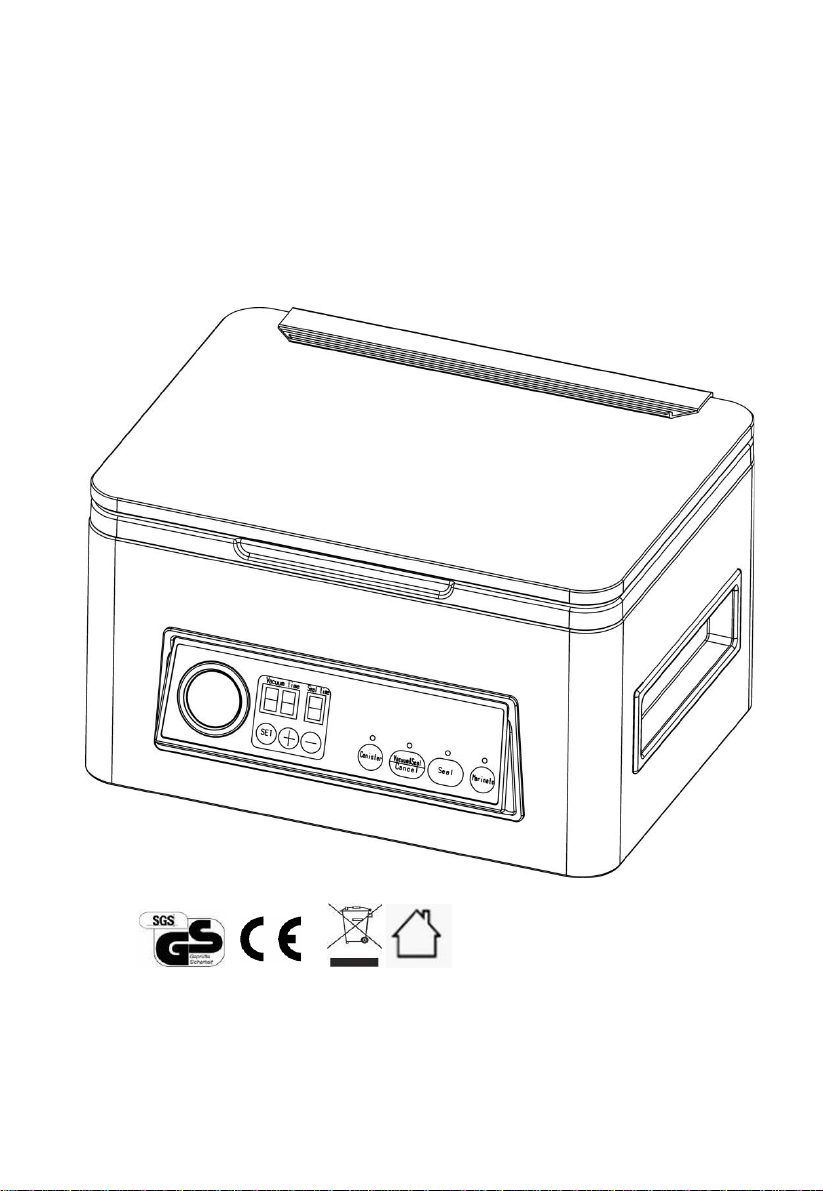
III. Making a bag with bag roll
Put out the power cord and plug to the appliance and a wall
outlet,Switch turn “ON”,Vacuum screen and seal screen will display
working time.Set suitable vacuum and sealing time.
1.Pull out the bag roll and cutter to the suitable length you want.---Fig.1
Fig.1

- 5 -
2.Open the cover put one end of the bag on top of the sealing element
and make sure that the entire short end is under bag fixer.---Fig.2
3.Pull down the cover and touch “ Seal” button to start make the bag. Lf
done the digital tube will go to zero
2.Open the cover. Remove the finished vacuum bag. The vacuum bag is
now ready to be used for vacuum packing.
II. Vacuum packaging with a bag
1. Put the food in the bag, clean and stretch the bag to make sure there
are no wrinkles and ripples.
Note: put the bag in the inner pressure bag scaffold and drain the
excess air from the bag. This is a very important point to get a good
vacuum seal bag.
2.Open the cover put one end of the bag on top of the sealing element
and make sure that the entire short end is under bag fixer.– Fig. 1
Fig.3
Fig.2

- 6 -
3.Check to confirm vacuum and sealing time according to the type
of food and bag.
4. Pull down the cover and touch “Vacuum&Sealing” button to start the
unit start to vacuum and will seal the bag automatically . If the program is
complete. The countdown to the digital tube is over. The digital tube will
return to the initial state . -Fig.2
Note: The appliance reaches a very high vacuum pressure
during the vacuum sealing process. In order to avoid that
sensible contents is influenced by the high pressure, press the
Manual Seal button, if you want to interrupt the process before
time. In such case, the appliance turns off the pumping and
switches to sealing of the vacuum bag.
5. Lift the handle to open the cover and take out the packed bags-Fig.3
Fig.2
Fig.1
- 7 -
NOTE:
⚫For best sealing effect, it is better to let the appliance cool down
for 1 minute before using it again. Wipe out any excess liquid or
food residue in the vacuum chamber after each bag packaged.
⚫The machine can be used continuously.
⚫Your appliance can work all on the specific bags.
⚫Cut the bag straight across with scissors to open a sealed bag.
Note: When put the bag into the vacuum chamber, Please put the
bag mouse encircle the splitter plate toavoid the air cann’t be draw
out completed from the bag
Fig.3

- 8 -
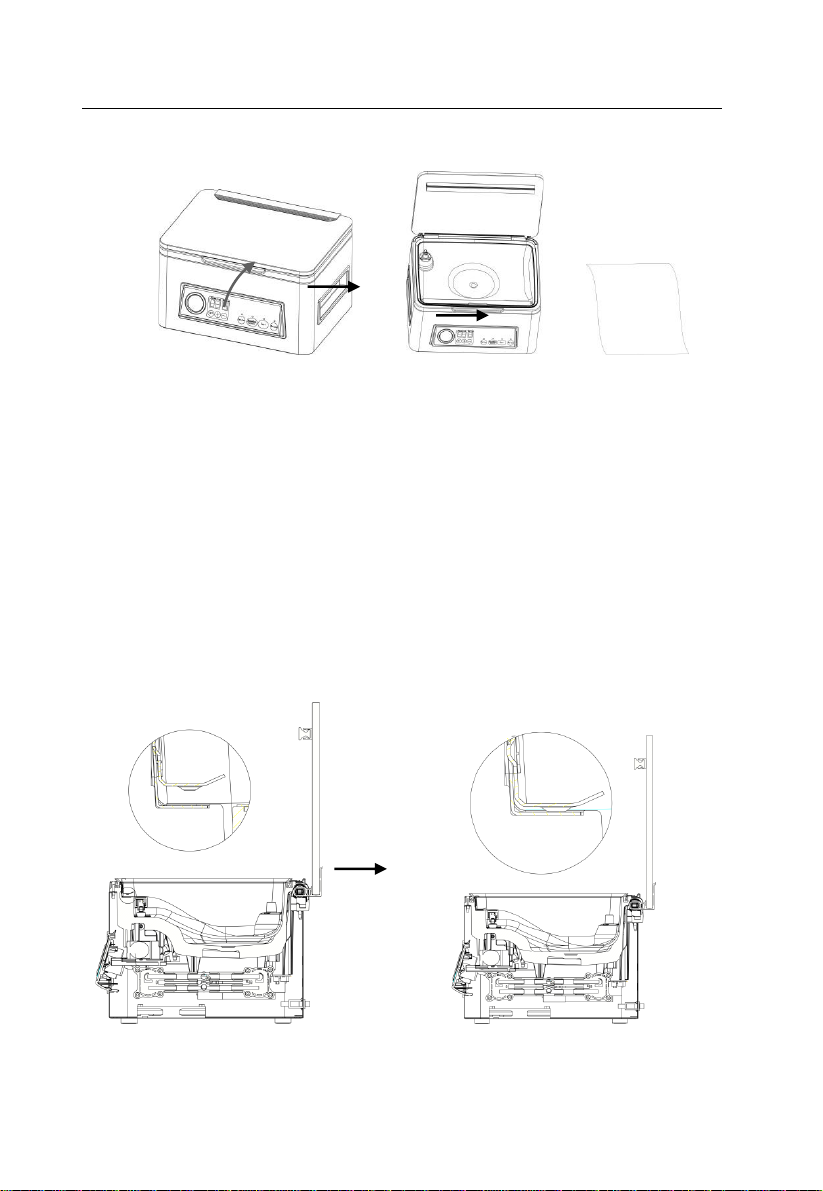
Working on marinate
1.Put the marinade in the bag
2.Lift the handle to open the cover and put the container on chamber.
-Fig.1
3.Pull down the cover and touch “Marinate” button to start the unit start
to vacuum. indicator LED off if finish one circulation. -Fig.2
4.Repeat step 3 two more.
5.Lift the handle to open the cover and take out the items.
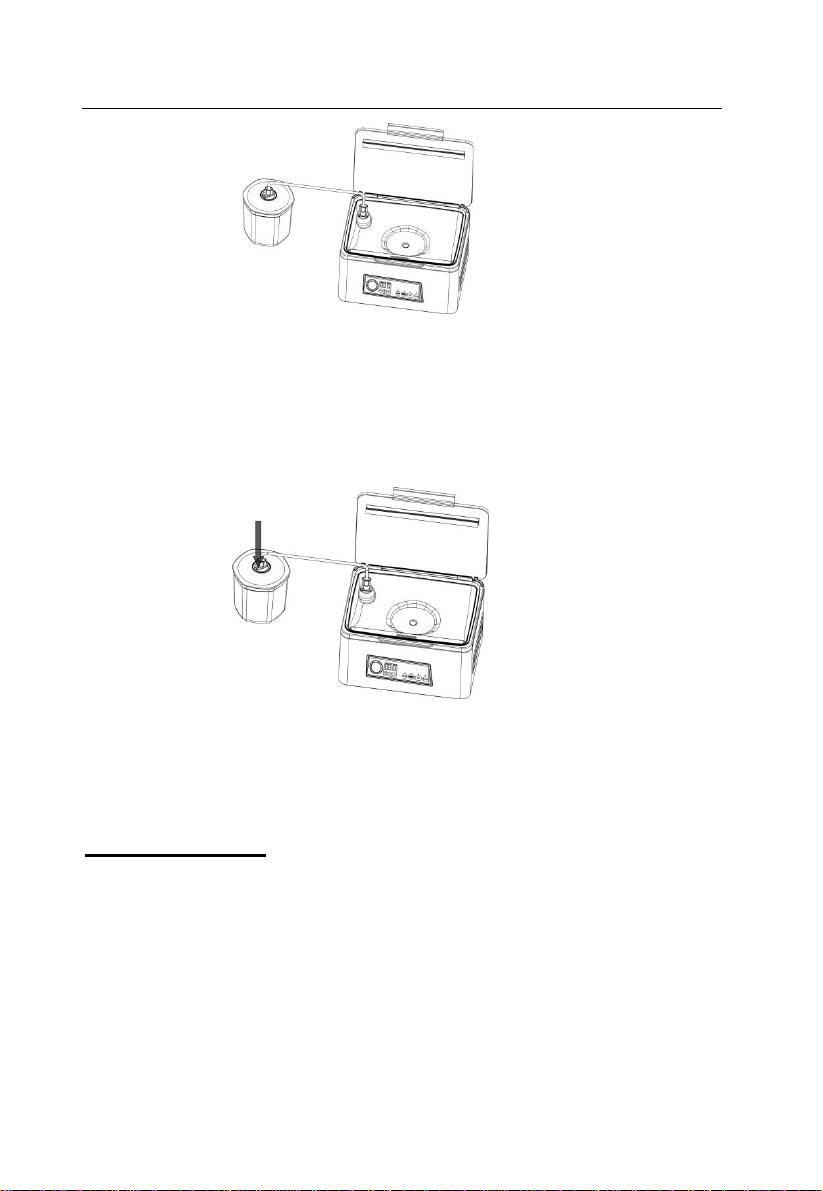
Use an external jar
1.Insert one end of the hose into the air intake and another end of the
hose into the center hole of the canister cover- Fig. 1;
Fig.1
Fig.2
- 9 -
2.Touch the AUTO button two second to to start vacuuming– Fig. 2. To
ensure there is no air leaking between the cover and the canister, use
your hand to push down the cover at the beginning of the vacuuming
work. The machine will stop automatically when enough vacuum
pressure is achieved.
3. Take out the hose tube from the canister or bowl immediately first after
the job is completed.
CLEANING AND MAINTENANCE
Vacuum sealer
1. Always unplug the unit before cleaning.
2. Do not immerse in water or any other liquid.
3. Avoid using abrasive products or material to clean the unit, for they
will scratch the surface.
4. Use a mild dishwashing soap and a warm, damp cloth to wipe away
food residue or around components.
5. Dry thoroughly before using again.
Fig.1
Fig.2

- 10 -
Note: The gaskets around the vacuum chamber should be dried
thoroughly before re-assembling, when re-assembling, is
careful to prevent any damage, and assemble as original
position to ensure no vacuum leaking.
Store your vacuum sealing machine:
1. Place the device in a flat, safe place to keep it
away from children
OPERATING INSTRUCTIONS
I. Set vacuum time
Touch the vacuum“+”and”-” to increase or decrease vacuum time.
According to the different food and bag size to choose suitable vacuum
time,Vacuum time may refer to the following vacuum time selection table.
Vacuum Time Set-up Guide
Applications
Examples
Vacuum Set
Time(S)
1
General applications
ex-factory set-up, good for regular
bag size, and all types of food, meat
20
2
light packaging of the soft
and the crushables
bread, potato chips, Fruits, etc in
loose package;
15
3
Regular size of bags
All types with bags sized smaller than
22cm x25cm
20 - 30
4
Large size of bags in bulky
pack
for bulky, large bags 30 x 25cm full of
things
20-30
5
tight packaging; liquid
packaging;
soups, sauces….
40-50

- 11 -
6
extra tight vacuum
packaging
marinating of food, extra tight
vacuum packing;
60
II. Set sealing time
Touch the seal“+”and”-” to increase or decrease sealing
time.According to the thickness and materials of the bag 、the environment
temperature、food type to choose suitable sealing time. Sealing time may refer
to the following the sealing time selection table.
Sealing time Set-up Guide
Applications
Examples
Sealing Set
Time(S)
1
Normal type Nylon
vacuumpackaging bag
Nylon type bags, working in room
temperature and dry bags.
4 seconds
2
soft bags ( not vacuum
type bags)
PE bags or OPP bags
3 ~ 4 seconds
3
Very thin vacuum bags, or
wet soft bags
wet PE bags; or thin Nylon bags
4 ~ 6 seconds
4
Vacuum bags but in cold
whether or outdoor use
in windy day outdoor use, or in a room
below 12 degree C
6 ~ 7 seconds
5
moist/wet bags, or in cold
weather condition
Wet bags or with moisture inside the
bags,
7 ~ 8 seconds
6
aluminum foil bags, or
paper bags
aluminum foil bags, or paper bags
8 ~ 9 seconds
General Instruction:

- 12 -
1
Always expel more air out of the bag before closing the lid and starting the vacuum
pump;
2
Always place the open end of the bag flat and streight on the sealing bar, do not
ovelap or wrinkle .
3
large and empty bag needs longer vacuum pumping time; Smaller bag vacuums
quicker;
4
Increase the vacuum pumping time for a tighter package;
5
Fresh Fruit and vegatables are still alive and can breath gas, thus are not
recommended to pack under vacucum. Vacuum pressure willl squezze and harm
them;
6
For best marinating effects, repeat the vacuum pumping 2 ro 3 times;
7
Always checking the melt seal line to ensure it is clear, flat, evenly melted. Add one
or two more seconds
8
Add one or two more seconds in winter time and cold days for better sealing result.
9
Keep the open end of the bag clean and dry; add two more seconds if the open end of
the bag is wet;
TROUBLE SHOOTING
Problem
Solution
Vaccuming
but seal
function is
not good
Check if the sealing time set is normal?
If yes, please reset the sealing time set to extended.
Check if the heating element damage and good setting or not?
If damaged, please exchange the heating element and make sure it is
well installed.

- 13 -
Check if the sealing strip damage or well installed?
If damaged, please exchange the sealing strip and make sure it is well
installed.
Check if the edge of the bag has liquid?
If yes, please clean the edge of the bag and try again
Seal
function is
good but
can not
vacuuming
Check if the vacuuming set is normal?
If yes, please reset the vacuuming time set to strong.
Check if the food with sharp angel?
If yes, please packing the angel with safe paper before vacuuming
the food
Check if the edge of the bag has liquid?
If yes, please clean the edge of the bag and try again.
Check if the sealing strip damage or well installed?
If damaged, please exchange the sealing strip and make sure it is well
install.
Bag
inflation
after
vacuuming
Check if the good is belong to easy corrosion foods?
All the easy corrosion goods are need to be frozen or refrigerated
after vacuuming so that it can prolong it’s shelf life. But
vacuuming doesn’t guarantee the foods will never spoil.
Check if you packed the fresh vegetables or fruit and seed food?
All fresh vegetables or fruit and seed are not suitable to storage
under room temperature after vacuumed, they have
photosynthesis and respiration. Suggest to storage them in
refrigerated.
The bag
melts
Check if the sealing time set is extended ?
If yes, please reset the sealing time set to normal.
Note: Sealing bar/Lid gasket/Rubber strip

- 14 -
replacement is not covered under warranty.
DISPOSAL OF THE DEVICE
PROTECTION OF THE ENVIRONMENT
At the end of the life of your product, it should go to a specially
adapted waste-recycling centre.
ENVIRONMENT PROTECTION FIRST
1. The symbol on the product or on its packaging indicates that
this product may not be treated as household waste. Instead it
should be handed over to the applicable. Collection point for the
recycling of electrical and electronic equipment.
2. By ensuring this product is disposed of correctly, you will help
prevent potential negative consequences for the environment and
human health, which could otherwise be caused by inappropriate
waste handling of this product .For more detailed information about
the recycling of this product, Please contact your local council
office or your household waste disposal service.
Table of contents
Other Adexa Food Saver manuals


