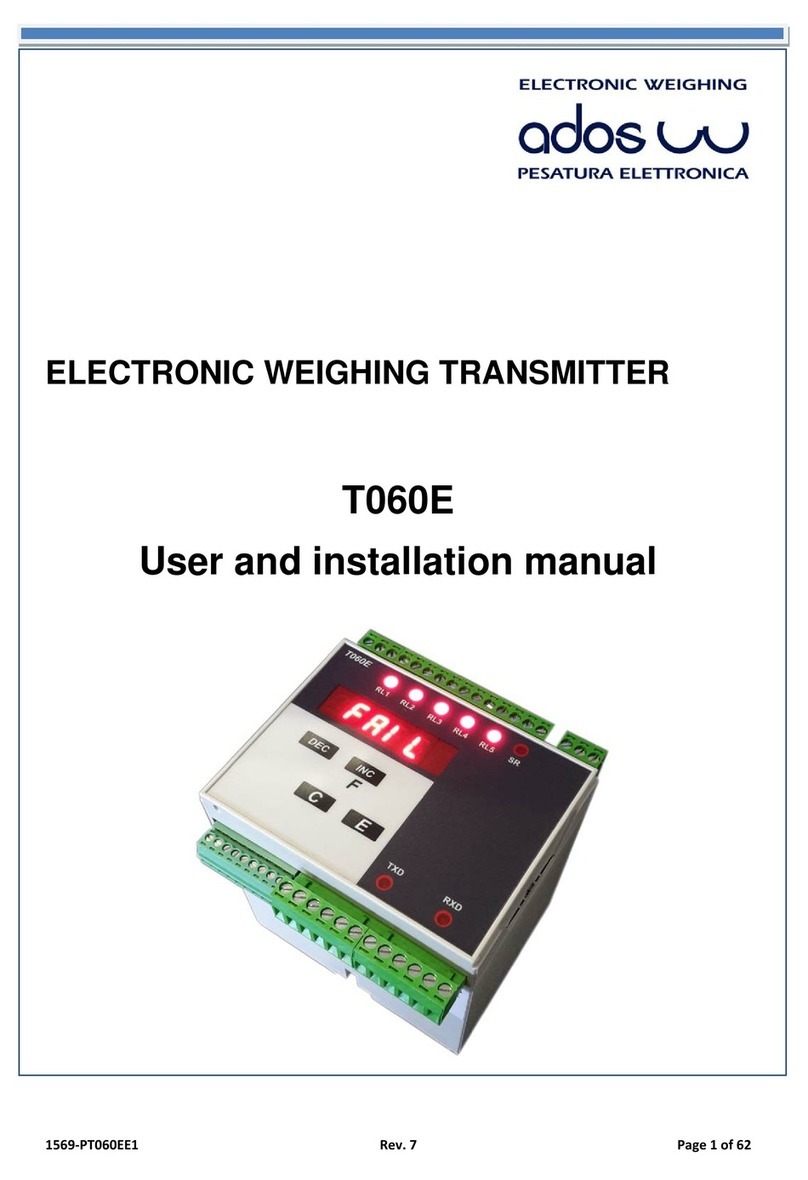
Ados T020E Series Quick guide

ADOS S.r.l. - Via Lazio 25 - Buccinasco (Mi) 1316-MPT020M03 - Rev.1 T020E installation and instruction manual Pagina 1 di 8
Weight transmitter T020E
Version: T020E-V T020E-A T020E-S
Analog output 0-10V/4-20mA
Serial out RS232/RS485
Installation and instruction manual
display
INC key (increases)
DEC key (decreases)
ENT key (confirms)
ESC key (cancels)
terminasl
With the present document
ADOS S.r.l., Via Lazio 25, 20090 Buccinasco (Mi)
Declares that this T020E fully complies to the essential
requirements
EN 61000-6-4 e EN 61000-6-2
Accordino to EC directive EMC 2004/108/CEE
Power supply 9-48 VDC / VAC
Accuracy 0.01% of the full scale
Linearity 0.01% of the full scale
Thermal Drift 0.005% / °C
Consumption max 250 mA a 12 VDC (3 VA)
Working temperature from –10 °C to +40 °C
Relative humidity
95% not condensated in the case
of version for DIN bars
not relevant to the versions in IP66
box
Load cells excitation 5 V with protection against short circuits
and with reference to internal voltage
Number of cells
connectable
(4 conductors) 4 350 cells
Analog signal from 0.5 to 2.5 mV/V
Conversion rate 55 conversions / second
Display Graduation 10000
Display increments 1-2-5-10-20
Display 5 LED digits
Digital otputs 2 relè 1 CO (SPDT)
3A at 250 VAC or 3A at 30 VDC
Digital input Optoisolated 24VDC
Serial output RS232 or RS485 (selectable)
Analog output 0-10V or 4-20 mA (selectable)
Dimensions
mm 95 x 85 x 65
(version for DIN bars)
mm 110 x 110 x 70
(version in IP66 box)
1. START UP OF THE INSTRUMENT
For a correct start up of the instrument it is necessary to carry out
the following operations:
- set up or check the electrical connections (see paragraph 2)
- set the weighing rate (see paragraphs 3 and 4)
- calibrate the weights (see paragraph 5)
2. ELECTRICAL CONNECTIONS
The instrument must be connected according to the indications in
the following table:
+E + EXCITATION (RED)
-E - EXCITATION (BLACK)
+S + SIGNAL (GREEN)
Load cell wiring
-S - SIGNAL (WHITE)
RS232 RS485 0-10 4-20
A TX A-485 0-10 V 4-20mA
B RX B-485
Output SGND
Common Common
+I +12/24VDC
Tare input -I 0VDC
~9-48 VDC / VAC
Power supply ~9-48 VDC / VAC
C COMMON relè 1
NC N.C. relè 1
NO N.O. relè 1
C COMMON relè 2
NC N.C. relè 2
Relè outputs
NO N.O. relè 2
In the case where the apparatus uses more than one load cell, the
cells must be wired to a specific junction box (ADOS model 1308),
and the output must be connected to the terminals of T020E.
The use of shielded cable for the wiring of the load cells, the
analog output signal lines and the serial lines is highly
recommended.

ADOS S.r.l. - Via Lazio 25 - Buccinasco (Mi) 1316-MPT020M03 - Rev.1 T020E installation and instruction manual Pagina 2 di 8
The load cell colour code in the above tabel is that used on
standard ADOS cells. Check carefully that the conductors function
correctly in the case where special ADOS cells or other brands of
cells are used. ATTENTION
-the incorrect connection of the wires or the inversion of poles
on the power supply may damage the apparatus
-the connection wires must not be connected to dangerous
power supplies
3.SETTING OF WEIGHING SCALE
The numeric value of the weight on the display consists of the
multiplication of two parameters: DIVIS AND SENSI, with the
possibility to set the number of DECIMALS required.
The number of divisions represents the number of steps that the
weighing rate is divided into; the more divisions set the easier it will
be possible to recognise small variations in weight.
The accuracy value represents the value associated with each
step of the weighing rate, and it should be chosen in order to reach
the required weighing rate.
The decimal values are needed to set the position of the point on
the weight display, in order to read the weight value in the correct
measure unit.
EXAMPLE: in order to obtain a weigh rate from 0 to 20000 units, it
is necessary to set a value of 10000 divisions with an accuracy of
2 units per division (10000 x 2 = 20000). In this way the weight will
be visualised in increments of 2. Another solution, though less
efficient, is that of setting a value of 2000 divisions with an
accuracy of 10 units per division: this however means that the
recognisable minimal variation in weight would be inferior.
In the case where the full scale weight is 20000 kg, if the decimals
are set at 0.0, the value displayed would go from 0.0 to 2000.0 with
increments of 0.2 kg.
DIVISIS SENSI’ DECIM
1000 1 0
2000 2 0.0
3000 5 0.00
4000 10 0.000
5000 20 0.0000
10000 50
The values available are:
N.B.: if it is not possible to obtain the desired weighing rate with the
combination of values available relating to divisions and accuracy,
the value should be rounded up: for example, in the case of a
weighing rate from 0 to 7000 the nearest obtainable would be 8000
4. CONFIGURATION OF PARAMETERS
to access configuration press ENT
press ENT again to access the configuration parameters
or press ESC to cancel
the name of the first parameter available will appear on
the display (for example the number of divisions)
use the INC and DEC keys to proceed to the next or
previous parameter
once the required parameter has been identified,
modifications can be made by pressing ENT
the parameter value will appear on the display and the
name of the parameter will flash intermittently.
use the INC and DEC keys to change the parameter
values (press the key for more than 3 seconds to
activate the automatic repetition option)
press ENT to confirm the set value or press ESC to
cancel
The configuration parameters available are as follows::
DIVIS number of divisions
(1000 - 2000 - 3000 – 4000 – 5000 - 10000)
SENSI accuracy values
(1 - 2 - 5 - 10 - 20 - 50)
DECIM number of decimals on the display
(0 - 0.0 - 0.00 - 0.000 - 0.0000)
MEDIE Number of data used for the dynamic average
(OFF - 2 - 4 - 8 - 16 – 32 - 64)
FUNR1 Relay number 1 functions
(ON - FAIL – POS G – NEG G – POS N – NEG N )
SETR1 Setpoint value of relay number 1
(from 0 to the full scale value)
FUNR2 Relay number 2 functions
(ON - FAIL – POS G – NEG G – POS N – NEG N )
SETR2 Setpoint value of relay number 2
(from 0 to the full scale value)
SERIA Setting of the serial port
(OFF - CONT - BIDIR)
LINE Selection of serial line type
(RS232 – RS485)
BAUD baudrate of the serial port
(1200 - 2400 - 4800 - 9600 - 19200)
ID485 Address for RS-485
(da 0 a 32)
The meaning of the DIVIS, SENSI, and DECIM
parameters is explained in paragraph 3.
MEDIE
This parameter is used for the digital filtering of the weight signal,
in order to reduce to a minimum the undesired effects due to for
example mechanical vibrations which affect the weighing system.
The higher the parameter value, the higher the capacity to filter the
undesired fluctuation, even if this causes an increase in the delay
of visualising the variations in the weight signal.
Pressing the OFF key excludes the filter option.
FUNR1 – FUNR2
ON: the relay is continuously excited; this option may be used to
check that the instrument is being powered
(excitation of the relay only stops due to the lack of power)
FAIL: excitation of the relay is interrupted when there is an
electrical fault in the +/- signal wires of the load cells.
NEG G: the relay is deenergized only if the weight value is lower or
equal to the preset value (see SETR1 and SETR2 parameters)
The set reacts independently from the zeroed value (by tare input).
POS G: the relay is deenergized only if the weight value is higher
or equal to the preset value (see SETR1 and SETR2 parameters).
The set reacts independently from the zeroed value (by tare input).
NEG N: the relay is deenergized only if the weight value is lower
or equal to the preset value (see SETR1 and SETR2 parameters)
POS N: the relay is deenergized only if the weight value is higher
or equal to the preset value (see SETR1 and SETR2 parameters).
SETR1– SETR2
This value represents the threshold used for the POS and NEG
options of the relay. The preset value ranges from zero to the full
scale.
X :

ADOS S.r.l. - Via Lazio 25 - Buccinasco (Mi) 1316-MPT020M03 - Rev.1 T020E installation and instruction manual Pagina 3 di 8
SERIA
This parameter is used to set the serial port modes.
OFF: the serial port is not used
CONT: continuous serial transmission is enabled by the ASCII
ADOS protocol string
BIDIR: transmission is enabled by serial request of the ASCII
ADOS protocol string
LINE
This parameter is used to set the physical interface mode: RS485
or RS232.
ID485
This parameter is used to set the address required for the
identification of the instrument on a multipoint line RS-485.
BAUD
This parameter is used to set the communication speed on the
serial line.
The transmission parameters of the line are:
8 data bit i – NO parity – 1stop bit
5. CALIBRATION OF WEIGHTS
After setting the desired weight range it is necessary to carry out
the two apparatus calibration phases:
zero calibration (see paragraph 5.1)
full scale calibration (see paragraph 5.2)
5.1 Zero Calibration
check that there is no weight loaded on the weighing
system (zero kg)
press ENT and then INC until the following word appears
on the display
to continue with the calibration press ENT, to cancel
press ESC
press the INC key or the DEC key until the display shows
the following word
to carry out the zero calibration press ENT (and wait), to
cancel press ESC
if this word appears
it means that the zero calibration has been successful; if
this word appears
it means that the calibration was not successful
(for example due to an error in installation or connection
of the load cells)
ATTENTION
Only if the zero calibration has been successfully terminated is it
possible to continue with the full scale calibration
5.2 Full scale calibration
load the weighing system with a sample weight of which
the exact weight is known, the same or as close as
possible to the preset full scale value
press ENT and then INC until the following word appears
to procede with the calibration option press ENT, to
cancel press ESC
press INC or DEC until the following word appears
to carry out the full scale calibration option press ENT, to
cancel press ESC
at this point a casual absolute value is visualised (1234
in the example), which must be replaced with the value
of the sample weight which was loaded onto the
weighing system.
using the INC and DEC keys change the value until it
corresponds to the value of the sample weight
to procede with the full scale calibration press ENT, to
cancel the operation press ESC
if this word appears
it means that the full scale calibration has been
successful; if this appears
it means that the calibration was not successful
(for example due to an error in installation or connection
of the load cells)
ATTENTION
The weighing system may only be used if both calibration options
have been concluded successfully
CHECK THE PROBLEM AND
REPEAT THE CALIBRATION
CHECK THE PROBLEM AND
REPEAT THE CALIBRATION

ADOS S.r.l. - Via Lazio 25 - Buccinasco (Mi) 1316-MPT020M03 - Rev.1 T020E installation and instruction manual Pagina 4 di 8
6. SYSTEM INITIALIZATION
This option resets the default factory settings and the calibration
values .
press the ENT key and then the INC key until the
following word appears on the display
to proceed with the initiating of the instrument press
ENT, to cancel press ESC
confirm the operation by pressing ENT again, or cancel
by pressing ESC
at this point the instrument has been initialised and the
display shows a blinking value.
After system initialization the display blinks as indicate
the not calibration status.
7. TEST
press the ENT key and then the INC key until the
following word appears on the display
to proceed with the instrument test option ENT, to cancel
press ESC
to start the test procedure press ENT, to cancel press
ESC
at this point the instrument will activate relays number 1
and 2 alternately, whilst on the analog output a “saw
tooth” ramp ranging from the minimum value to the
maximum value
to exit the test option press ESC
8. SERIAL OUTPUT (HW selection)
The serial line is available in both the RS232 and RS485 mode.
Serial board insertion mode
RS485

ADOS S.r.l. - Via Lazio 25 - Buccinasco (Mi) 1316-MPT020M03 - Rev.1 T020E installation and instruction manual Pagina 5 di 8
RS232
8.1 SERIAL PROTOCOL ASCII ADOS
The T020E instrument handles the serial communications in two
different ways:
BIDIRECTIONAL SLAVE
The instrument sends the ASCII data string only after
receiving the request from a device connected on the line
acting as the master
The master may interrogate individually the various slaves
connected to the line each identified by a different ID 485
(only RS-485), or a single slave on the line (both RS-232 and
RS-485).
CONTINUOUS TRANSMISSION
The instrument continuously transmits the ACII data string
without request to a single instrument (RS-232) or to one or
more instruments (RS-485).
8.2 Weight Request String Format
The ASCII string for the weight request differs in length according
to the ID485 parameter values as seen in the following cases:
ID485 = 0 (5 characters in length)
1° character [STX] (Hex 02) fixed
2° character [WEIGHT] <P> (Hex 50) fixed
3° character [CHK 1] from <0> (Hex 30) to <9> (Hex 39)
or from <A> (Hex 41) to <F> (Hex
46) to indicate the higher part of the
checksum (see paragraph 6.3)
4° character [CHK 2] from <0> (Hex 30) to <9> (Hex 39)
or from <A> (Hex 41) to <F> (Hex
46) to indicate the lower part
5° character <CR> (Hex 0D) fixed
ID485 > 0 (7 characters in length)
1° character [STX] (Hex 02) fixed
2° character [ID485 D] from <0> (Hex 30) to <9> (Hex 39)
to indicate the tens of the set ID485
value
3° character [ID485 U] from <0> (Hex 30) to <9> (Hex 39)
to indicate the units of the set ID485
value
4° character [WEIGHT] <P> (Hex 50) fixed
5° character [CHK 1] from <0> (Hex 30) to <9> (Hex 39)
or from <A> (Hex 41) to <F> (Hex
46) to indicate the higher part of the
checksum (see paragraph 6.3)
6° character [CHK 2] from <0> (Hex 30) to <9> (Hex 39)
or from <A> (Hex 41) to <F> (Hex
46) to indicate the lower part
7° character <CR> (Hex 0D) fixed
8.3 Format of the string transmitted by T020E
The ACII string transmitted by the instrument is the same for both
bidirectional and continuous transmission.
The length of the sting differs according to the ID485 parameter
value, as seen in the following cases:
ID485 = 0 (16 characters in length)
1° character <STX> (Hex 02) fixed
2° character [SIGNAL] <SPACE> (Hex 20) if the weight
value is positive
<-> (Hex 2D) if the weight value is
negative
3° character [WEIGHT 1] from <0> (Hex 30) to <9> (Hex 39)
to indicate the numeric weight value
with an eventual decimal point
<.> (Hex 2E) or
<SPACE> (Hex 20) to cancel the
insignificant zeros in front of the
number
4° character [WEIGHT 2] as above
5° character [WEIGHT 3] as above
6° character [WEIGHT 4] as above
7° character [WEIGHT 5] as above
8° character [WEIGHT 6] as above
9° character [WEIGHT 7] as above
10° character <SPACE> (Hex 20) fixed
11° character <SPACE> (Hex 20) fixed
12° character [STATUS] <SPACE> (Hex 20) if the instrument
is in a normal operative status
<F> (Hex 43) if the instrument is in
FAIL status
<S> (Hex 53) if the instrument is in
configuration phase
13° character [CHK 1] from <0> (Hex 30) to <9> (Hex 39)
or from <A> (Hex 41) to <F> (Hex
46) to indicate the higher part of the
checksum (for the calculation of the
checksum see paragraph 6.3)
14° character [CHK 2] from <0> (Hex 30) to <9> (Hex 39)
or from <A> (Hex 41) to <F> (Hex
46) to indicate the lower part of the
checksum
15° character <CR> (Hex 0D) fixed
16° character <LF> (Hex 0A) fixed

ADOS S.r.l. - Via Lazio 25 - Buccinasco (Mi) 1316-MPT020M03 - Rev.1 T020E installation and instruction manual Pagina 6 di 8
ID485 > 0 (18 characters in length)
1° character [STX] (Hex 02) fixed
2° character [ID485 D] from <0> (Hex 30) to <9> (Hex 39)
to indicate the tens of the set ID485
value
3° character [ID485 U] from <0> (Hex 30) to <9> (Hex 39)
to indicate the units of the set ID485
value
4° character [SIGNAL] <SPACE> (Hex 20) if the weight
value is positive
<-> (Hex 2D) if the weight value is
negative
5° character [WEIGHT 1] from <0> (Hex 30) to <9> (Hex 39)
to indicate the numeric weight value
with an eventual decimal point
<.> (Hex 2E) or
<SPACE> (Hex 20) to cancel the
insignificant zeros in front of the
number
6° character [WEIGHT 2] as above
7° character [WEIGHT 3] as above
8° character [WEIGHT 4] as above
9° character [WEIGHT 5] as above
10° character [WEIGHT 6] as above
11° character [WEIGHT 7] as above
12° character <SPACE> (Hex 20) fixed
13° character <SPACE> (Hex 20) fixed
14° character [STATUS] <SPACE> (Hex 20) if the instrument
is in a normal operative status
<F> (Hex 43) if the instrument is in
FAIL status
<S> (Hex 53) if the instrument is in
configuration phase
15° character [CHK 1] from <0> (Hex 30) to <9> (Hex 39)
or from <A> (Hex 41) to <F> (Hex
46) to indicate the higher area of the
checksum (for the calculation of the
checksum see paragraph 6.3)
16° character [CHK 2] from <0> (Hex 30) to <9> (Hex 39)
or from <A> (Hex 41) to <F> (Hex
46) to indicate the lower area of the
checksum
17° character <CR> (Hex 0D) fixed
18° character <LF> (Hex 0A) fixed
8.4 Calculation of the checksum
The two ASCII characters which identify the checksum must be
calculated in the following way:
1. Calcolate the XOPR binary of all the characters from the
1° to the 12° included in the case of strings of 16
characters (ID485 = 0) or to the 14° included in the case
of strings of 18 characters (ID485 > 0).
2. Separate the XOR values obtained into a high area (first
4 bit) and a low area (last 4 bit)
3. Code the high area according to the ASCII hex table,
which will become the character written in position [CHK
1] (13° character in the case of a string of 16 characters,
15° in the case of a string of 18 characters).
For example the binary value 5 (0101) will become
character <5> (Hex 35), or the binary value B (1011) will
become character capital <B> (Hex 42).
4. Code the lower area according to the ASCII hex table,
which will become the character written in position [CHK
2] (14° character in the case of a string of 16 characters,
16° in the case of a string of 18 characters).
(see previous example)
9. ANALOG OUTPUT (HW selection)
The analog output is available in both the 0-10Vand 4-20 mA
mode.
Analog board insertion mode
0-1 0V

ADOS S.r.l. - Via Lazio 25 - Buccinasco (Mi) 1316-MPT020M03 - Rev.1 T020E installation and instruction manual Pagina 7 di 8
4-20 mA
9.1 Analog output compensation
The analog output compensation options are identical for output at
0-10 V voltage and at 4-20 mA current.
The compensation of the analog output foresees 3 phases:
1. setting of the analog range (see paragraph 9.2)
2. zero compensation (see paragraph 9.3)
3. full scale compensation (see paragraph 9.4)
The first phase defines the weight value which shall correspond to
the maximum value of the analog output.
For example the full scale weight could be 5000, but the maximum
value of the analog output (10 V and 20 mA) may be set at 3000.
In this way for weight values from 0 to 3000 the analog output will
move from 0 to 10 V (or from 4 to 20 mA); for higher values the
output will remain set at maximum. In the same way, for negative
weight values the analog output will remain set at minimum.
The second phase is used to adjust the analog output so that that
the zero (minimum possible value) is exactly at 0 V or 4 mA.
The third phase is used to adjust the analog output so that the
span (maximum possible value) is exactly at 10 V or 20 mA.
9.2 Setting of the analog range
press ENT and then press INC until the following word
appears
to proceed with the setting of the analog range option
press ENT, to cancel press ESC
press INC or press DEC until the following writing
appears
to proceed with the setting of the analog range option
press ENT, to cancel press ESC
at this point the full scale weight value is visualised (5000
in the example), which must be replaced with the setting
of the weight value which corresponds to the maximum
analog output.
using the INC and DEC keys change the values until the
desired values are visualised
to confirm the visualised value press ENT, to cancel
press ESC
9.3 Zero analog compensation
press the ENT key and then the INC key until the
following word appears on the display
to proceed with the zero compensation of the analog
output press ENT, to cancel press ESC
press the INC key or the DEC key until the display shows
the following word
to proceed with the zero compensation of the analog
output press ENT, to cancel press ESC
at this point a numeric value is visualised, proportional to
the voltage or current output value read on the tester
use the INC and DEC keys to change the value until the
tester displays exactly 0 V or 4 mA
to confirm the displayed value press ENT, to cancel
press ESC
9.4 Full scale analog compensation
press the ENT key and then the INC key until the
following word appears on the display
to proceed with the full scale compensation of the analog
output press ENT, to cancel press ESC
press the INC key or the DEC key until the display shows
the following word
to proceed with the full scale compensation of the analog
output press ENT, to cancel press ESC
at this point a numeric value is visualised, proportional to
the voltage or current output value read on the tester
use the INC and DEC keys to change the value until the
tester displays exactly 10 V or 20 mA
to confirm the displayed value press ENT, to cancel
press ESC
To proceed it is necessary to connect a tester to the
analog output terminals of the instrument, making sure
they are connected correctly.
Preset the tester to measure the voltage and current
according to the type of T020E output
To proceed it is necessary to connect a tester to the
analog output terminals of the instrument, making sure
they are connected correctly.
Preset the tester to measure the voltage and current
according to the type of T020E output

ADOS S.r.l. - Via Lazio 25 - Buccinasco (Mi) 1316-MPT020M03 - Rev.1 T020E installation and instruction manual Pagina 8 di 8
10. INGRESSO DI AZZERAMENTO
The T020E is equipped with tare input.
The function is activated when the input goes from open to close
position. To allow the function use a voltage from 12 to 24 VDC to
close the input.
The tare function has effect on the serial output and on the relay
thresholds (except for POS G - NEG G setting).
The value of total zeroed load can be checked locally on
the transmitter by pressing the key INC: while the key is pressed
the zeroed load value is showed on display.
The zeroed value will lose in case of power off.
IMPORTANT
Keep this instruction manual for
consultation by all personnel authorised
to operate the instrument for as long as
the instrument remains in service.
Additional copies may be ordered from
ADOS service centres.
If additional technical information or
clarification is required, contact an ADOS
service centre.
Revisions = Text underlined & corsive
This manual suits for next models
3
Other Ados Transmitter manuals
Popular Transmitter manuals by other brands
schildknecht
schildknecht DATAEAGLE 3713 Installation and commissioning manual
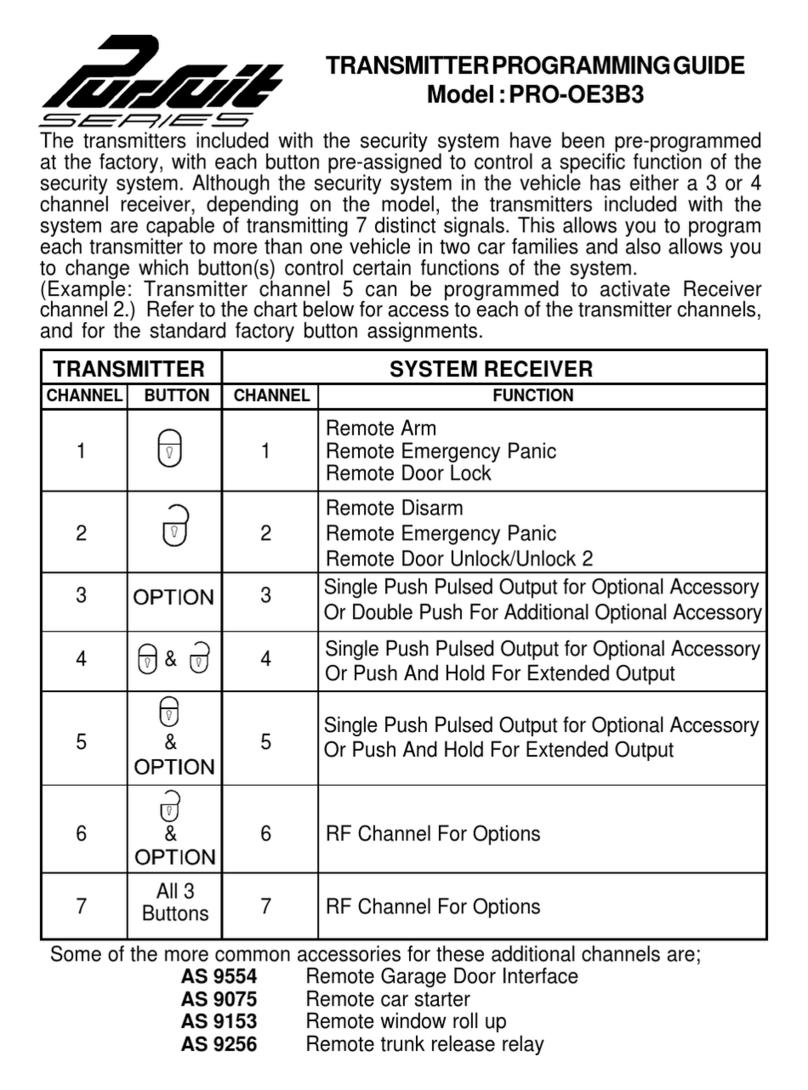
Audiovox
Audiovox PRO-OE3B370 Programming guide
Atal
Atal TR485-103D-150 instruction manual

Endress+Hauser
Endress+Hauser HART iTEMP TMT182B operating instructions
KROHNE
KROHNE OPTIFLEX 1300 C Supplementary instructions
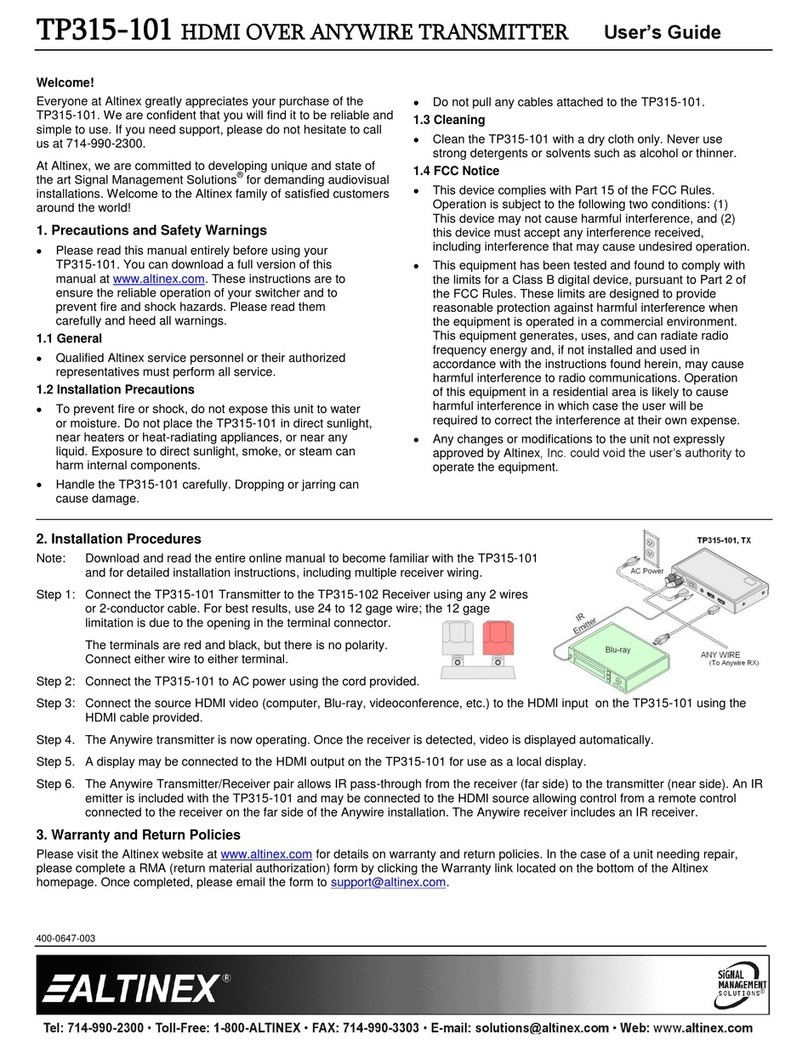
Altinex
Altinex TP315-106 user guide
MuxLab
MuxLab 500777-TX Quick installation guide
Siemens
Siemens SITRANS L Series operating instructions
Easy wave
Easy wave RT26 quick start guide
Cadi
Cadi SmartSense SmartTAG STG-821W user manual
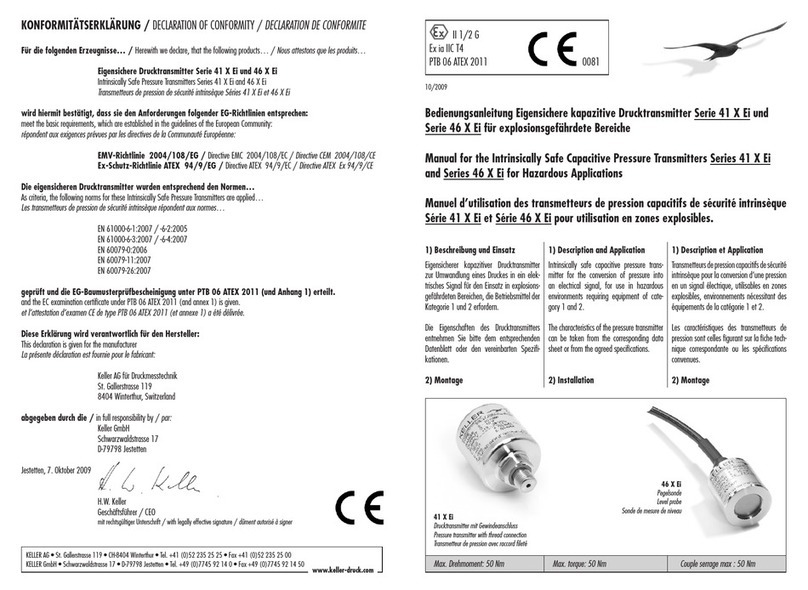
Keller-druck
Keller-druck 41 X Ei Series manual
National Semiconductor
National Semiconductor VAB100T user manual
