Airco Shield PURIFIER User manual

Operating Instructions
PURIFIER
OZONE GENERATOR
PURIFIER

Table of C ontents
1 Safety Notes .................................................................................3
1.1 General Safety Notes .....................................................… 3
1.2 Safety Notes F or The Ozone Generator.....................… 3
1.3 Safety Regulations In Closed Rooms................................4
2 Device Description ...................................................................5
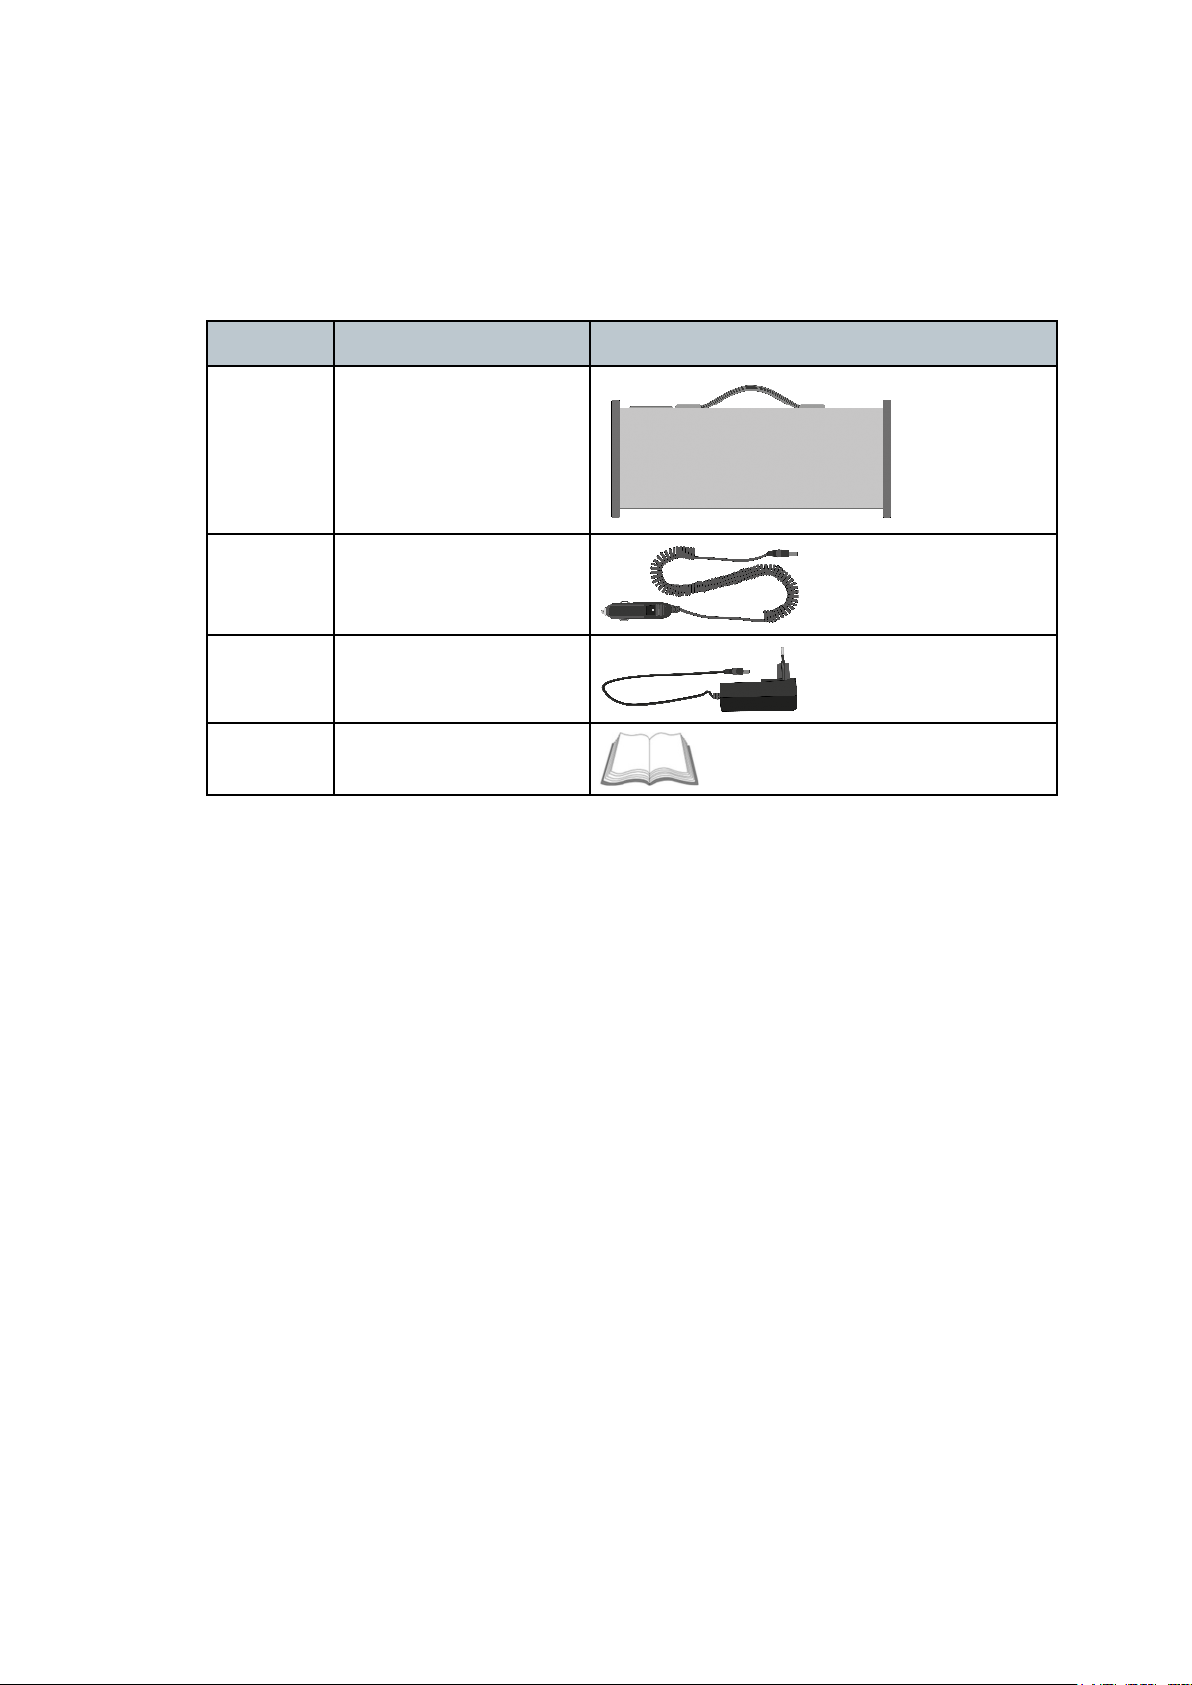
2.1 Delivery Contents...................................................................5
2.2 Intended use ...........................................................................6
2.3 Device Description ................................................................7
3 Working With The Ozone Generator.........................…9
3.1 Precondition For The Use Of The Ozone Generator..........9
3.2 Positioning...............................................................................9
3.3 Operating Parameters ............................................................9
3.4 Putting into Operation ...........................................................10
3.5 After Execution .......................................................................12
4 General Information..................................................................13
4.1 Problem solutions ..................................................................13
4.2 Care and maintenance...........................................................13
4.3 Disposal ...................................................................................14
4.4 Technical Data Of The Ozone Generator.............................15
4.5 Declaration Of Conformity Of The Ozone Generator.........16
2

1 Safety Notes
1.1 General Safety Notes
• The ozone generator is exclusively intended for
commercial use.
• All guidance given in the individual sections of the
operating instructions applies. The following measures
and safety precautions must also be followed.
1.2 Safety Notes For The Ozone Generator
To avoid incorrect handling and any injury to the user or
destruction of the ozone generator resulting thereof, observe
the following:
• Do not put the ozone generator into operation if the cover
is not attached.
• Do not cover the ozone generator or its air air inlet/ozone
outlet respectively during the operation.
• Place the ozone generator upright and tilt resistant.
• Protect the ozone generator from water (it is not
waterproof).
• Do not open the ozone generator yourself. Repair work
has to be done exclusiely by trained staff. The warranty
will be rendered void at any case of unauthorized
operations.
• Immediately contact Hella Gutmann or a Hella Gutmann
trading partner in case of any malfunctions.

1.3 Safety Regulations In C losed Rooms
Ozone is a toxic oxidizing agent and hence dangerous
and harmful to health. Observe the following to avoid
serious harm to health:
• Ensure that the room to be treated has an efficient air
extraction system and sufficient fresh air supply.
• Tighten the room to be treated so that no gases can
escape to adjoining rooms.
• Immediately leave the room after having switched on
the ozone generator.
4

2 Device Description
2.1 Delivery C ontents
Piieeces DDesiiggnnattiioonn
1 Ozone
1Vehicle charging
cable
1Power cord
1 Operating
Instructions
2.1.1 C hecking delivery contents
Please check the delivery contents upon receiving your device so
that complaints can be issued immediately regarding potential
damage or missing parts.
Proceed as follows to check the delivery contents:
1. Check the package delivered to ensure that it is not damaged.
Should you identify any external transport damage, then open the
package in the presence of the delivery service and check the
ozone generator for hidden damages. Any transport damage to
the package supplied and damage to the ozone generator shall be
registered in a damage report by the delivery service.
2. Open the package supplied and check for completeness based on
the delivery slip.
5

Intended use
3. Remove the ozone generator from the packaging.
CAUTION
Danger of short circuit due to loose parts in or on the
device
Danger of destruction of the device and/or the automotive
electronics
Never put the device into operation if you suspect that
there are loose parts in or on it.
Please immediately contact the Hella Gutmann repair
service or a Hella Gutmann trading partner.
4. Check the ozone generator for mechanical damage and shake it
lightly to ensure that there are no loose parts inside.
2.2 Intended use
The ozone generator is a device for neutralizing odours and smells in
closed rooms. The device generates ozone which is a strong oxidizing
agent. The oxidizing effect of the ozone causes odour molecules to split
and to revert back to odourless substances. The ozone generator is
ideal for bad smells and all kind of odours in vehicles, caravans and
boats. However, it can also be used as stationary device, e.g. in hotel
rooms, holiday apartments and cellars. The ozone generator effectively
eliminates unpleasant smells such as tobacco smoke or odours from the
kitchen or living rooms or mildew. It also seeks out harmful bacteria and
kills viruses and mould spores.
6

D
Desiiggnnattiioonn
1Handle
This handle makes it easier to carry the ozone generator.
2Main switch
Switch on the ozone generator after having set the duration
of the procedure.
3Power supply socket
This is the voltage supply of the ozone generator.
4Air inlet
Here, air is aspirated through the rear ventilation slots.
5Arrow keys
Use the arrow keys to set the application duration.
6Indicator lamp (LED)
The green indicator lamp shows the operating status of the
ozone generator.
7
Device Description

8
D
Desiiggnnattiioon
7LC display
(Liquid crystal display)
Application duration, status and fault diagnostics are
indicated here.
8Ozone outlet
Here, ozone is emitted through the front ventilation slots.

9
3 Working With The Ozone Generator
This section describes the use of the ozone generator.
3.1 Precondition For The Use Of The Ozone Generator
Observe the following when using the ozone generator:
• Where necessary, set up warning signs that there is ozone emission
in progress.
• Check the air inlet/ozone outlet for foreign particles.
• The voltage supply of the ozone generator is ensured through the
vehicle charging cable.
• Clean the cabin.
• Remove fragrance dispensers and floor mats from the vehicle where
necessary.
3.2 Positioning
Observe the following when positioning the ozone generator:
• The air inlet/ozone outlet must not be blocked.
• Place the ozone generator onto the highest point in the car, e.g. the
instrument panel to ensure optimum air circulation.
3.3 Operating Parameters
The application duration of the ozone generator depends among others
on the following factors:
• Room size
• Room temperature
• Type of smell
• Intensity of smell

Putting into Operation
O
Odouurr nnuuiissance Commppactt ccarr BBuuss//ttrraansspporrtteer
r
normal An application of 60
min. is sufficient here.
strong
An application of
maximum 60 min. is
sufficient here.
An application of
maximum 120 min. is
sufficient here.
10
An application of 30
min. is sufficient here.
3.4 Putting into Operation
WARNING
Danger of poisoning through ozone
Possible consequences:
• Eye irritation (conjunctivitis, making eyes sting or water)
• Vertigo
• Strong tussive irritation
• Respiratory distress
• Pain when taking a deep breath
• Headaches
Do not breathe in the ozone. Leave the room immediately
after putting the device into operation.
CAUTION
Vehicle rolling.
Risk of injury or material damages
Ensure the following before putting the ozone generator into
operation:
1. Apply the parking brake.
2. No gear is engaged.
3. Set the blower to re-circulation air mode and a high level.

11
Putting into Operation
NOTICE
Insufficient voltage supply
Discharging of vehicle battery
Do not disconnect the ozone generator from voltage supply during
operation.
Ensure sufficient voltage supply.
Proceed as follows to put the ozone generator into operation:
1. Place the ozone generator onto the highest point in the car, e.g. the
instrument panel to ensure optimum air circulation.
2. Insert the vehicle charging cable plug in the power supply socket of the
ozone generator.
3. Connect the vehicle charging cable to the cigarette lighter in the
vehicle.
4. Switch on the ignition.
The LC display lights up.
5. Set the application period with .
The maximum application period is 10 h.
6. Switch on the ozone generator with .
The green indicator lamp is on. The time lapsed is indicated in the LC
display.
The ozone generator switches off automatically once the set time is up.
The indicator lamp goes off 10 min. after the procedure has finished.

12
3.5 After Execution
WARNING
Danger of poisoning through ozone
Possible consequences:
• Eye irritation (conjunctivitis, making eyes sting or water)
• Vertigo
• Strong tussive irritation
• Respiratory distress
• Pain when taking a deep breath
• Headaches
Do not breathe in the ozone. Leave the room immediately
after having doors and windows opened.
Proceed as follows to ventilate the room:
1. Enter the room approx. 30 to 40 min. after the procedure has been
finished.
2. Open the doors and windows and ventilate the room for 20 or 30 min.

Prrooblleemmaattiicc
ccase
S
Solluuttiioonn
13
The LC display
Is not on. • Check the connection of vehicle charging cable to
ozone generator and cigarette lighter.
• Ensure sufficient voltage supply.
The indicator
lamp flashes. • Check the fault diagnosis in the LC display
(possibly UV-lamp or blower defective).
• The UV-lamp has reached the maximum number
of operating hours and needs to be replaced.
The ozone
generator is
running very
loudly.
Place the ozone generator onto even, solid
and dry
4 General Information
4.1 Problem solutions
The following list will help you to solve minor problems yourself. For
this select the appropriate problem description and perform the
points listed under Solution until the problem is solved.
4.2 C are and maintenance
Like every device, the ozone generator must be handled with care.
Therefore observe the following:
• Regularly clean the ozone generator with non-aggressive
cleaning agents.
• Use commercial mild household cleaning detergents and a
moistened, soft cleaning cloth.
• Replace damaged cables/accessories immediately.
• Always use original spare parts.

4.3 Disposal
14
Dispose of in compliance of all directives relating to Waste Electrical and Electronic
Equipment (WEEE), And all local and Governmental laws

15
4.4 Technical Data Of The Ozone Generator
Supply voltage 230 V/50 Hz (power cord)
12 V (vehicle charging cable)
Display Type of construction: LC display
Application UV-C
Operating range 10 to 40 °C
Ozone output 50 mg/h
Weight (net) approx. 3 kg
Dimensions 345 x 140 x 140 mm (H x W x D)

16
4.5 Declaration Of C onformity Of The Ozone Generator
Supplier: R J Doran & Co Ltd
Green Farm, Maidstone Road,
Nettlestead Green, Nr. Maidstone,
Kent ME18 5HD, England
Details of Apparatus: The Purifier air purifying machine
Model No’s.: AC29170
Brands: Primalec
Also branded as Airco Shield
Directives & Standards and 2012/19/EU [WEEE];
Guidelines this equipment 2011/65/EU [RoHS]
complies with: 2014/35/EU [LVD]
2014/30/EU [EMC];
BS EN 60335;
EH40/2005 [UK-HSE exposure limits]
Directive 2002/3/EC (ozone in ambient air)
Technical Construction File ref.: TCF-AC29170
This declaration is issued under the sole responsibility of the manufacturer and is made on the
basis of an assessment of the conformity of the product with the Directives, Standards and
guidelines listed above, supported by the detailed Technical Construction File TCF-AC29170 which
includes technical information from both designer and manufacturer, plus additional inspections
and tests carried out internally by the above named supplier.
Authorised signatory: for and on behalf of Supplier Date of issue
........... ....................... 5th October 2016
Name: R J Doran Place of Issue:
Position: Director Maidstone
EU Declaration of Conformity

Notes:

Notes:

Notes:

Distributed by:
This manual suits for next models
1
Table of contents