Section 3a
Windows 98/ME Driver Installation
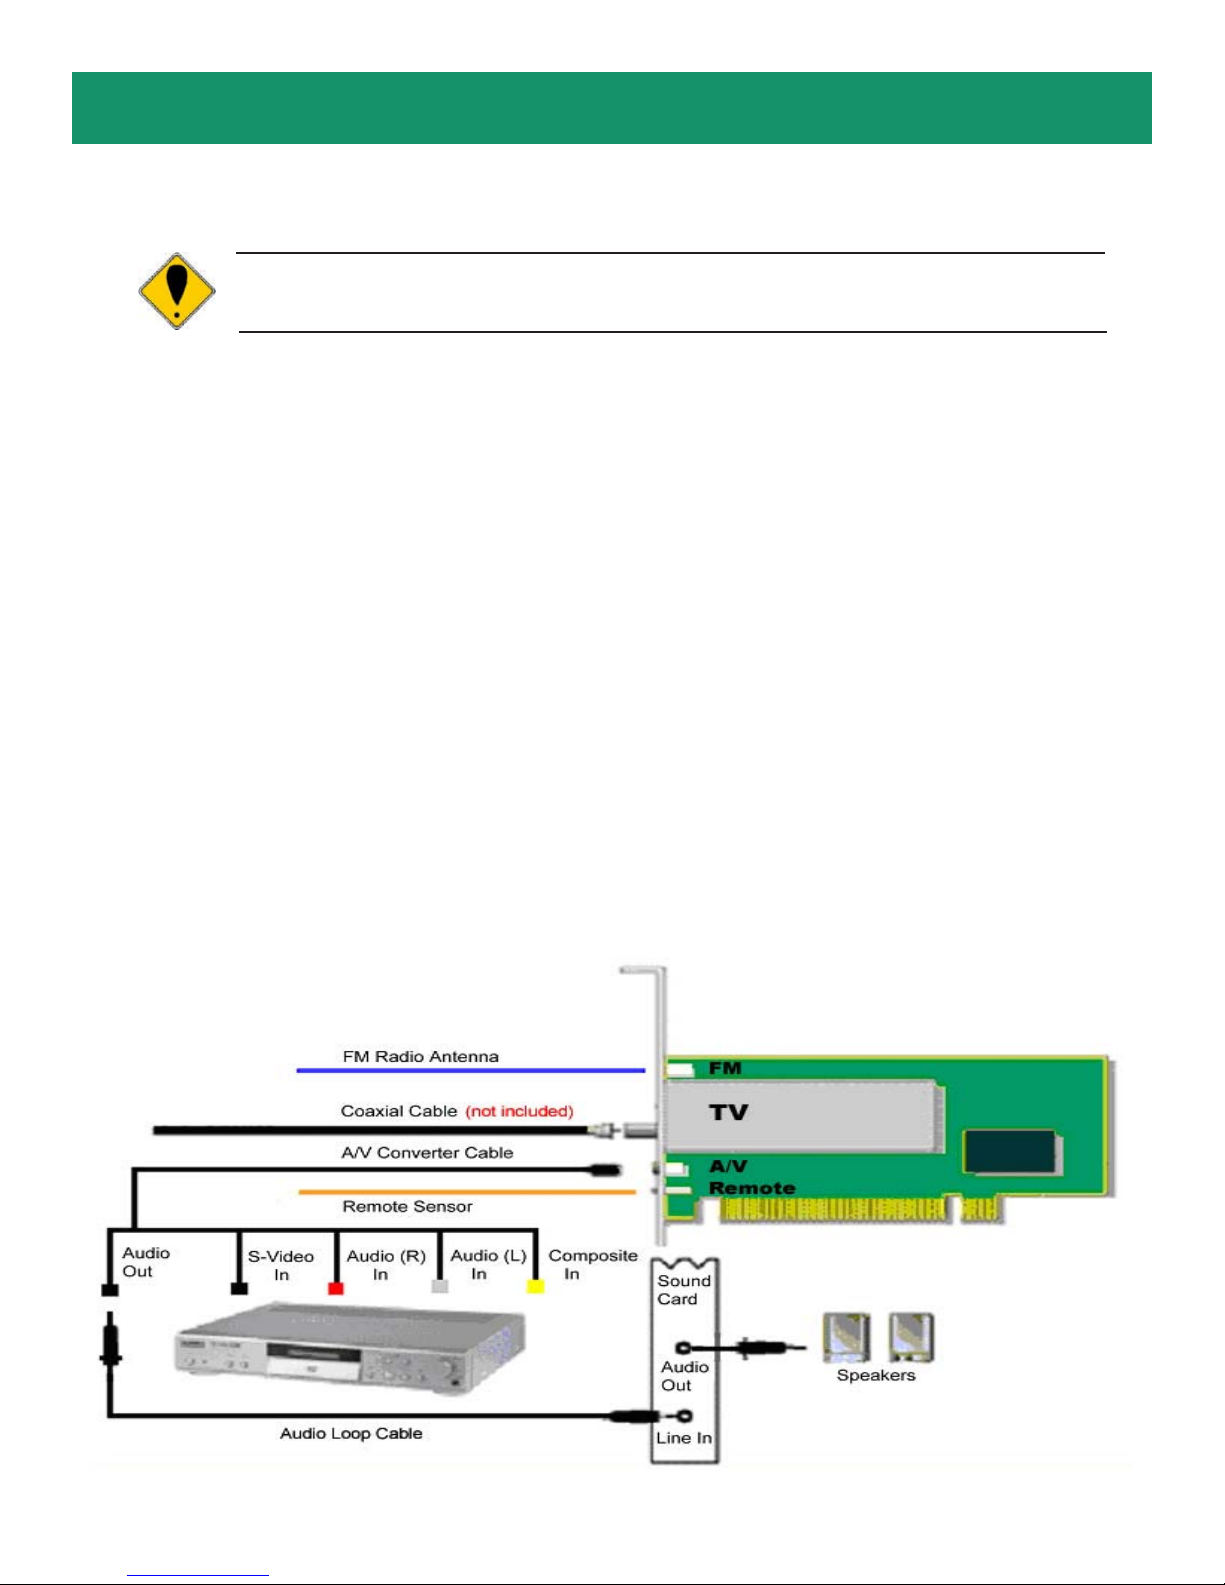
Step 1 Insert the provided Installation CD-ROM.
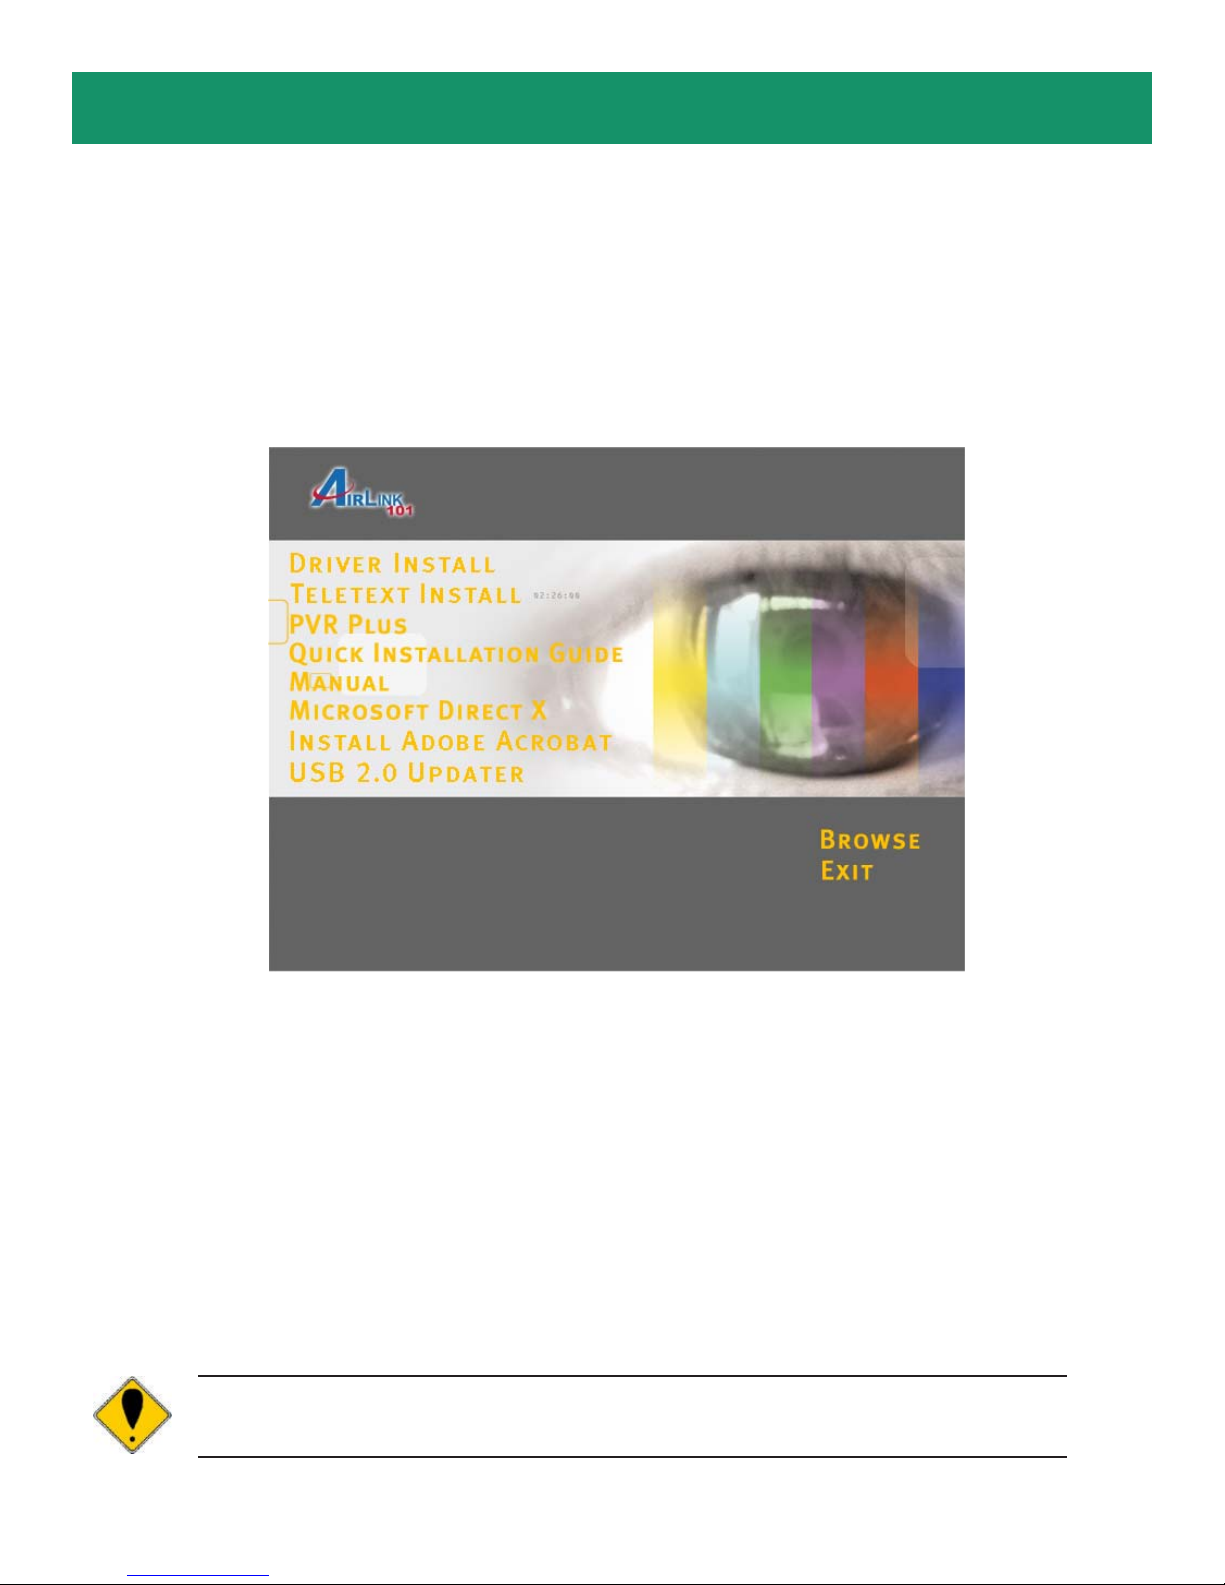
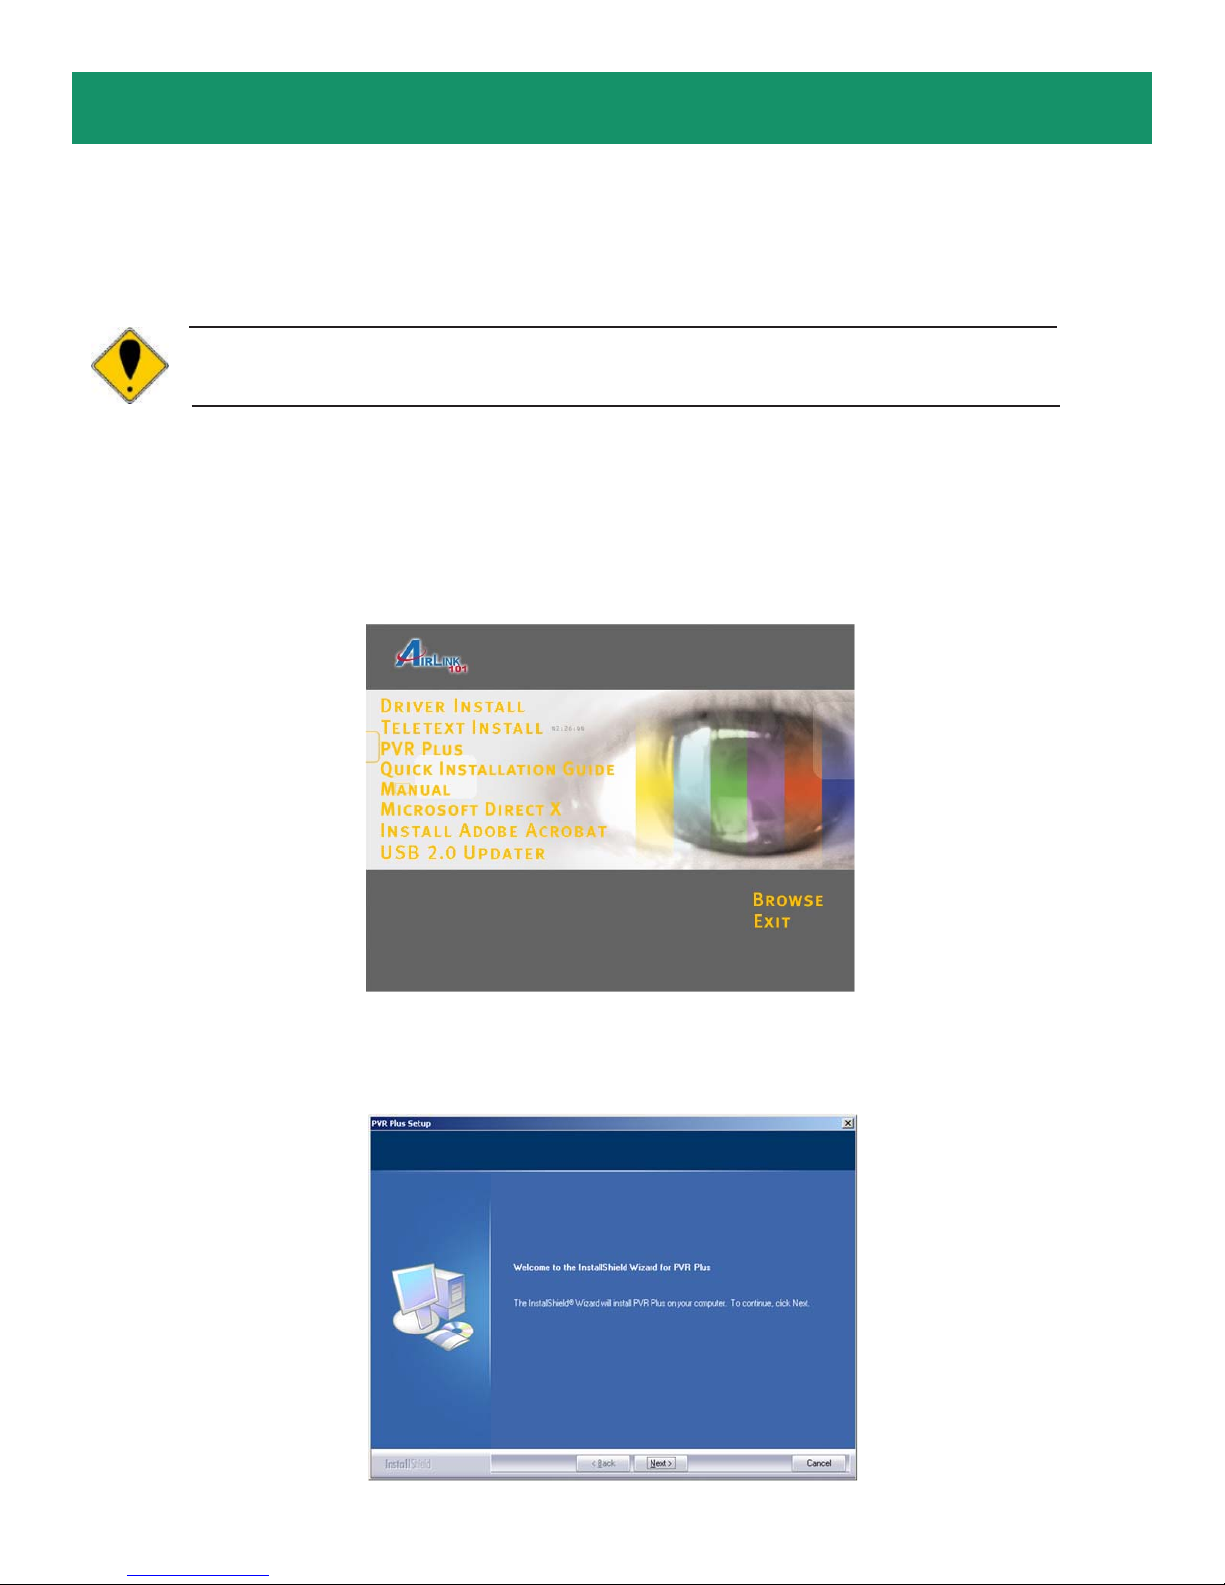
Step 2 The setup menu will automatically appear. Select Driver Install to start the
driver installation.
Note: If the setup menu does not appear automatically, go to Start, Run, and
typeD:\autorun.exe (whereD is theletterofyourCD-ROM drive)andclickOK.
Step 3 Click Next to install the driver for the Remote Control.
Step 4 Click Next to install the driver for the TV card.
Step 5 Click Next to launch the TVSetup utility.
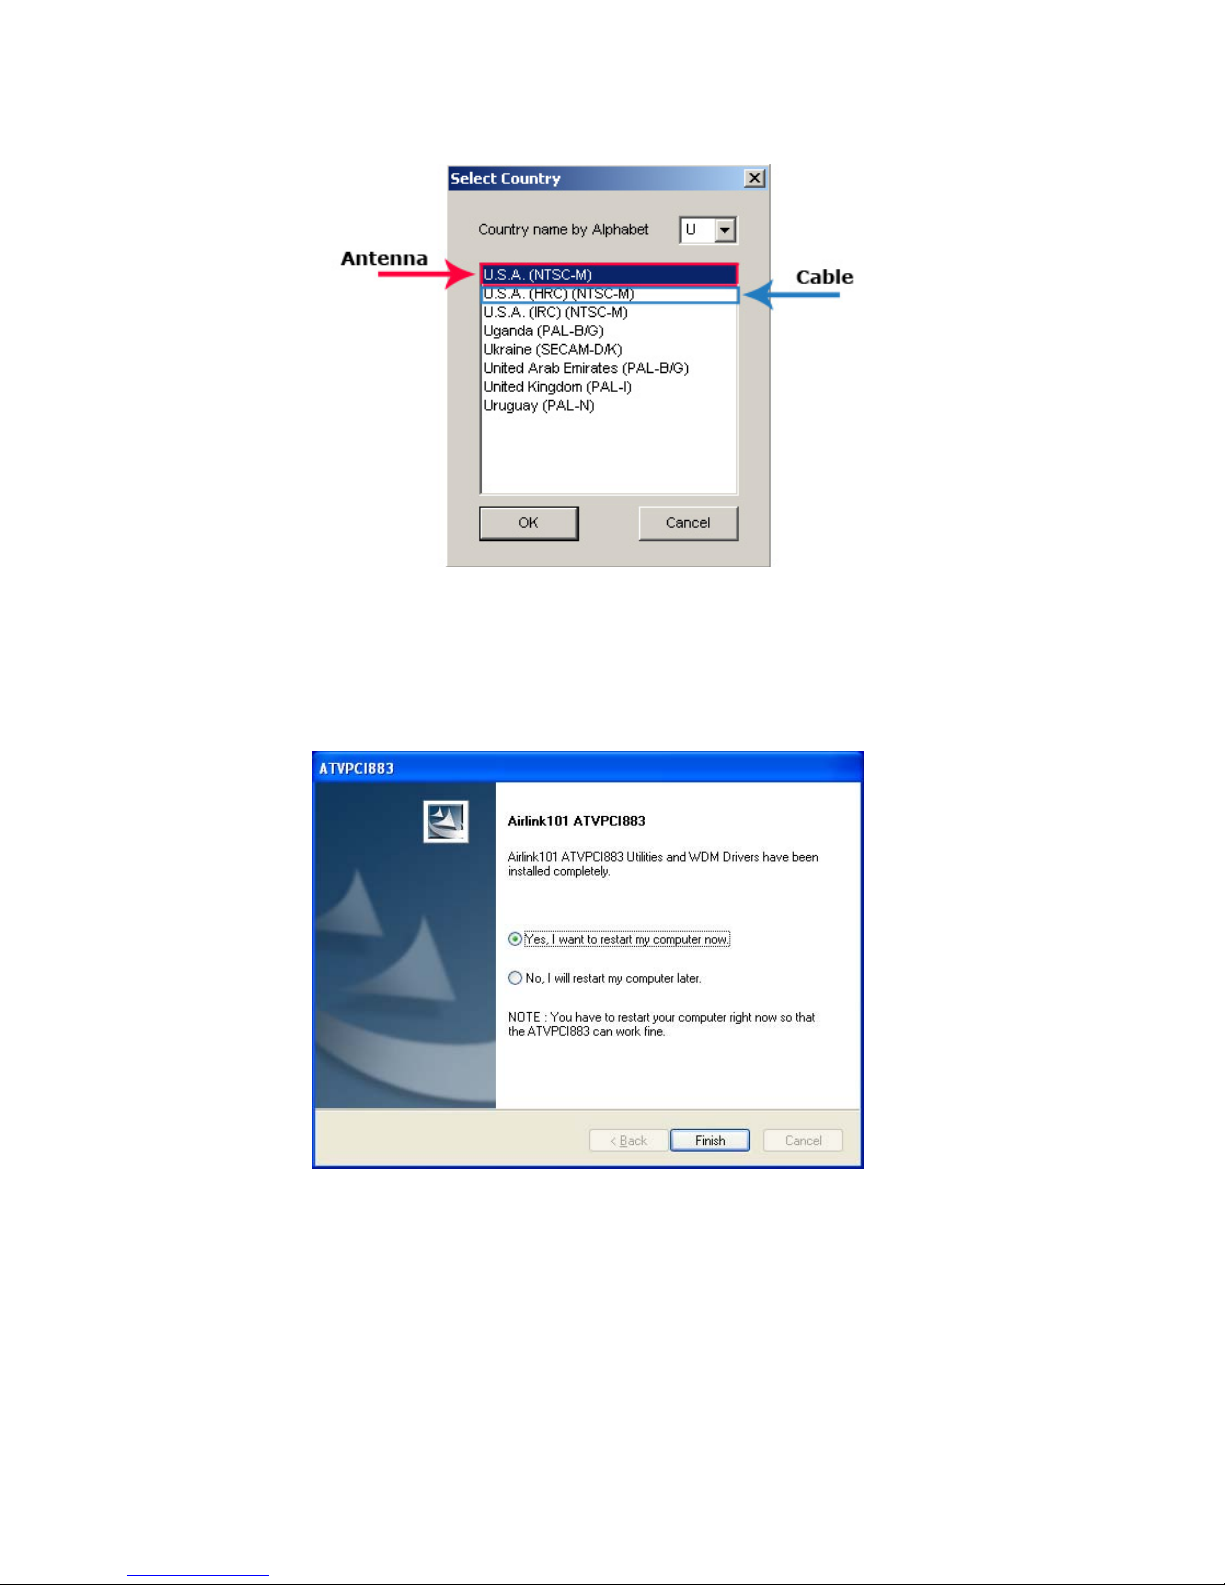
Step 6 Select “Yes, I want to restart my computer now” and click Finish.
Step 7 After the computer has restarted, you will be prompted to insert the Windows
98SE/ME CD-ROM. Click OK.
Step 8 The “New Hardware Found” window prompts. For Win 98 - type in
D:\Win98\ and for Win ME - type in D:\Win9x\ (Or you may utilize the browse op-
tion to locate the directory of your cab driver files). Click OK
Note: If a window for “Airlink101 TV88X WDM Drivers Patch” pops up prompting to
launchTVSetupif your system isnotNTSC,clickCancel.