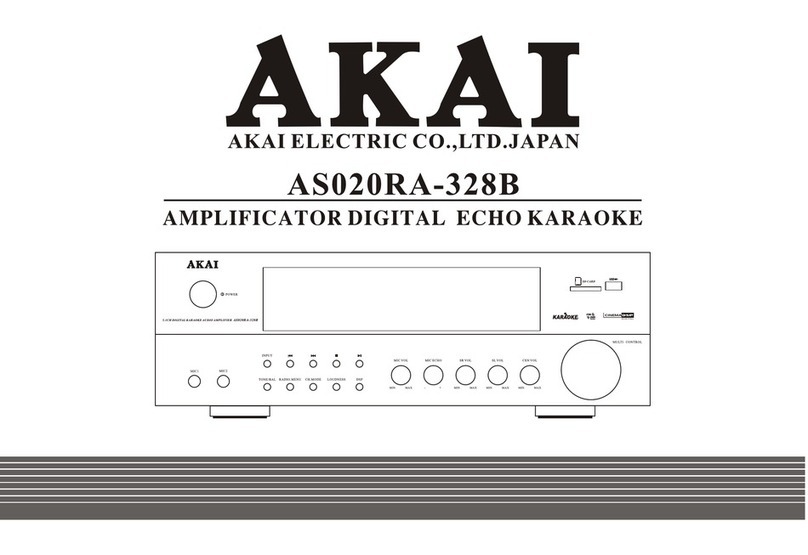
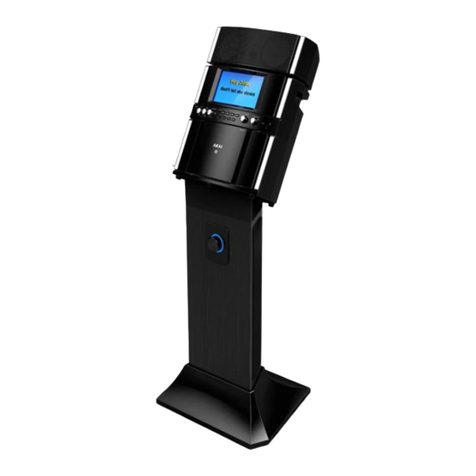
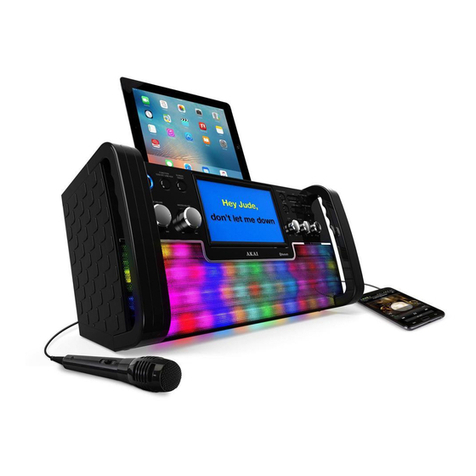
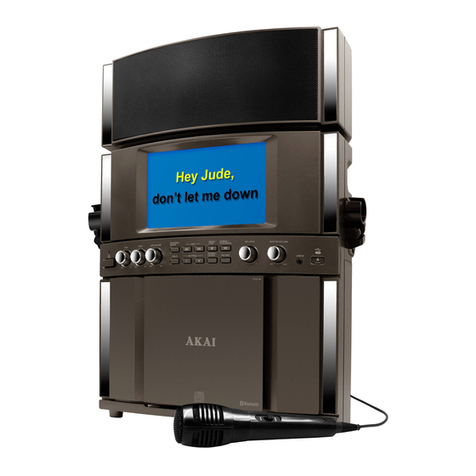
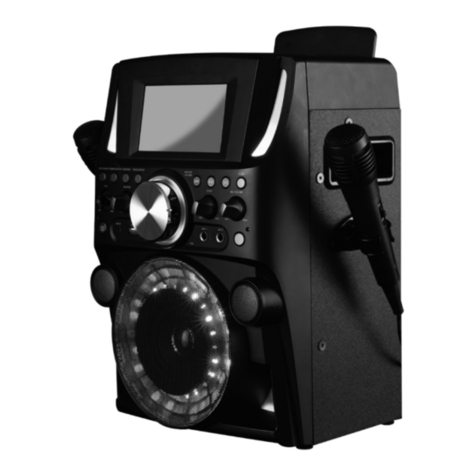
Akai KS-213 User manual

INSTRUCTION MANUAL
KS-213
CD+G Karaoke System
with Light Effect
and iPad Cradle
Thank you for purchasing this Karaoke System. Please read this instruction manual carefully before
using this product to ensure proper use. Keep this manual in a safe place for future reference.

1
WHAT’S IN THE BOX
Contents
1. KS213 Karaoke System
2. iPad Cradle
3. Special iPad 3.5mm Line-in Cable
4. AV Cable
5. Pre-recorded Karaoke CD+G Disc
6. Dynamic Microphone
7. AC Power Cord
8. Instruction Manual
9. Warranty Card
If you are missing any parts above, please contact ADT Digital LLC.
Tel: 561 922 6886
Fax: 561 922 6159
iPad and iPhone are trademarks of Apple Inc., registered in the U.S. and other countries.
Android is a trademark of Google Inc.
Mobile Karaoke App - Karaoke Anywhere
Visit http://akai.karaokeanywhere.net to download Karaoke Anywhere, a free application for your iPad,
iPhone and Android devices. Karaoke Anywhere gives you the full experience of Karaoke and puts
the world’s largest virtual song book at your fingertips!
After downloading app, open it and select the feature you want to utilize. 50 free karaoke songs are
available on “stream karaoke instantly” or “Free Songs” on the app. Start singing today with Akai and
Karaoke Anywhere!

Cet appareil numérique de la classe B est
The CAUTION marking is located on the
bottom panel.
conforme à la norme NMB-003 du Canada.
2

NOTE: This digital apparatus does not exceed the Class B limits for radio noise emissions from digital apparatus as
set out in the radio interference regulations of Industry Canada.
Le présent appareil numérique n'émet pas de bruits radioélectriques dépassant les limites applicables aux appareils
numériques de Classe B prescrites dans le règlement sur le brouillage radioélectrique édicté par Industrie Canada.
NOTE: This equipment has been tested and found to comply with the limits for a Class B digital device, pursuant
to part 15 of the FCC Rules. These limits are designed to provide reasonable protection against harmful interfer-
ence in a residential installation. This equipment generates, uses and can radiate radio frequency energy and, if
not installed and used in accordance with the instructions, may cause harmful interference to radio communica-
tions. However, there is no guarantee that interference will not occur in a particular installation. If this equipment
does cause harmful interference to radio or television (which can be determined by turning the equipment off),
the user is encouraged to try to correct the interference by one or more of the following measures:
FCC AND CANADIAN ICES
3

WARNINGS:
• To reduce the risk of fire or electric shock, do not expose this apparatus to rain or moisture.
Avertissement: pour réduire le risque d’incendie ou de choc électrique, ne pas exposer cet appareil sous la pluie
et l’humidité.
• The apparatus shall not be exposed to dripping or splashing and that no objects filled with liquids, such as vases,
shall be placed on apparatus.
L'appareil ne doit pas être exposé aux écoulements ou aux éclaboussures et aucun objet ne contenant de liquide,
tel qu'un vase, ne doit être placé sur l'objet.
• Mains plug /Power adaptor is used as disconnect device and it should remain readily operable during intended use.
In order to disconnect the apparatus from the mains completely, the main plug/ power adaptor should be
disconnected from the mains socket outlet completely.
La prise du secteur ne doit pas être obstruée ou doit être facilement accessible pendant son utilisation. Pour être
complètement déconnecté de l'alimentation d'entrée, la prise doit être débranchée du secteur.
4
20
18
19
15
24
23
22
21
16
14
27
25
ON/OFF button and
ON/OFF indicator
PROGRAM button
REPEAT button
STOP button
CDG LED
PLAY/PAUSE LED
LED Display
PROGRAM LED
REPEAT LED
PLAY/PAUSE button
SKIP button
SKIP button
1.
2.
3.
4.
5.
6.
7.
8.
9.
10.
11.
12.
Light ON/OFF button
BALANCE Control
Auto Voice Control
ECHO Control
Loudspeaker
MIC Volume Control
Master Volume Control
Handle
VIDEO OUT Jack
AUX OUT Jack (R)
AUX OUT Jack (L)
AC IN Jack
13.
14.
15.
16.
17.
18.
19.
20.
21.
22.
23.
24.
Battery Door
LINE IN Jack
MIC 1 Jack
MIC 2 Jack
iPad Cradle Mounting Hole
25.
26.
27.
28.
CD Door
30.
29.
28
30
29
26
14
17
6597 8 10 11 12 1323
5

Use only the size and type of batteries specified.
Be sure to follow the correct polarity when installing the batteries as indicated in the battery
compartment. Reversed batteries may cause damage to the device.
Do not mix different type of batteries together (e.g. Alkaline and Carbon Zinc) or old batteries with
fresh ones.
If the device is not to be used for a long period of time, remove the batteries to prevent damage or
injury from possible battery leakage.
Do not try to recharge batteries not intended to be recharged, they can overheat and rupture
(Follow battery manufacturer’s directions).
Rechargeable batteries are to be removed from the product before being charged.
Rechargeable batteries are only to be charged under adult supervision.
Exhausted batteries are to be removed from the product.
The supply terminals are not to be short-circuited.
Battery shall not be exposed to excessive heat such as sunshine, fire or the like.
1.
2.
3.
4.
5.
6.
7.
8.
9.
10.
6

Your
Remove
Karaoke Machine is designed to connect to your TV the same way you would connect most video
cameras, VCR/DVD players or video game consoles.
Connect video
Home theater
VIDEO CONNECTION
cable (yellow) to the video out of the back of the Karaoke Machine
Plug the supplied AC power cord into the AC jack that located on
the rear panel of the product and plug the other end into a standard
AC socket. The unit is designed to operate from a main supply of
AC 120V~60Hz.
CAUTION: The supplied AC power cord has a polarized plug that
fits into the wall outlet only one way. If the plug does not
fit properly, turn it over and try again. Do not force it.
NOTES: When the unit is not operated by the AC power or unused
for long periods of time, please remove the AC mains plug
from the wall outlet and unplug from the main unit.
The AC power cord MUST be disconnected from the unit, otherwise it will not operate on battery power.
REAR VIEW OF TV OR VCR/
HOME THEATER
7

Selecting your Karaoke Machine
Home theater
Home theater:
Home theater:
as a source/input on your TV is very similar to connecting a VCR/DVD
or Satellite system.
SELECTING YOUR KARAOKE MACHINE AS YOUR SOURCE/INPUT
RCA cables.
AUX INPUT
AUX INPUT
REAR VIEW OF TV OR VCR
OR HOME THEATER
8
1. Plug a microphone into the MIC1 or MIC 2 jack at the rear side of your karaoke machine. Their output
is mixed with playback from CD/CD+G.
2. Located on the microphone is an ON/OFF switch.
3. Ensure you set to ON when required for use.
(Only one microphone
is included)
SETTING UP YOUR MICROPHONE
Warning:
•Please do not point the microphone head directly to the front of the speaker(s) on the unit when you
are singing, it would cause unwanted feedback sound that may affect the performance of your unit.
•Tapping or dropping the microphone while it is on can permanently damage your microphone. Resist
the urge to swing the microphone around by the cord!

NOTE: The unit may not be able to read CDR or CDRW disc correctly. The readability depends on the
quality of recording produced by CD recorder or CD writer.
- Do not apply excessive force to disc cover.
- Do not open the disc cover of the CD compartment while it is playing.
Please press STOP before plugging into LINE-IN jack at the back of the unit. Otherwise the CD
mechanism would continue to spinning.
NOTE: Make sure to unplug line-in cord at the rear of unit before CD operation.
During playback, to repeat the track currently playing, press the REPEAT button once. The REPEAT
LED will start to flash.
In STOP or PLAYBACK mode, you can skip up or down to a specific track by pressing the forward
or back skip button.
REPEAT (For both CD and CD+G discs)
CD+G disc
CD+G
CD+G

AUTO VOICE CONTROL can be activated by the A.V.C. control. The vocals on the multiplex recording
will be muted when the singer starts to sing through the microphone. When the singer stops to sing, the
vocals will resume to normal.
show
LIGHT EFFECT
Press LIGHT ON/OFF button once to switch on LED light effect. Press the button again to switch off.

11
iPad OPERATION
Caution:
For proper functioning, only the supplied 3.5mm line-in cable should be used for the connection
between the iPad phone jack and the unit’s line-in jack. Using other line-in cable may cause
malfunction or damages to your iPad or the main unit.
1. Turn on your iPad and connect to Wi-Fi or 3G network.
Note: Wi-Fi connection or a strong 3G connection is recommended when streaming karaoke
songs with the Karaoke Anywhere app.
2. Go to App store and download Karaoke Anywhere HD app for iPad with 50 free songs.
Note: Make sure to download the iPad version of the
app, not the iPhone version.
3. Snap the iPad cradle via two mounting holes at the back
of the unit till the cradle is locked in place on both ends
securely.
4. Put your iPad in landscape position. (Do not encourage to put in
portrait position)
5. Connect the supplied 3.5 mm line-in cable to your iPad phone
jack and the line-in jack at the back of the unit.
6. Select and launch the Karaoke Anywhere app.
7. Make sure unit is turned on and microphone is plugged in.
8. Select the song you want to playback on your iPad. (50 free karaoke songs are available on
“Stream Karaoke Instantly” or “Free Songs” on the app)
9. Follow the lyrics and sing the song - adjust volume on the unit or iPad as needed.
10.For the detail operation and features of the app, please refer to the app itself.
Note:
• The recording function on your Karaoke Anywhere app is disabled after connecting to the main unit.
If you want to record your singing or performance, please disconnect your iPad from the main unit
and follow the instructions on the app to record your performance.
• Streaming or Playback of karaoke songs may be affected or stalled due to poor network conditions.
Wi-Fi connection or a strong 3G connection is recommended.
Note:
Stop the CD playback by pressing the STOP button
before plugging the line-in jack on the main unit,
otherwise the CD will continue to spin during the line-in
or iPad operation.

12
LINE-IN OPERATION
Except the iPad operation, LINE IN jack will allow you to connect external music player or external
sound source to your Karaoke Machine speakers.
Note:
Stop the CD playback by pressing the STOP button before plugging the line-in jack on the main
unit, otherwise the CD will continue to spin during the line-in or iPad operation.
1. Plug into the supplied 3.5mm line-in cable into your external music player and connect the other end
(3.5 mm jack) into the LINE IN jack on the rear of your Karaoke Machine.
2. Make sure your external music player is turned on.
3. Start music playback on your external music player.
4. Adjust MASTER VOLUME to control the sound level of music playback from the speakers on the
Karaoke Machine.

13
AUX OUT jacks not
connected
Follow directions on the ‘Audio
Connection’ section.

14
Mic volume control is set to
CD+G disc
No Video is displayed
on the TFT Screen.
The TFT Screen is turned
off.
Set Screen button to turn ON.
The disc being played is a
regular music CD, in which
case no image will be
displayed.
Ensure you are playing a CD+
Graphics or CD+G Karaoke disc.
Home theater.
Home theater Home theater.
minimum.
Using your TV Remote to select
VIDEO input or select the proper
VIDEO input on TV itself.
Connect from VIDEO OUT of the
system to the VIDEO IN on your
VCR or Home theater. (Refer to
“Making the Connections”). Check
the disc to be sure it is a CD+G.

15
12.4 x 7.7 x 9.7 inches / 31.5 x 19.6 x 24.7 cm
AC 120V~60Hz
4.33 lbs / 2 kgs

16
+
Table of contents
Other Akai Karaoke System manuals
Popular Karaoke System manuals by other brands

Ace
Ace All-in-one Karaoke Player user guide

The Singing Machine
The Singing Machine STVG-512 instruction manual

Pure Acoustics
Pure Acoustics MCP-20 user guide

MadBoy
MadBoy MFP-1500 owner's manual

The Singing Machine
The Singing Machine STVG785BT manual

The Singing Machine
The Singing Machine SML-383 instruction manual