manuals.online logo
Brands
  1. Home
  2. •
  3. Brands
  4. •
  5. Akuaplus
  6. •
  7. Plumbing Product
  8. •
  9. Akuaplus LIN1540 User manual

Akuaplus LIN1540 User manual

AVIS
Ce manuel d’instructions contient de l’information sur l’installation de votre
meuble de la série akuaplus®. Votre meuble nécessite une préparation
spécial. Nous recommandons de recourir aux services d’un installateur
professionnel. Assurez-vous de vous conformer au Code national du
bâtiment et normes local. Conservez ces instructions pour référence et
utilisation future. Une mauvaise installation annule la garantie. Tout meuble
installé ne peut êtres retournés. Si vous éprouvez de la difficulté avec votre
meuble veuillez communiquer avec votre marchand. Nous recommandons
de nettoyer le produit à l’aide de savons doux. N’UTILISEZ PAS de produits
de nettoyage à base de cétones, d’hydrocarbures, de bases, d’acides,
d’esters ou d’éthers. La désinfection doit être faite conformément aux
recommandations d’utilisation des différents désinfectants. Après
l’utilisation d’un produit de nettoyage, rincez le produit à l’eau claire. Ce
produit est couvert par une garantie limitée d’une durée d’un an.
NOTICE
This instruction manual contains information regarding the installation of
your akuaplus® piece of furniture series. Your product requires a special
preparation. We recommend that you hire a professional installer. Make
sure you comply with the local and National Building Code. Keep these
instructions for reference and future use. Improper installation voids the
warranty. Any furniture that has been installed cannot be returned. If you
are experiencing some difficulties with your furniture, please contact your
dealer. We recommend cleaning the product with soft soaps. DO NOT USE
cleaning products made of: ketones, hydrocarbons, acids, bases, esters and
ethers. Disinfection must be done according to the recommendations of the
disinfectant. After use of a cleaning product, rinse with clear water. This
product is covered by a limited Warranty for a period of one year.
IMPORTANT
- Consacrez quelques minutes à la lecture du feuillet d’instructions avant
de suivre pas à pas les différentes étapes d’assemblage.
- Avant de percer des trous pour installer votre meuble, prenez le temps
de vérifier qu’aucun câble électrique ou canalisation ne se situe dans le
mur que vous vous apprêtez à percer.
- Vérifiez que vous disposez de toutes les pièces et de tous les
accessoires nécessaires à l’installation avant de jeter un emballage.
- Assemblez ce produit sur une surface plane.
- Ne serrez les vis et boulons au maximum que lorsque le produit est
complètement assemblé.
- Jetez les pièces supplémentaires et gardez-les hors de portée des
enfants.
IMPORTANT
- We suggest you spend a short time reading these instructions before
following the simple step-by-step assembly instructions.
- Before drilling any hole to install your furniture, make sure there are no
hidden cables or pipework in the wall.
- Do not discard any of the packaging until you have checked that you
have all the necessary parts and accessories.
- Assemble this product on a flat surface.
- Assemble all parts loosely before tightening any bolts or screws.
- Discard all extra fittings and keep fittings out of reach of children.
Support réglable
Adjustable bracket
1800
3
2
Meuble-lavabo
Vanity
Miroir
Mirror
Lingerie
Linen cabinet
Renforcement suggéré
Suggested reinforcement
11. Pour sécuriser l’installation
de votre lingerie, il vous faudra
renforcer votre mur avec une
pièce de bois de 2 x 6 po ou un
contreplaqué 1/2 po en couvrant
au moins 3 montants, les montants
devraient présenter un espacement
maximum de 16 po).
1. To safely install your linen
cabinet, strengthen your wall with a
2 in. x 6 in. at least 3 studs (the studs
should have a maximum space of 16
in. between them).
2. Vous devez absolument prépercer
toute pièce de bois avant d’y
introduire une vis afin déviter
l’éclatement de celle-çi. Mesurez,
marquez et prépercez toujours
l’endroit où se fixeront les supports.
Consulter un expert pour les vis/
boulons à utiliser lors de la fixation
à votre construction murale. Les vis
fournies ne conviennent pas à tous
les types de construction de mur.
2. Check if the furniture brackets are
already installed at the rear of your
vanity or linen cabinet. If necessary,
install them. Always drill a pilot
hole before screwing in a piece of
wood to prevent it from cracking.
Always measure, mark and drill
pilot holes where the brackets are
to be installed. Consult an expert
for the proper screws/bolts to use
when attaching to various wall
constructions. Screws provided do
not attach to all wall construction
types
3. Accrochez votre lingerie au mur.
Celle-ci peut être installée afin
d’avoir l’ouverture de la porte vers
la droite ou la gauche en la faisant
pivoter de 180%.
3. Hang your linen cabinet on the
wall. Linen cabinet can be installed
in order to have the door opening
to the right or the left by rotating it
180%.
MANUEL D’INSTRUCTIONS
Lingerie LIN1540
Bois nature
INSTRUCTION MANUAL
Linen cabinet LIN1540
Nature wood
4
Vis de réglage pour rapprocher
le meuble-lavabo du mur.
Adjustment screw that allows you to bring
the vanity closer to the wall.
Vis de réglage de la hauteur
Screw for height adjustment
5
4. Servez-vous des vis de réglage
des supports du meuble pour en
régler la hauteur et le rapprocher
du mur.
4. Use the bracket adjustments
screws of the linen cabinet to
adjusts its height and bring it closer
to the wall.
5. Il est recommandé d’appliquer du
silicone autour du meuble.
5. It is recommended to apply
silicone all around the cabinet.
15 3/4 po/in.
40 cm
15 3/4 po/in.
40 cm
68 1/2 po/in.
174 cm
15 3/4 po/in.
40 cm
15 3/4 po/in.
40 cm
55 1/8 po/in.
140 cm
Ce produit sera exempt de défauts de matériaux de fabrication et de main-d’œuvre pour une période d’un an à
compter de la date d’achat. Suite à la présentation d’une preuve d’achat, nous réparerons ou remplacerons,
à notre seule option, toute pièce du produit qui nous apparaît défectueuse, dans la mesure où le produit n’a
pas fait l’objet d’un usage abusif, n’a pas été mal utilisé, modifié ou endommagé suite à l’usage d’outils ou de
produits chimiques sur le produit après l’achat.
Service à la clientèle, lundi au vendredi,
8 h 00 à 16 h 30 HE : 1 844 666-0155
This product is warranty to be free from defects in material and workmanship for a period of 1 year after the
date of purchase. Upon presentation of a proof of purchase, we will repair or replace, at our option, any part
of the product which, in our opinion, is defective, provided that the product has not been abused, misused,
altered or damaged resulting from the use of tools or harsh chemicals after purchase.
Customer service, monday to friday
8AM to 4:30PM ET: 1 844 666-0155
Fabriqué en Chine, importé et emballé par Dimex360 Inc.
Made in China, imported and packaged by Dimex360 Inc.
www.dimex360.com • [email protected]

Other Akuaplus Plumbing Product manuals

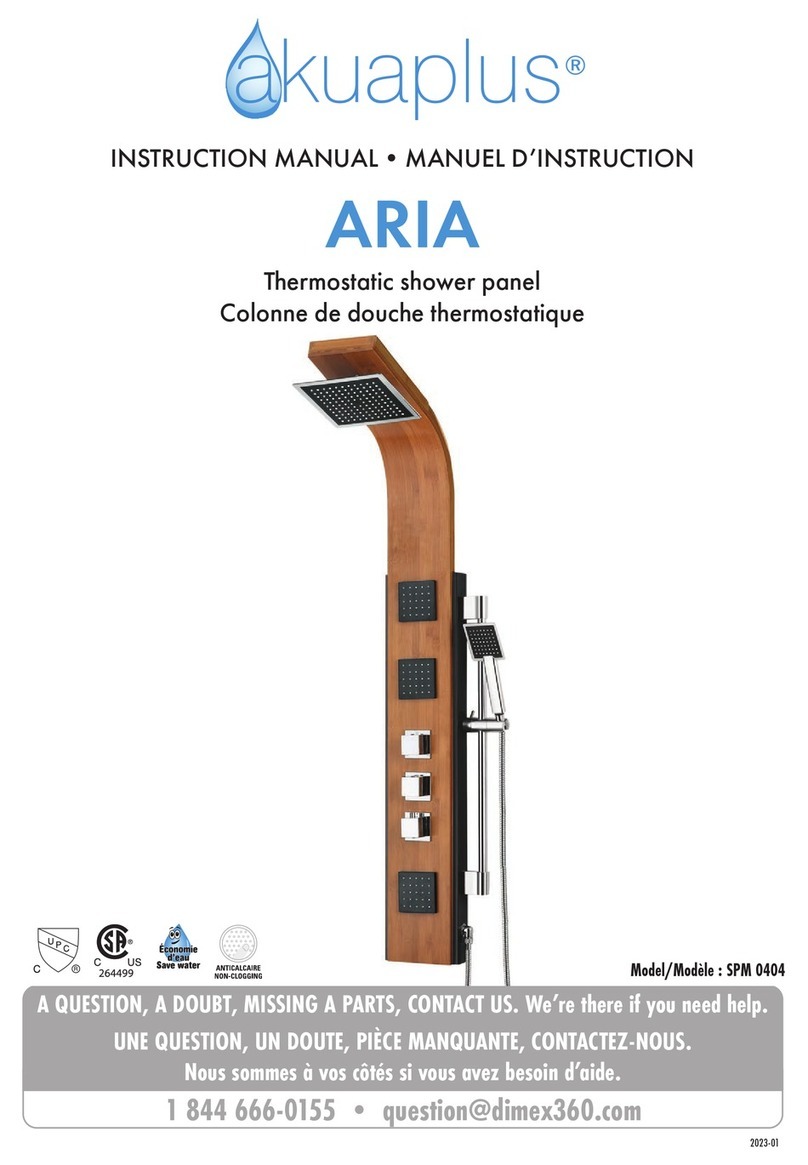
Akuaplus ARIA SPM 0404 User manual

Akuaplus

Akuaplus ARIA SPM 0404 User manual

Akuaplus ELITE RM 812A000 User manual

Akuaplus

Akuaplus ELITE RM 812A000 User manual

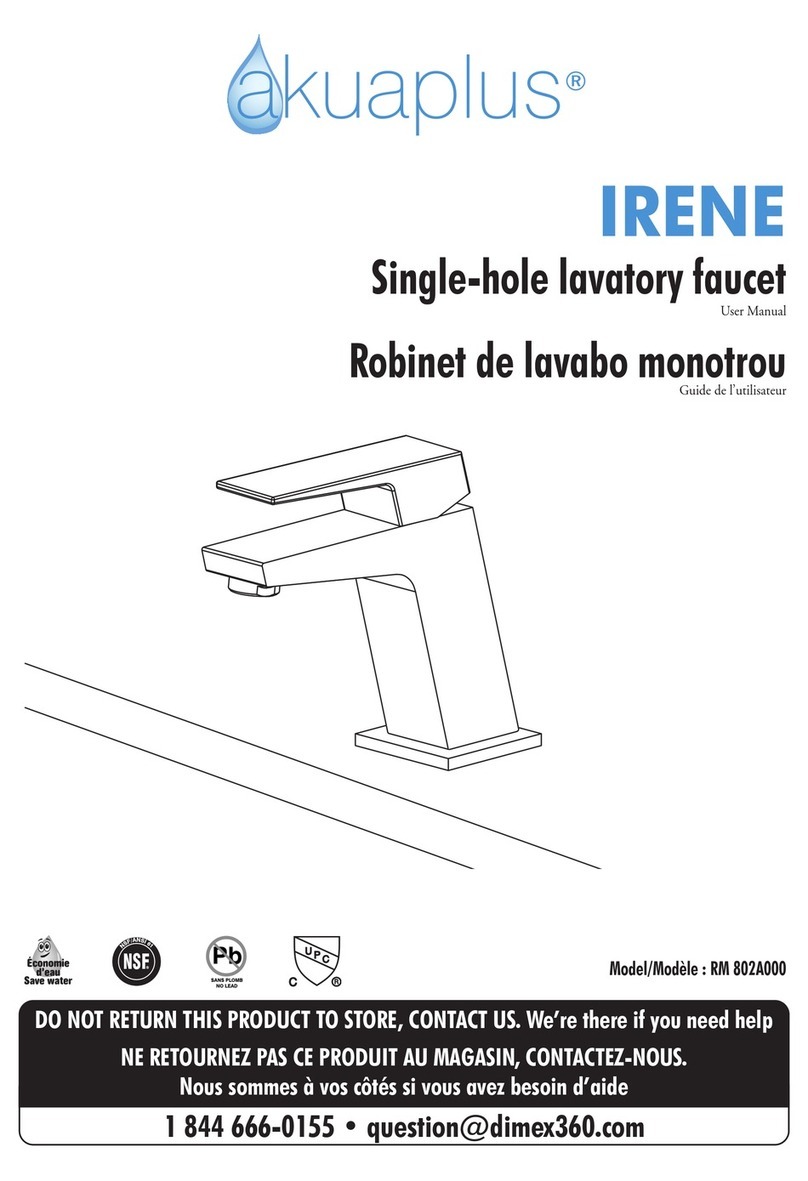
Akuaplus RM 802A000 User manual

Akuaplus

Akuaplus RM 802A000 User manual

Akuaplus RC1039CP User manual

Akuaplus

Akuaplus RC1039CP User manual

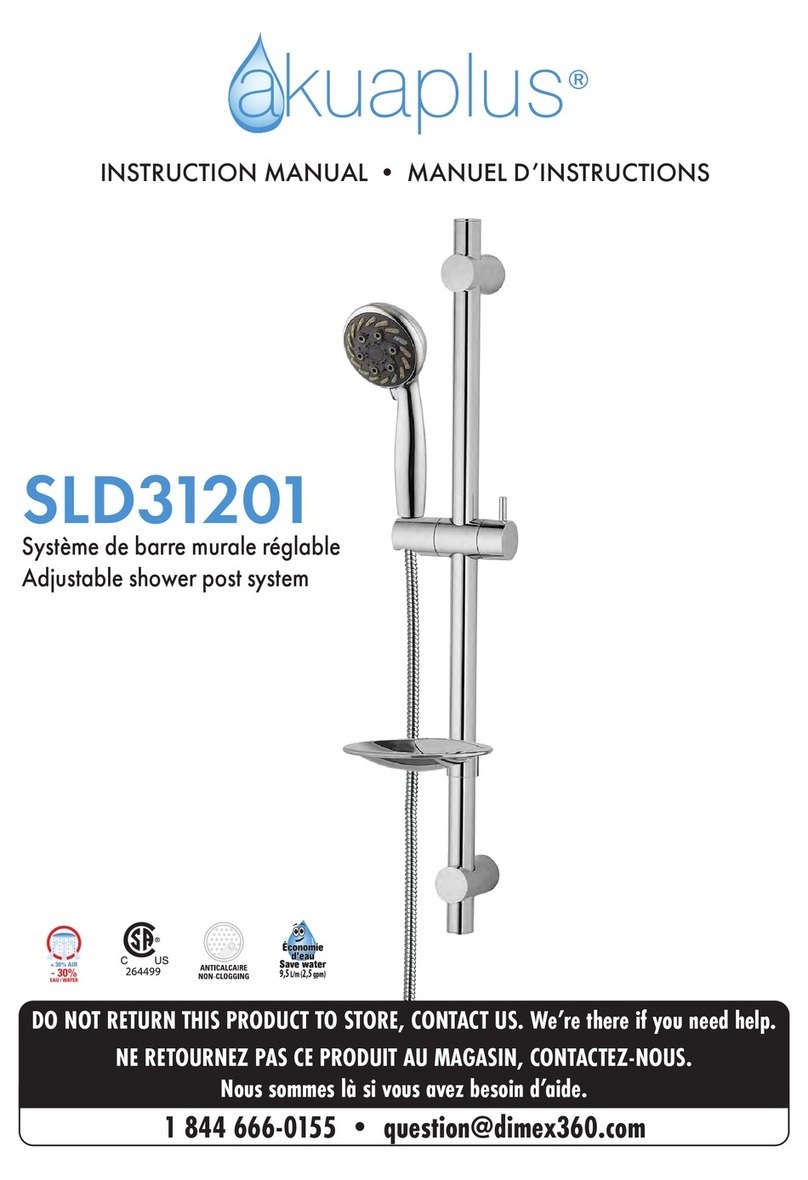
Akuaplus SLD31201 User manual

Akuaplus

Akuaplus SLD31201 User manual

Akuaplus ELENA RM6110CP User manual

Akuaplus

Akuaplus ELENA RM6110CP User manual

Akuaplus NAYA SPB 9332 User manual

Akuaplus

Akuaplus NAYA SPB 9332 User manual

Akuaplus RM61134 User manual

Akuaplus

Akuaplus RM61134 User manual

Akuaplus ELITE RM 812A000 User manual

Akuaplus

Akuaplus ELITE RM 812A000 User manual

Akuaplus ELENA RB 6115CP User manual

Akuaplus

Akuaplus ELENA RB 6115CP User manual

Akuaplus ELITE 2 RDM 8077222 User manual

Akuaplus

Akuaplus ELITE 2 RDM 8077222 User manual

Akuaplus LILY SP M9625 User manual

Akuaplus

Akuaplus LILY SP M9625 User manual

Akuaplus ELITE RB 812R000 User manual

Akuaplus

Akuaplus ELITE RB 812R000 User manual

Akuaplus ELITE RB 812R000 User manual

Akuaplus

Akuaplus ELITE RB 812R000 User manual

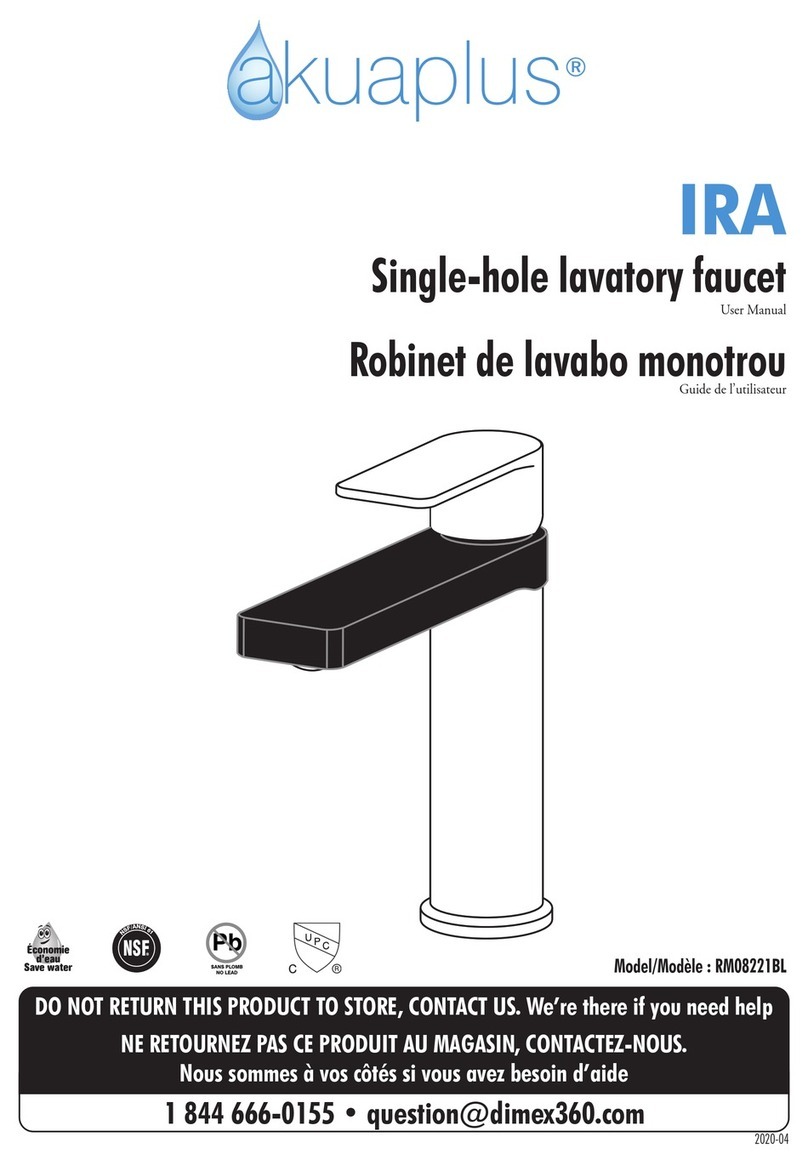
Akuaplus IRA RM08221BL User manual

Akuaplus

Akuaplus IRA RM08221BL User manual

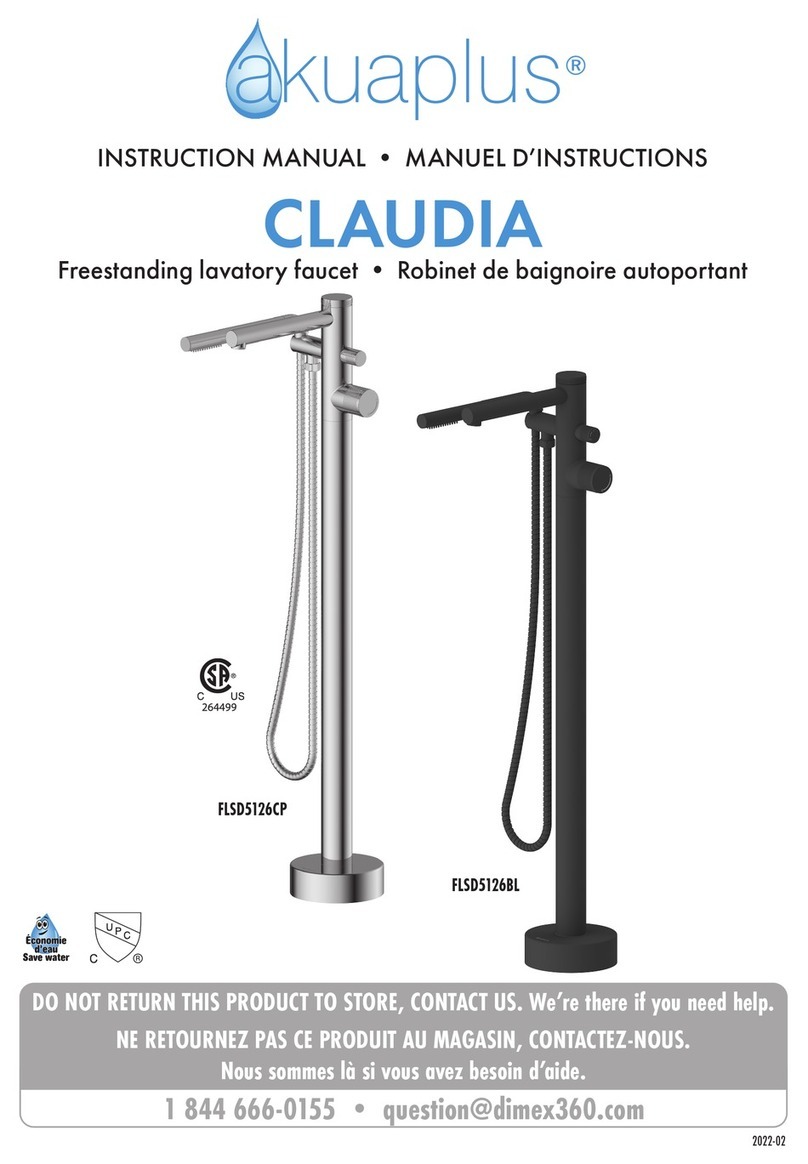
Akuaplus CLAUDIA FLSD5126CP User manual

Akuaplus

Akuaplus CLAUDIA FLSD5126CP User manual

Akuaplus ANNA RC1057BL User manual

Akuaplus

Akuaplus ANNA RC1057BL User manual

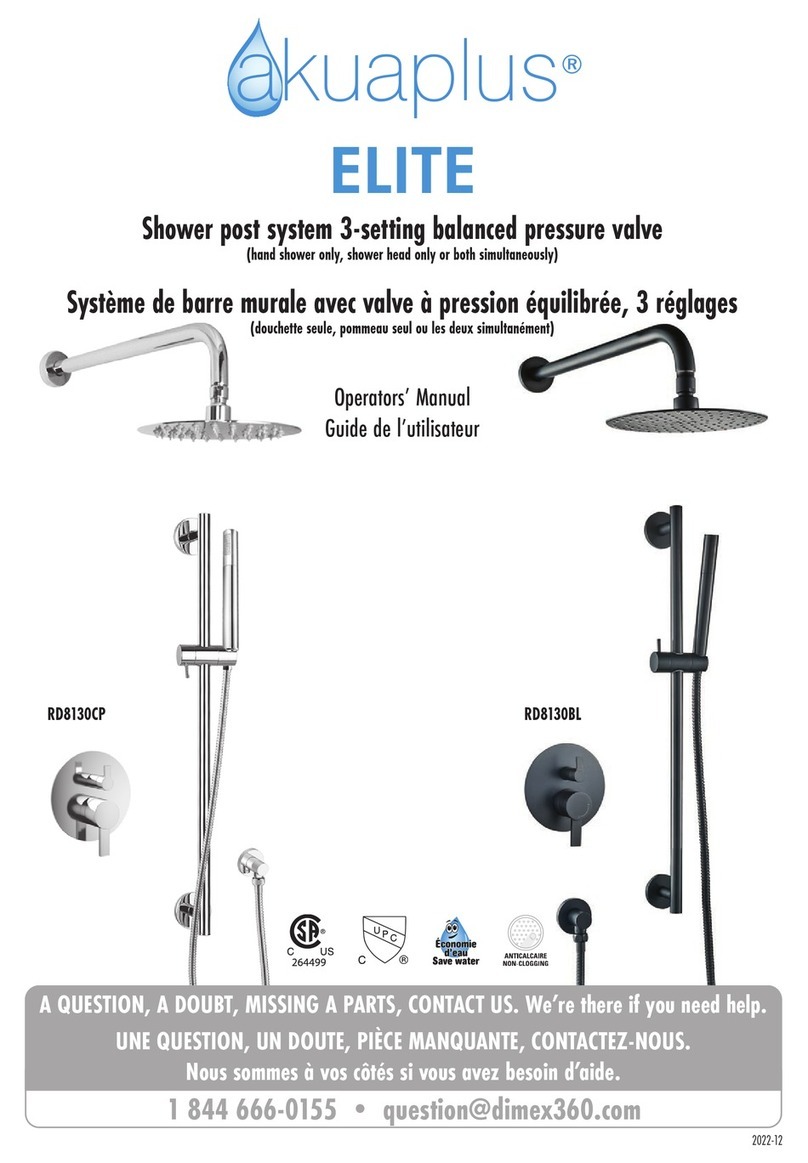
Akuaplus ELITE RD8130CP User manual

Akuaplus

Akuaplus ELITE RD8130CP User manual

Akuaplus ELITE 2 Instruction Manual

Akuaplus

Akuaplus ELITE 2 Instruction Manual

Akuaplus CLAUDIA RM5110CP User manual

Akuaplus

Akuaplus CLAUDIA RM5110CP User manual

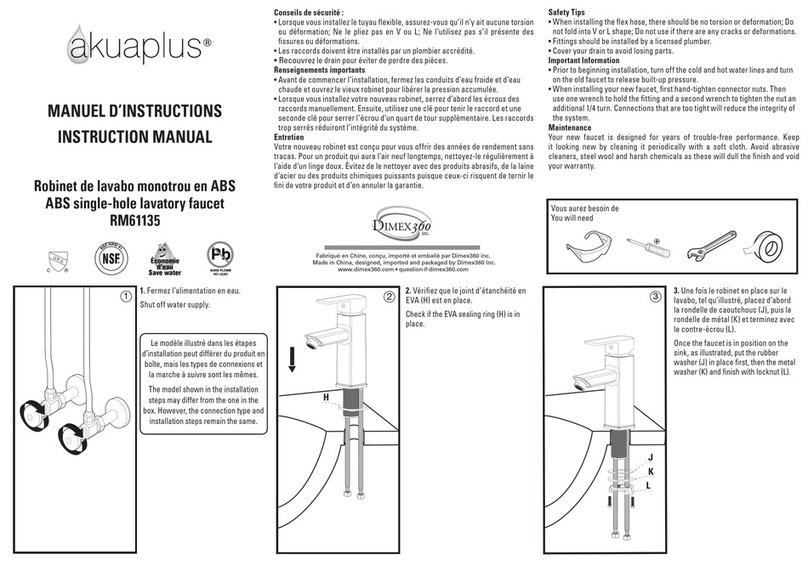
Akuaplus RM61135 User manual

Akuaplus

Akuaplus RM61135 User manual

Popular Plumbing Product manuals by other brands

Olympia TUTTO EVO TUT220101 Installation and Maintenance

Olympia

Olympia TUTTO EVO TUT220101 Installation and Maintenance

RH MARBUZET quick start guide

RH

RH MARBUZET quick start guide

Sanela 93230 Mounting instructions

Sanela

Sanela 93230 Mounting instructions

American Standard Pressure Balance Bath/Shower Fitting R127 Specification sheet

American Standard

American Standard Pressure Balance Bath/Shower Fitting R127 Specification sheet

Franke AQUACONTACT AQCT0029 Installation and operating instructions

Franke

Franke AQUACONTACT AQCT0029 Installation and operating instructions

Heritage Bathrooms Glastonbury TGRC00 Installation instructions and user guide

Heritage Bathrooms

Heritage Bathrooms Glastonbury TGRC00 Installation instructions and user guide

Franke FFP 1100 Series installation guide

Franke

Franke FFP 1100 Series installation guide

Gessi RETTANGOLO K 53084 manual

Gessi

Gessi RETTANGOLO K 53084 manual

Axor Brushed Nickel 10313821 Specification sheet

Axor

Axor Brushed Nickel 10313821 Specification sheet

Elkay Pacemaker PSLVR1917 Specifications

Elkay

Elkay Pacemaker PSLVR1917 Specifications

Spectrum Brands Pfister Vorena 806-VO Quick installation guide

Spectrum Brands

Spectrum Brands Pfister Vorena 806-VO Quick installation guide

Hans Grohe Locarno 110 04810 0 Series Installation/User Instructions/Warranty

Hans Grohe

Hans Grohe Locarno 110 04810 0 Series Installation/User Instructions/Warranty

Axor Terrano 37028001 Specification sheet

Axor

Axor Terrano 37028001 Specification sheet

Soojee ZJ-BG7001 Product Instruction

Soojee

Soojee ZJ-BG7001 Product Instruction

Hans Grohe AXOR Starck 10411 Series manual

Hans Grohe

Hans Grohe AXOR Starck 10411 Series manual

BELLOSTA steli classici 0513/4 installation instructions

BELLOSTA

BELLOSTA steli classici 0513/4 installation instructions

Grohe 37 021 manual

Grohe

Grohe 37 021 manual

American Standard Reminiscence Countertop Sink 0511.100 Specifications

American Standard

American Standard Reminiscence Countertop Sink 0511.100 Specifications

manuals.online logo
manuals.online logoBrands
  • About & Mission
  • Contact us
  • Privacy Policy
  • Terms and Conditions

Copyright 2025 Manuals.Online. All Rights Reserved.