manuals.online logo
Brands
  1. Home
  2. •
  3. Brands
  4. •
  5. Akuaplus
  6. •
  7. Plumbing Product
  8. •
  9. Akuaplus RM61135 User manual

Akuaplus RM61135 User manual

Conseils de sécurité :
• Lorsque vous installez le tuyau flexible, assurez-vous qu’il n’y ait aucune torsion
ou déformation; Ne le pliez pas en V ou L; Ne l’utilisez pas s’il présente des
fissures ou déformations.
• Les raccords doivent être installés par un plombier accrédité.
•
Recouvre
z le drain pour éviter de perdre des pièces.
Renseignements importants
• Avant de commencer l’installation, fermez les conduits d’eau froide et d’eau
chaude et ouvrez le vieux robinet pour libérer la pression accumulée.
• Lorsque vous installez votre nouveau robinet, serrez d’abord les écrous des
raccords manuellement. Ensuite, utilisez une clé pour tenir le raccord et une
seconde clé pour serrer l’écrou d’un quart de tour supplémentaire. Les raccords
trop serrés réduiront l’intégrité du système.
Entretien
Votre nouveau robinet est conçu pour vous offrir des années de rendement sans
tracas. Pour un produit qui aura l’air neuf longtemps, nettoyez-le régulièrement à
l’aide d’un linge doux. Évitez de le nettoyer avec des produits abrasifs, de la laine
d’acier ou des produits chimiques puissants puisque ceux-ci risquent de ternir le
fini de votre produit et d’en annuler la garantie.
A
B
C
E
F
G
H
J
K
L
N
O
P
R
Q
D
M
OUVERT
OPEN
FERMÉ
CLOSE
EAU CHAUDE
HOT WATER
EAU FROIDE
COLD WATER
DROITE
RIGHT
GAUCHE
LEFT
H
J
K
L
EAU CHAUDE
HOT WATER
EAU FROIDE
COLD WATER
4-1
EAU CHAUDE
HOT WATER
EAU FROIDE
COLD WATER
5-1
P
R
Q
2
3
7
4
1
65
A
B
C
E
F
G
H
J
K
L
N
O
P
R
Q
D
M
OUVERT
OPEN
FERMÉ
CLOSE
EAU CHAUDE
HOT WATER
EAU FROIDE
COLD WATER
DROITE
RIGHT
GAUCHE
LEFT
H
J
K
L
EAU CHAUDE
HOT WATER
EAU FROIDE
COLD WATER
4-1
EAU CHAUDE
HOT WATER
EAU FROIDE
COLD WATER
5-1
P
R
Q
2
3
7
4
1
65
1.
Fermez l’alimentation en eau.
Shut off water supply.
2. Vérifiez que le joint d’étanchéité en
EVA (H) est en place.
Check if the EVA sealing ring (H) is in
place.
3. Une fois le robinet en place sur le
lavabo, tel qu’illustré, placez d’abord
la rondelle de caoutchouc (J), puis la
rondelle de métal (K) et terminez avec
le contre-écrou (L).
Once the faucet is in position on the
sink, as illustrated, put the rubber
washer (J) in place first, then the metal
washer (K) and finish with locknut (L).
A
B
C
E
F
G
H
J
K
L
N
O
P
R
Q
D
M
OUVERT
OPEN
FERMÉ
CLOSE
EAU CHAUDE
HOT WATER
EAU FROIDE
COLD WATER
DROITE
RIGHT
GAUCHE
LEFT
H
J
K
L
EAU CHAUDE
HOT WATER
EAU FROIDE
COLD WATER
4-1
EAU CHAUDE
HOT WATER
EAU FROIDE
COLD WATER
5-1
P
R
Q
2
3
7
4
1
65
A
B
C
E
F
G
H
J
K
L
N
O
P
R
Q
D
M
OUVERT
OPEN
FERMÉ
CLOSE
EAU CHAUDE
HOT WATER
EAU FROIDE
COLD WATER
DROITE
RIGHT
GAUCHE
LEFT
H
J
K
L
EAU CHAUDE
HOT WATER
EAU FROIDE
COLD WATER
4-1
EAU CHAUDE
HOT WATER
EAU FROIDE
COLD WATER
5-1
P
R
Q
2
3
7
4
1
65
Vous aurez besoin de
You will need
Safety Tips
• When installing the flex hose, there should be no torsion or deformation; Do
not fold into V or L shape; Do not use if there are any cracks or deformations.
• Fittings should be installed by a licensed plumber.
• Cover your drain to avoid losing parts.
Important Information
• Prior to beginning installation, turn off the cold and hot water lines and turn
on the old faucet to release built-up pressure.
• When installing your new faucet, first hand-tighten connector nuts. Then
use one wrench to hold the fitting and a second wrench to tighten the nut an
additional 1/4 turn. Connections that are too tight will reduce the integrity of
the system.
Maintenance
Your new faucet is designed for years of trouble-free performance. Keep
it looking new by cleaning it periodically with a soft cloth. Avoid abrasive
cleaners, steel wool and harsh chemicals as these will dull the finish and void
your warranty.
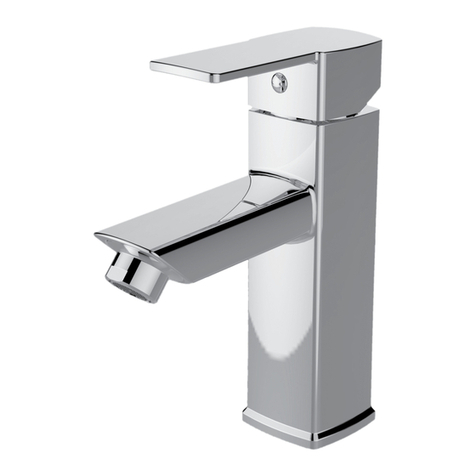
Robinet de lavabo monotrou en ABS
ABS single-hole lavatory faucet
RM61135
MANUEL D’INSTRUCTIONS
INSTRUCTION MANUAL
Le modèle illustré dans les étapes
d’installation peut différer du produit en
boîte, mais les types de connexions et
la marche à suivre sont les mêmes.
The model shown in the installation
steps may differ from the one in the
box. However, the connection type and
installation steps remain the same.
N
S
F
/
A
N
S
I
6
1
®
NSF
Fabriqué en Chine, conçu, importé et emballé par Dimex360 inc.
Made in China, designed, imported and packaged by Dimex360 Inc.
www.dimex360.com • [email protected]
A
B
C
E
F
G
H
J
K
L
N
O
P
R
Q
D
M
OUVERT
OPEN
FERMÉ
CLOSE
EAU CHAUDE
HOT WATER
EAU FROIDE
COLD WATER
DROITE
RIGHT
GAUCHE
LEFT
H
J
K
L
EAU CHAUDE
HOT WATER
EAU FROIDE
COLD WATER
4-1
EAU CHAUDE
HOT WATER
EAU FROIDE
COLD WATER
5-1
P
R
Q
2
3
7
4
1
65
A
B
C
E
F
G
H
J
K
L
N
O
P
R
Q
D
M
OUVERT
OPEN
FERMÉ
CLOSE
EAU CHAUDE
HOT WATER
EAU FROIDE
COLD WATER
DROITE
RIGHT
GAUCHE
LEFT
H
J
K
L
EAU CHAUDE
HOT WATER
EAU FROIDE
COLD WATER
4-1
EAU CHAUDE
HOT WATER
EAU FROIDE
COLD WATER
5-1
P
R
Q
2
3
7
4
1
6
5
A
B
C
E
F
G
H
J
K
L
N
O
P
R
Q
D
M
OUVERT
OPEN
FERMÉ
CLOSE
EAU CHAUDE
HOT WATER
EAU FROIDE
COLD WATER
DROITE
RIGHT
GAUCHE
LEFT
H
J
K
L
EAU CHAUDE
HOT WATER
EAU FROIDE
COLD WATER
4-1
EAU CHAUDE
HOT WATER
EAU FROIDE
COLD WATER
5-1
P
R
Q
2
3
7
4
1
6
5
4. Vissez le contre-écrou manuellement
et, à l’aide d’un tournevis, serrez les vis
fermement.
Raccordez maintenant les boyaux
d’alimentation en acier inoxydable
tressé à vos valves d’alimentation
(non incluses). Voir figure 4-1. Serrez
manuellement et serrez d’un quart de
tour supplémentaire à l’aide d’une clé
appropriée. Assurez-vous de ne pas
endommager les raccords tressés.
Screw the locknut thightly by hand and,
using a screwdriver, fasten the screws
tightly.
Then connect the braided stainless
steel hoses to your supply valves(not
included). See figure 4-1. Tighten by
hand and add another 1/4 turn using an
appropriate wrench. Be careful not to
damage the braided hoses.
5. Vérification des raccordements
ATTENTION: Retirez l’aérateur
manuellement.
- Vérifiez l’étanchéité des raccords en
ouvrant lentement l’alimentation d’eau.
En cas de fuite, coupez l’alimentation puis
serrez les raccords avec l’outil approprié.
- Ouvrez le robinet pendant au moins une
minute afin d’évacuer l’air emprisonné
dans la tuyauterie.
- Installez de l’aérateur tel qu’illustré et
vissez-le à la main dans le bec du robinet.
Testing connections
WARNING: By hand, remove aerator
before testing connections.
- Check that there are no leaks by slowly
opening the water supply. In case of a
leak, shut off the water supply and tighten
connectors with the appropriate tool.
- Turn on the faucet and leave the
water running for at least one minute to
evacuate the air trapped in the pipes.
- Install the aerator: Assemble the aerator
as illustrated and insert into the spout,
tightening by hand.
2”1/8
54 mm 20”7/8
531 mm
Max.1”3/4
45 mm
40°
87°
3”15/16
100 mm 4”9/16
116 mm
25°
7”3/4
197 mm
9”1/8
231 mm
M32
1”1/2
38 mm
A Poignée à levier/Lever handle
B Garniture d’écrou/Trim cap
C Joint torique/O-ring
D Écrou de la cartouche/Cartridge locknut
E Cartouche en céramique/Ceramic cartridge
F Corps du robinet/Faucet body
G Capuchon de caoutchouc/Rubber cap
H
joint d’étanchéité en EVA
/
EVA sealing ring
J Rondelle de caoutchouc/Rubber washer
K Rondelle de métal/ Metal washer
L Contre-écrou/Locknut
M Boyaux d’alimentation en acier inoxydable tressé (2)/
Stainless steel braided supply hoses (2)
N Capuchon de finition/Finishing cap
O Vis Allen/Allen screw
P Joint torique/O-ring
Q Aérateur/Aerator
R Garniture de l’aérateur/Aerator cap
A
B
C
E
F
G
H
J
K
L
N
O
P
R
Q
D
M
OUVERT
OPEN
FERMÉ
CLOSE
EAU CHAUDE
HOT WATER
EAU FROIDE
COLD WATER
DROITE
RIGHT
GAUCHE
LEFT
H
J
K
L
EAU CHAUDE
HOT WATER
EAU FROIDE
COLD WATER
4-1
EAU CHAUDE
HOT WATER
EAU FROIDE
COLD WATER
5-1
P
R
Q
2
3
7
4
1
65
LIMITED WARRANTY
Thank you for purchasing an akuaplus® product.
This product was designed to meet high-quality
standards and comes with a limited lifetime warranty
on cartridge and 5 years against manufacturing defect
after the date of purchase. Product purchased for
commercial use come with a 1 year limited warranty
as of the date of purchase. In case of part failure
during the warranty period, we will send you a new
part free of charge provided that the product was
properly installed and used in a normal way. To get
replacement parts, contact Customer Service. The
customer who purchased the product must include a
proof of purchase (original sales slip) with any claim
under the warranty. This product is guaranteed if
used in a normal way and the warranty only applies to
the original buyer. Any warranty becomes void if the
product was used in a non-recommended way or has
been abused. akuaplus® is not responsible for labor
costs, injuries or any loss or damage incurred during
installation, repair or replacement of the product,
including any consequential or indirect damage.
Customer service, monday to friday
8AM to 4:30PM EST: 1 844 666-0155
GARANTIE LIMITÉE
Merci d’avoir acheté un produit akuaplus®. Ce
produit a été conçu pour répondre à des normes de
haute qualité très strictes et est garantie à vie limitée
pour les cartouches et 5 ans contre tout défaut de
fabrication suivant la date d’achat. Le produit acheté à
une fin commerciale bénéficient d’une garantie limitée
de 1 an à compter de la date d’achat. Dans le cas où
une pièce ferait défaut durant la période de garantie,
nous vous l’enverrons sans frais pourvu que le produit
ait été installé et utilisé dans des conditions normales.
Les pièces de remplacement peuvent être obtenues
en communiquant directement avec le service à la
clientèle. Une preuve d’achat (reçu original d’achat)
du consommateur qui a acheté le produit doit
accompagner toute réclamation de garantie.
Ce produit est garanti si utilisé de façon normale et
cette garantie est valide pour le premier acheteur
seulement. Toute garantie est invalide si le produit
a été utilisé de façon non recommandée ou s’il
a fait l’objet de négligence. akuaplus® n’est pas
responsable des frais de main d’œuvre, des blessures
ou de toute autre perte ou de tout dommage
subi pendant l’installation, les réparations ou le
remplacement, incluant tout dommage consécutif ou
indirect.
Service à la clientèle, lundi au vendredi,
8 h 00 à 16 h 30 HNE : 1 844 666-0155

Other Akuaplus Plumbing Product manuals

Akuaplus ELITE RD8130CP User manual

Akuaplus

Akuaplus ELITE RD8130CP User manual

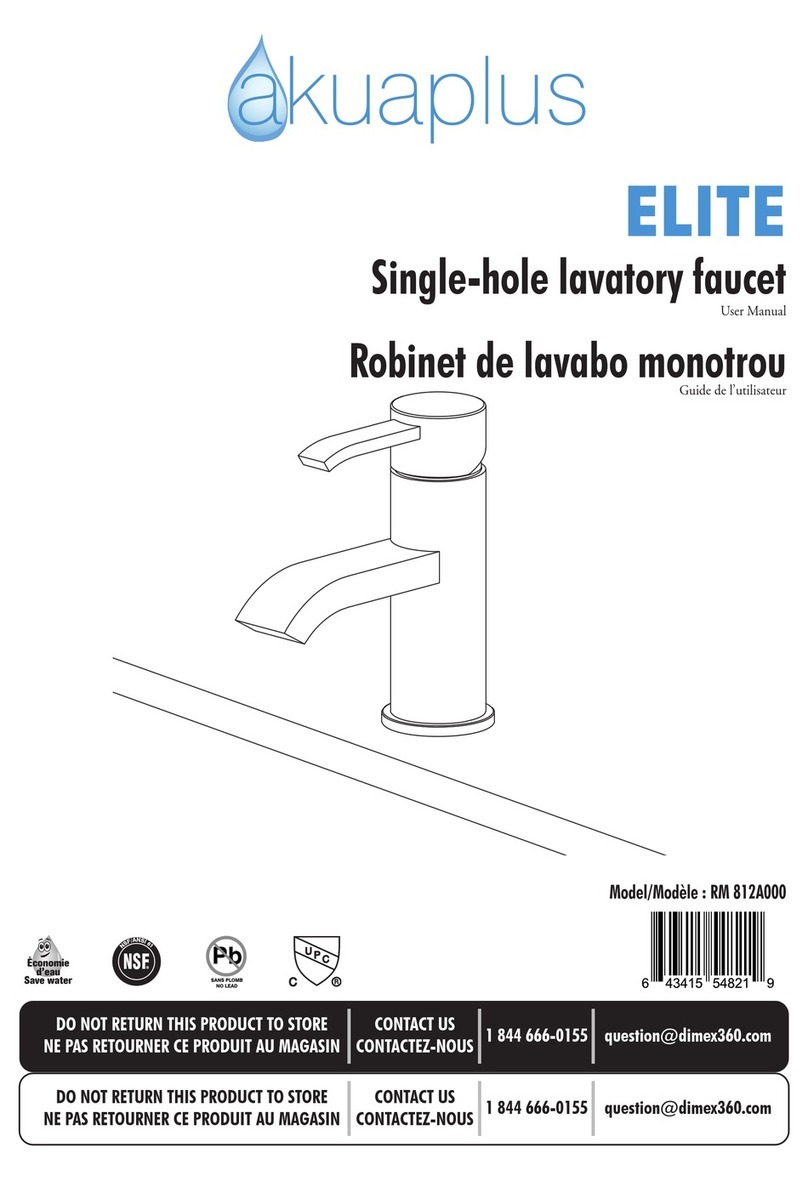
Akuaplus ELITE RM 812A000 User manual

Akuaplus

Akuaplus ELITE RM 812A000 User manual

Akuaplus ELITE 2 RDM 8077222 User manual

Akuaplus

Akuaplus ELITE 2 RDM 8077222 User manual

Akuaplus ELITE RB 812R000 User manual

Akuaplus

Akuaplus ELITE RB 812R000 User manual

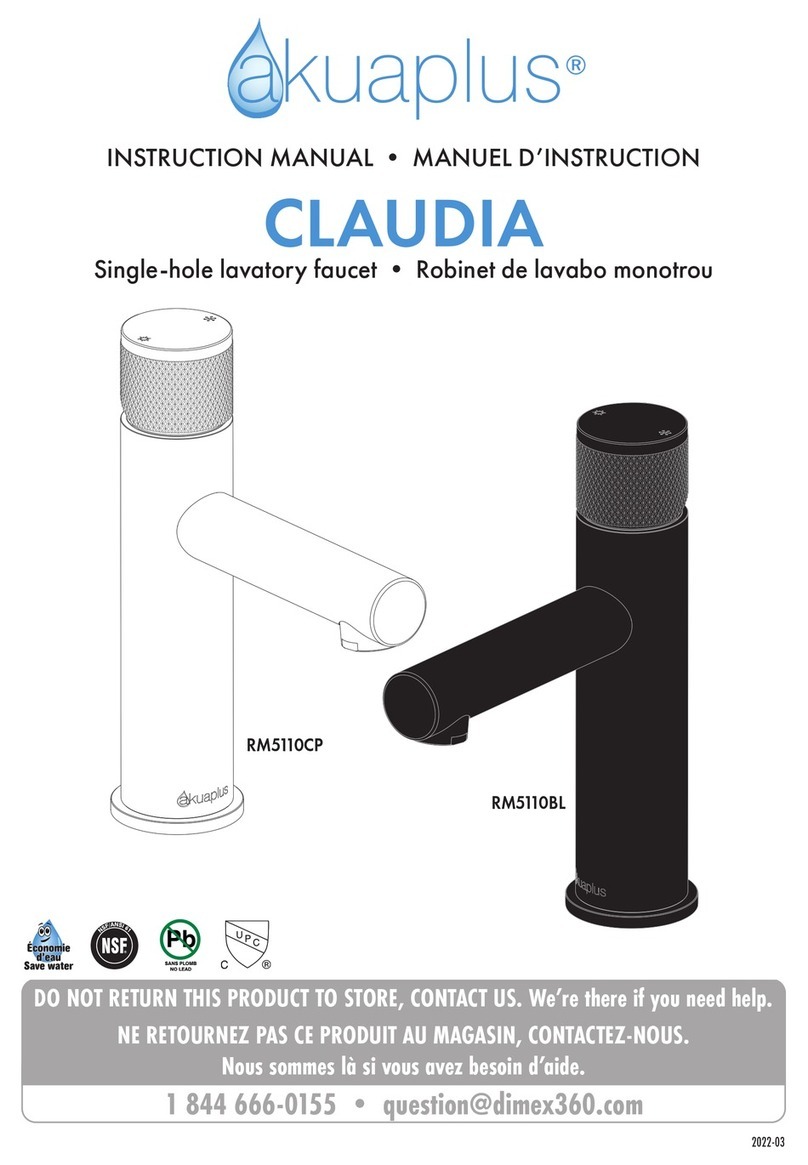
Akuaplus CLAUDIA RM5110CP User manual

Akuaplus

Akuaplus CLAUDIA RM5110CP User manual

Akuaplus SLD31201 User manual

Akuaplus

Akuaplus SLD31201 User manual

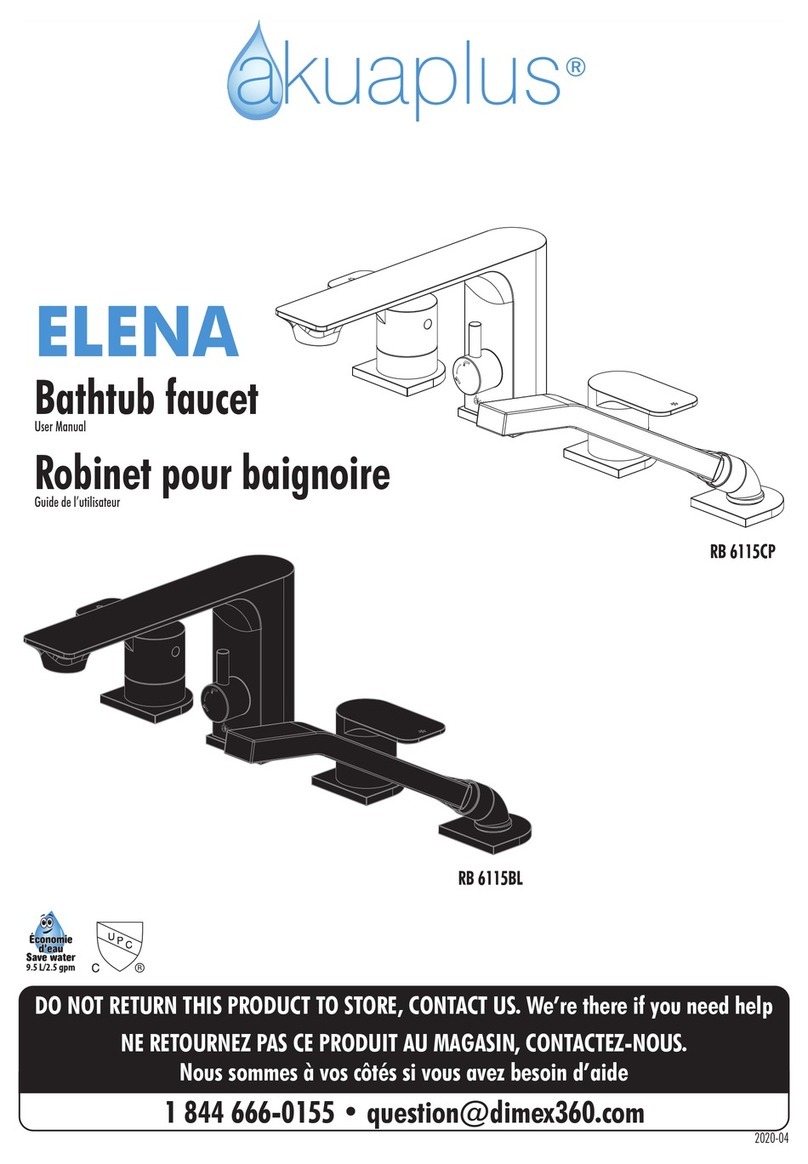
Akuaplus ELENA RB 6115CP User manual

Akuaplus

Akuaplus ELENA RB 6115CP User manual

Akuaplus NAYA SPB 9332 User manual

Akuaplus

Akuaplus NAYA SPB 9332 User manual

Akuaplus IRA RM08221BL User manual

Akuaplus

Akuaplus IRA RM08221BL User manual

Akuaplus ELITE 2 Instruction Manual

Akuaplus

Akuaplus ELITE 2 Instruction Manual

Akuaplus RM 802A000 User manual

Akuaplus

Akuaplus RM 802A000 User manual

Akuaplus ARIA SPM 0404 User manual

Akuaplus

Akuaplus ARIA SPM 0404 User manual

Akuaplus LILY SP M9625 User manual
Akuaplus

Akuaplus LILY SP M9625 User manual

Akuaplus RC1039CP User manual

Akuaplus

Akuaplus RC1039CP User manual

Akuaplus ELENA RM6110CP User manual

Akuaplus

Akuaplus ELENA RM6110CP User manual

Akuaplus RM61134 User manual

Akuaplus

Akuaplus RM61134 User manual

Akuaplus ANNA RC1057BL User manual

Akuaplus

Akuaplus ANNA RC1057BL User manual

Akuaplus ELITE RM 812A000 User manual

Akuaplus

Akuaplus ELITE RM 812A000 User manual

Akuaplus LIN1540 User manual

Akuaplus

Akuaplus LIN1540 User manual

Akuaplus ELITE RB 812R000 User manual

Akuaplus

Akuaplus ELITE RB 812R000 User manual

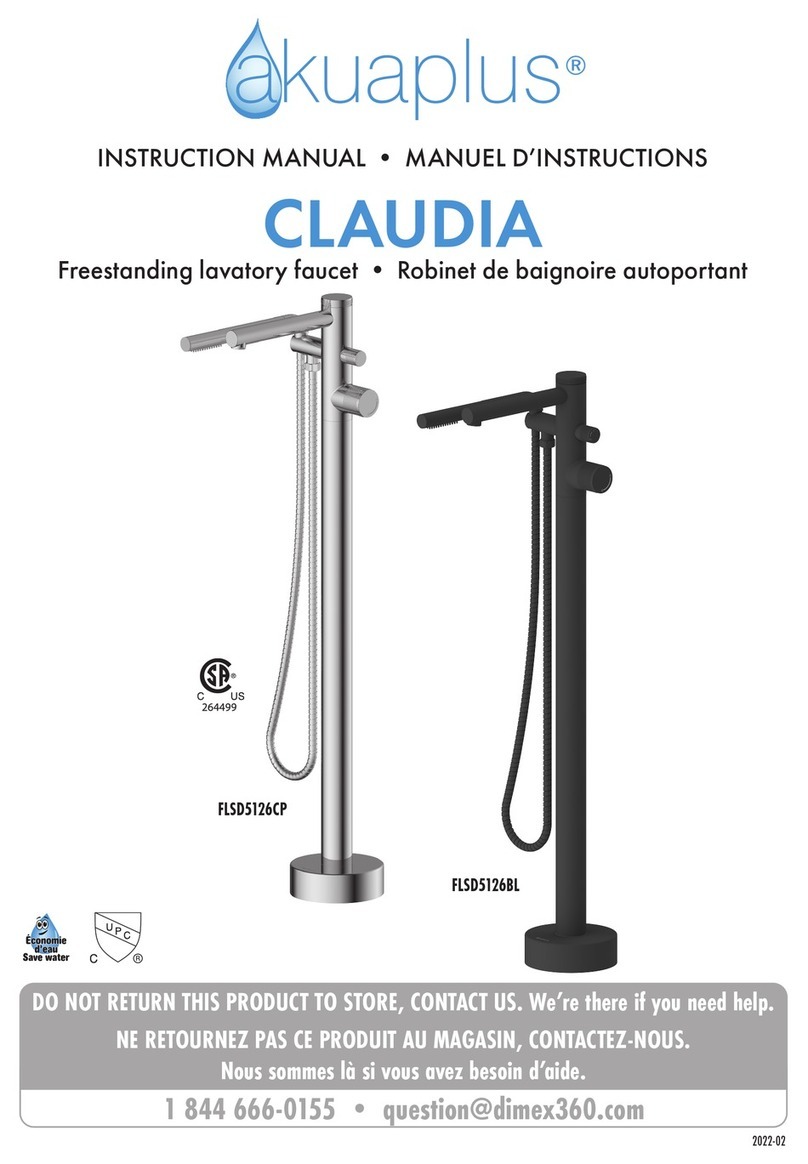
Akuaplus CLAUDIA FLSD5126CP User manual

Akuaplus

Akuaplus CLAUDIA FLSD5126CP User manual

Popular Plumbing Product manuals by other brands

Kohler K-T10278 Homeowner's guide

Kohler

Kohler K-T10278 Homeowner's guide

American Standard COLONY SOFT 2275.403 installation instructions

American Standard

American Standard COLONY SOFT 2275.403 installation instructions

Grohe Agira 20 425 instructions

Grohe

Grohe Agira 20 425 instructions

DOCOL DocolTronic 00592906 installation guide

DOCOL

DOCOL DocolTronic 00592906 installation guide

Siamp BCU 790 Assembly and maintenance manual

Siamp

Siamp BCU 790 Assembly and maintenance manual

Kohler K-7344 Installation and care guide

Kohler

Kohler K-7344 Installation and care guide

Grohe RAPID SL Technical guide

Grohe

Grohe RAPID SL Technical guide

Hans Grohe 13130 Series Assembly instructions

Hans Grohe

Hans Grohe 13130 Series Assembly instructions

Schell COMPACT INFRA Batterie 9 V 01 123 06 99 Mounting and installation instructions

Schell

Schell COMPACT INFRA Batterie 9 V 01 123 06 99 Mounting and installation instructions

Schell PURIS E 01 200 06 99 HD-K Assembly instructions

Schell

Schell PURIS E 01 200 06 99 HD-K Assembly instructions

Tres Slim Exclusive manual

Tres

Tres Slim Exclusive manual

Toto EA TX471KEAV1 quick start guide

Toto

Toto EA TX471KEAV1 quick start guide

Franke F3EV1004 Installation and operating instructions

Franke

Franke F3EV1004 Installation and operating instructions

Bradley S19-230FW Installation

Bradley

Bradley S19-230FW Installation

Kohler K-15003 installation guide

Kohler

Kohler K-15003 installation guide

Kohler K-7142 Installation and care guide

Kohler

Kohler K-7142 Installation and care guide

Kohler K-470 Installation and care guide

Kohler

Kohler K-470 Installation and care guide

Viega 8315.1 manual

Viega

Viega 8315.1 manual

manuals.online logo
manuals.online logoBrands
  • About & Mission
  • Contact us
  • Privacy Policy
  • Terms and Conditions

Copyright 2025 Manuals.Online. All Rights Reserved.