2 | P a g e
Electrical Connections
Step1. (Fig. 1) Remove the wiring box cover.
Step2. (Fig. 2) Push supply wires into “push-in” connector. Connect the
White “NEUTRAL” of the supply circuit to the white wire from the
connector. Connect the Black “HOT” wire of the supply circuit to
the red wire from the connector.
NOTE: If more than one Tile Fan is being installed in the same ceiling/
section. Connect the second Tile Fan to the connector from the
first Tile Fan and do the same with the next Tile Fan so they are
connected in series.
CAUTION; Do not exceed the Maximum amperage of the circuit
breaker.
Step3. (Fig.3) Place wire connector neatly back into wiring box making
sure all wires pass through the box cut out. Replace cover.
Test Tile Fan to make sure installation was done correctly before replacing
access ceiling tile.
REMOTE CONTROL OPERATION:
Cleaning:
CAUTION! Be sure electricity is turned off at the main fuse box or circuit breaker panel before cleaning.
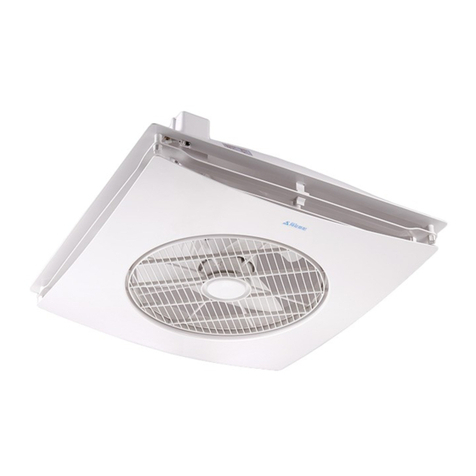
Step1. Remove airflow cap and airflow grille.
Step2. Locate the hinge on one side of the Tile Fan and remove (by hand) the two square plastic nuts located the next to it. While holding the bottom
housing, remove the remaining two square plastic nuts located on the opposite side and gently allow the bottom housing to hang. Clean off the blades
and inside the housing cover with a damp cloth and soapy water. When done simply reverse the steps.
Risk of Fire: Supply conductors (power wires) connecting the Tile Fan must be rated
minimum of 90°C. If uncertain, consult an electrician.
Risk of Electric Shock: Disconnect the power at the fuse or circuit breaker before installing or servicing.
Make certain no bare wires are exposed outside the wire connectors.
press any of the speed buttons
“HI-MED-LOW”.
●TO TURN THE AIRFLOW GRILLE On or Off
press “AIRFLOW”.
●TO TURN THE FAN OR GRILLE OFF


