M12 Taximeter User Guide. © 2016
Alberen Electronics
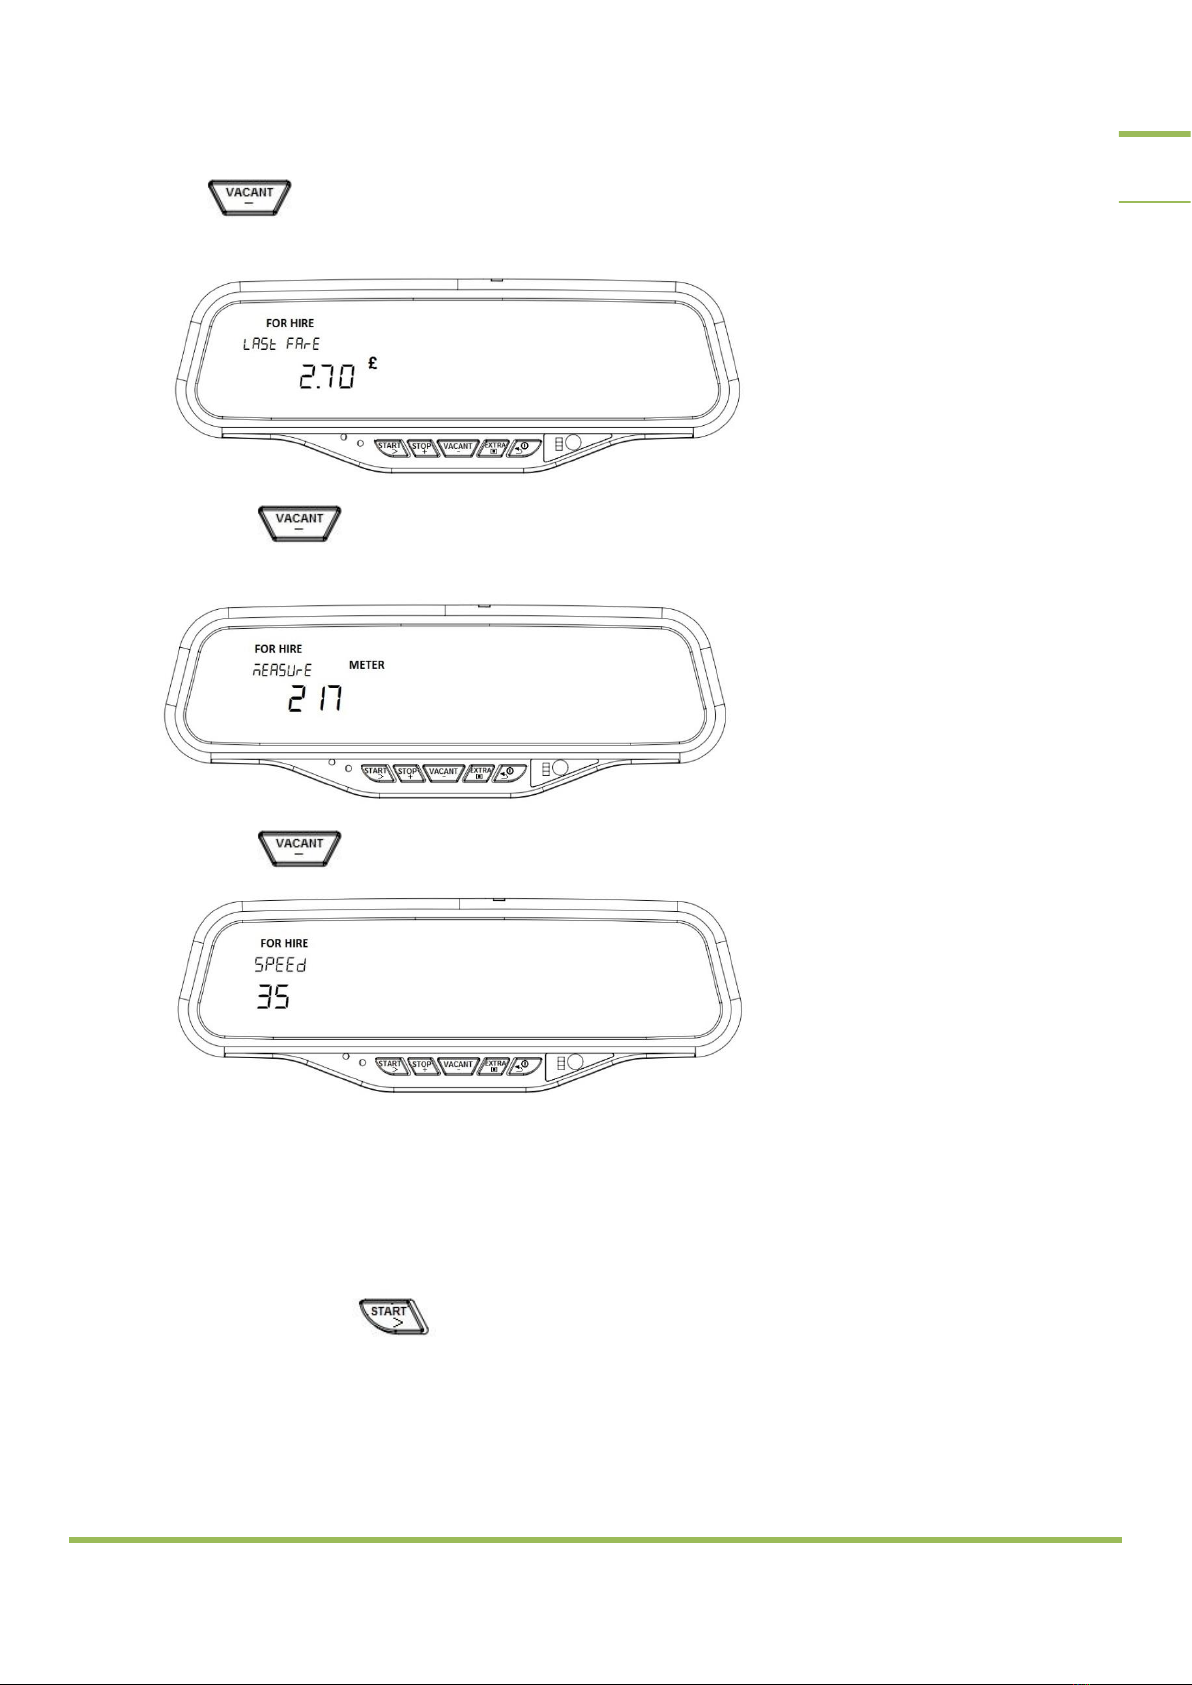
6. OPENING THE TAXIMETER
While the taximeter is turned off (there is no text on the screen);
If it is pressed to any key of the taximeter, driver selection menu is shown in upper screen. Also
shift number is shown in lower screen. When each taximeter is closed and opened, shift number is
incremented.
The driver can be changed by pressing or
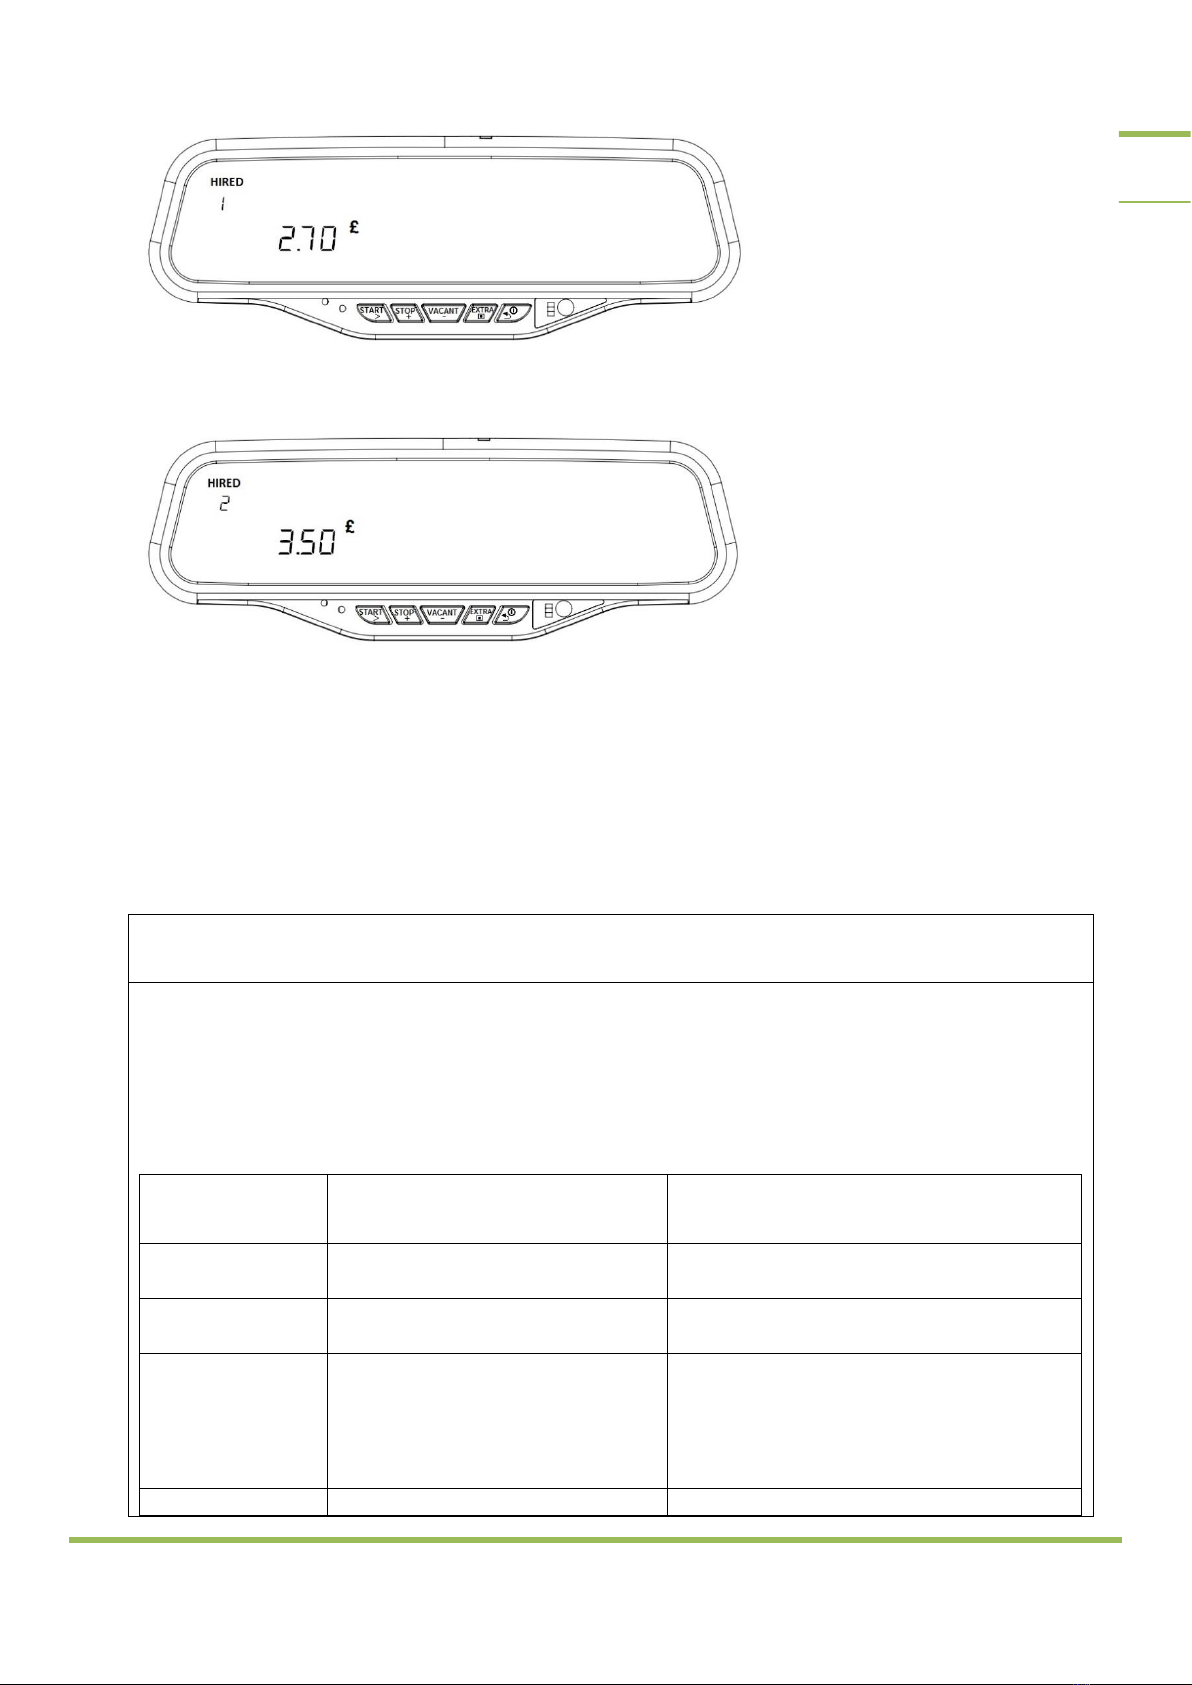
There are 3 different users (drivers) in the taximeter. 4. User is admin. Separate records for every 3
drivers are saved. Fourth user-admin can see all records.
Later, if any password is entered for the drivers, the password menu is shown in the screen after
pressed button.
4-digit password is entered using , and buttons. Later, the taximeter is
opened pressing button.
6.1. OPENING THE TAXIMETER AS ADMIN
Fourth user of the taximeter is admin. When taximeter is opened as admin, the tariff is not
opened.
It can be seen all revenue records of the 3 different drivers by admin. This records can be
printed by admin. Also they can be erased by admin.
Drivers and admin passwords can be changed by admin.