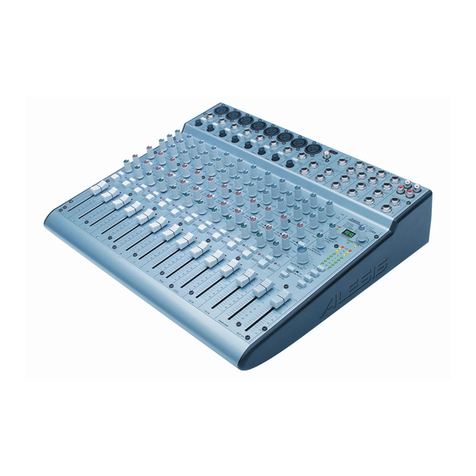
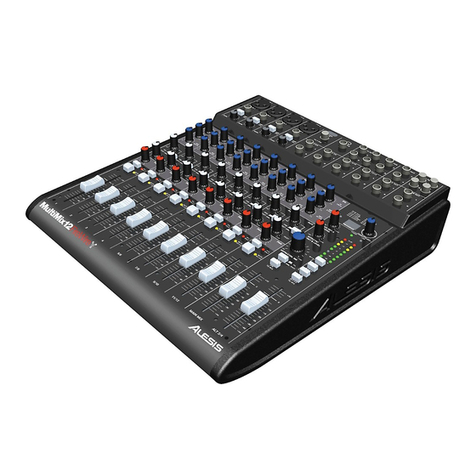
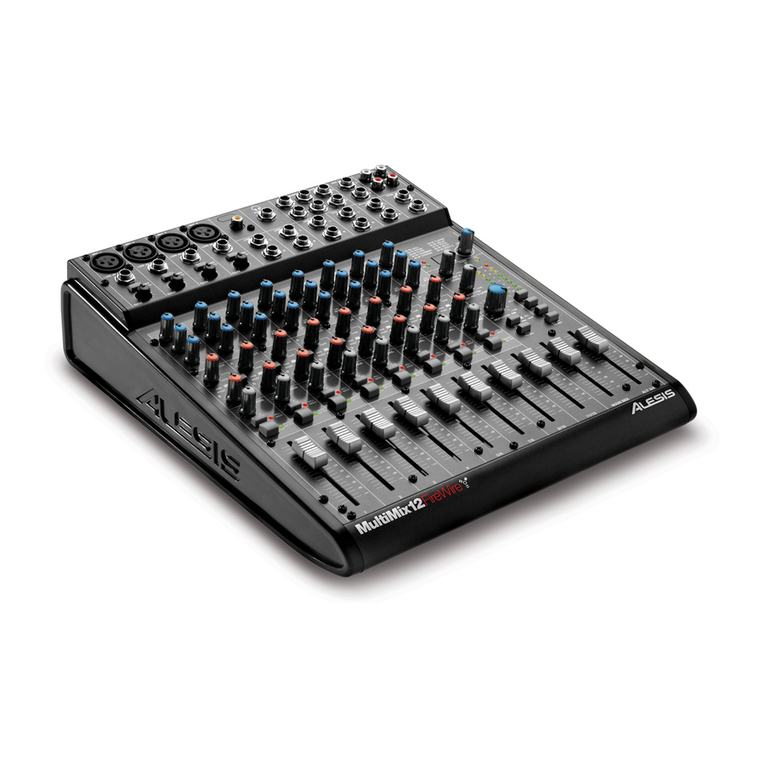
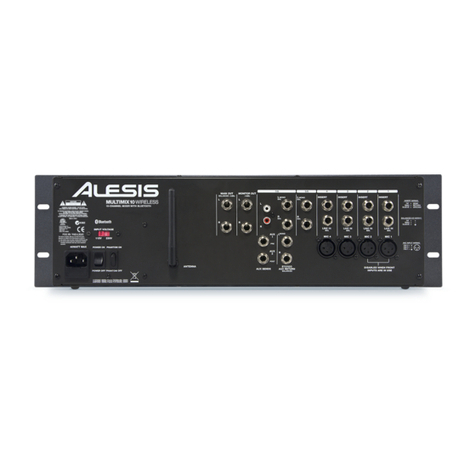
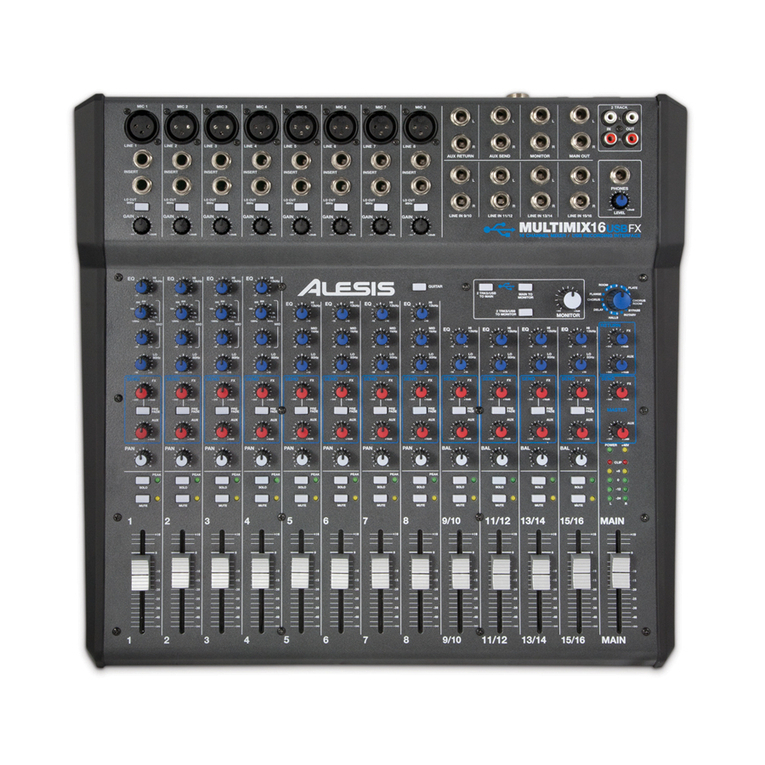
CHANNEL FEATURES
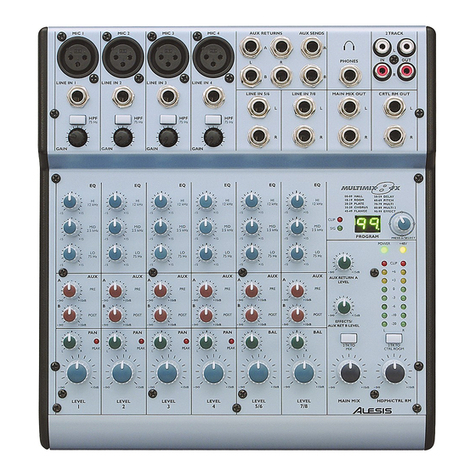
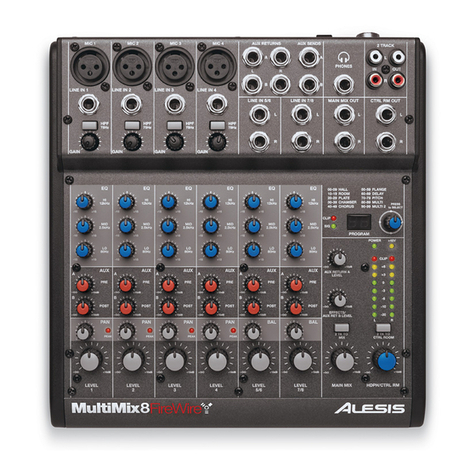
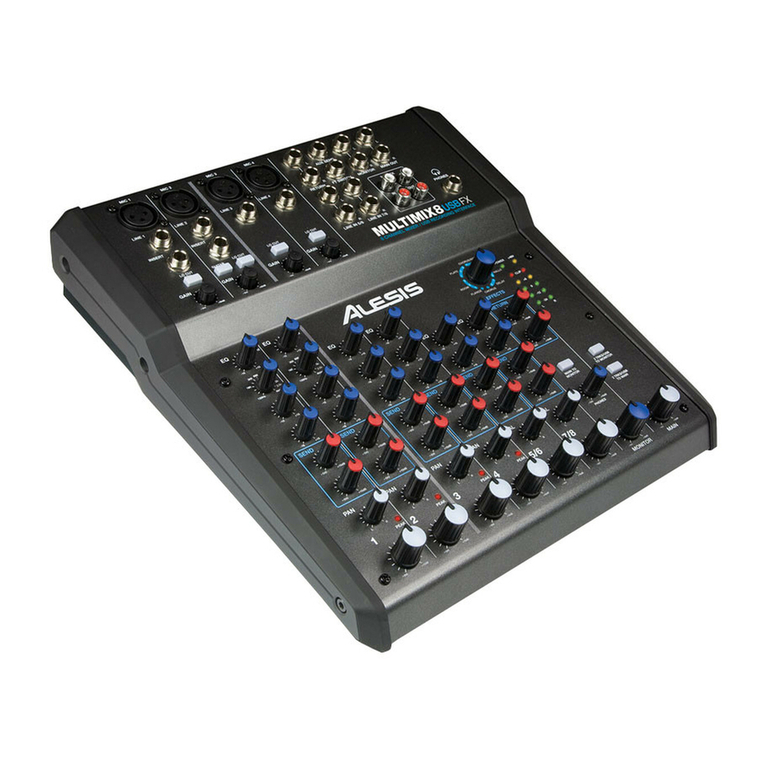
1. EQ: Boosts or cuts the respective frequencies for
each channel.
2. AUX A: Routes channel signal to an external device
like an effects processor. (PRE or POST fader
depending on switch position.
3. AUX B: Controls level routed to internal effects
processor or routes channel signal to an external
device like an effects processor.
4. PAN/BALANCE: Assigns the channel signal to
any spot in the mono or stereo spectrum.
5. PFL/SOLO: Allows the channel signal to be heard
before being affected by the fader.
6. MUTE/ALT 3/4: Mutes the channel signal heard
in the MAIN OUTPUT and routes the signal to the
ALT 3/4 OUTPUT.
7. CHANNEL FADER: Controls the signal level of
the MIC or LINE inputs.
MASTER FEATURES
Note: It is recommended that the MULTIMIX
be turned off before connecting and
disconnecting any sources to the inputs of
the unit.
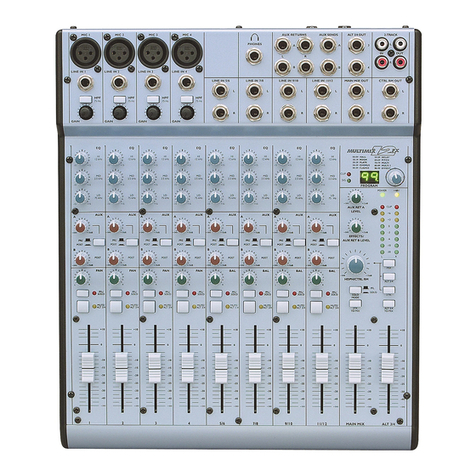
1. AUX RET A: Controls the signal level that returns
from AUX A.
2. EFFECTS/AUX RET B: Controls the signal level
of the internal effects or the level returning from
AUX B if in use.
3. HDPH/CTRL RM: Controls the level that is sent
to the PHONES or CTRL RM outputs.
4. SOLO MODE: Switches the solo’d channel signals
from pre-fader to post-fader listen.
5. 2TK TO MIX: Routes the 2TK input to the MAIN
faders.
6. MAIN MIX: Controls the level of the MAIN
OUTPUTS.
7. ALT 3/4: Controls the level of the ALT 3/4
OUTPUTS.
8. ALT 3/4 TO MIX: Routes the ALT 3/4 signal to
the MAIN MIX output.
9. 2TK SWITCH: Routes the 2TK input signal to the
HDPH /CTRL RM output.
10. ALT 3/4 SWITCH: Routes the ALT 3/4 signal to
the HDPH/CTRL RM output.
11. MIX SWITCH: Routes the MAIN MIX signal to
the HDPH/CTRL RM output.
12. LED METERS: Monitors the audio signal level.
13. +48V LED: Indicates that the PHANTOM
POWER is enabled for the MIC inputs.
S/PDIF CABLE: We recommend that you use a cable
that is specifically designed to carry a digital signal and
does not exceed 5 meters (16.4 ft) in length.
* Use only high quality cables for digital transfers*
MANUAL DE INICIO RÁPIDO PARA EL USUARIO
(ESPAÑOL)
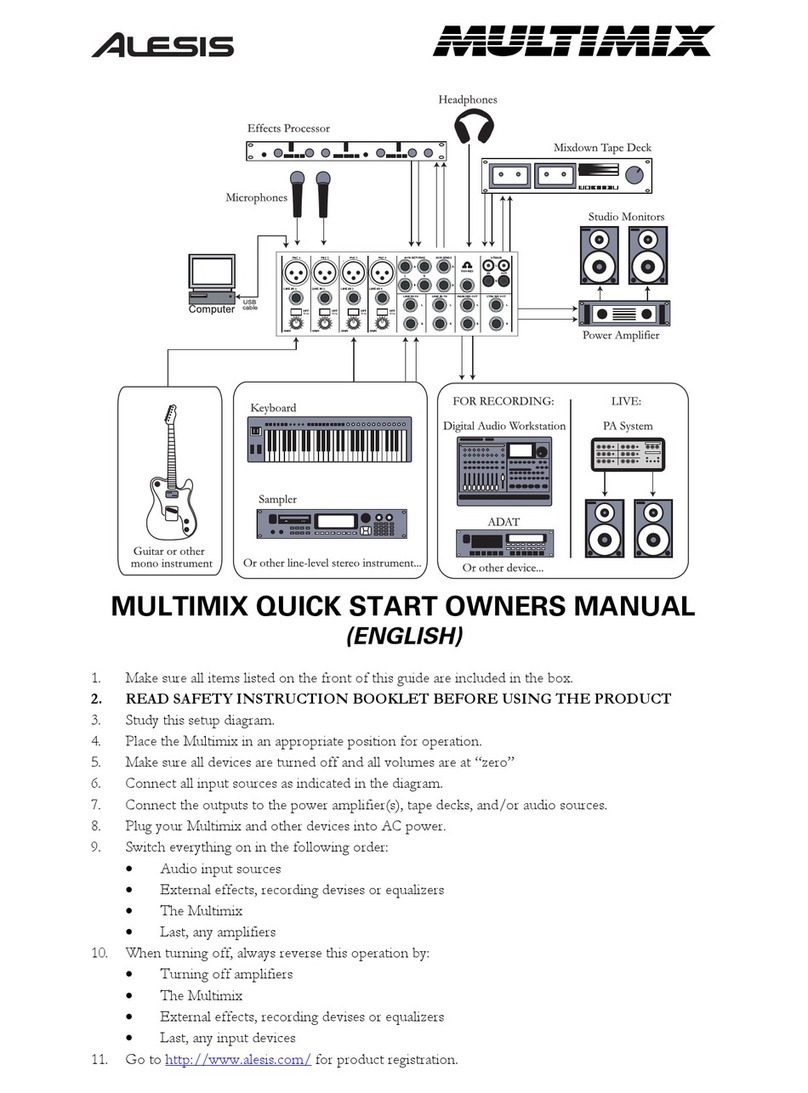
1. Asegúrese de que todos los artículos incluidos al inicio de este manual están incluidos en la
caja.
2. LEA LAS INSTRUCCIONES DEL FOLLETO DE SEGURIDAD ANTES DE
UTILIZAR EL PRODUCTO.
3. Estudie este diagrama de instalación.
4. Coloque la estación de mezclas en una posición adecuada para su funcionamiento.
5. Asegúrese de que todos los dispositivos están apagados y de que todos los volúmenes están
en posición “cero”
6. Conecte todas las fuentes de entrada como se indica en el diagrama.
7. Conecte las salidas al/los amplificador(es) de alimentación, unidades de cinta magnética y/o
otras fuentes de audio.
8. Enchufe su MultiMix y demás dispositivos al suministro de corriente alterna.
9. Prenda todo en el siguiente orden:
•Fuentes de entrada de audio
•Efectos externos, dispositivos de grabación o ecualizadores
•El MultiMix
•Por último, cualquier amplificador
10. Al apagar, realice siempre esta operación al contrario:
•Apague los amplificadores
•El MultiMix
•Efectos externos, dispositivos de grabación o ecualizadores
•Por último, cualquier dispositivo de entrada
11. Visite http://www.alesis.com/ para registrar el producto.
