manuals.online logo
Brands
  1. Home
  2. •
  3. Brands
  4. •
  5. ALGE-Timing
  6. •
  7. Transmitter
  8. •
  9. ALGE-Timing RLS1n User manual

ALGE-Timing RLS1n User manual

Version 99-02-02 Page 1
Photocell RLS1n Page 1
ALGE PHOTOCELL RLS1n
The ALGE photocell RLS1n is made with most advanced electronic. You can use the reflection
photocell RLS1n for a distance from 1 to 25 Meter. If you need a longer distance than 25
Meters you have to use the type RLS1nd, which consist of a separate transmitter and re-
ceiver photocell.
Principal:
The transmitter of the photocell sends a modulated infrared beam. The receiver controls the
infrared beam and makes an impulse for each interruption.
If transmitter and receiver is built into one case we call it reflection photocell. The infrared
beam is sent to a reflector. The function of the reflector is like a mirror, which reflexes the
beam to the receiver.
The other type of photocell (RLS1nd) has on one side a transmitter and on the other the
receiver. The infrared beam goes direct form the transmitter to the receiver.
Types of Photocells:
RLS1n: Infrared reflection photocell
RLS1nd: Infrared photocell with separate transmitter and receiver
RLS3c: Three-fold-photocell for track and field
Power Supply for the Photocell RLS1n:
+Up to 100 m cable length from the ALGE timing device by a 3-wire cable (this cable
includes the power supply and impulse line).
+Internal Alkaline battery or NiCad battery (data cable with 2 wires, distances of some
Kilometers are possible).
The internal battery supplies the RLS1n for:
Alkaline C-Cell Battery: about 40 hours NiCd C-Cell Rechargeable Battery: about 18 hours
Meter Indication:
about 1/4 in the white field: not adjusted or beam interrupted
green field: adjusted to the reflector and beam is not interrupted
Version 99-02-02 Page 2
Photocell RLS1n Page 2
Input of the battery: Press down to open
batterycompartment
Insert the battery:
Input the battery as far as possible into
the battery compartment. When closing
the cover press the battery into the
compartment.
Switch on of internal Battery:
The internal battery of the photocell RLS1n you can switch on with switch (1).
upper position = battery on lower position = battery off
Attention: If you use a battery be carefull that the battery is switched of when you do not use the photocell.
Otherwise the battery will be empty if you need the photocell the next time.
If you use no battery the switch position does not matter.
Adjustment of the Photocell RLS1n:
+Fasten the fastening-bracket for the photocell and reflector at a pole
+Screw the photocell and reflector on the fastening-bracket
+Twist the reflector toward the photocell
+Connect the cable (e.g. 001-10) at the photocell and timing device
+Turn the timing device (and photocell if intern battery) on
+Open the socket joint of the photocell (turn the yellow knob counter-clockwise)
+Aim at the reflector by using the sight on top of the photocell
+The needle of the level meter has to move as far as possible into the green field
+Close the socket joint of the photocell (turn the yellow knob clockwise)
+If you interrupt the infrared beam of the photocell you hear a beep of the timing device.
The needle of the lever moves into the white area.
min. 0,5 m
max. 25 m
Alkaline 1,5V C-Cell Battery or
NiCd 1,2V Baby Rechargeable Battery
Version 99-02-02 Page 3
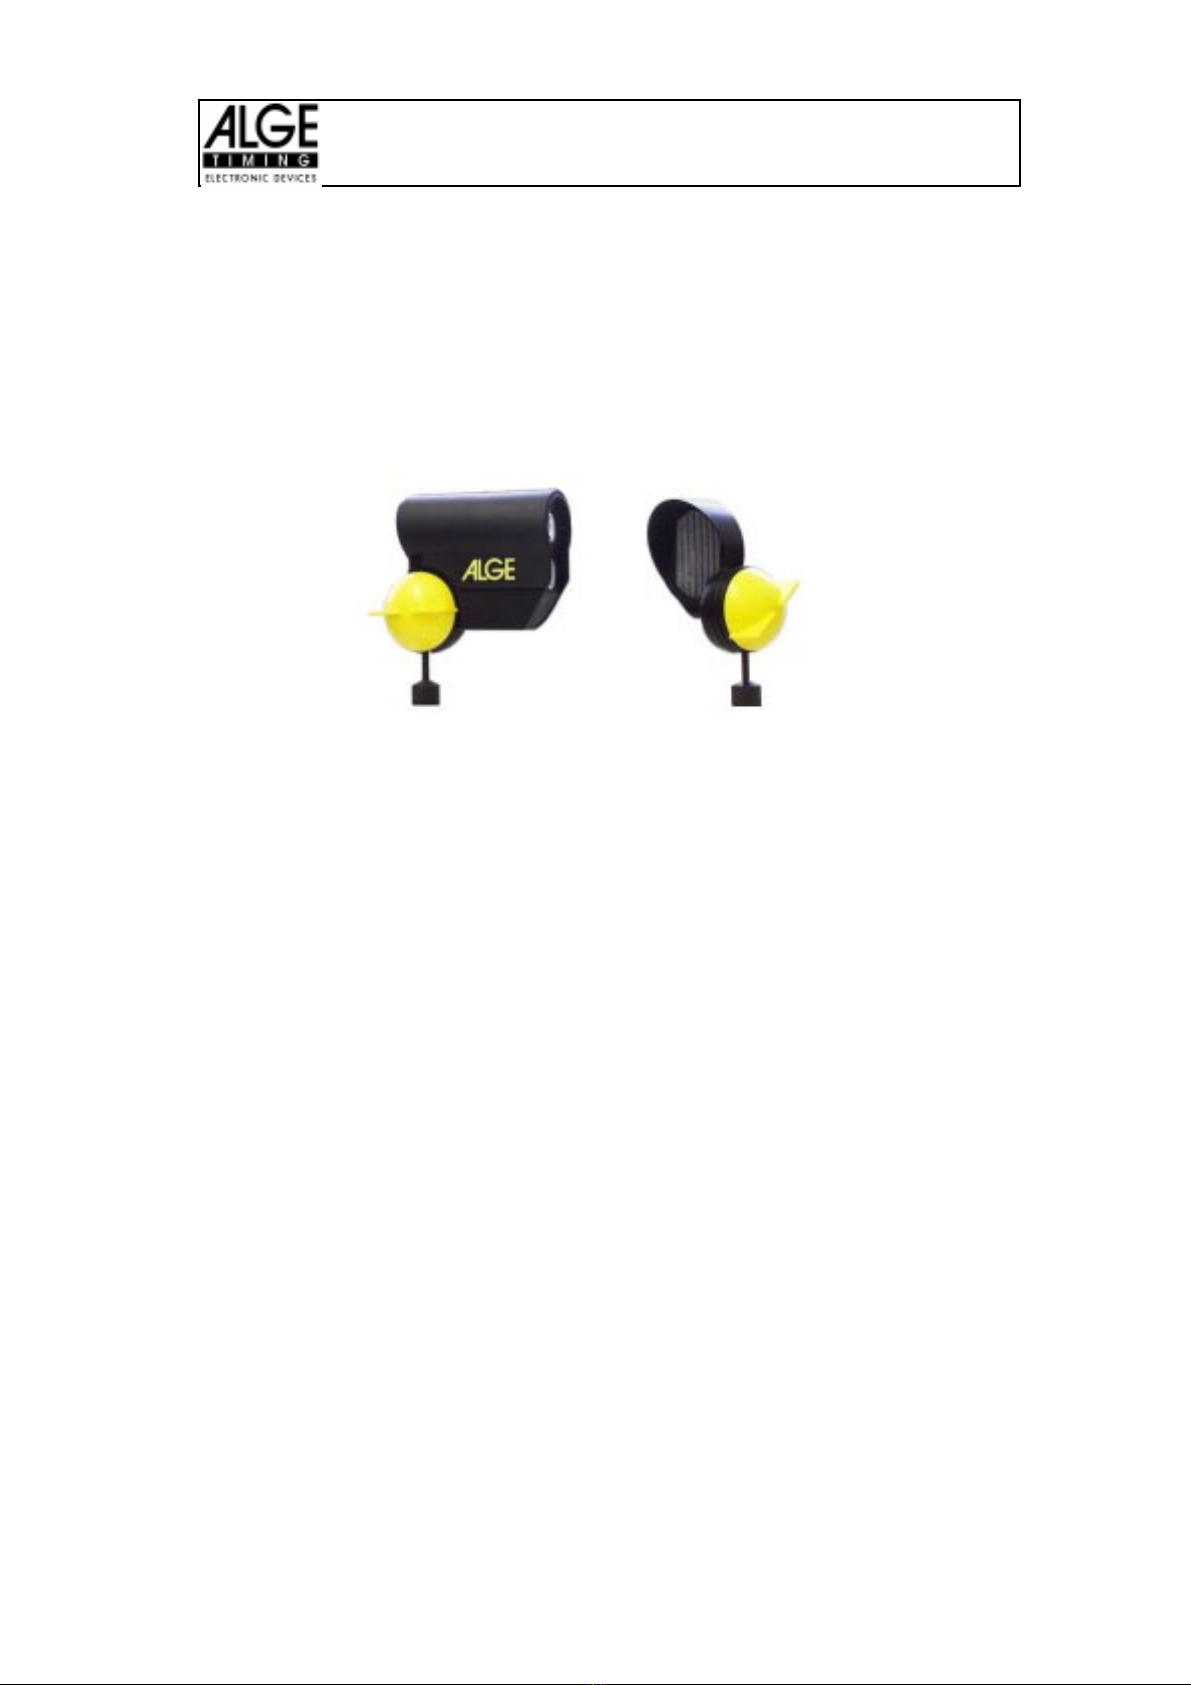
Photocell RLS1n Page 3
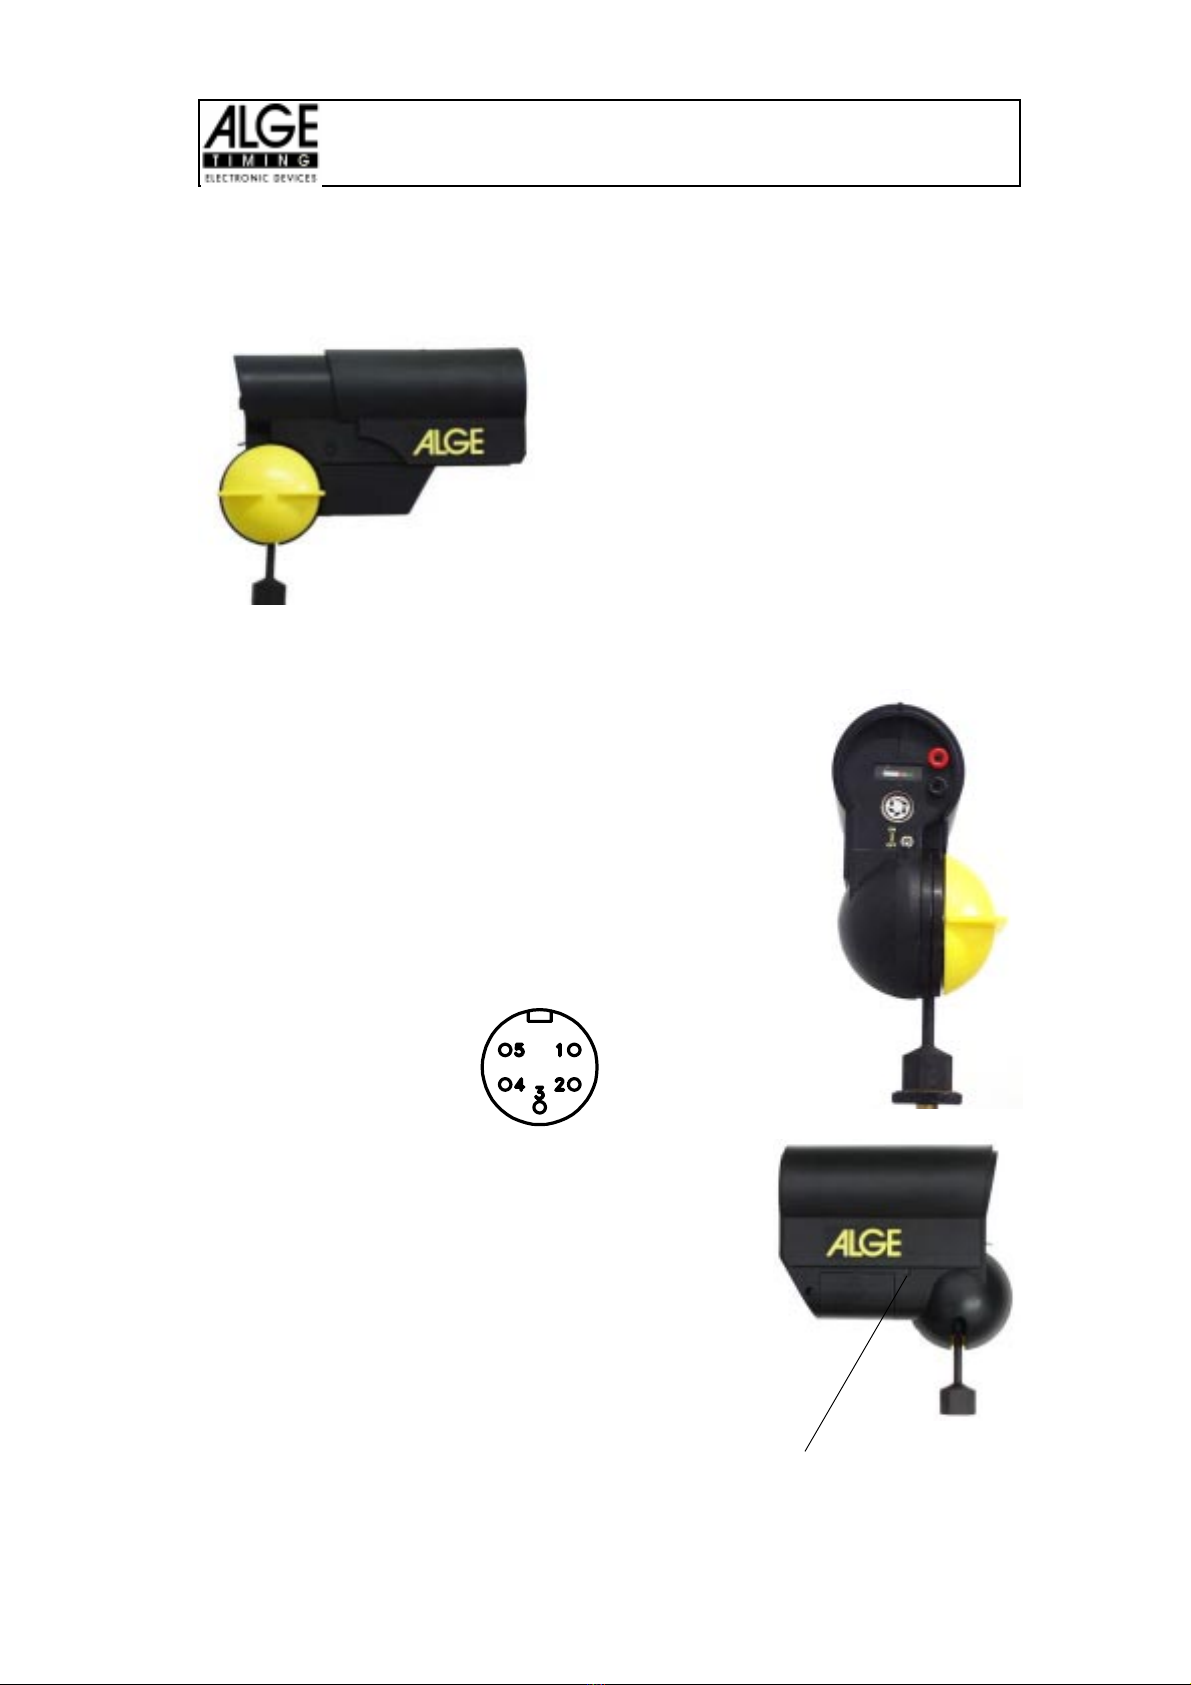
Weather Cover:
You can move out the weather cover in order to
protect the lens from snow and rain.
When using the RLS1n on a glecier please use
always the weather cover.
Please notice that the sun is not allowed to
shine direct into the lense of the photocell. This
could destroy the photocell.
Technical Data of the Photocell RLS1n:
Max. Distance: 0,5 to 25 Meter
Output: NPN transistor, open collector, active low
Reaction Time: 300 µs, 2 ms fix adjusted
Impulse length: 20 to 1400 ms adjustable
Measurements: 160 x 135 x 58 mm
Weight: 0,6 kg
Switch: on/off-switch for internal battery
DIN-Socket Pin Connection:
1 ........... Signal output
2 ........... Signal output
3 ........... 0 Volt
4 ........... empty
5 ........... +5V stabilized
Banana Socket:
red ........ signal output
black ..... 0 Volt
Power Supply: external 5 VDC stabilized
internal battery: C-Cell
Powerconsumption: when giving an impulse max. 30mA
without impulse max. 15 mA
Working Time of Photocell RLS1n with Internal Battery:
about 40 hours with alkaline battery
about 18 hours with rechargeable battery
Impulse length is adjustable from 20 to 1400 ms
(use a small screw driver)
Version 99-02-02 Page 4
Photocell RLS1n Page 4
Standard Photocell RLS1n Package:
+Transmitter and receiver in one case with:
4meter to adjust the photocell and control the power supply
4battery compartment
4DIN-socket (inpuls output and power supply)
4banana socket (impulse output)
4on-/off-switch for battery
4sight to adjust the photocell towards the reflector
4weather cover for lens
4socket joint to fasten the photocell
+Reflector with socket joint
+Fastening bracket for photocell and receiver
+Photocell cable 001-10 (10 Meter stop cable)
Optional Accessories:
+Alkaline battery, C-Cell
+NiCd rechargeable battery, C-Cell
+Tripod for photocell and reflector
+Case with foam-insert for photocell and accessories (TN 622)
+Cable reel with 300 or 500 Meter 2-core fieldtelephoneline (KT300 or KT500)
+Start cable 002-10 (standard 10 m, on request up to 100 m)
+Intermediate time cable 003-10 (standard 10 m, on request up to 100 m)
+Stop cable 001-10 (standard 10 m, on request up to 100 m)
+External battery cable 028-02 (7 to 30 V) with potential free contact
+Adapter 029: input for photocell, potential free open or close contact to connect with
other products than ALGE
+Photocell Adapter LA4 with built in speech amplifier, power supply, and on/off button
for photocell

Popular Transmitter manuals by other brands

Azbil ALTJ 9000 Series user manual

Azbil

Azbil ALTJ 9000 Series user manual

Lectronics uh200 operating instructions

Lectronics

Lectronics uh200 operating instructions

Magnetrol Jupiter JM4 Installation and operating manual

Magnetrol

Magnetrol Jupiter JM4 Installation and operating manual

Vimar Eikon quick start guide

Vimar

Vimar Eikon quick start guide

Hides HV-100E Quick installation guide

Hides

Hides HV-100E Quick installation guide

Continental Refrigerator TXN5 user manual

Continental Refrigerator

Continental Refrigerator TXN5 user manual

Aplisens APRE-2000GN user manual

Aplisens

Aplisens APRE-2000GN user manual

Energometrika EYD38 Operation manual

Energometrika

Energometrika EYD38 Operation manual

Anderson LN Quick start installation guide

Anderson

Anderson LN Quick start installation guide

RKI Instruments 65-2649XLCH44SS Operator's manual

RKI Instruments

RKI Instruments 65-2649XLCH44SS Operator's manual

extra free RNP-02 instruction manual

extra free

extra free RNP-02 instruction manual

Fresh 'N Rebel FLY-STREAM manual

Fresh 'N Rebel

Fresh 'N Rebel FLY-STREAM manual

Emerson Rosemount 5408 Reference manual

Emerson

Emerson Rosemount 5408 Reference manual

Bktel ES10L operating manual

Bktel

Bktel ES10L operating manual

ABB TTH300 Series user manual

ABB

ABB TTH300 Series user manual

Intelix AVO-V1-WP installation manual

Intelix

Intelix AVO-V1-WP installation manual

Coby CA-745 instruction manual

Coby

Coby CA-745 instruction manual

Sennheiser SK 2020-D datasheet

Sennheiser

Sennheiser SK 2020-D datasheet

manuals.online logo
manuals.online logoBrands
  • About & Mission
  • Contact us
  • Privacy Policy
  • Terms and Conditions

Copyright 2025 Manuals.Online. All Rights Reserved.