Algoma Net 6800 Installation guide

Model #6800
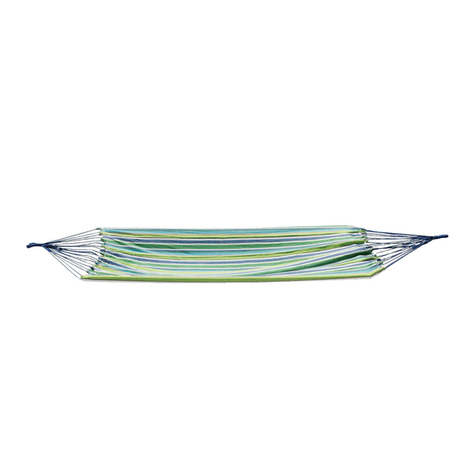
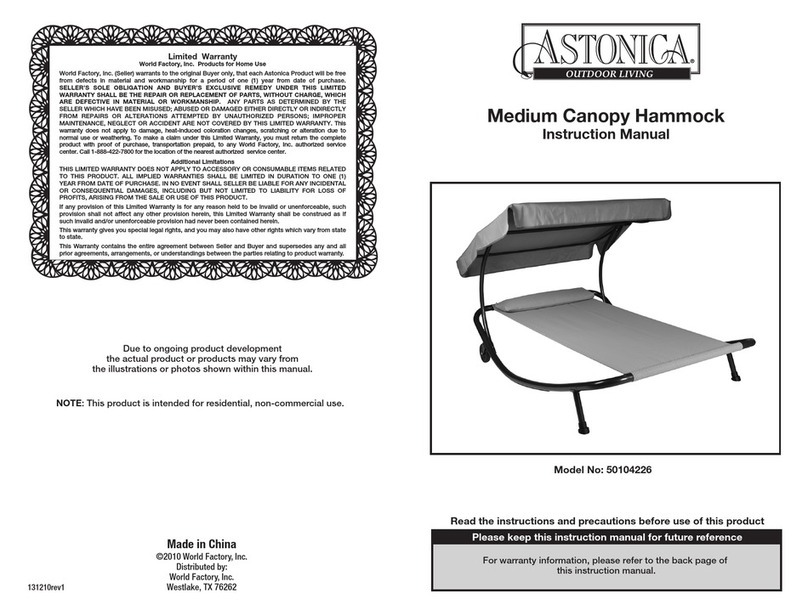
Deluxe Hammock Lounge With Canopy
Assembly & Care Instructions
Do Not Return This Item Back To
The Store.
For customer service or replacement parts, please call
800-295-6758 Monday through Friday 8am-4pm CST
or email customer service at:
customerser[email protected]
Contents
-Customer service information
-Safety, Use and Care information
-Assembly Instructions
WARNING
-Maximum weight capacity 350 lbs.
-Do not allow children to play on the
hammock lounge. It is designed for
adult lounging only.

IMPORTANT INSTRUCTIONS AND WARNINGS
WARNING
Set up
•Please read and understand this entire manual before attempting to assemble the product.
•This unit must be assembled and disassembled by adults only.
•Keep small children and pets away from hammock lounge during assembly.
•Hammock must be assembled and used on level ground. Sloping or uneven ground will put
stress on joints which could cause joints to become loose and the hammock unstable which
may result in serious injury.
Use
•Read Instructions and all accompanying literature and follow it carefully before using.
•Always inspect the hammock for proper tightness of fasteners. Loose fasteners or snap-pins
could cause the unit to malfunction causing potential collapse or injuries.
•Close adult supervision is required when children are using the hammock lounge.
•Place the hammock in a location with a minimum safe distance from open fire, electrical wires,
or any other hazard that could cause the hammock to malfunction or become damaged.
•Avoid jumping or bouncing on hammock. Enter the hammock by gently sitting then laying on
hammock bed.
•Do not exceed maximum weight limit of 350 lbs.
•Do not stand on the hammock. You could lose balance resulting in a fall and injury.
•Do not allow anyone or a pet under the hammock when it is being used.
Care and Maintenance
•Wash frame parts and fabric with mild soap and water. Rinse thoroughly and wipe frame dry
with clean towel. Allow the fabric to air dry.
•Do not use bleach, acid, or other solvents on the fabric or frame parts.
•In order to prolong the life and beauty of your hammock lounge we recommend that the
hammock lounge be stored in a dry area when not in use or during inclement weather such as
wet or rainy days.
•Check all parts before each use to assure safe and secure use.
•The manufacturer will not accept responsibility for unauthorized repair or modifications to the
hammock.
•Always remove the canopy in windy conditions, otherwise the canopy may tip over or
otherwise be damaged.
•This product is manufactured with UV resistant material. Despite this, it is exposed to the
outdoor elements including sunlight, wind, rain, snow, and wildlife. Please inspect all
connections and the entire product for overall integrity. If there are any signs of excessive
wear, damage, stretching, cracking, looseness, brittleness or other losses in integrity, do not
use the hammock.

PARTS LIST
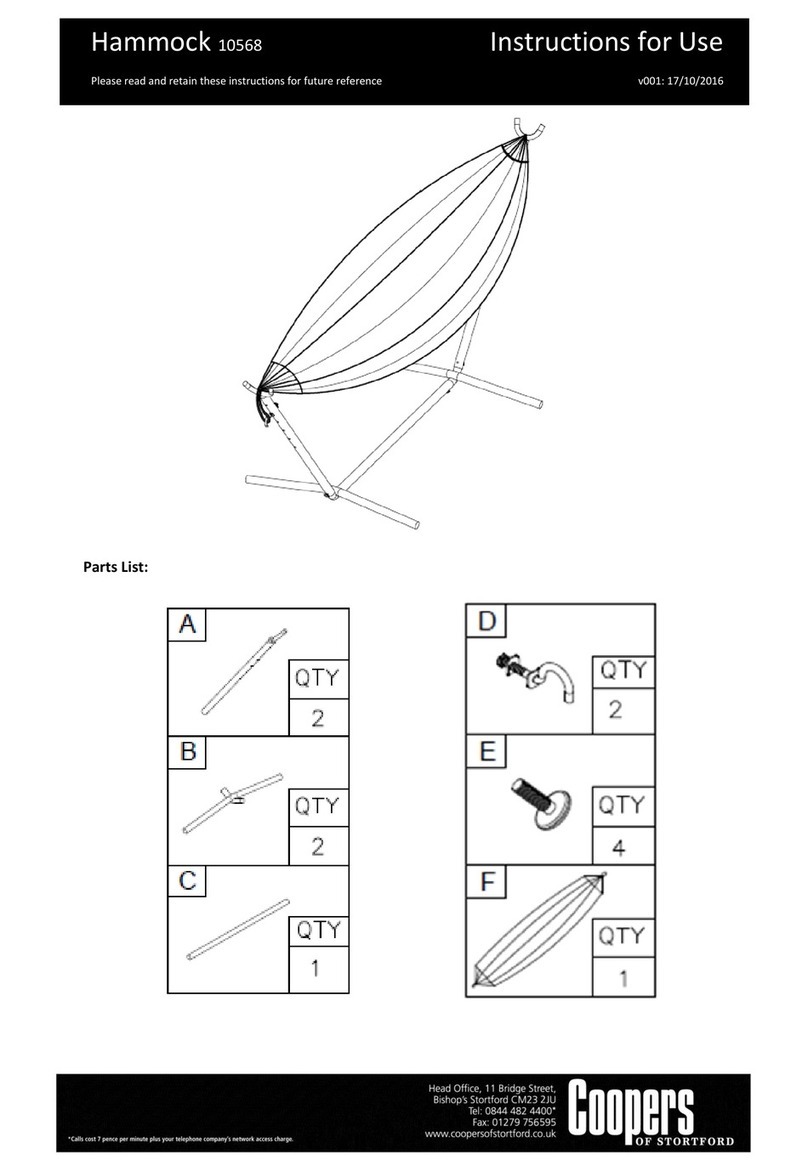
PACKAGE CONTENTS
H
P
A
B
C
D
E
F
G
H
I
J
K
L
M
N
O
P

PARTS LIST (continued)
PACKAGE CONTENTS
B
C
F
G
Part Description Qty Part Description
Qty
Part Description Qty
A Plastic Feet 4 G Foot end Stand Support
1 M Canopy Middle
Support 1
B Long Leg Braces 2 H Fabric Canopy 1 N Hanging Chains with
Lock Hooks 4
C Leg Cross Braces 2 I Canopy Upright
Supports 2 O Hammock Bed With
Attached Pillow 1
D Plastic Leg Joint
Protectors 4 J Canopy Frame End
Support Base 1 P Fabric Chain
Protectors 4
E Uprights 4 K Canopy Frame Sides 2
F Head end Stand
Support 1 L Canopy Frame End
Support Front 1
BEFORE ASSEMBLING
•Place all parts from box in a cleared area and position them on the ground or floor in front of
you.
•Remove all packaging materials from your area and place them back into the box.
•Do not dispose of the packing materials until assembly is complete.
•Read each step carefully before beginning.
•Item is heavy. Handle with care.
•Although assembly can be done with one person, a second person will make assembly easier.
•Make sure all lock-pins are completely inserted and engaged into the appropriate lock-pin
holes.
Estimated Assembly Time: 30 minutes
SECURING FOR SAFE USE
•After you have finished assembling the hammock, go back over the entire unit to make sure all
lock-pins are fully engaged and hardware is locked onto hammock stand. Repeat this
procedure prior to any use.
•Do not use the canopy in windy conditions. The wind could cause the canopy to blow off or
put excessive wear on the canopy attachments resulting in its failure. The hammock lounge
can be used without the canopy by removing the entire canopy frame from the head end stand
support.

ASSEMBLY INSTRUCTIONS
B
C
F
G
STEP 1
Locate the 4 plastic foot pieces (PartA), and place onto the ends of the 2 long leg braces (Part B)
Part A Part A
Part B
STEP 2
Place the completed leg sections across from each other with the side protrusions facing each
other. Locate the 2 leg cross braces(Part C) and insert each end into the side protrusions
located on Part B making sure the lock-pin aligns with the hole and become fully engaged
through the lock-pin hole.
Part B
Part C
Step 2 Completed
STEP 3
Locate the 4 plastic leg joint protectors (Part D). Place one on each of the upright protrusions on
leg brace (Part B) aligning the hole in Part D over the hole in the upright protrusion.
Part D
D
Part D in place

ASSEMBLY INSTRUCTIONS
STEP 4
Locate the 4 upright pieces (Part E). Place either end of part E into part B of the base, through the
plastic joint protector part D, making sure the lock pin on part E fully engages in the lock-pin hole.
Part E E
D
B Step 4 Completed
STEP 5
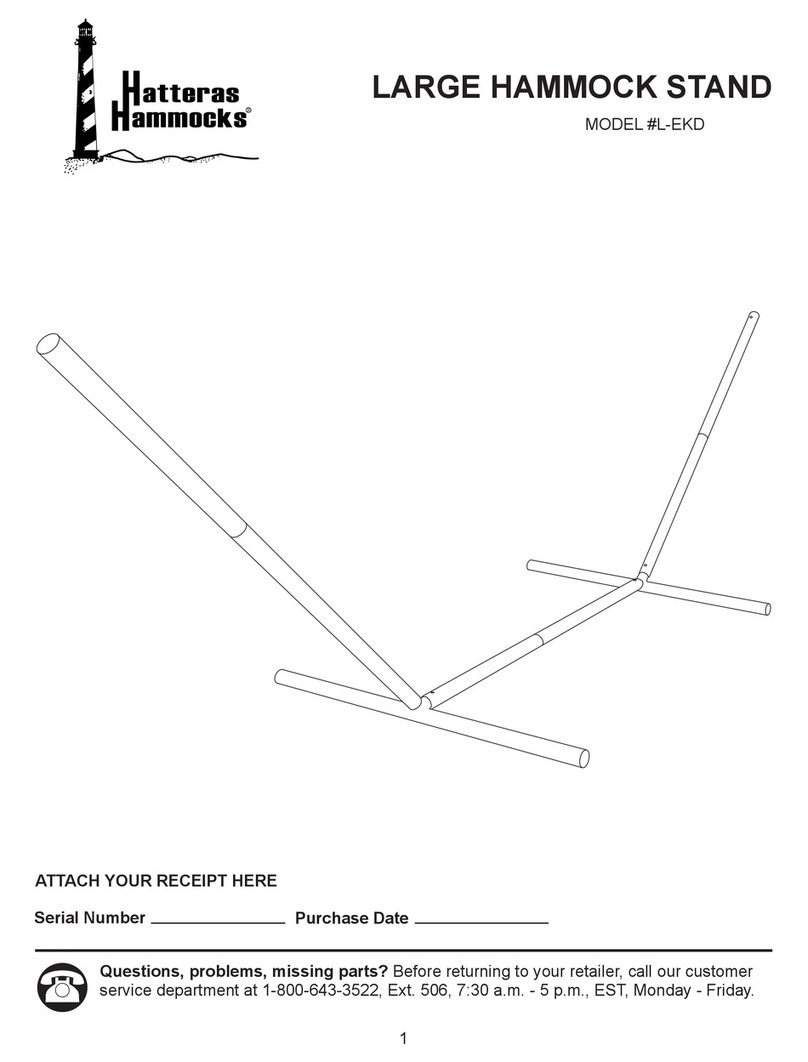
Locate the head end stand support (Part F). Choose either end of the base and slip Part F onto
the 2 part E uprights making sure the lock-pins fully engage the lock-pin holes.
Part F
E
E
F
STEP 6
Locate the foot end stand support (Part G). Slip part G onto opposite 2 uprights part E making
sure the lock-pins fully engage the lock-pin holes.
Part G
G
E
E

ASSEMBLY INSTRUCTIONS
STEP 6
Locate the fabric canopy (Part H). Unfold the canopy and locate the holes on the back end of
the canopy. Place the canopy onto the two upright protrusions of the head end stand support
by having the protrusion supports go through the two holes. Make sure the sewn in corner
pockets on the canopy face away from the frame. Allow the canopy to hang and go to next
step.
STEP 7
Locate the two canopy upright supports (Part I). Slip parts I onto the canopy protrusions on
the head end frame support (Part F) making sure the lock-pins fully engage into the lock-pin
holes.
STEP 8
Locate the canopy frame pieces Parts J, K, L, & M. Slip the canopy frame side supports (Part K) onto
both canopy frame ends (Part J & L) making sure the lock-pins fully engage into the lock pin holes.
Then place the canopy middle support (Part M) and hold it between the holes on the frame side
supports. Place the screw-knob through the side support into the end of the middle support.
Repeat this procedure on the opposite end of the middle canopy support.
Part H
Upright protrusion
Sewn in corner pocket
Part I
Canopy Upright
Supports in place
Part J
Part K
Part L
Part M
K
M
J
M
L
K
K

ASSEMBLY INSTRUCTIONS
STEP 11
Locate the 4 hanging chains with lock hooks (Part N). Also locate the hammock bed with attached
pillow (Part O). Hook one end of each chain to the steel attachment brackets on each end of the
hammock bed. Hook the other end of the chain to the welded attachment loops on the head and
foot end stand supports. Pillow end of the hammock should be hooked up under the canopy end
of the hammock. Adjust hook and chain to give the hammock bed a level and taught resting area.
Part N
STEP 12
Once the hanging chains are set where you want them, locate the 4 fabric chain protectors (Part
P). Wrap each chain protector over the hanging chain and secure with the hook and loop strip.
After this is complete, inspect all lock-pins and hooks to assure everything is in place. Enjoy!
Part P
J
I I
STEP 9
Place completed canopy frame onto the canopy uprights (Part I) by placing the frame protrusions
on the canopy base (Part J) making sure the lock-pins are fully engaged
STEP 10
Pull the fabric canopy up the canopy uprights and over the canopy frame. Attach the fabric canopy
to the canopy frame by tucking the sewn in pockets on the canopy over the canopy frame corners
Table of contents
Other Algoma Net Hammock manuals