all-clad EZ CLEAN NC00142377 User manual

EZ CLEAN
Owner’s Guide - Model No. NC00142377
Guide de l’utilisateur - Modèle noNC00142377
Read and save these instructions - Lisez et conservez ces instructions
www.all-clad.com
EN
FR

2
TABLE OF CONTENTS
IMPORTANT SAFEGUARDS......................................................................................................................... p. 3
SAFETY INSTRUCTIONS ............................................................................................................................... p. 4
DISPOSING OF YOUR APPLIANCE ........................................................................................................... p. 6
CONGRATULATIONS ON YOUR PURCHASE....................................................................................... p. 7
DESCRIPTION.................................................................................................................................................... p. 11
PREPARATION .................................................................................................................................................. p. 13
COOKING ............................................................................................................................................................ p. 14
CLEANING AND MAINTENANCE............................................................................................................ p. 17
IMPORTANT....................................................................................................................................................... p. 18
RESET FUNCTION ........................................................................................................................................... p. 18
IF YOUR FRYER DOES NOT WORK PROPERLY.................................................................................. p. 19
LIMITED TWO YEAR WARRANTY........................................................................................................... p. 21

3
EN
IMPORTANT SAFEGUARDS
When using fryer, basic safety precautions should always be followed, including the following:
1. Read all instructions before using.
2. Do not touch hot surfaces. Use handles or knobs.
3. To protect against electric shock, do not immerse cord, plugs or fryer in water or other liquid.
4. Close supervision is necessary when the fryer is used by or near children.
5. Unplug from outlet when not in use and before cleaning. Allow to cool before putting on or taking o parts,
and before cleaning the fryer.
6. Do not operate the fryer with a damaged cord or plug or after the fryer malfunctions, or has been damaged in
any manner. Return the fryer to the nearest authorized service facility for examination, repair or adjustment.
7. e use of accessory attachments not recommended by the fryer manufacturer may cause injuries.
8. Do not use outdoors.
9. Do not let cord hang over edge of table or counter, or touch hot surfaces.
10. Do not place on or near a hot gas or electric burner, or in a heated oven.
11. Extreme caution must be used when moving fryer containing hot oil.
12. Always attach plug to the fryer rst (depending on model), then plug cord in the wall outlet. To disconnect,
turn any control to “ o ”, then remove plug from wall outlet.
13. Do not use the fryer for other than intended use.
14. Be sure handles are properly assembled to basket and locked in place. See detailed assembly instructions. Ensure
the two metallic parts of the basket handle are correctly positioned before locking the handle on the basket.
SAVE THESE INSTRUCTIONS
FOR HOUSEHOLD USE ONLY

4
SAFETY INSTRUCTIONS
• Before use, check that your local voltage corresponds with the specications shown on the appliance nameplate
located under the fryer.
• Only connect the appliance to electrical sockets which have a minimum load of 15A. If the sockets and the plug
on the appliance should prove incompatible, get a professionally qualied technician to replace the socket with
a more suitable one.
• is electrical equipment operates at high temperatures which may cause burns. Do not touch the lter, window,
metal walls (depending on model), or other apparent metal parts.
• To ensure safe operation, oversized foods must not be inserted into the fryer.
• Ensure that the lid and bowl are completely dry after washing and before use.
• e oil level must always be between the Min. and Max. markings.
• Do not overload the basket. For safety reasons never exceed the maximum quantity.
• Never operate your fryer without any oil.
• e cooking times are given as guidelines only.
• e oil must be ltered regularly and changed after 8 to 12 uses.
• Do not mix dierent types of oil.
• If you use solid vegetable shortening, cut it into pieces and melt it over low heat in a separate pot beforehand,
then slowly pour it into the deep fryer pot. Never put solid shortening directly into the deep fryer pot or basket,
as this will lead to deterioration of the fryer.
• If the fryer has a removable pot, never remove it while the deep fryer is on.
• is model is equipped with a permanent metallic lter, which does not need to be changed.
• is appliance is not intended for use by persons (including children) with reduced physical, sensory or mental
capabilities, or lack of experience and knowledge, unless they have been given supervision or instruction
concerning use of the appliance by a person responsible for their safety.
Children should be supervised to ensure that they do not play with the appliance.

5
EN
• If the supply cord is damaged, it must be replaced by the manufacturer, its service agent or similarly qualied
persons in order to avoid a hazard.
• is appliance is not intended to be operated by means of an external timer or a separate remote-control system.
• is appliance is intended to be used in household only.
It is not intended to be used in the following applications, and the guarantee will not apply for :
- sta kitchen areas in shops, oces and other working environments;
- farm houses;
- by clients in hotels, motels and other residential type environments;
- bed and breakfast type environments.
• Warning: Possible eruption. Waters reaction to hot oil is extremely volatile. Please ensure, no matter what the
recipe states, food must be dried thoroughly before immersing in hot oil.
• If you have any problems, contact the authorized after-sales service center or the internet address
www.all-clad.com.
Polarization instructions
If this appliance has a polarized plug (one blade is wider than the other), it is to reduce the risk of electric shock.
is plug is intended to t into a polarized outlet only one way.
If the plug does not t fully into the outlet, reverse the plug. If it still does not t, contact a qualied electrician. Do
not attempt to modify the plug in any way.
Short Cord instructions
Do not use with an extension cord. A short power supply cord is to be provided to reduce the risks resulting from
becoming entangled in or tripping over a long cord.
Magnetic connector
e cord is equipped with a detachable magnetic connector. e magnetic connector should be attached directly to
the fryer. THIS SHOULD BE DONE PRIOR TO PLUGGING THE CORD INTO THE WALL OUTLET.

6
Environment protection rst!
Let’s contribute to protecting the environment!
Your appliance contains valuable materials which can be recovered or recycled.
Leave it at a local civic waste collection point.
DISPOSING OF YOUR APPLIANCE

7
EN
CONGRATULATIONS ON YOUR PURCHASE
All-Clad Metalcrafters created the original collection of professional cookware made with a patented metal bonding
process which eliminates uneven heating, an accomplishment that led to All-Clad becoming the product chosen
for the kitchens of more four-star restaurants than any other. Still the only complete line of cookware made by an
American company with materials produced in its own mill, All-Clad has revolutionized the art of cooking since its
introduction.
With ve professional cookware collections featuring a variety of bonded metals and nishes, from high grade
aluminum and stainless steel to copper, All-Clad combines professional design with high performance for all tastes
and cooking styles.
e All-Clad cooking experience now extends to a focused selection of small electrical appliances, each designed
without compromise to make a noticeable dierence in both use and performance. Cooking connoisseurs now have
a wonderful opportunity to complete their kitchen with electrics by All-Clad, the undisputed original. All-Clad
Metalcrafters has an ongoing policy of research and development and may modify its products without prior notice.

8
O
I
L
F
I
L
R
A
T
I
O
N
O
I
L
F
I
L
R
A
T
I
O
N
A
A1
A2
A3
A4
B
B1
B4
B5
B2
B3
C
G
C1
C2
E
F
N
M
D
K
K1
K2
H
J
L
I

9
EN
O
I
L
F
I
L
R
A
T
I
O
N
O
I
L
F
I
L
R
A
T
I
O
N
A
A1
A2
A3
A4
B
B1
B4
B5
B2
B3
C
G
C1
C2
E
F
N
M
D
K
K1
K2
H
J
L
I
O
I
L
F
I
L
R
A
T
I
O
N
Fig. 1 Fig. 2 Fig. 4
Fig. 5
Fig. 12
Fig. 7 Fig. 8
Fig. 9 Fig. 11
Fig. 6
Fig. 3
Fig. 10
O
I
L
F
I
L
R
A
T
I
O
N
CLICK
O
I
L
F
I
L
R
A
T
I
O
N
O
I
L
F
I
L
R
A
T
I
O
N
O
I
L
F
I
L
R
A
T
I
O
N

10
Fig. 15 Fig. 16
O
I
L
F
I
L
R
A
T
I
O
N
Fig. 13 Fig. 14

11
EN
Fig. 15 Fig. 16
O
I
L
F
I
L
R
A
T
I
O
N
Fig. 13 Fig. 14
A Lid
1) Permanent lter
2) Filter cover
3) Handle
4) Viewing window
B Removable control unit and heating element
1) On/o switch
2) Timer
3) Adjustable thermostat
4) Power indicator light
5) Ready indicator light
C Frying basket
1) Handle
2) MAX food level marker
D Removable bowl
E MIN and MAX oil level markers
F Fixed oil lter grid
G Reset function
H Safety carrying handles
I Filtration and drainage switch
J Housing
K Oil box
1) Lid
2) Cap
L Feet
M Filtration valve
N Removable power cord
DESCRIPTION

12
Filtration, drainage and automatic storage of oil/shortening
• Your fryer is tted with an exclusive and patented system for ltration and automatic drainage, suitable for most
types of oils and shortenings used for cooking.
• e drainage of oil is completely automatic and safe.
• e automatic patented ltration system ensures your oil/shortening stays clean and lasts longer for healthier
frying.
• e Oil box container enables you to store your oil and keep it until you want to use it next and to avoid any
transfer of avors.
Easy cleaning
• Your fryer is easy to handle and to dismantle – g. 1.
• All the parts (except the control unit) are dishwasher safe – g. 2.
• anks to the patented automatic ltration and oil storage system, your fryer can go into the dishwasher after
each use, making it clean as new after each use.
Using the Oil box container control button
• e Oil box control button has 3 positions – g. 9.
Fry Position : to fry.
Automatic Oil Filtration Position : to drain and lter the oil into the oil box.
Oil box Position : to allow for removal of the oil box container.

13
EN
PREPARATION
Before using for the rst time
• e fryer can be completely dismantled – g. 1.
Remove the lid. Remove the frying basket, the control unit and the bowl. Remove the oil box by positioning the
Oil box control button on the Oil box position.
• Clean the lid, the bowl, the housing, the frying basket – g. 2 and the Oil box with soap and water or put them
in the dishwasher. Clean the control unit and the heating element with a damp cloth. Dry thoroughly.
• After cleaning, press on the ltration valve under the bowl to release any water in the bowl – g. 3.
• Place the bowl and the heating element in position.
• Place the Oil box control switch on the Oil box position and insert the empty Oil box into the fryer.
• Completely unfold the basket handle; a “click” indicates that it is correctly positioned – g. 5.
• Do not immerse the control unit with the heating element in water – g. 4.
• Check that the ltration and drainage switch has gone back to its original position.
• Make sure that the control unit is correctly positioned otherwise the fryer cannot function.
Filling the bowl
• Fill the bowl with oil – g. 6.
• Never exceed the maximum level indicated in the bowl – g. 6.
• For best results use oil recommended for deep frying: vegetable oil, corn oil, canola oil. If using sunower oil
ensure the oil is changed every 5 uses. Oils which should NOT be used under any circumstances and may cause
overowing/smoking/risk of re are: ground nut oil, soya oil, olive oil, lard or drippings.
• If you use solid vegetable oil, cut it into small pieces and melt it in a separate pan – g. 7. Pour the melted oil
into the fryer bowl. Never melt solid fat on the heating element or in the frying basket.
• Do not mix dierent types of oil or fat as this may cause the oil to overow.
• e oil/fat level must always be between the min. and max. markers, stamped inside the bowl. Check this
each time prior to cooking and add some of the same type of oil if necessary.

14
COOKING
Loading the basket
• Remove excess water, ice or frost from food.
• Do not pour the food directly from the frozen bag in the fryer.
• Fill the basket before placing it in the deep fryer (see the cooking tables page 16) – g. 8. Do not
overll the basket. Reduce the quantities for frozen foods.
• Cooking tips : Cut food into similar-sized pieces so that they cook evenly. Avoid using pieces
that are too thick. For crispier frozen fries, wash them in cold water and dry them carefully. Not
all frozen foods are ready to use, check the manufacturer’s instructions.
Frying process
• Place the Oil box switch button on the Fry position – g. 9.
• After the bowl has been lled with oil, plug in the fryer without the frying basket – g.10. Turn on the fryer. e
power indicator light will switch on. Turn the adjustable thermostat to the desired temperature (see cooking table:
page 16).
• Put the lid on
• e fryer will now start to heat the oil.
• Do not touch hot surfaces when cooking – g.15.
• Note : the ready indicator light will switch on when the desired temperature is reached.
Lowering the basket
• After the ready indicator light switches on, remove the lid, place and lower the basket slowly into the oil. Plunging
the basket too rapidly in the oil may cause it to overow.
• Watch cooking for 1 minute before putting the lid on.
• To avoid any risk of burns, never put your hands above the ltration zone.

15
EN
At the end of cooking time
• Move the thermostat down to the lowest setting.
• Raise the lid using the lid handle and refrain from letting any condensation drip into the hot oil bowl.
• Place the basket on the edge of the bowl with basket hanging clips.
• Let the food drain.
• Remove the basket. Serve the food.
• Replace the lid when the fryer is not in use.
• To use a second time, correct the oil level if necessary.
Switching o the deep fryer
• When you have nished frying, move the thermostat down to the lowest setting, press o button, then unplug
the fryer.
• For ltration action, turn the button to the automatic oil ltration position – g. 12.
• Allow the oil to cool completely in the fryer (approx. 2 hours).
• Move the fryer using the carrying handles.
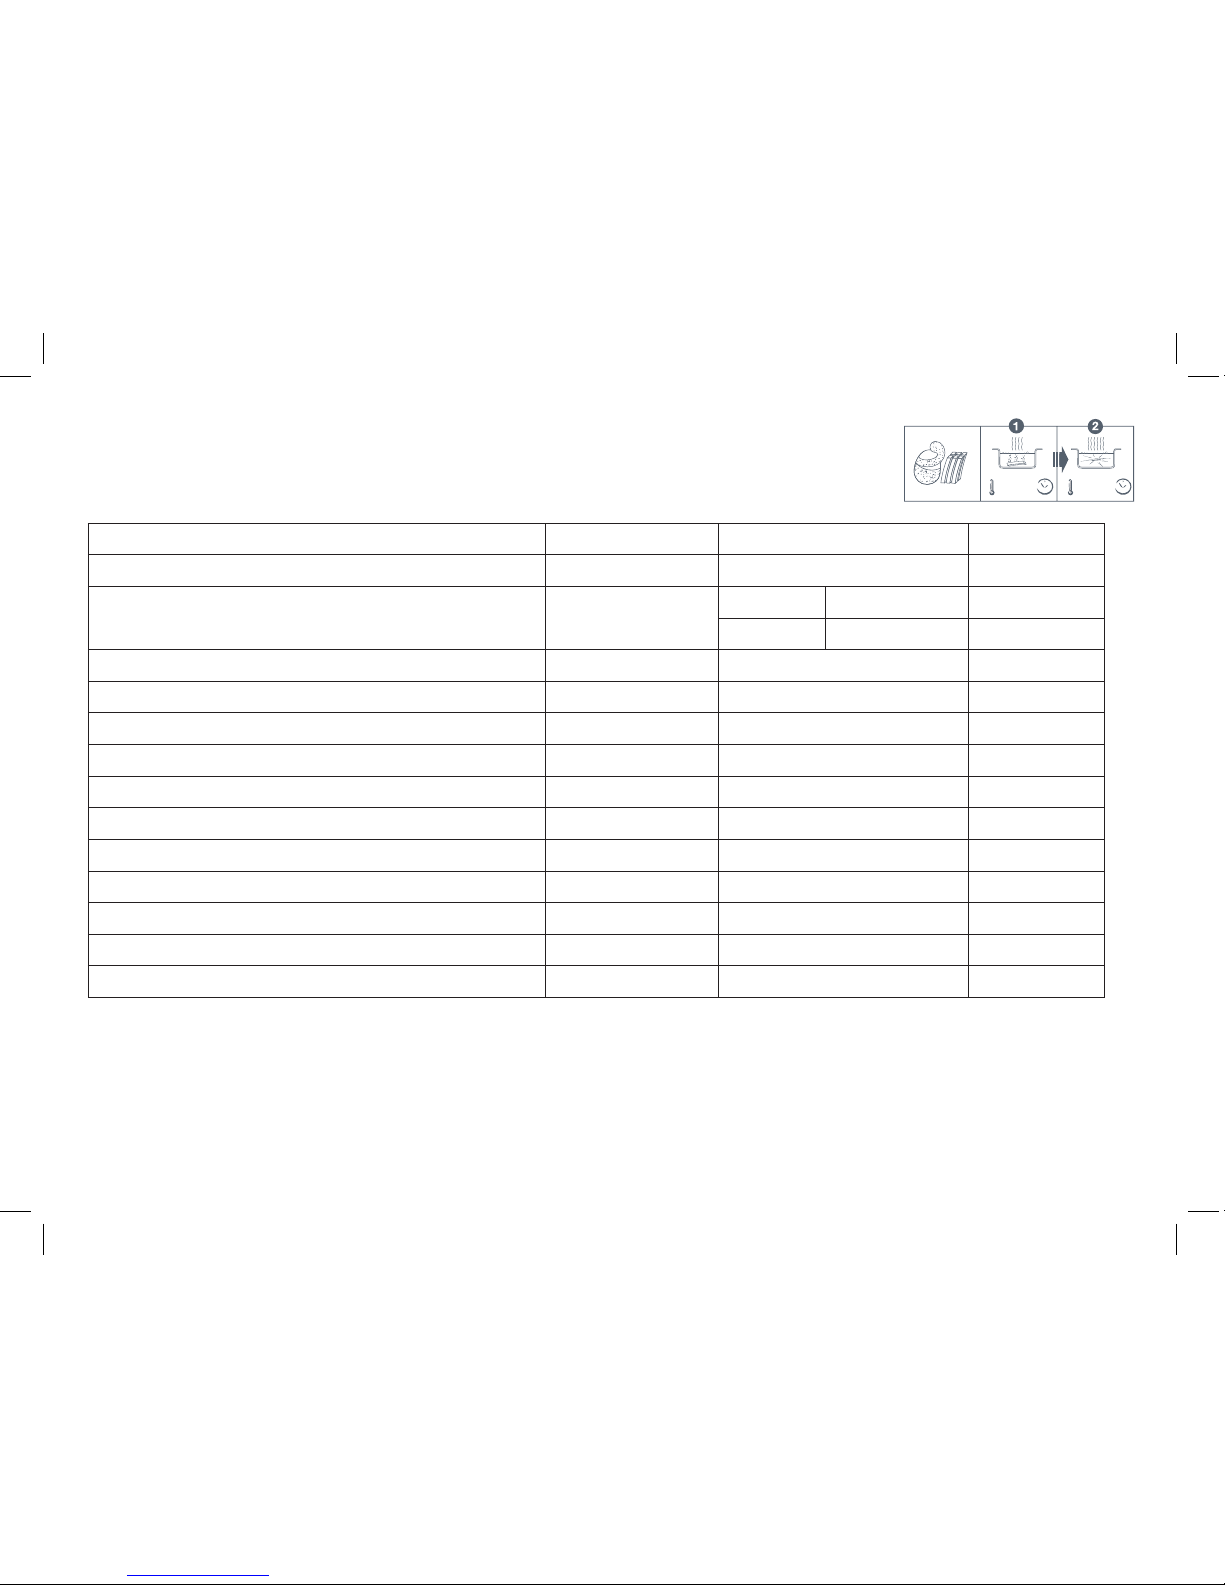
Table of cooking times
• e cooking times are a guide only, they may vary depending on the size of the food, the amount of the food,
individual preferences and the voltage.
• Cooking tips: For the best results, use the traditional French method of frying homemade French fries :
- rst frying at 320°F / 160°C
- second frying at 374°F / 190°C.
• When cooking battered food and doughnuts, remove the wire basket to prevent food from sticking to it and use
tongs to slowly lower the food into the hot oil.
16
Fresh Foods Quantity Temperature Time
Potatoes dices (MAX safety quantity) 2.65 lbs / 1200 g 190°C / 375°F 17~20 min
French Fries 2.2 lbs / 1000g 1st frying 160°C / 320°F 12~15 min
2nd Frying 190°C / 375°F 6~8 min
French fries (MAX recommended capacity) 1.3 lb / 600 g 190°C / 375°F 10~14 min
Chicken nuggets 8180°C / 360°F 18~20 min
Apple fritters 8~9 170°C / 340°F 6~7 min
Mushrooms 0.9 lb / 400 g 150°C / 300°F 10~12 min
Fish llets 0.9 lb / 400 g 160°C / 320°F 5~6 min
Frozen Foods Quantity Temperature Time
French fries (MAX safety capacity) 2 lbs / 900 g 190°C / 375°F 14~16 min
French fries (MAX recommended capacity) 1 lb / 450 g 190°C / 375°F 7~9 min
Fish llets 0.75 lb / 350g 190°C / 375°F 7~8 min
Fish Nuggets 12 190°C / 375°F 5~6 min
Frozen Shrimp 15 190°C / 375°F 4~5 min
160°C / 320°F190° / 375°F
6-8 min.
2,2 lbs 12-15 min.

17
EN
CLEANING AND MAINTENANCE
• For your safety, the appliance automatically drains all kinds of oils (or solid shortenings) when it is cool enough
(approximately 2 hours after the last cooking).
• When nished cooking, turn the oil box control switch to the Automatic oil ltration position – g.12-13.
• Once the ltration is nished, you can store the oil box :
- In the appliance: Turn the oil box control switch to the Fry position. e appliance must be carried and
transported at.
- Out of the appliance : Turn the oil box control switch to the oil box position and then remove it – g.14.
• Transport it with care.
• To re-use the oil, remove the oil box with care.
• Unscrew the oil box cap and empty the oil in the fryer bowl.
• For the solid shortening, remove the lid from the oil box. Turn the oil box over and press it to loosen the
shortening. Cut it into pieces and melt it in a separate pan. en, pour it into the bowl.
• Insert the empty oil box in the fryer, with its lid and cap.
• Place the oil box control switch on the fry position.
• 100% dishwasher safe (except the control unit)
• e lid, bowl, housing, frying basket and the oil box are dishwasher safe.
• Make sure that the oil container is empty before draining the fryer.
• Carry the oil box with both hands.
• Store it in a cool dry place away from the light.
• Never put the oil box in the microwave oven.
• Do not pour used oil in the sink.
• Before lling the fryer bowl, always check to ensure the ltration and drainage button of the fryer is in the
right position.
• Check periodically for looseness and retighten screws or nuts of the bodys and lids handles with adapted tool.
• CAUTION: Overtightening can result in stripping of screws or nuts cracking of handles.

18
IMPORTANT
RESET FUNCTION
In order to avoid water being added to the oil :
• Please respect carefully the safety and usage recommendations contained in the Instructions For Use.
• Use your fryer away from water splashes.
• Dry the food thoroughly before cooking.
• Make sure that the lid filter is clean, so as to always allow the free circulation of the steam.
• When you open the lid, be careful not to let the condensation drops fall into the oil.
• Ensure that the oil box is clean and dry before draining and filtering the oil.
• Never store the oil box full of oil in the refrigerator or freezer.
• Always store the oil box in the horizontal position, with lid closed, in a dry place.
• After each cleaning of the bowl, press on the ltration valve of the oil filtration system located under the bowl.
• Dry all the cleaned parts thoroughly before reassembling and storing the fryer.
• Never store your fryer outside. Choose a dry and well-ventilated place.
• Your appliance is equipped with an overheating security feature located in the back of the control unit.
• If you use your fryer without oil, the safety cut-o is activated and the appliance will shut o automatically.
• In this case, unplug the appliance and let it cool (about 15 minutes).
• After the bowl has been lled with oil, press the safety cut-o RESET button with a toothpick or similar non-
metallic object – g.16. en, plug the appliance in.
• If the problem with the safety cut-o persists, please call our consumer service center (see details on page 19).

19
EN
IF YOUR FRYER DOES NOT WORK PROPERLY
Problems Possible causes Solutions
e fryer is not heating. e appliance is not plugged in. Plug in the appliance.
e safety cut-o is activated.
e indicator light does not turn on. Press the “reset” button, which is located
at the back of the fryer. If the problem
persits, please contact our Consumer Service
Department.
e frying oil overows. e MAX marker for lling the bowl
has been exceeded. Check the MAX food level, and remove the
excess.
e MAX marker for lling the frying
basket has been exceeded. Check the MAX level of the frying basket,
and remove the excess.
Food is wet or contains too much water
(frozen food). Remove any ice and dry the food
thoroughly.
Lower the basket slowly.
Dierent types of oil/shortening have
been mixed. Empty and clean the bowl. Rell the bowl
with one type of oil.
e food does not become golden,
and remains soft. e food is too thick and contains too
much water. Experiment by lengthening the cooking time
or cut food into thinner pieces.
Too much food being cooked at the
same time. Fry food in small quantities (especially when
frozen).
e temperature of the frying oil may
not be high enough: the temperature is
set incorrectly.
Set thermostat to the recommended
temperature.
e French fries stick together. French fries are too damp when they
are added to the fryer. Wash potatoes well and dry them
thoroughly.

20
e bowl does not drain. e oil is still too hot. Wait for the temperature to go down
(approximately 2 hours).
e oil box control switch is not on the
automatic oil ltration position. Turn the oil box control switch on the
automatic oil ltration position.
e lter grid is blocked or clogged.
Empty the oil into a container and clean the
lter grid with soap and water and a non-
metallic brush.
Press on the ltration valve under the fryer
to let out water and crumbs.
e shortening is solidied. Allow the fryer to heat (4 to 5 minutes).
Oil leaks. e MAX (3.5L) ll mark for the bowl
has been exceeded. Do not exceed the oil level (3.5L). Clean the
fryer before any use.
ere is some oil left in the oil box or
it is full.
Turn the oil box control button on the oil
box position, pull out the oil box and drain
it.
Emits unpleasant smells. e oil has deteriorated. Use new oil.
e oil is unsuitable. Use a good quality blended vegetable oil.
Table of contents
Languages:
Other all-clad Kitchen Utensil manuals


