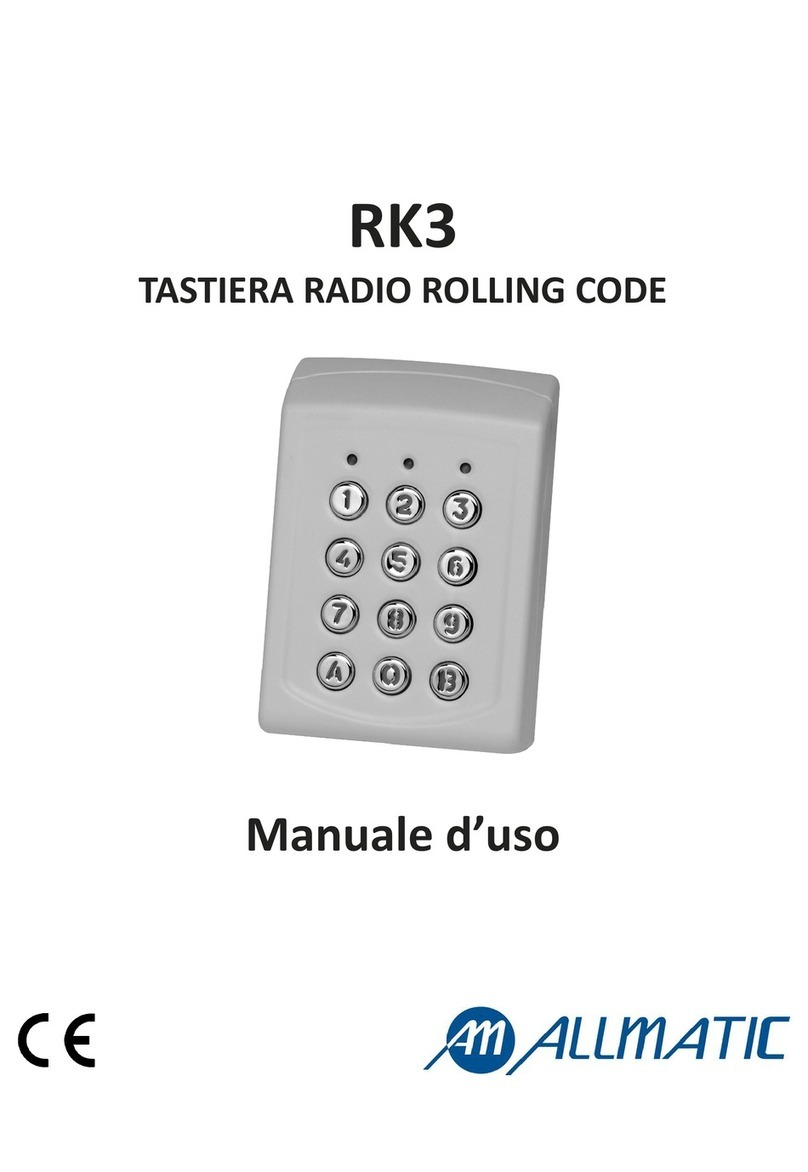
Allmatic RK3 User manual

RK3
ROLLING CODE RADIO KEYBOARD
Manual
www.remotecontrolgates.co.uk

ITA ENG FRA ESP DEU POR
6-1622368 REV.2 26/06/2014 2 /12
1 2 3
4 5 6
7 8
1. Technical features
Reference RK3
Keys Backlit polycarbonate
Channels 10
Programming Master Code 1
Users codes 99
Relays time setup 1 to 10 seconds
Compatibility With all Allmatic’s Rolling Code products
Memory EEPROM (keeps programming safe even in case of power cut)
Range 120 mt in open space
Green led Key pressure / error and confirmation signal / transmission in progress
Red led Keypad unlocked indicator
Amber led Configuration menu entrance
Buzzer 1
Power supply 12/24V AC/DC input and/or 9V battery
Max absorption 27mA in transmission with 9V battery power supply
120mA in transmission with 24Vac power supply
IP rating 65
Dimensions (mm) 119,5x83,5x40
2. Mounting
3 (8x30 CSK)
2 (M3x6mm) security screws

ITA ENG FRA ESP DEU POR
6-1622368 REV.2 26/06/2014 3 /12
3. Master Code
ATTENTION: Before making any operation, take the adhesive you find on the back of the keyboard and put it on
the space here below (as shown in the drawing) where it is written the master code set by the factory.
ATTENTION: In case of total reset of the device, the master code will come to be the one indicated. The loss of
this code will make the keyboard unusable.
Attach here the adhesive or
write the master code
XXXX
MASTER CODE
1
4 Changing the master code
Enter the MASTER code (1-8 figures). See Paragraph 3
2
Confirm by pressing the B• Long Beep + Amber led FIX ON - Confirm OK
• Series of short Beeps + Amber led flashing - Confirm NOT OK
3
Press 0
4
Enter the memory location of the ma-
ster00
5
Enter the new MASTER code from
1 to 8 figures long
6
Press A (only if the access code is
shorter that 8 figures)
7
Press B to exit
Long Beepemittedbythekeyboard
Long Beepemittedbythekeyboard
LongBeepemittedbythekeyboard
Long Beep emitted by the keyboard + amber led OFF
8
Code changing terminated
The master code is used only for programming.
In case of changing of the master code, it is suggested to write it down here below.
NEW MASTER
CODE
If the code is 8 figures long, the keyboard emits a Long Beep to
indicate that the code is memorized

ITA ENG FRA ESP DEU POR
6-1622368 REV.2 26/06/2014 4 /12
If the code is 8 figures long, la the keyboard emits a Long Beep
to indicate the memorizing of the code.
1
5 Memorizing a new user code
Enter the master code (1-8 figures). See paragraph 3
2
Confirm by pressing B• Long Beep + Amber led FIX ON - Confirm OK
• Series of short Beeps + Amber led flashing - Confirm NOT OK
3
Press 0
4
Enter the memory location of the user
to bememorize 01 to 99
5
Enter the new code from 1 to 8
figures long for the user access
6
Press A (only if the access code is
shorter that 8 figures)
7
Press B to exit
Long Beepemittedbythekeyboard
Long Beepemittedbythekeyboard
LongBeepemittedbythekeyboard
Long Beep emitted by the keyboard + amber led OFF
8
Memorizing terminated
The keyboard automatically associates the transmission channel 1 to every new user
It is suggested to fill the users book in order to facilitate the future maintenance for changing or cancellation.
1
6 Assigning the transmission channels
Enter the master code (1-8 figures). See paragraph 3
2
Confirm by pressing B• Long Beep + Amber led FIX ON - Confirm OK
• Series of short Beeps + Amber led flashing - Confirm NOT OK
3
Press 3
4
Enter the memory location of the user
to beenabled01 to 99
5
Enter the channels to be enabled
from 1 to 10 (0)
6
7
Press Bto exit
Long Beepemittedbythekeyboard
Long Beepemittedbythekeyboard
The keyboard emits a Beep for every abilitation
LongBeepemittedbythekeyboard
Long Beep emitted by the keyboard + amber led OFF
8
Assigning terminated
Press Ato confirm
The keyboard automatically associates the transmission channel 1 to every new user
It is suggested to fill the users book in order to facilitate the future maintenance for changing or cancellation.
9 8 7 6 A
Digit user cod + A to
confirm
1
Press on the user’s
enabled code
Example of keyboard activation sequence (il code 9876 is random) and trasmission with channel 1

ITA ENG FRA ESP DEU POR
6-1622368 REV.2 26/06/2014 5 /12
1
7 Transmission duration setup
Enter the master code (1-8 figures). See paragraph 3
2
Confirm by pressing B• Long Beep + Amber led FIX ON - Confirm OK
• Series of short Beeps + Amber led flashing - Confirm NOT OK
3
Press 1
4
5
Enter the transmission time to be
enabled from 1s to 10s (0)
6
Press B to exit
Long Beepemittedbythekeyboard
Long Beep emitted bythe keyboard and memorize the time entered
Long Beep emitted by the keyboard + amber led OFF
Setup terminated
The transmission time is set to 2 seconds by default.
The transmission time setting applies to ALL users and ALL transmission channels
1
8 Deleting one user
Digit the master code (1-8 figures). See paragraph 3
2
Confirm by pressing B• Long Beep + Amber led FIX ON - Confirm OK
• Series of short Beeps + Amber led flashing - Confirm NOT OK
3
Press 9
4
Enter the memory location of the
user to be delated from 01 to 99
6
7
Press B to exit
Long Beepemittedbythekeyboard
Long Beepemittedbythekeyboard
Long Beepemittedbythekeyboard
Long Beep emitted by the keyboard + amber led OFF
8
Deleting terminated
Press Ato confirm
1
9 Deleting all users
Digit the master code (1-8 figures). See paragraph 3
2
Confirm by pressing B• Long Beep + Amber led FIX ON - Confirm OK
• Series of short Beeps + Amber led flashing - Confirm NOT OK
3
Press 8
4
Enter the memory location 99
6
7
Press B to exit
Long Beepemittedbythekeyboard
Long Beepemittedbythekeyboard
Long Beepemittedbythekeyboard
Long Beep emitted by the keyboard + amber led OFF
8
Total deleting terminated
Press Ato confirm
It is suggested to update the user register
It is suggested to update the users book

ITA ENG FRA ESP DEU POR
6-1622368 REV.2 26/06/2014 6 /12
Master code
(1-8 figures)
Confirm by
pressing B
Confirma-
tion OK? Series of short beeps + AMBER
led flashing
END
Long beep + AMBER led fix ON
Memorizing a new
user code
Press 0
+
Enter the memory
location of the user to
memorize from 01 to 99
Changing the master
code
Press 0
+
Enter the memory
location of the master
code 00
Transmission
duration setup
Press 1
+
Enter the duration of
the transmission
from 1s (1) to 10s (0)
Deleting all users
Press 8
+
Enter 99
Enter the new code
from 1 to 8 figureslong
Deleting one user
Press 9
+
Enter the memory
location of the user to
be deleted from 01 to
99
Assigning the
transmission channels
Press 3
+
Enter the memory
location of the user
from 01 to 99
Press the channels to be
enabled from 1 to 10 (0)
A? Save data
B?
B?
Confirm by pressing B.
The amber led goes off
END
Yes
Yes
Yes
See paragraph 3
YES
NO
10. Programming summary

ITA ENG FRA ESP DEU POR
6-1622368 REV.2 26/06/2014 7 /12
11. DIP-SWITCH setup
On the back side of the card there is a DIP-SWITCH that allows to enable / disable the buzzer and the backlighting of the
keyboard.
It is suggested to enable the buzzer during the setup operation.
1 2
ON
DIP SWITCH 1
On: backlighting ENABLED
Off: backlighting DISABLED
DIP SWITCH 2
On: Buzzer ENABLED
Off: Buzzer DISABLED
In case of battery supply, once the programming is terminated it is suggested to turn both the dip-switch OFF in order to
improve the efficiency and increase the lifetime of the battery.
1
12 Device Total Reset
Keep reset key pressed
2
Beep emittedbythekeyboard
3
Two Beeps emittedbythekeyboard
4
5
Three Beeps emittedbythekeyboard
6
Thekeyboardkeepson Beeping
Total Reset terminated
ATTENTION: IN CASE OF TOTAL RESET ALL THE USERS ARE DELETED, THE MASTER CODE (SEE
PARAGRAPH 3) AND ALL THE SETTINGS RETURN TO BE THOSE SET BY THE FACTORY.
DO NOT release thekey
DO NOT release thekey
DO NOT release thekey
Release the key

ITA ENG FRA ESP DEU POR
6-1622368 REV.2 26/06/2014 8 /12
13 Programming example
This is an example for programming the device with user code “123456” enabled to transmit on channel “4” with a
transmission duration of 6 seconds. The master code set by the factory in this example is “9876”.
It is suggested to modify the master code in order to set a new one.
1. Change of the master code
Here below it is shown the sequence to enter to change the master code (in this example it is “9876”) with the code
“456789” (this code must be choosen by the client, see paragraph 3 and 4)
9 8 7 6 B
Programming menu
open.
Long beep + amber led
ON fix.
0 0 0
User ma-
ster editing
4 5 6 7 8
Entering new master
code and memorizing
(A)
9 A B
Exit programming
menu.
Long beep + Amber
led OFF
2. User Code Setup
Here below it is shown the sequence to enter to create a new user on the memory location “01” with the access code
“123456”. See paragraph 5.
4 5 6 7 8
Programming menu open.
Long beep + amber led ON
fix.
9 B 0 0 1
Edit
User
01
1 2 3 4 5
Enter user code in memory
location 01
6 A B
Exit programming
menu.
Long beep + Amber
led OFF
3. Transmission channel setup
As default settings, the device assigns channel 1 to every new user.
Here below it is shown the sequence to enter to enable the transmission channel “4” to the user on memory location 01.
See paraghaph 6.
4 5 6 7 8
Programming menu open.
Long beep + amber led ON
fix.
9 B 3 0 1
Edit
User
01
4
Enabling
channel 4
A B
Exit programming
menu.
Long beep + Amber
led OFF
4. Transmission Duration Setup
As default settings, the transmission duration is set to 2 seconds.
Here below it is shown the sequence to enter to set the transmission duration to 6 seconds for ALL channels and ALL
users. See paragraph 7.
4 5 6 7 8
Programming menu open.
Long beep + amber led ON
fix.
9 B 1
Edit tran-
smission
duration01
6
Set
transmission
duration to 6
seconds
B
Exit programming
menu.
Long beep + Amber
led OFF
5. Learning the keypad on the installation
Enable the learning mode on the control unit/receiver used, press on the RK3 the user code (ex.123456), press A and
after press the key of the channel (ex.4) you want to memorize.
1 2 3 4 5 6 A 4

ITA ENG FRA ESP DEU POR
6-1622368 REV.2 26/06/2014 9 /12
Memory po-
sition User code Name Surname Active channels
1 2 3 4 5 6 7 8 9 0
01
02
03
04
05
06
07
08
09
10
11
12
13
14
15
16
17
18
19
20
21
22
23
24
25
26
27
28
29
30
31
32
33
Users book

ITA ENG FRA ESP DEU POR
6-1622368 REV.2 26/06/2014 10 /12
Memory po-
sition User code Name Surname Active channels
1 2 3 4 5 6 7 8 9 0
34
35
36
37
38
39
40
41
42
43
44
45
46
47
48
49
50
51
52
53
54
55
56
57
58
59
60
61
62
63
64
65
66

ITA ENG FRA ESP DEU POR
6-1622368 REV.2 26/06/2014 11 /12
Memory po-
sition User code Name Surname Active channels
1 2 3 4 5 6 7 8 9 0
67
68
69
70
71
72
73
74
75
76
77
78
79
80
81
82
83
84
85
86
87
88
89
90
91
92
93
94
95
96
97
98
99
WARRANTY - The manufacturer's warranty is valid according to the terms of the law from the date printed on the product and is limited to
the free reparation or replacement of defective parts acknowledged to be defective because of deficiencies in essential material properties
or manufacturing faults. The warranty does not cover damage or failure due to external agents, insufficient maintenance, overload, wear
and tear, choice of the incorrect type, incorrect installation, or other causes not related to the producer. The products will not be tampered
with or repaired nor guaranteed. The data shown are for guidance only. No liability can be accepted for reductions in range or failure due to
environmental interference. The responsibility borne by the producer for damage caused to anyone by accident of any kind by faulty prod-
ucts, is only that required by the Italian law.

ALLMATIC S.r.l
32020 Lentiai - Belluno – Italy
Via dell’Artigiano, n°1 – Z.A.
Tel. 0437 751175 – 751163 r.a. Fax 0437 751065
Other manuals for RK3
1
Table of contents
Other Allmatic Keypad manuals
Popular Keypad manuals by other brands
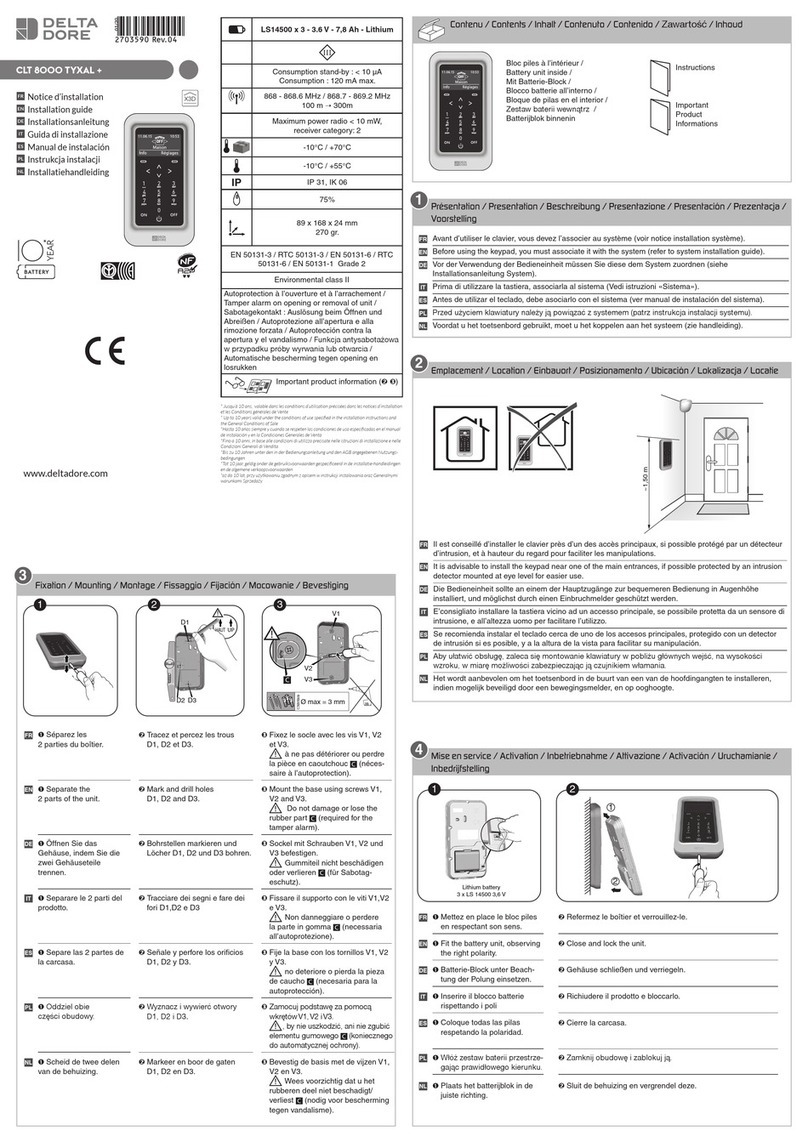
DELTA DORE
DELTA DORE CLT 8000 TYXAL + installation guide
TOPMAQ
TOPMAQ LM175P user manual
Interlogix
Interlogix NX-1815E user manual
Interlogix
Interlogix NX-181xx NetworX installation manual
Hall Research Technologies
Hall Research Technologies UI-IP8-DP user manual

INIM Electronics
INIM Electronics Aria Installation and programming manual
