Alphacom a300 User manual

1
Alphacom a300
a RANGE hEAdsEtPhONE
USER GUIDE
Versatility & Value
®

1
CONTENTS Page
1. GUARANTEE 2
2. CONDITIONS OF USE 2
3. FACILITIES AND FEATURES 3
4. LOCATIONS OF CONTROLS - FRONT VIEW 4
5. LOCATIONS OF CONTROLS - SIDE VIEW 5
6. HEADSET HOOK ASSEMBLY - (optional) 6
7. UTILISATION OF CONTROLS 7
8. INSTALLATION 8
9. SETTING THE DIALLING AND RECALL MODE 8
9.1 THE DIAL MODE SELECTOR SWITCH 8
9.2 THE RECALL MODE SELECTOR SWITCH 9
9 3 NETWORK SERVICES 9
10. CONNECTING TO TELEPHONE SOCKET 10
11. SETTING THE CLOCK 10
12. SETTING THE RINGER 10
13. WALL MOUNTING 10
14. OPERATING PROCEDURES 11
14.1 HANDSET OPERATION 11
14.2 HEADSET OPERATION 11
14.3 HANDSFREE OPERATION 12
14.4 LAST NUMBER REDIAL 12
14.5 AUTO REDIAL FEATURE 13
14.6 MEMORY OPTION 13
14.7 STORING NUMBERS WHILST ON A CALL 14
14.8 PROGRAMMING CODES FOR CENTREX & NETWORK SERVICES 14
14.9 CHANGING A NUMBER IN A MEMORY LOCATION 14
14.10 DIALLING NUMBERS FROM MEMORY 14
14.11 PAUSE FACILITY 14
14.12 MIXED DEAL MODE OPERATION
STORING MIXED DIAL MODE NUMBERS 15
14.13 RECALL BUTTON 15
14.14 AUTO CALL TIMER 16
14.15 * AND # BUTTONS 16
14.16 HANDSET MUTE BUTTON 16
14.17 BASE UNIT LATCHABLE MUTE 16
14.18 SAVE FUNCTION 16
15. OPERATING PROCEDURE FOR PBX CONNECTION 17
15.1 PBX RECALL 17
15.2 PABX PAUSE FACILITY 17
15.3 MESSAGE WAITING OPERATION 17
15.4 GENERAL USE 17
16. IN CASE OF DIFFICULTY 18
17. CARE OF YOUR a300 HEADSETPHONE 18

2
1. GUARANTEE
Your Executive a300 Headsetphone is guaranteed from the date of purchase. If
found to be faulty within the guarantee period it will be repaired or replaced at our
discretion, subject to our standard terms and conditions.The guarantee does not
cover accidental damage or negligence.The telephone must only be used in the
U.K. in accordance with its instructions for use and must not be tampered with, or
taken apart by anyone who is not an authorised representative of the company.The
guarantee in no way limits your legal rights. Should you have any problems, please
return your telephone to your supplier.
Please ensure that a note of your name and address and details of the problems are
enclosed, together with a copy of your purchase invoice, and that goods are returned
in their full original packaging with instructions enclosed. Goods are returned to the
manufacturer at the customers own risk and expense.
2. CONDITIONS OF USE
Your a300 Headsetphone is approved for use on business or private direct exchange
lines and on compatible PBX extensions.
When connected to a direct exchange line this must be a standard exclusive (not
shared service) line. The line should cater for either loop disconnect or multifrequency
signalling. The telephone can signal Timed Break and Earth Recall.
This telephone is not suitable for use as an extension to a payphone or on shared
service or ( 1+1 ) carrier systems.
The dialling code ‘999’ can be dialled on this apparatus for the purposes of making
outgoing calls to the BT Emergency (999) Service.

3
3. Facilities and Features
This apparatus has been approved for the use of the following facilities
- Simple telephone facility with headset operation
- Loop Disconnect or DTMF Signalling (selectable)
- Mixed Mode signalling
- 10 + 10 Direct memory locations of 24 digits capacity
- Memory protection switch
- Earth Loop and Timed Break Recall.
- Handset push to mute facility or optional push to speak (in handset mode only)
- Base unit latchable mute, with LED indication.
- Wall or Desk mountable.
- Full ‘HANDS FREE’ operation with volume control and LED indication.
- Ringer OFF/LO/HI control
- Ringer pitch control
- Pause entry in dialling sequence.
- 16 digit LCD showing real and call elapsed time and dialled telephone number
- Auto call timer.
- Autoredial(10xedtime)
- Message waiting.
Any other usage will invalidate the approval of the apparatus if as a result it then ceases
to conform to the standards against which approval was gained.

4
4. a300 Headsetphone - front view
4
4. a300 Headsetphone -
a300 User Guide.indd 4 8/3/11 12:31:02
Front View

5
a300 Headsetphone - side view

6
6. Headset Hook Assembly (Optional)
Hi Elevation
Position the Headset Hook in the required elevation (Hi or Lo) then slide the cover on to
secure in place.
Lo Elevation

7
7. Utilisation of Controls
The button functions are as follows:
0 - 9 - Dialing digits.
* - # - Dialling codes for MF signalling
Recall - For use on PBX or for star services
Save - Used to store the last number in a memory
Tone - Switches from Loop Disconnect to DTMF during dialling
Redial - Last number redial
Pause - Insert a pause in the dial sequence
Store - Used to store a telephone number in memory
Mute - To prevent the other party from hearing you (ie. push (on
(on handset) handset) down to mute) or, alternatively, on specially adapted
models this can be amended to push-to-speak. In this
instance, the phone will be clearly marked as such.
Latchable Mute - To prevent the other party from hearing you (i.e. push (on
base) to mute). LED will illuminate when in use. Push button
again to continue normal (two-way) conversation.
Headset - To enable headset operation, LED will illuminate when in use.
Auto Redial - Activates re-dialling to a previously engaged number.
Time - You can check the last number dialled and the conversation
time.
Shift - To select memories 11-20.
Set - Use to set clock
LCD - Use to set LCD Display Contrast
Speaker - To enable handsfree dialling, LED will illuminate when in use.
Auto Redial - 10 times Auto Redial (operate with batteries installed).
The switch functions are as follows:
Ring Vol - Allows you to set the level of the ringer loudness
Ring Pitch - Allows you to set the pitch of the ringer
ELR/TBR - Sets the Recall to Earth (ELR) or Timed Break (TBR) Recall
Pulse/Tone - Sets signalling (dialling) to Loop Disconnect (LD) or DTMF(MF)
Store On/Off - Allows you to protect numbers stored in memory location
MessageWaiting - Setsthemessagewaitingto4or6lineconguration
Vol. (Slide)
- Allows you to set the headset and speaker volume.
Visual Indicators: Ring - This indicates an incoming call by lighting up.
Message Waiting - Operates where PABX message waiting is operational
Headset Socket - Used to connect the headset (not supplied)

8
8. Installation
The telephone must be sited close to one of the new modular telephone sockets.There
is no limit to the number of sockets you can have installed in your home which means
you can, if you wish, move your telephone from room to room. Unlike sockets, however,
there is a limit to the number of telephones you can operate on your exchange line.
Installing too many telephones will overload the line which could inhibit some or all of
the telephones from ringing.To avoid overloading your exchange line there is a method
of calculating the number of telephones you can use.Add all the Ringer Equivalence
Numbers (REN) together, which are marked on the base of each telephone.Numbers
differ so do check.The numbers when added together must be 4 or less. Sometimes
BT telephones are unmarked but they can generally be assumed to have a REN of
1.0.Ifindoubt,pleasecheckwithyourBTSalesOfce.TheRENvalueofyoura300
Headsetphone is 1.0.
9. Setting the Dialling and Recall Mode
The settings must be carried out BEFORE connecting the telephone to the telephone
socket. Please note that batteries are not supplied with the unit.
Remove the battery compartment cover on the underside of the base by removing the
screw and sliding back the cover. N.B.The telephone must be disconnected from the line
before removing the battery cover. Fit 2 size M (or equivalent) leakproof alkaline batteries
observing correct polarities.The batteries support information in the memories.
Note: If the Auto Redial function does not operate, you need to replace the batteries.
Two preset switches will be found situated underneath the memory card inlay.These are
the DIAL MODE SELECTOR SWITCH and RECALL MODE SELECTOR SWITCH and
should be set as follows:
9.1 THE DIAL MODE SELECTOR SWITCH
BT are replacing all local exchanges with new ‘TONE’ dialling digital systems.They will
give improved clarity and reliability and with ‘Touch Tone’ signalling telephones, instant
connection of calls over digital exchanges and a host of advanced features. However
some telephone exchanges in the U.K. still operate on the PULSE dialling system.
Your a300 Headsetphone series telephone allows you to operate on either system
and the DIAL MODE SELECTOR SWITCH should be set to the dialling mode required
by your exchange. Set the switch to the PULSE position for pulse dialling or to the
TONE position for tone dialling. If in doubt about the correct dialling mode used by your
exchange, please consult your Network Operator.

9
9.2 THE RECALL MODE SELECTOR SWITCH
If you are connected to a TONE dialling exchange, set the switch to the TBR (Timed
Break Recall) position to enable you access certain Network Services.
If you are connected to a PULSE dialling exchange, set the switch to the ELR(Earth
Loop) position as recall has no function on direct lines connected to such exchanges.
(This will avoid the possibility of cutting off your call should the recall button be pressed
accidentally.)
If you are connected to a PABX, set the switch according to the requirements of your
particular PABX. If in doubt, consult your PABX Instructions or your PABX maintainer.
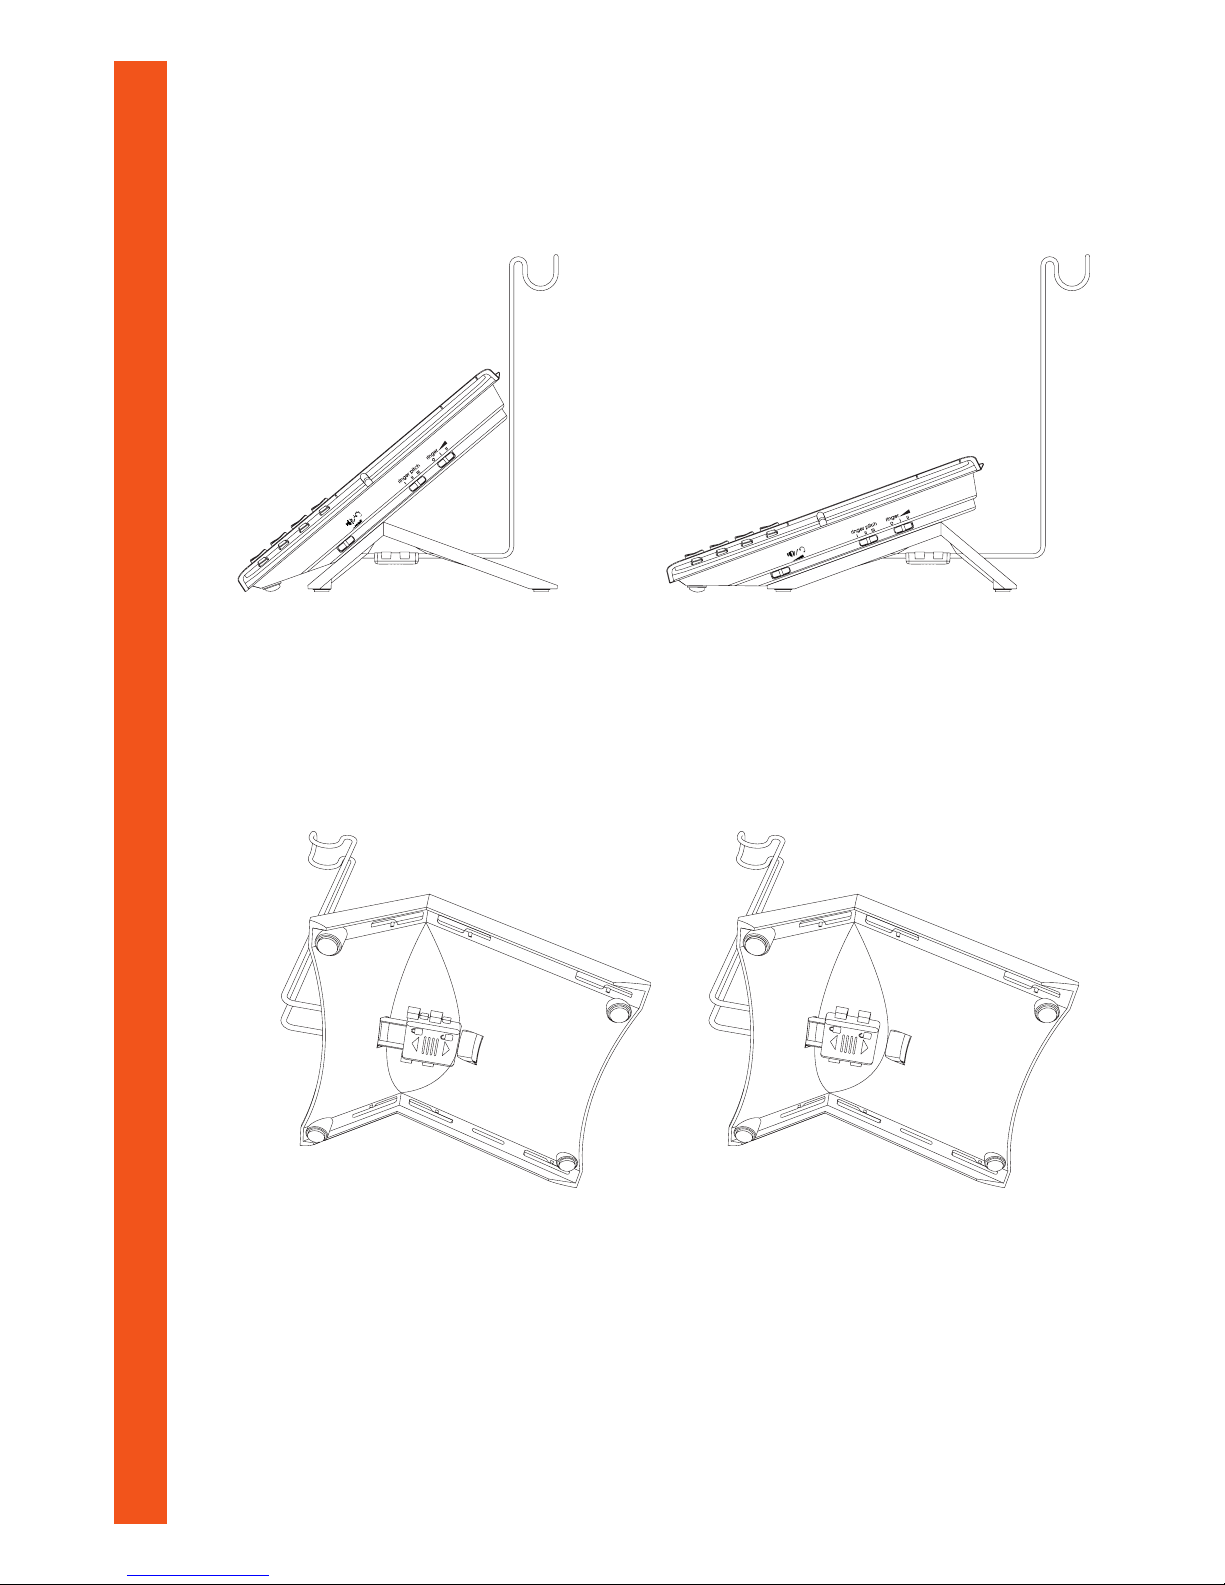
Havinginstalledthebatteriesandsettheswitches,retthebatterycompartmentcover
ensuring that it is screwed fully into place.
9.3 NETWORK SERVICES
BT are replacing all local exchanges with new digital systems. They will give improved
clarity and reliability and with Tone signalling telephones, instant connection of calls over
digital exchanges and a host of advanced features.
If you are on a digital exchange, you can instruct it to ring you back with the cost of your
call. Or you can use it to set up reminder calls, where the exchange rings you at a time
you specify.
You can even instruct the exchange to divert your incoming calls to another number, or
deal with two calls at once, or set up a 3-way call.
These services are called Network Services: to use them you need a tone signalling
telephone.Tondoutifyouareonadigitalexchange,orwhenitwillbeprovided,
contactyourlocalBTofce.
Your a300 Headsetphone provides tone signalling when the Dial Mode selector switch is
set to the (TONE) position and the Recall Mode selector switch is in the TBR position.
If your system requires PULSE dialling, you can change to TONE dialling once the call
has been established by pressing the TONE button.This enables you to access special
services such as Banking etc. which require access digits to be transmitted in TONE
mode. It is important to wait for the call to be established before keying in the access
digits. On completion of the call, the telephone will revert to PULSE dialling.
*TouchTone is a trademark of BT in the U.K.
If you are connected to a PABX, set the switch according to the requirements of your
particular PABX. If in doubt, consult your PABX Instructions or your PABX maintainer.

10
10. Connecting to Telephone Socket
When the setting up instructions have been completed, connect the plug at the end of
thetelephoneleadintothetelephonesocket.Theplugwillonlytthecorrectwayround.
11. Setting the Clock
1. Lift up the Handset or press the Handsfree button
2 PressSetbutton,themonthsettingashesinthedisplay
3. Press * KEY repeatedly to select the correct month
4. Press#KEYtoconrmthesetting.TheDaysettingwillthenashinthedisplay
5. Press * KEY repeateldy to select the correct Day
6. Press#KEYtoconrmthesetting.TheHoursettingwillthenashinthedisplay
7. Press * KEY repeatedly to select the correct Hour
8. Press#KEYtoconrmthesetting.TheMinutessettingwillthenashinthedisplay
9. Press * KEY repeatedly to select the correct Minutes
10.PressSETkeyagaintoconrmthesetting
11. Replace the Handset in the cradle or press Handsfree button to disconnect the line.
After approximately 6 second the Date/Time will be displayed
12. Setting the Ringer
RINGER OFF/LO/HI switch.
Set the switch to the LO or Hl position as desired to give a quiet or loud ring. The Ringer
may also be switched OFF by setting the switch to the OFF position. Outgoing calls may
still be made with the switch set to the OFF position.
RINGER PITCH switch.
Set the switch to the Hl, MED or LO position to adjust the pitch of the ringer.
13. Wall Mounting
You may wish to mount the a300 Headsetphone on a wall.
To do this:
- Slide the plastic, “wall mount” upwards to remove, turn it around and replace it in the
slot.
- The Handset will then stay in the cradle when the telephone is on the wall.
- Position screw into the wall ensuring that the screw head is 5mm from the wall.
- Place the telephone on the screw using the keyhole slot on the rear of the telephone.

11
14. Operating Procedures
Three modes of operation are provided; normal handset mode where the handset
is lifted and replaced in the normal manner, headset mode where conversation is
conducted through the headset and handsfree mode where the caller or called party is
heard through a loudspeaker built into the telephone and a microphone (again built into
the telephone) picks up your voice.
When making or receiving a telephone call, you can alternate among the three modes of
operation.
On dialling the required telephone number, the display will change to indicate the dialled
number. After a short period of time, the display will show, Auto Timer. If the number
has more than 16 digits, the display will scroll to the left and only the last 16 digits of the
number will be shown.When the call is completed the display will revert to current time.
The display shows:
14.1 HANDSET OPERATION
Pick up the handset and if making a call, await dial tone and dial the
required telephone number. On completion of the call, replace handset in
cradle.
14.2 HEADSET OPERATION
HEADSET BUTTON
Using the headset button, you can make calls via the headset without
having to move the handset to do so. By pressing the headset button you
can obtain a line, answer an incoming call or disconnect the current call.
IMPORTANT
Calls can be transferred from the handset to the headset only if a headset is
connected to the telephone.
HEADSET ‘ON’ LED
While calls are being made using the headset, the headset ‘ON’ LED lights
up to indicate that a call is in progress. The light goes out if no calls, or calls
using the handset, are being made.
HEADSET VOLUME CONTROL
A headset volume control on the right hand side of the telephone allows you
to select the most comfortable listening volume for the headset. The volume
can be set or changed at any time.
�# Recall Store Batt Shift Mute
pause (TBR) Low
-9-
12. OPERATING PROCEDURES
Three modes of operation are provided; normal handset mode where the handset is
lifted and replaced in the normal manner, headset mode where conversation is
conducted through the headset and handsfree mode where the caller or called party is
heard through a loudspeaker built into the telephone and a microphone (again built into
the telephone) picks up your voice.
When making or receiving a telephone call, you can alternate among the three modes of
operation.
On dialling the required telephone number, the display will change to indicate the dialled
number.After a short period of time, the display will show,Auto Timer. If the number has
more than 16 digits, the display will scroll to the left and only the last 16 digits of the
number will be shown.When the call is completed the display will revert to current time.
The display shows:
12.1 HANDSET OPERATION
Pick up the handset and if making a call, await dial tone and dial the required telephone
number. On completion of the call, replace handset in cradle.
12.2 HEADSET OPERATION
HEADSET BUTTON
Using the headset button, you can make calls via the headset without having to
move the handset to do so. By pressing the headset button you can obtain a line,
answer an incoming call or disconnect the current call.
IMPORTANT
Calls can be transferred from the handset or handsfree mode to the headset only if
a headset is connected to the telephone.
HEADSET ‘ON’ LED
While calls are being made using the headset, the headset ‘ON’ LED lights up to
indicate that a call is in progress.The light goes out if no calls, or calls using the
handset or via handsfree mode, are being made.
HEADSET VOLUME CONTROL
A headset volume control on the right hand side of the telephone allows you to
select the most comfortable listening volume for the headset.The volume can be
set or changed at any time.
TRANSFERRING CALL FROM HANDSFREE TO HEADSET
To transfer a call from Handsfree to Headset, press the Headset button, the LED on
the Headset button will illuminate.When in headset mode, pressing the speaker
button once will transfer the call to handsfree mode.
TRANSFERRING CALL FROM HANDSET TO HEADSET
To transfer a call from Handset to Headset, press the Headset button, the LED on
the Headset button will illuminate.To transfer a call from headset mode to handset
, simply pick up the handset from the cradle.
JD081 NR205HP User Guide final 6/11/06 10:42 Page 11

12
TRANSFERRING CALL FROM HANDSFREE TO HEADSET
To transfer a call from Handsfree to Headset, press the Headset button, the
LED on the Headset button will illuminate. When in headset mode, pressing
the speaker button once will transger the call to handsfree mode.
TRANSFERRING CALL FROM HANDSET TO HEADSET
To transfer a call from Handset to Headset, press the Headset button, the
LED on the Headset button will illuminate. To transfer a call from headset
mode to handset, simply pick up the handset from the cradle.
14.3 HANDSFREE OPERATION
When the telephone rings, press the Speaker button and commence your
conversation speaking at a comfortable distance of about 35 cms from
the telephone. Adjust the volume of sound by means of the VOLUME
CONTROL.To make a call, press the speaker button, await dial tone and
dial the required telephone number. On completion of the call, press the
Speaker button to clear down the line.To change from HANDSFREE mode
to HANDSET MODE, pick up the handset. Replacing the handset in the
cradle will clear down the line when you have completed the call.To change
from HANDSET MODE to HANDS FREE MODE, press the speaker button
and replace the handset in the cradle. Pressing the Speaker button again
will clear down the line when you have completed the call. During HANDS
FREE mode, the LED indicator will light up.
14.4 LAST NUMBER REDIAL
If the telephone number you have called is engaged or if you want to repeat
the call to the number you dialled previously, lift the handset or use the
handsfree mode, or headset mode, await dial tone and press the REDIAL
LNR button.The previously dialled number will be RE-DIALLED. Up to 32
digits can be stored in the REDIAL LNR memory. The re-dialled number will
appear in the display. If the number contains more than 16 digits, only the
last 16 will be displayed.

13
14.5 AUTO REDIAL FEATURE
If the telephone number you have called is engaged and you want to keep
on dialling until the call is answered.
1. Press Speaker button to get the line, the LED indicator will illuminate.
2. Press the Auto Redial button, the dialled telephone number will be
automatically dialled out.The dialled number will blink on the display and
the line status can be monitor through the Speaker during 30 seconds
waiting period.
3. If the call is answered during 30 seconds waiting period, you can answer
the call by lift up the Handset or press any key on the telephone except
Speaker button to use Handsfree operation.
4. If the call is not answered during 30 seconds, the line is disconnected
by 30 seconds break period. During the 30 seconds break period, the
telephone number will show steadily on display and the Speaker button
indicator will turn off.
5. After the 30 seconds break period, the telephone number will be
automatically dialled out again as described in step 2.
6. The Auto Redial process will be repeated for 10 times until the call is
answered or you can terminate the function by pressing the Speaker
button during the break period as you wish.
7. Auto Redial can also work in headset mode. By pressing the headset
buttonrsttogetthelinethenpressingtheautoredialbutton.The
operation is similar to that in handsfree mode
14.6 MEMORY OPTION
Up to 20 telephone numbers each consisting of a maximum 24 digits
(including pauses or change of dial mode instruction).
Alternatively you may store 10 telephone numbers plus 10 access codes for
Network Services which your service provider has enabled.
Two banks of memory are provided, labelled 1-10 and 11-20 (the
appropriate bank being selected by pressing the SHIFT button and symbol
will show on display).
To store a number, please adopt the following procedure:-
1. Ensure the Memory Protection Store switch is positioned to the left.
2. Seize the line in any mode.
3. Press STORE button once, and the symbol “E” shows on display.
4. Key in the telephone numbers you want to store.
5. Press SHIFT button if upper memory location are required.
6. Press desired memory location button.
7. Release the line from any mode.
8. To protect the number stored ENSURE that the Memory Protection
Store switch is positioned to the right.
12.6 MEMORY OPTION
Up to 20 telephone numbers each consisting of a maximum 24 digits (including pauses
or change of dial mode instruction).
Alternatively you may store 10 telephone numbers plus 10 access codes for Network
Services which your service provider has enabled.
Two banks of memory are provided, labelled 1-10 and 11-20 (the appropriate bank being
selected by pressing the SHIFT button and symbol “ ” will show on display).
To store a number, please adopt the following procedure:-
1. Ensure the Memory Protection Store switch is positioned to the left.
2. Seize the line in any mode.
3. Press STORE button once, and the symbol “E” shows on display.
4. Key in the telephone numbers you want to store.
5. Press SHIFT button if upper memory location are required.
6. Press desired memory location button.
7. Release the line from any mode.
8. To protect the number stored ENSURE that the Memory Protection Store switch is
positioned to the right.
12.7 STORING NUMBERS WHILST ON A CALL
Numbers may also be stored when you are actually in the process of making a call and
using the handset.This is useful, for example, if you are given a telephone number during
your conversation.The number may then be dialled from memory at a later time.To
store the number, press STORE button, key in the telephone number and then the
desired memory location button.Write down references to numbers stored against
memory location buttons.
12.8 PROGRAMMING CODES FOR CENTREX
AND NETWORK SERVICES
If you are using the Executive NR205HPUK headsetphone on an exchange line (not a
PABX) and subscribe to network services provided by BT, or by another network
provider, individual services may be programmed into the memory keys using the
procedure outlined in 12.7., thus allowing you to use such services at the touch of a
button. If you are a business user taking advantage of Centrex Service, these services
may also be programmed into the one touch keys in this manner. However, it must be
noted that the operating codes will differ for each service and in order to programme
your telephone correctly a set of Network Service or Centrex codes should be
obtained from your Network Operator. Programming codes for BT Network Services
and many Centrex services, along with special memory inlay cards for ease of use are
available from your supplier, or by contacting Pocket UK.
12.9 CHANGING A NUMBER IN A MEMORY LOCATION
If you wish to change a number in a memory location, simply follow the instructions for
storing a number. Entering the new number will automatically erase the previous
number.
-11-
JD081 NR205HP User Guide final 6/11/06 10:42 Page 13

14
14.7 STORING NUMBERS WHILST ON A CALL
Numbers may also be stored when you are actually in the process of
making a call and using the handset.This is useful, for example, if you are
given a telephone number during your conversation.The number may then
be dialled from memory at a later time.To store the number, press STORE
button, key in the telephone number and then the desired memory location
button.Write down references to numbers stored against memory location
buttons.
14.8 PROGRAMMING CODES FOR CENTREX AND NETWORK SERVICES
If you are using the a300 Headsetphone on an exchange line (not a
PABX) and subscribe to network services provided by BT, or by another
network provider, individual services may be programmed into the memory
keys using the procedure outlined in 12.7., thus allowing you to use
such services at the touch of a button. If you are a business user taking
advantage of Centrex Service, these services may also be programmed
into the one touch keys in this manner. However, it must be noted that the
operating codes will differ for each service and in order to programme your
telephone correctly a set of Network Service or Centrex codes should be
obtained from your Network Operator. Programming codes for BT Network
Services and many Centrex services, along with special memory inlay cards
for ease of use are available from your supplier, or by contacting Pocket UK.
14.9 CHANGING A NUMBER IN A MEMORY LOCATION
If you wish to change a number in a memory location, simply follow the
instructions for storing a number. Entering the new number will automatically
erase the previous number.
14.10 DIALLING NUMBERS FROM MEMORY
To dial a number from memory, lift handset or press Speaker or Headset
button, await dial tone and press button corresponding to memory location
require ensuring that the correct memory ‘shift’ is selected.
Sometimes it may be necessary to combine the information from 2
memories or to combine memory dialling with manual dialling. In these
cases, simply press the 2 memory buttons in sequence or press the desired
memory button followed by manual dialling of the remainder of the number.
These combinations are often carried out when alternative carriers are used.
14.11 PAUSE FACILITY
With some PABX’s, it is necessary after dialling an outside line access
digit (often 9) to wait for new dial tone before dialling the outside number.
If the PAUSE button is pressed after the access digit has been dialled, the
number may be dialled immediately without waiting for new dial tone as the
telephone will introduce the required pause in the dialling sequence. In some
cases it may be necessary to introduce a second pause, but do not enter
more than 2 pauses or unsatisfactory operation may result.

15
14.12 MIXED DEAL MODE OPERATION
STORING MIXED DIAL MODE NUMBERS
If you are connected to an exchange requiring PULSE dialling and you wish
to route your calls via an alternative carrier (if available), it is necessary to
dial an ACCESS code in PULSE mode followed by a pause and then an
AUTHORISATION code in TONE mode. Since the telephone numbers of all
calls to be re-routed via the alternative carrier will have to be preceded by
the same access and authorisation codes, it is convenient to store them in a
memory location.
For example, if your access code is 123 and your authorisation code is
4567890 and you wish to store the combined codes in memory location
M1, you would proceed as follows:-
1. Seize the line in any mode.
2. Press STORE button once.
3. Key in 123
4. Press TONE button (this changes the dialling mode to tone)
5. Press PAUSE button to introduce a pause, Note that it may be necessity
to introduce a second pause but do not enter more than 2 or incorrect
operation may result.
6. Key in 4567890
7. Press M1 button
8. Release the line.
During the storing process, the number will be displayed in the LCD.
To dial a number via the alternative carrier, lift handset or press Speaker
button, await dial tone, press M1 button and then dial the telephone number
you are calling. Alternatively, press the M1 button followed by another
memory button if the called number is stored in a memory location.
14.13 RECALL BUTTON
This is generally only used when the telephone is connected to a PABX
(Private Automatic Branch Exchange) and gives access to features provided
by that exchange. However, RECALL is becoming a feature on the new
digital exchanges to give access to new services such as some of BT’s
Network Services.
For full information on the use of the RECALL button, please consult your
PABX instructions or your Network Operator providing the services.
For setting the correct RECALL mode, please refer to section under
‘INSTALLATION’.
12.10 DIALLING NUMBERS FROM MEMORY
To dial a number from memory, lift handset or press Speaker or Headset button, await
dial tone and press button corresponding to memory location require ensuring that the
correct memory ‘shift' is selected.
Sometimes it may be necessary to combine the information from 2 memories or to
combine memory dialling with manual dialling. In these cases, simply press the 2 memory
buttons in sequence or press the desired memory button followed by manual dialling of
the remainder of the number.These combinations are often carried out when alternative
carriers are used.
12.11 PAUSE FACILITY
With some PABX’s, it is necessary after dialling an outside line access digit (often 9) to
wait for new dial tone before dialling the outside number. If the PAUSE button is pressed
after the access digit has been dialled, the number may be dialled immediately without
waiting for new dial tone as the telephone will introduce the required pause in the
dialling sequence. In some cases it may be necessary to introduce a second pause, but do
not enter more than 2 pauses or unsatisfactory operation may result.
12.12 MIXED DEAL MODE OPERATION
STORING MIXED DIAL MODE NUMBERS
If you are connected to an exchange requiring PULSE dialling and you wish to route
your calls via an alternative carrier (if available), it is necessary to dial an ACCESS code
in PULSE mode followed by a pause and then an AUTHORISATION code in TONE
mode. Since the telephone numbers of all calls to be re-routed via the alternative carrier
will have to be preceded by the same access and authorisation codes, it is convenient to
store them in a memory location.
For example, if your access code is 123 and your authorisation code is 4567890 and you
wish to store the combined codes in memory location M1, you would proceed as
follows:-
1. Seize the line in any mode.
2. Press STORE button once.
3. Key in 123
4. Press TONE button (this changes the dialling mode to tone)
5. Press PAUSE button to introduce a pause, Note that it may be necessity to
introduce a second pause but do not enter more than 2 or incorrect operation may
result.
6. Key in 4567890
7. Press M1 button
8. Release the line.
During the storing process, the number will be displayed in the LCD.
To dial a number via the alternative carrier, lift handset or press Speaker button, await
dial tone, press M1 button and then dial the telephone number you are calling.
Alternatively, press the M1 button followed by another memory button if the called
number is stored in a memory location.
-12-
1 2 3 4 5 6 7 8 9 0
JD081 NR205HP User Guide final 6/11/06 10:42 Page 14

16
14.14 AUTO CALL TIMER
Ifnokeyispressedafterdiallingisnished,theDisplaywillshowthecall
timer after 6 seconds.The Call Timer will automatically indicate elapsed time
during a call up to 59 minutes and 59 seconds.
To stop the call timer either “hang up” (or terminate handsfree or headset
operation). The display will revert to current time.
14.15 * AND # BUTTONS
These are used with the new services provided by digital exchanges as well
as accessing features on some PABX’s.They have no dialling function in
pulse dialling mode.
14.16 HANDSET MUTE BUTTON
When using the a300 Headsetphone in handset mode (not other modes),
whilst the handset mute button is depressed the other party will not hear
theconversation.Ifspeciedthea300Headsetphonecanbesuppliedwith
this button as ‘push to talk’, and in this instance the telephone will be clearly
marked as such.
NB.The handset mute button is inoperable when the a300 Headsetphone
is in handsfree or headset mode, and therefore all speech when in these
modes will be transmitted normally.
14.17 BASE UNIT LATCHABLE MUTE
Pressing the MUTE button during a call will deactivate speech transmission.
When mute is activated, its LED indicator will light up. Press the mute button
again to deactivate the mute function.
14.18 SAVE FUNCTION
The SAVE button is used to store a dialled number, it may store up to 32
digits.To store a number press SAVE after the number had been dialled.
You can also store a number had been dialled.You can also store a number
into the SAVE button in the same way as storing a number into the memory
location.

17
15. OPERATING PROCEDURE FOR PBX CONNECTION
The a300 Headsetphone is suitable for connection to a PABX which returns secondary
proceed indication.
15.1 PBX RECALL
When connected to a PBX, the telephone will send a Recall Signal to the
exchange when the RECALL button is pressed.This a300 Headsetphone
provides either TIMED LINE BREAK RECALL or EARTH RECALL. Consult
your PBX supplier or maintainer to ascertain which is compatible with your
PBX. Having established which you require select either ELR (Earth Recall)
or TBR (Timed Line Break Recall) using the ELR/TBR switch.
NB. Like the mute key the Recall key is a ‘hard switches’ not a ‘soft press’
key.This means that it will only depress slightly, and will remain depressed
until released.
15.2 PABX PAUSE FACILITY
On PABX systems which provide secondary proceed indication you must
wait for the secondary proceed dial tone after dialling the initial access
digit(s), normally 9 for an outside line. For correct operation of the Memory
facilities it is therefore necessary to store a Pause after the access digit to
ensure correct dialling. Pressing the LNR key automatically inserts a 3.6
second pause in the dialling sequence.
NB: Do not enter more than 3 consecutive pauses. Failure to comply with
this may result in unsatisfactory operation and will invalidate the approval.
15.3 MESSAGE WAITING OPERATION
On 4 wire systems set the switch to 2/5 to enable message waiting on
compatible systems. For 6 wire systems set the switches to 1/6. Only one
message waiting telephone may be connected to an extension. If more
than one message waiting telephone is connected to a line, the system may
interpret this as an off hook condition.
15.4 GENERAL USE
It must be noted that there is no guarantee of correct working of this
telephoneinallcircumstanceswhenconnectedtoaPBX.Anydifculties
should be referred to the telephone supplier.
This telephone is approved for connection to most PBX’s. The supplier of
this telephone should be consulted for an up to date list of PBX’s with which
this telephone is compatible.

18
16. IN CASE OF DIFFICULTY
In the event of the telephone failing to operate properly, please carry out the following:
- Check that the DIAL MODE SELECTOR and RECALL MODE SELECTOR switches
are set to the correct positions for your telephone exchange. If set correctly
disconnect the telephone plug from the telephone socket, lift the handset from the
cradle and remove the batteries from the battery compartment.Wait for 5 minutes,
retthebatteries,resettheclockandre-connectthetelephone.
NOTE: If BT engineers are called out unnecessarily and the line is not at fault, a charge
willbemade.Ifdifcultiesarestillexperienced,pleasecontactyoursupplier.
17. Care of your a300 Headsetphone
You have invested in a quality product and simple care and cleaning will keep it in good
condition.The plastic parts and cards should be wiped with a cloth dampened with clean
water.
DO NOT use spray polishes as these can affect the internal circuits.
DONOTuseabrasivecleanersasthesewilldullthehighglossnish.
DO NOT let the coiled cord become knotted or twisted.
Do not expose the unit to high temperatures by sitting near radiators, etc. Keep the unit
dry and do not install or operate in outdoor conditions.
The handset and base should be cleaned with a soft cloth. Do not apply polishes or
strong cleaning agents as these could damage the mouldings.

Distributed by:
Alphacom®
Incom House, Waterside
Trafford Park
Manchester, M17 1WD
Tel: 0161 935 1000
Fax: 0161 935 1015
www.alphacomtelecoms.co.uk
email: [email protected]
All Alphacom telephones are
manufactured to comply with
CE standards
Table of contents
Other Alphacom Telephone manuals