manuals.online logo
Brands
  1. Home
  2. •
  3. Brands
  4. •
  5. Alphacool
  6. •
  7. Computer Hardware
  8. •
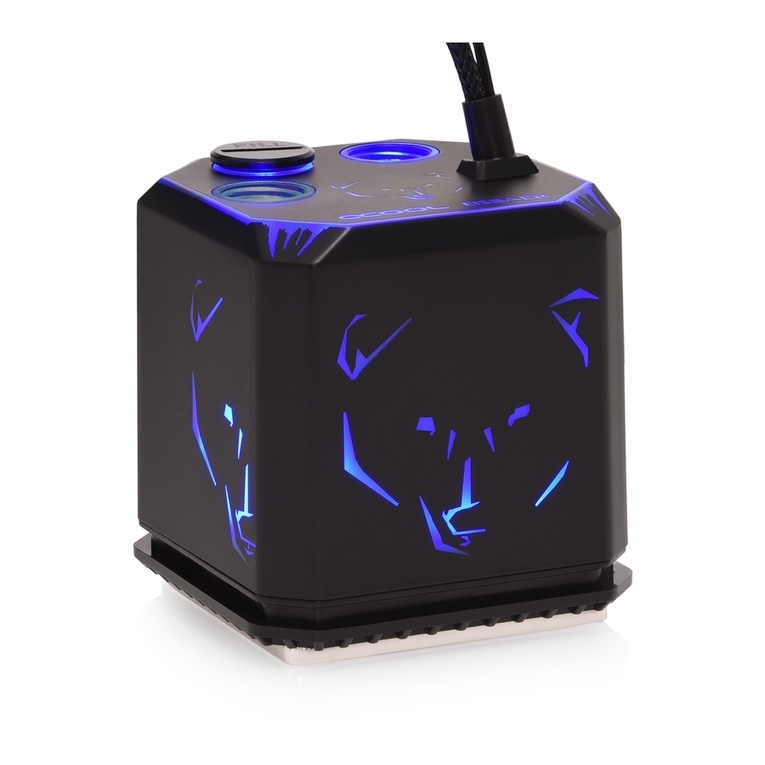
  9. Alphacool Eisbaer Pro Series User manual

Alphacool Eisbaer Pro Series User manual

ACCESSORIES ZUBEHÖR ACCESSOIRES
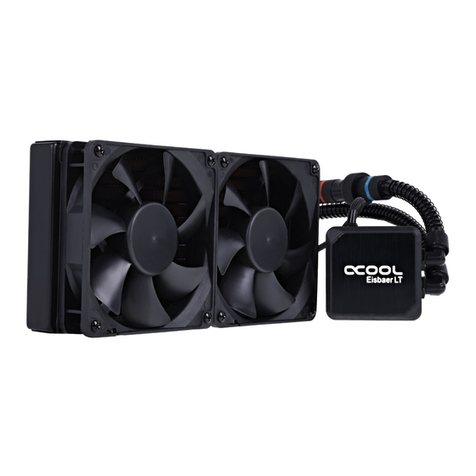
ALPHACOOL EISBAER PRO
Lisez les instructions de sécurité avant de commencer l‘installation.
FR
!
DE Lesen Sie die Sicherheitshinweise, bevor Sie mit der Installation beginnen.
!
EN Read the safety instructions before starting the installation.
!
1x Set
115x/1200/1700/2066/2011
Bracket/Halterung
1x Set
3647 Narrow
Bracket/Halterung
1x Set
TR4/SP3/sTRX4
Bracket/Halterung
1x Set
AMD AM4/AM5
Bracket/Halterung
4x
2066/2011
Bolt/Bolzen
1x Set
3647 Square
Bracket/Halterung
4x
TR4/SP3/sTRX4
Bolt/Bolzen
4x
AM4/AM5
Screws/Schrauben/Vis
4x
Pressure spring/Druckfeder/
Ressorts
4x
3647
Screws/Schrauben/Vis
4x
0,5mm Washer/Unterlegscheibe/
Rondelle
4x
2mm Washer/Unterlegscheibe/
Rondelle
4x
M4 Knurled nuts/Rändelmuttern/
Ècrous moletès
4x
M3x30mm
Per Fan/Pro Lüfter/Par Fan
4x
M3x5mm
Per Fan/Pro Lüfter/Par Fan
16x
M3x6mm
1x Set
4189
Bracket/Halterung
4x
6,5mm Spacers/Abstandshalter/
L’entretoise
4x
4189 Knurled nuts/
Rändelmuttern/Ècrous moletès
1x
Thermal paste/Wärmeleitpaste/
Composé thermique
1x
Allen key/Innensechskant/
Clé Allen
1x
Tool/Outil
4x
LGA 115x/1200/1700
Screws/Schrauben/Vis
1x
Backplate/Plaque arrière
EN DE FR
COMPATIBILITY KOMPATIBILITÄT COMPATIBILITÉ1.
SIZE IN MM MAßE IN MM MENSURE EN MM2.
INTEL AMD
LGA 115x, 1200, 1700, 2011-3, 2066, 3647-0 Narrow / Square, 4189 AM4, AM5, TR4, sTRX4, sWRX8, SP3
Max. Connections Diameter: 18mm
Max. Durchmesser Anschlüsse: 18mm
Max. Diamètres des raccords: 18mm
Model range / Modellreihe /
Gamme de modèles: DC-LT 2
Voltage / Spannung / Voltage 12V DC
RPM (+/- 10%) 2800 RPM
Electricity / Strom / èlectricitè 0,3A
Performance / Leistung /
Performance 4W
L / H 75l/h
Delivery head / Förderhöhe /
Hauteur de refoulement 0,95m
EN DE FR
The specication of the pump was tested with
demineralised water. Die Spezikationen der Pumpe wurden mit
demineralisiertem Wasser getestet. La spécicité de la pompe a été testée avec
de l'eau déminéralisée.
IN
OUT
INTEL LGA 115X/1200/1700/2011/2011-3/2066
INTEL LGA 3647 SQUARE
INTEL LGA 3647 NARROW
AMD TR4/sTRX4/sWRX8/SP3
AMD AM4/AM5
INTEL 4189
FILLPORT FILLPORT PORT DE REMPLISSAGE
EN DE FR
The llport can be used to rell the Eisbaer
Pro if necessary. Der Fillport kann bei Bedarf zum Nachfüllen
der Eisbaer Pro verwendet werden. L'orice de remplissage peut être utilisé pour
remplir l'Eisbaer Pro si nécessaire.
CPU COOLER PREPARATION VORBEREITUNG CPU KÜHLER CPU RADIATEUR PRÈPARATION3.
EN DE FR
Remove the protective lm from the radiator
bottom. Entfernen Sie die Schutzfolie von dem
Kühlerboden. Retirez le lm de protection du fond du
radiateur.
4.
CPU PREPARATION VORBEREITUNG CPU CPU PRÈPARATION5.
EN DE FR
After you have disassembled your old cooler,
rst clean the Hardware:
1. Remove residues of the thermal paste from
the CPU.
2. Use a cloth or cotton swabs to help. With
isopropanol alcohol, you can also remove
dried heat-conducting paste.
3. Apply a pea-sized blob of thermal paste to
the CPU.
4. Spread the paste with the aid of a plastic
strip or similar to form an even, thin layer
(<0,5mm layer thickness).
Nachdem Sie Ihren alten Kühler demontiert
haben, reinigen Sie zunächst die Hardware:
1. Entfernen Sie die Reste der
Wärmeleitpaste von der CPU.
2. Verwenden Sie ein Tuch oder
Wattestäbchen als Hilfe. Mit
Isopropanolalkohol können Sie auch
getrocknete Wärmeleitpaste entfernen.
3. Tragen Sie einen erbsengroßen Klecks
Wärmeleitpaste auf die CPU auf.
4. Verteilen Sie die Paste mit Hilfe eines
Plastikstreifens oder etwas ähnlichem zu
einer gleichmäßigen, dünnen Schicht
(<0,5mm Schichtdicke).
Une fois que vous avez démonté votre
ancienne refroidisseur, nettoyez d’abord le
matériel:
1. Enlever toute pâte conductrice de chaleur
résiduelle de l’untité CPU.
2. Utilisez un chion ou des cotons-tiges pour
vous aider. Avec l’alcool isopropanol, vous
pouvez également retirer la pâte
thermoconductrice séchée.
3. Appliquez une goutte de pâte thermique de
la taille d´un petit pois sur l’unité CPU.
4. Ètendre la pâte à l’aide d’une bande de
plastique ou similaire pour former une couche
mince et règulière (<0,5mm d’èpaisseur).
1. / 2. 3. 4.
BRACKET ASSEMBLY HALTERMONTAGE SUPPORT DE MONTAGE6.
SOCKET ASSEMBLY SOCKELMONTAGE INSTALLATION DU SOCLE
INTEL LGA 2011/2011-3/2066
EN DE FR
Select the appropriate holder and plug it
together. Both holders are mounted identically. Entsprechende Halterahmen wählen und
zusammenstecken. Beide Halterungen
werden identisch montiert.
Sélectionnez le cadre de maintien
correspondant et emboîtez-le. Les deux
supports sont montés de manière identique.
EN DE FR
2011/2066 Screw the bolt into the base, place
the cooler with the bracket on the base and x
it with pressure springs and nuts.
2011/2066 Bolzen in den Sockel eindrehen.
Den Kühler mit der Halterung auf den
Sockel setzen und mit den Druckfedern und
Muttern xieren.
Vissez les boulons 2011/2066 dans le socle,
placez le refroidisseur avec le support sur le
socle et xez-le avec des ressorts de pression
et des écrous.
4x 2066/2011 Bolzen/Bolt
4x M4 Knurled nuts/
Rändelmuttern/Ècrous moletès
Do not use tools, only tighten up hand-tight!
Kein Werkzeug benutzen, nur handfest
anziehen!
Ne pas utiliser d’outils, ne serrez que la main!
4x Pressure spring/Druckfeder/
Ressorts
BRACKET ASSEMBLY HALTERMONTAGE SUPPORT DE MONTAGE7.
SOCKET ASSEMBLY SOCKELMONTAGE INSTALLATION DU SOCLE
INTEL LGA 3647 NARROW/SQUARE
EN DE FR
Select the appropriate holder and plug it
together. Both holders are mounted identically. Entsprechende Halterahmen wählen und
zusammenstecken. Beide Halterungen
werden identisch montiert.
Sélectionnez le cadre de maintien
correspondant et emboîtez-le. Les deux
supports sont montés de manière identique.
EN DE FR
Place the cooler with the holder on the
Socket.
Fix it with the 3647 screws. First screw in the
screws in the outer corners, then the side
screws.
Den Kühler mit der Halterung auf den
Sockel setzen. Mit den 3647 Schrauben
xieren. Drehen Sie zunächst die Schrauben
in den äußeren Ecken ein, anschließend die
seitlichen Schrauben.
Placez le refroidisseur avec le support sur la
. Fixez-le avec les vis 3647. Serrez d’abord
les vis dans les coins extérieurs, puis les vis
latèrales.
4x 3647 Screws/Schrauben/Vis
BRACKET ASSEMBLY HALTERMONTAGE SUPPORT DE MONTAGE8.
SOCKET ASSEMBLY SOCKELMONTAGE INSTALLATION DU SOCLE
AMD TR4/sTRX4/sWRX8/SP3
EN DE FR
Select the appropriate holder and plug it
together. Both holders are mounted identically. Entsprechende Halterahmen wählen und
zusammenstecken. Beide Halterungen
werden identisch montiert.
Sélectionnez le cadre de maintien
correspondant et emboîtez-le. Les deux
supports sont montés de manière identique.
EN DE FR
The TR4/sTRX4/sWRX8/SP3 Screw the bolt
into the socket, place the cooler with the
bracket on the socket and x it with pressure
springs and nuts.
Die TR4/sTRX4/sWRX8/SP3 Bolzen in den
Sockel eindrehen. Den Kühler mit der
Halterung auf den Sockel setzen und mit
den Druckfedern und Muttern xieren.
Vissez les boulons TR4/sTRX4/sWRX8/SP3
dans le socle. Placez le refroidisseur avec le
support sur le socle et xez-le avec les
ressorts de compression et les écrous.
4x TR4/sTRX4/sWRX8/
SP3 Bolzen/Bolt
4x M4 Knurled nuts/
Rändelmuttern/Ècrous moletès
Do not use tools, only tighten up hand-tight!
Kein Werkzeug benutzen, nur handfest
anziehen!
Ne pas utiliser d’outils, ne serrez que la main!
4x Pressure spring/Druckfeder/
Ressorts
BRACKET ASSEMBLY HALTERMONTAGE SUPPORT DE MONTAGE9.
SOCKET ASSEMBLY SOCKELMONTAGE INSTALLATION DU SOCLE
AMD AM4/AM5
EN DE FR
Select the appropriate holder and plug it
together. Both holders are mounted identically. Entsprechende Halterahmen wählen und
zusammenstecken. Beide Halterungen
werden identisch montiert.
Sélectionnez le cadre de maintien
correspondant et emboîtez-le. Les deux
supports sont montés de manière identique.
EN DE FR
The AM4/AM5 screws are put through the
springs, washers and holders. Then
everything is mounted on the socket.
Die AM4/AM5 Schrauben werden durch die
Druckfedern, Unterlegscheiben und den
Halter gesteckt. Anschließend wird alles auf
den Sockel montiert.
Les vis AM4/AM5 sont passées á travers les
ressorts, les rondelles et les supports. Le tout
est ensuite monté sur le socle.
4x 0,5mm Washer/
Unterlegscheibe/Rondelle
4x Pressure spring/Druckfeder/
Ressorts
4x 2mm Washer/
Unterlegscheibe/Rondelle
4x AM4/AM5 Screws/
Schrauben/Vis
Do not use tools, only tighten up hand-tight!
Kein Werkzeug benutzen, nur handfest
anziehen!
Ne pas utiliser d’outils, ne serrez que la main!
BRACKET ASSEMBLY HALTERMONTAGE SUPPORT DE MONTAGE10.
SOCKET ASSEMBLY SOCKELMONTAGE INSTALLATION DU SOCLE
INTEL LGA 4189
EN DE FR
Select the appropriate holder and plug it
together. Both holders are mounted identically. Entsprechende Halterahmen wählen und
zusammenstecken. Beide Halterungen
werden identisch montiert.
Sélectionnez le cadre de maintien
correspondant et emboîtez-le. Les deux
supports sont montés de manière identique.
EN DE FR
Place the spacers on the threaded bolts.
Place the cooler with the holder on the base.
Screw the knurled nuts crosswise onto the
threaded bolts in the outer corners.
Platzieren Sie die Abstandshalter auf die
Gewindebolzen. Setzen Sie den Kühler mit
der Halterung auf den Sockel. Drehen Sie
die Rändelmuttern kreuzweise auf die
Gewindebolzen in den äußeren Ecken ein.
Placez les entretoises sur les boulons letés.
Placez le refroidisseur avec le support sur le
socle. Vissez les écrous moletés en croix sur
les boulons letés dans les coins extérieurs.
4x 6,5mm Spachers/
Abstandshalter/l‘entretoise
4x 4189 Knurled nuts/
Rändelmuttern/Ècrous moletès
EN DE FR
Remove the protective lm from the
backplate. Entfernen Sie die Schutzfolie von der
Backplate. Retirez le lm de protection de la plaque
arrière.
BRACKET ASSEMBLY HALTERMONTAGE SUPPORT DE MONTAGE11.
SOCKET ASSEMBLY SOCKELMONTAGE INSTALLATION DU SOCLE
INTEL LGA 115X/1200/1700
EN DE FR
Select the appropriate holder and plug it
together. Both holders are mounted identically. Entsprechende Halterahmen wählen und
zusammenstecken. Beide Halterungen
werden identisch montiert.
Sélectionnez le cadre de maintien
correspondant et emboîtez-le. Les deux
supports sont montés de manière identique.
INTEL LGA 115X/1200
EN DE FR
The backplate is xed to the back of the
mainboard with the adhesive strips. The LGA
115x/1200/1700 screws are put through the
springs, washers and the holders. Then
everything is mounted on the socket.
Die Backplate wird mit den Klebestreifen auf
der Rückseite des Mainboardes xiert. Die
LGA 115x/1200/1700 Schrauben werden
durch die Druckfedern, Unterlegscheiben
und den Halter gesteckt. Anschließend wird
alles auf den Sockel montiert.
La plaque arrière est xée à l'arrière de la
carte mère à l'aide des bandes adhésives.
Les vis LGA 115x/1200/1700 sont insérées à
travers les ressorts, les rondelles et le
supports. Le tout est ensuite monté sur le
socle.
4x 0,5mm Washer/
Unterlegscheibe/Rondelle
4x LGA 115x/1200/1700
Screws/Schrauben/Vis
4x Pressure spring/Druckfeder/
Ressorts
Do not use tools, only tighten up hand-tight!
Kein Werkzeug benutzen, nur handfest
anziehen!
Ne pas utiliser d’outils, ne serrez que la main!
MAINBOARD SUPPLY MAINBOARD ANSCHLUSS CONNEXION À LA CARTE MÈRE12.
EN DE FR
Connect the pump directly to your mainboard,
either to a 3-pin or 4-pin. Schließen Sie die Pumpe direkt an das
Mainboard an. Entweder an einen 3-Pin
oder 4-Pin Anschluss.
Connectez la pompe directement à votre carte
mère, soit sur un 3-pin ou 4-pin.
NOTE: HINWEIS: AVIS:
EN DE FR
If you are using a 3-pin fan connector, make
sure that the voltage is set to 12V in the bios.
This is not necessary for PWM connections.
Sollten Sie einen 3-Pin Lüfteranschluss
verwenden, achten Sie darauf, dass im Bios
die Spannung auf 12V gesetzt wurde. Bei
PWM Anschlüssen ist dies nicht notwendig.
Si vous utilisez un connecteur de ventilateur à
3 broches, assurez-vous que la tension est
réglée sur 12V dans le bios. Ceci n'est pas
nécessaire pour les connexions PWM.
V.1.00-02.2022
Alphacool International GmbH
Marienberger Str. 1
D-38122 Braunschweig
Germany
Support: +49 (0) 531 28874 - 0
Fax: +49 (0) 531 28874 - 22
E-Mail: [email protected]
https://www.alphacool.com
General Managers: Andreas Rudnicki, Fabian Noelte
WEEE-Reg.-Nr.: DE 54464644
Trade Register: Amtsgericht Braunschweig HRB 202390
VAT.ID.Nr.: DE270458421
Tax number: 13/207/02047
EN DE FR
The backplate is xed to the back of the
mainboard with the adhesive strips. The LGA
115x/1200/1700 screws are put through the
springs, washers and the holders. Then
everything is mounted on the socket.
Die Backplate wird mit den Klebestreifen auf
der Rückseite des Mainboardes xiert. Die
LGA 115x/1200/1700 Schrauben werden
durch die Druckfedern, Unterlegscheiben
und den Halter gesteckt. Anschließend wird
alles auf den Sockel montiert.
La plaque arrière est xée à l'arrière de la
carte mère à l'aide des bandes adhésives.
Les vis LGA 115x/1200/1700 sont insérées à
travers les ressorts, les rondelles et le
support. Le tout est ensuite monté sur le
socle.
INTEL LGA 1700
4x 2mm Washer/ Unterlegscheibe/
Rondelle
4x LGA 115x/1200/1700 Screws/
Schrauben/Vis
Do not use tools, only tighten up hand-tight!
Kein Werkzeug benutzen, nur handfest
anziehen!
Ne pas utiliser d’outils, ne serrez que la main!
4x Pressure spring/Druckfeder/
Ressorts

This manual suits for next models

2

Other Alphacool Computer Hardware manuals
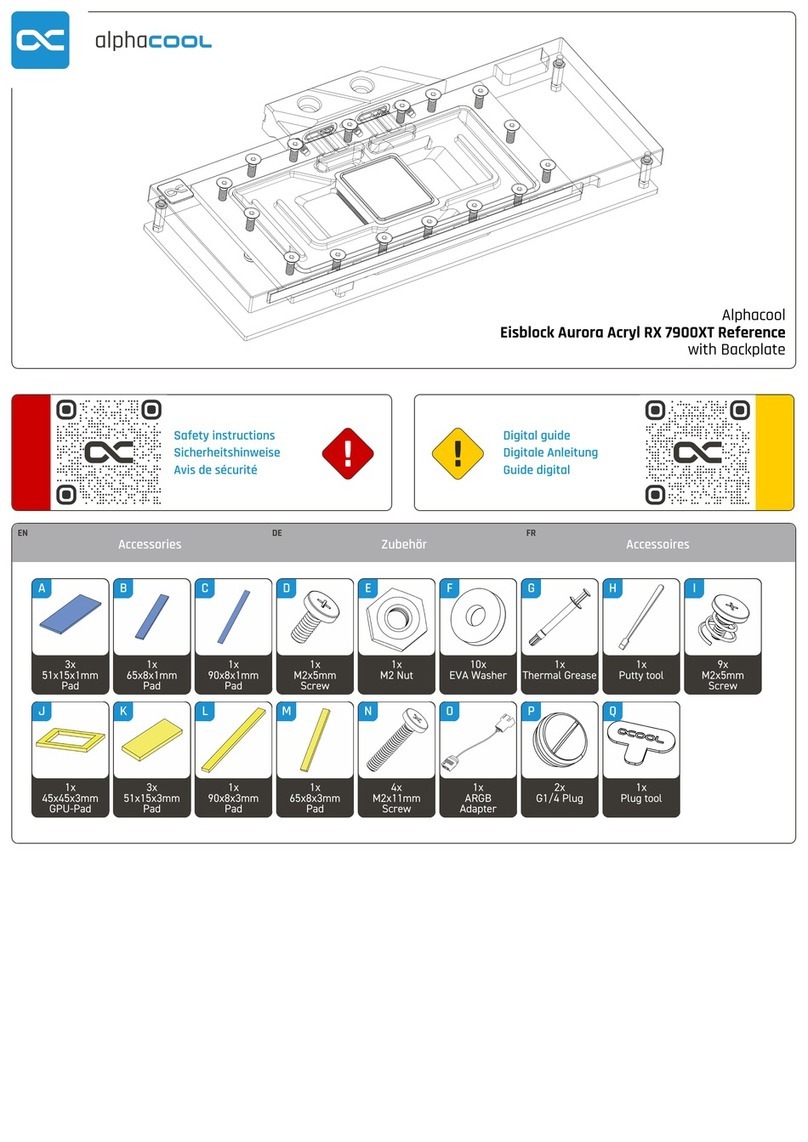
Alphacool EISBLOCK AURORA ACETAL GPX-N RTX 3090/3080 User manual

Alphacool

Alphacool EISBLOCK AURORA ACETAL GPX-N RTX 3090/3080 User manual

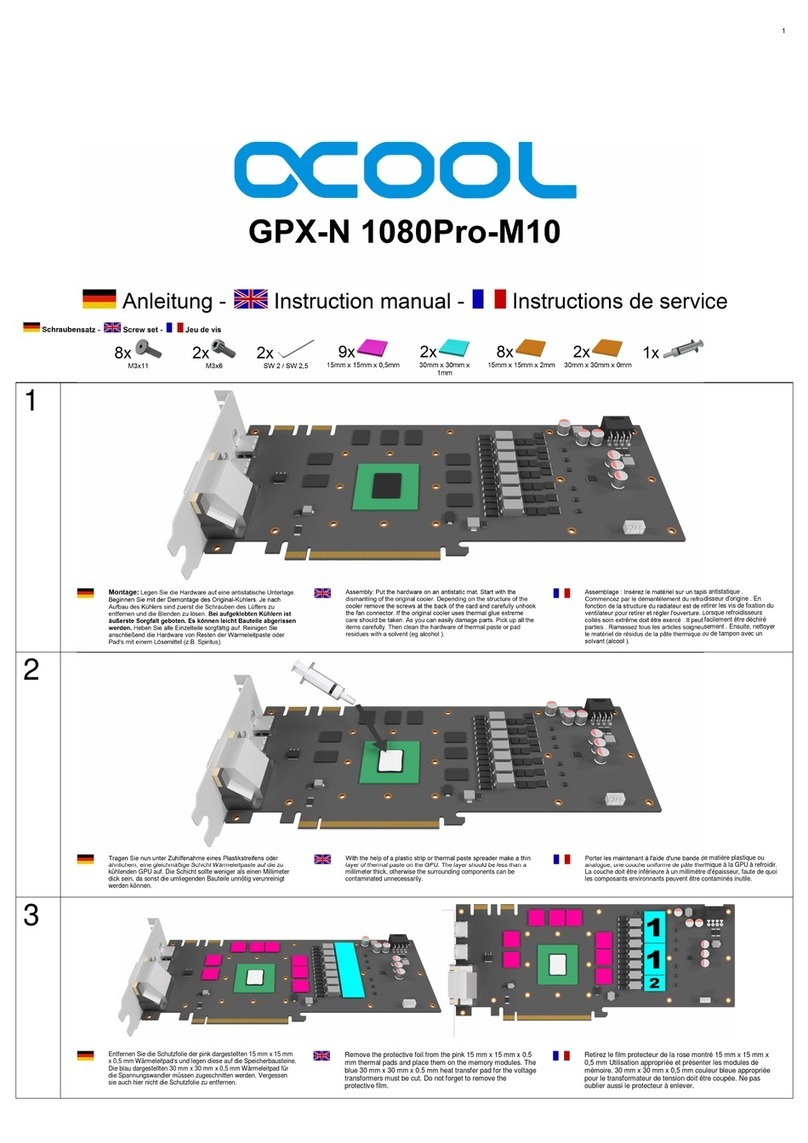
Alphacool GPX-N 1080Pro-M10 User manual

Alphacool

Alphacool GPX-N 1080Pro-M10 User manual

Alphacool GPX-N 1080-M12 User manual

Alphacool

Alphacool GPX-N 1080-M12 User manual

Alphacool Eisbaer Aurora Solo User manual

Alphacool

Alphacool Eisbaer Aurora Solo User manual

Alphacool Eisbaer LT 120 User manual

Alphacool

Alphacool Eisbaer LT 120 User manual

Alphacool Core RX 7900XTX Reference User manual

Alphacool

Alphacool Core RX 7900XTX Reference User manual

Alphacool Eisbeher Helix Reservoir User manual

Alphacool

Alphacool Eisbeher Helix Reservoir User manual

Alphacool GPX-N 1660Ti M04 User manual

Alphacool

Alphacool GPX-N 1660Ti M04 User manual

Alphacool ES RTX A5000 User manual

Alphacool

Alphacool ES RTX A5000 User manual

Alphacool Core RX 7900XTX Merc 310 User manual

Alphacool

Alphacool Core RX 7900XTX Merc 310 User manual

Alphacool GPX-N 1080-M15 User manual

Alphacool

Alphacool GPX-N 1080-M15 User manual

Alphacool Eisbaer Pro Aurora User manual

Alphacool

Alphacool Eisbaer Pro Aurora User manual

Alphacool NexXxoS GTX-N 1080-M22 User manual

Alphacool

Alphacool NexXxoS GTX-N 1080-M22 User manual

Alphacool CORE EISBLOCK AURORA ACRYL GPX-N GEFORCE RTX 3090 TI... User manual

Alphacool

Alphacool CORE EISBLOCK AURORA ACRYL GPX-N GEFORCE RTX 3090 TI... User manual

Alphacool NexXxoS GPX-A 290 M02 User manual

Alphacool

Alphacool NexXxoS GPX-A 290 M02 User manual

Alphacool Eiswolf Solo User manual

Alphacool

Alphacool Eiswolf Solo User manual

Alphacool Aurora High Flow User manual

Alphacool

Alphacool Aurora High Flow User manual

Alphacool GPX A Vega pro M01 User manual

Alphacool

Alphacool GPX A Vega pro M01 User manual

Alphacool Core Geforce RTX 4090 Suprim User manual

Alphacool

Alphacool Core Geforce RTX 4090 Suprim User manual

Alphacool NexXxoS GPX-A 280-M01 User manual
Alphacool

Alphacool NexXxoS GPX-A 280-M01 User manual

Alphacool GPX-N 960-M11 User manual

Alphacool

Alphacool GPX-N 960-M11 User manual

Alphacool EISBAER LT AURORA User manual

Alphacool

Alphacool EISBAER LT AURORA User manual

Alphacool GPX-N 960-M05 User manual

Alphacool

Alphacool GPX-N 960-M05 User manual

Alphacool GPX-N 970-M17 User manual

Alphacool

Alphacool GPX-N 970-M17 User manual
Popular Computer Hardware manuals by other brands

Koolance EXC-800 user manual

Koolance

Koolance EXC-800 user manual

ActionTec 11 Mbps Wireless Access Point installation guide

ActionTec

ActionTec 11 Mbps Wireless Access Point installation guide

SABINE NAVIGATOR NAV4802 Dimensions

SABINE

SABINE NAVIGATOR NAV4802 Dimensions

DFI AL553 user manual

DFI

DFI AL553 user manual

Thecus N8810U series Quick installation guide

Thecus

Thecus N8810U series Quick installation guide

Cypress Semiconductor CY62147DV30 Specification sheet

Cypress Semiconductor

Cypress Semiconductor CY62147DV30 Specification sheet

Intel BX80613I7980 datasheet

Intel

Intel BX80613I7980 datasheet

Roland V-Drums TDW-20 owner's manual

Roland

Roland V-Drums TDW-20 owner's manual

HP A3550A - High Availability Disk Arrays Model 20 Storage... installation guide

HP

HP A3550A - High Availability Disk Arrays Model 20 Storage... installation guide

ekwb EK-FB MSI X299 GAMING PRO CARBON Monoblock installation manual

ekwb

ekwb EK-FB MSI X299 GAMING PRO CARBON Monoblock installation manual

Focusrite REDNET PCIeNX installation guide

Focusrite

Focusrite REDNET PCIeNX installation guide

JACS TD191-B quick start guide

JACS

JACS TD191-B quick start guide

TENX TECHNOLOGY TM59MA41 user manual

TENX TECHNOLOGY

TENX TECHNOLOGY TM59MA41 user manual

VALKYRIE Dragonfang 240 installation guide

VALKYRIE

VALKYRIE Dragonfang 240 installation guide

Briel Computers Replica I user manual

Briel Computers

Briel Computers Replica I user manual

ekwb EK-TIM Indigo Extreme installation manual

ekwb

ekwb EK-TIM Indigo Extreme installation manual

Simplex 4100-3101 installation instructions

Simplex

Simplex 4100-3101 installation instructions

ENERMAX LIQTECH II user manual

ENERMAX

ENERMAX LIQTECH II user manual

manuals.online logo
manuals.online logoBrands
  • About & Mission
  • Contact us
  • Privacy Policy
  • Terms and Conditions

Copyright 2025 Manuals.Online. All Rights Reserved.