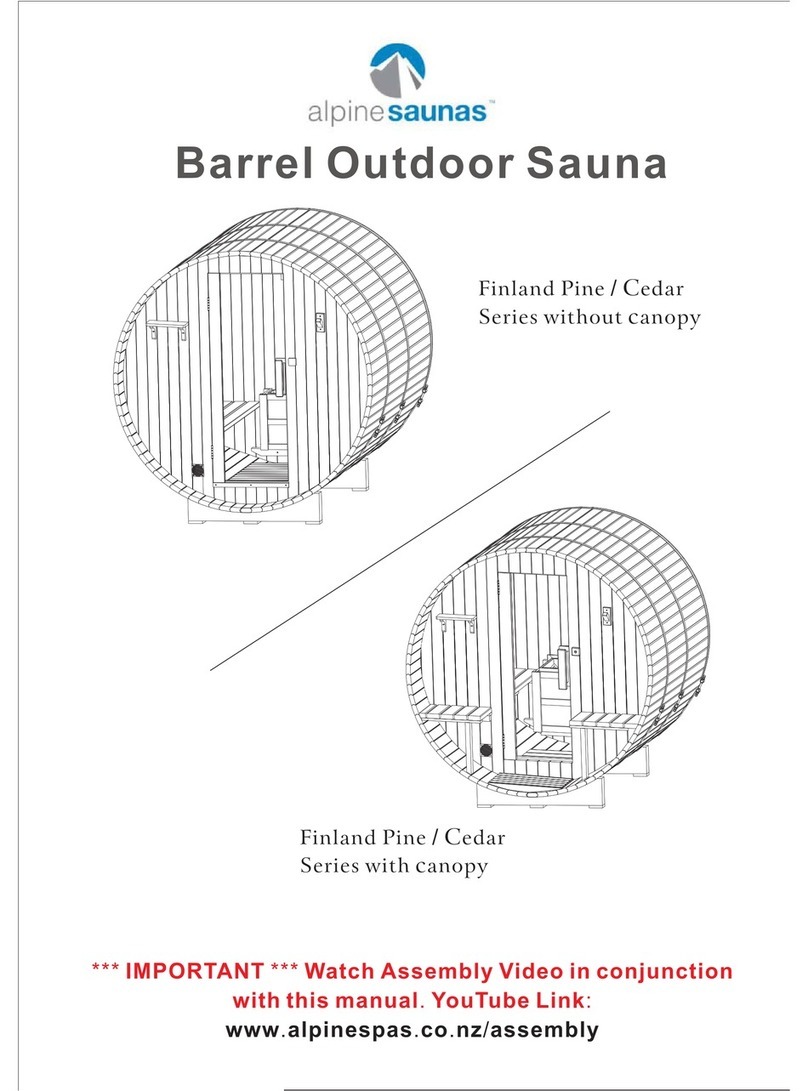
Alpine Saunas Outdoor Sauna Operating instructions

Outdoor Sauna
User & Maintenance Guide

Startup
1
Please read through this entire document before using or powering the Sauna.
After successfully loading the stones, sweep the sauna and wipe down the benches
with a damp cloth to remove any dust.
Installing the Sauna Stones
WARNING: Never use the heater without stones loaded as it may cause a re. Use only
sawo branded sauna stones. Use of incorrect sauna stones and/or heater use without
stones may cause issues and will not be covered by warranty.
Preparing the Stones:
It is recommended that all stones should be rinsed to remove any stains or dust
before loading into the heater. Doing so will help to prevent unpleasant odors or
smoke burning o during the rst few uses.
Loading the Stones:
The sauna stones need to be placed and stacked carefully between the heater's
elements. Load carefully and in a way that they do not block air circulation through
the heater.
Larger stones that won't t between the heating elements must not be forced in and
should be discarded or broken into smaller pieces. Stone pieces smaller than 35mm
in diametre (and/or crumble) must not be loaded into the sauna as they can restrict
airow and cause overheating leading to element damage.
Load the sauna stones from bottom to top ensuring that they cover the elements.
Match diagram below:

2
TIMER DIAL
Turning on the Heater
CAUTION: Smoke and odor may form when heating up for the rst time. This is due to
work materials being present on the elements from the manufacturing process. Any fumes
will evaporate quickly but you should ventilate thoroughly before using the sauna.
Your electrician should have installed a switch for you to turn the sauna heater on
and o.
Heater - First Time Startup
A break-in procedure for the heater must followed when turning it on for the rst
time to cure the woodwork and burn o any impurities. Follow these steps:
1. Turn the temperature control dial to max. (See dial operation below)
2. Set the timer control dial to 1 hour operation time. (See dial operation below)
3. Exit the sauna and leave it to leave it to heat for the hour (with the door shut). Do
not allow access during this period.
4. After the hour is up, open the door and allow thorough ventilation. Poor cold
water onto the rocks slowly.
5. If there is still strong odor or smoke, repeat steps 1 to 4 again.
Note: When heating up the sauna stones for the rst time, they may crackle loudly and
even chip / explode slightly - this is normal.
Using the Dials
The heater is fairly simple to use. The controls consists of a thermostat dial and a
timer dial.
Thermostat
Adjust the temperature of the sauna by simply adjusting the
thermometre dial between the low and max points. The sauna can
reach temperatures of between 60-90°C.
The heater will switch o if it overheats. Troubleshoot the issue and
x (not enough ventilation, incorrect positioning etc.) Before resetting
using the reset button under the thermostat dial.
Timer
The timer allows you to choose from 1-4 hours operating time
(pink) or 1-8 hours presetting time.
To start the heater up immediately simply select an operating time
between 1-4 hours (pink).
To delay the heater start up, select a pre-set time between 1-8
(white). When the specic number of hours set is up, the heater
will engage and run for 4 hours unless turned o.
THERMOSTAT DIAL

Maintenance
How to look after your Outdoor Sauna and what to expect with cedar.
The Nature of Softwood
While your barrel sauna is designed for outdoor use, the construction plays an
important part in keeping it water-tight. Properly installed, water will not drip into the
sauna. However, over time water may seep between the staves due to the porous
nature of softwood. This will not hurt the sauna and should quickly evaporate once
the sauna heater is turned on. To further assist in waterproong, apply silicon in and
around the bitumen roong (you may need to remove some layers).
Inside the sauna, certain areas will eventually darken due to normal use and the
eects of perspiration. Excessive water seepage can also cause bleeding of tannin.
This can be minimized, but not eliminated. Occasionally scrub down the inside with
baking soda and water to remove odor and stains of perspiration. Light sanding can
also be eective to help remove the appearance of these stains.
Cleaning Guide
Preventing Stains
To avoid transferring sweat and oils to the benches, users should lay a towel down
as a barrier between skin and the wood.
Cleaning Outside
Clean the outside parts with a cloth or soft brush and bucket of water (do not
pressure wash) and then dry down with a clean towel.
Treating the Wood
Cedar is naturally resistant to the elements however New Zealand's sun is very
harsh. Left untreated, the exterior of an outdoor sauna will eventually become
silvery-gray in color. Be aware that non-protected wood can crack. We highly
recommend that you apply a quality wood oil that contains a U.V inhibitor to
the outside surface of the cedar at least once a year. Areas in NZ that see more
sunshine may require more frequent oiling to protect the wood.
Note: Be sure to follow the directions when applying oil. Never treat the interior of the
sauna and never use varnish or paint on the exterior of the sauna. Some sauna kits may
come pre-oiled and therefore will only require the yearly re-application.
We recommend CD-50 timber protection oils - available at hardware stores.

Cleaning Inside
For quick cleaning, a damp cloth should suce. After a few uses, the interior can
be disinfected using diluted hydrogen peroxide (3%). Prepare the solution outside
of the sauna. Never use harsh cleaners as they can damage the wood. A soft brush
can be used to scrub lightly where required (the oor may need scrubbing). Wipe o
excess water with a dry clean towel and thoroughly ventilate to assist drying.
Removing Debris
Avoid bringing dirt and debris inside the sauna. Perhaps lay a foot mat at the
entrance for guests to wipe their feet. Cedar is a soft wood that is easy to dent and
scratch so use a vacuum to quickly remove any debris.
Heater
Pouring water on the stones may leave behind water spots on the stainless steel.
These can be removed with a scrubbing brush.
General Care & Requirements
●Care for your sauna by inspecting it on a regular basis. As it is an outdoor
product it is exposed to the elements. Remove mold and cobwebs with a
brush.
●Check all screws regularly and tighten where possible.
●Check the stainless steel bands every month and tighten up as required.
Ensure the bitumen roong pieces do not need to be re-secured.
●Good care should be taken of the wooden bucket and ladle. Store upside
down to promote drying.
●Check the screws and hinges on the door regularly and tighten if necessary.
Oil if applicable.
●Renew and replace the sauna stones once per year.
●Never use harsh cleaning products or corrosive products on the sauna.

Traditional Use
The sauna as we know it originates in Finland. The typical sauna experience follows
the steps below, but you may enjoy your sauna in any way you like!
1. Run the heater until the sauna reaches the desired temperature. This should
be somewhere between 60-90°C. If you are new to the sauna, begin with cooler
temperatures and build tolerance over future sessions.
2. Take a quick shower or a quick dip in a hot tub or pool.
3. Step into the sauna and enjoy for 5-15 minutes, bringing a towel to sit or lay on.
Leave the sauna once you are perspiring freely.
4. Take a plunge in a pool, shower, lake - anything that will cool you down! After
that, relax and cool down for 10-20 minutes.
5. Step into the sauna again. During this visit, you may wish to sprinkle small
amounts of water onto the stones to create bursts of steam.
6. Continue repeating this process. After your nal visit to your sauna, relax for at
least 20 minutes. Shower with warm water initially, nishing with cool water to
close your skin pores.
General Use
Guidelines on using your Outdoor Sauna.
Types of Sauna
The sauna can be used in a 'dry' or 'wet' fashion. A dry sauna would involve enjoying
the dry heat from the heater without applying any water to the stones. To build
humidity and create a wet sauna, allow the heater to heat up the stones and then
ladle on small amounts of water directly on top of the stones from your bucket.
Cautions
●NEVER USE A SAUNA IF YOU HAVE A SERIOUS ILLNESS, HIGH/LOW BLOOD PRESSURE, HEART
CONDITION, RESPIRATORY CONDITION, A CONTAGIOUS DISEASE, INFECTION OR OPEN WOUNDS.
●ALWAYS STAY HYDRATED WHILE USING THE SAUNA.
●NEVER USE A SAUNA UNDER THE INFLUENCE OF ALCOHOL OR DRUGS.
●NEVER USE A SAUNA IF YOU ARE EXHAUSTED.
●DURING OPERATION HEATER WILL BE EXTREMELY HOT - MAY RESULT IN BURNS IF TOUCHED
●REMOVE GLASSES, JEWELERY & METALS WILL ABSORB HEAT AND CAN CAUSE BURNS
●BEWARE - FLOOR MAY BECOME SLIPPERY. MOVE CAREFULLY AROUND SAUNA.
●NEVER PLACE ITEMS NEAR OR ON THE SAUNA HEATER - MAY CAUSE FIRE.
Table of contents
Other Alpine Saunas Plumbing Product manuals
Popular Plumbing Product manuals by other brands

American Standard
American Standard 7426508 owner's manual

American Standard
American Standard FloWise 1.28 2073.013 Specification sheet

MAINLINE
MAINLINE Elite Treme TR137G Installation

Fieldmann
Fieldmann FZH 5035 user manual

Mora
Mora Rexx Installation instruction

Glacier bay
Glacier bay 67557-0008D2 Installation and care guide

Axor
Axor ShowerSelect Square 36717 Series installation instructions

Schon
Schon HD67751W-6001 Installation and care guide

Watermark
Watermark aquaBUBBLER AB12 quick start guide

baliv
baliv KI-1340 N instruction manual

Grohe
Grohe EUPHORIA 27 246 installation instructions

Moen
Moen T2154 Series instruction manual