Alpsat SATFINDER 4 HD ULTRA User manual

1

2
ENGLISH USER GUIDE INDEX
Safety Instructions...............................................................................
03
Basic Features.....................................................................................
04
Product Content...................................................................................
04
Technical Features……….........................................................................
05
Front Panel View...............................................................................
06
Equipment Incl.With the Product............................................................
07
User Instructions.................................................................................
09
Satellite Search Menu...........................................................................
10
USALS Motor Settings...........................................................................
11
UNICABLE I&II Settings…......................................................................
12
Diseq-C 1.2 Motor Setting.....................................................................
12
Satellite Tp Control Menu......................................................................
13
Cross Polarity Menu..............................................................................
14
Multi-Level Menu..................................................................................
14
Auto Port Search Menu.........................................................................
15
Usb/Multimedia Menu...........................................................................
16
Channel List Menu................................................................................
17
Satellite Settings Menu.........................................................................
18
Device Settings Menu...........................................................................
19
Troubleshooting...................................................................................
21

3
SAFETY INSTRUCTIONS:
Issues to be Observed:
Make sure to observe the following instructions in order to prevent yourself
and your device from incurring any harm.
Pull out the charging cable before cleaning your device, and turn it off using
the Power On/Off button, and clean it with a dry cloth.
Do not use accessories or additional attachments that are not recommended
by the manufacturer since it may damage your device or invalidate your device's
warranty. Protect your device from impacts and falls while carrying it, otherwise it
might be damaged. Make sure to carry your device in its bag and do not carry it
in boxes such as toolbox and with equipment which may cause damage on it,
otherwise your device's warranty will become void.
Avoid using your device in outdoors in rainy and snowy weather, in order to
protect it from contact with water. If you detect smoke odor or other odors or
unusual sound coming from the inside of your device, turn it off and consult to
technical service.
Charge your device with the recommended charging adapter and car lighter
charger. Inappropriate charging devices will damage the batteries in your device,
and may cause events such as overheating and explosion or it may harm you, and
such cases are under the user's own responsibility. Make sure the charging
adapters are supplied with 12 volts (middle +). Do not leave your device open, as
the batteries in devices which are left open will lose their function in time.
Lighter charger, charging adapter and batteries are outside the scope of warranty
since their life span varies depending on usage. Be careful against short circuits
while connecting your device to LNB, otherwise the LNB and your device might be
damaged.
Issues Regarding Service:
Do not attempt to repair your device yourself. Your device will no longer be
within the scope of warranty if you open its cover. Consult your dealer or technical
service for all services regarding the device.
Use the batteries sold or recommended by the manufacturer.
ENGLISH

4
BASIC FEATURES:
SATFINDER 4 HD ULTRA DVBS/S2 Satellite Signal Meter Device with HD
Video Display 3.5" Lcd Tft.
SATFINDER 4 HD ULTRA is a satellite meter device for ensuring most
accurate installation of dish antenna. With the device 3.5" Lcd Tft color monitor
you can display SD and HD Digital TV programs and also the frequency range
between 950-2150 Mhz. (in normal and advanced mode).
The device has 34 different LNB type memory. It also has user-customizable
LNB types. 22Khz Tone - 13/18V selectable. Supports Diseq-C 1.0-1.1-1.2 and
Multiswitch central systems. It may perform USALS motor system installations and
may measure UNICABLE I&II types on a single cable. The Lnb supply has
protection against short circuits, and has screen warnings.
You may use the device with 2400mAh 7.4V Lithium Polymer charging
batteries, and charge it with External 220V AC charging device and Car lighter
charger device. Battery packs and charging circuits are protected against short
circuits and high currents. Its average Operating span is about 3 hours.
English, Turkish, German, French, Spanish, Portuguese, Russian, Arabic,
Greece , Dutch and Italian OSD Menu Languages are available.
It is a super lightweight measuring device weighing only 800 grams with
cover and batteries.
PRODUCT CONTENT:
1 pc. SATFINDER 4 HD ULTRA
1 pc. Protective Bag with Shoulder Strap
1 pc. 220V-12V Charger
1 pc. Car Lighter Charger
1 pc. A-V Cable
1 pc. User Manual
1 pc. F-F Connector

5
TECHNICAL FEATURES
• Digital HD video Picture.
• dBuV, dBmV or dBm signal strength indicator
• Level and BER measurement
• Detailed display of signal quality (BER evaluation)
• MER and C/N measurement
• 800 MHz processor speed
• 8MB Memory / 512Mb Ram
• 5000 TP Capacity
• 8000 Tv Channels Capacity
• 250 Satellite Capacity
• LNB Supply : 13/18V/21V , 22 kHz - 500/650mA
• Ka/Ku/C band support.
• V/H and L/R selectable polarity
• KA-BAND L.O. Frequency: 17.25-20.25 GHz
• 34 LNB Type and 3 Type interchangeable User Lnb
• Low Threshold level DVBS2 Tuner
• Level range: -65 dBm to - 25dBm
• FEC 1/4, 1/3, 2/5, 1/2, 3/5, 2/3, 3/4, 4/5, 5/6, 8/9, 9/10
• Symbol Rate :1 to 53Msps
• DVBS, DVBS2 QPSK, 8PSK, 16APSK, 32APSK
• DiSEqC 1.0 , 1.1 , 1.2
• DiSEqC 1.2 and USALS Motor Control
• Support UNICABLE I&II
• USB Memory Interface.
• Tp frequency update from USB Memory.
• Software update via USB Memory.
• XP/7/8/10 compatible with Windows ( 32/64-bit )
• Easy to use with small and light weight design
• Long life Lithium- Poly battery ( 2400mAh )
• 3 hours of battery work time
• Video and Audio input
• Dimensions (WxHxD) : 18 x 10 x 5 cm
• Protection Bag
• Weight: about 0.8 kg including battery

6
FRONT CONTROL PANEL VIEW
LNB INPUT
RETURN TO MENU
SAVE THE DISPLAY
SATELLITE SELECTION
UPWARDS DIRECTION
APPROVAL AND ENTRY
LEFT DIRECTION
RIGHT DIRECTION
EXIT
DOWNWARDS
DIRECTION
12V DC / 1A INPUT
CHARGING LED
A/V INPUT
TURN ON/OFF
TV / RADIO
TURN OFF
SOUND
& SHOW LIST
SEE THE LEVEL
MOTOR SETTINGS
CHANGE
COLOR
ADJUSTMENT
USB MEMORY INPUT
7
EQUIPMENT INCLUDED WITH THE PRODUCT:
1 piece of Protective Bag with Shoulder Strap:
The bag with shoulder strap protects your device from
negative external factors such as dust, dirt and fall down.
The protective bag cannot protect against squeezing and
heavy impacts. Your device may become outside the scope
of warranty.
1 piece of 220V Charging Device:
With your 12 Volt output electrical charging adapter, you
can ensure your device is kept charged all the time, and
thus use your device in environments where electricity
is not available. Prevent your charging adapter from
squeezing, impacts and overload. Do not open for
repairing or examining.
1 piece of Lighter Charging Device:
With your 12 Volt output lighter charging adapter, you
can ensure your device is kept charged all the time, and
thus use your device in environments where electricity is
not available. You can charge your device while you are
driving your car. Prevent your lighter charging adapter
from squeezing, impacts and overload. Do not open for
repairing or examining.
8
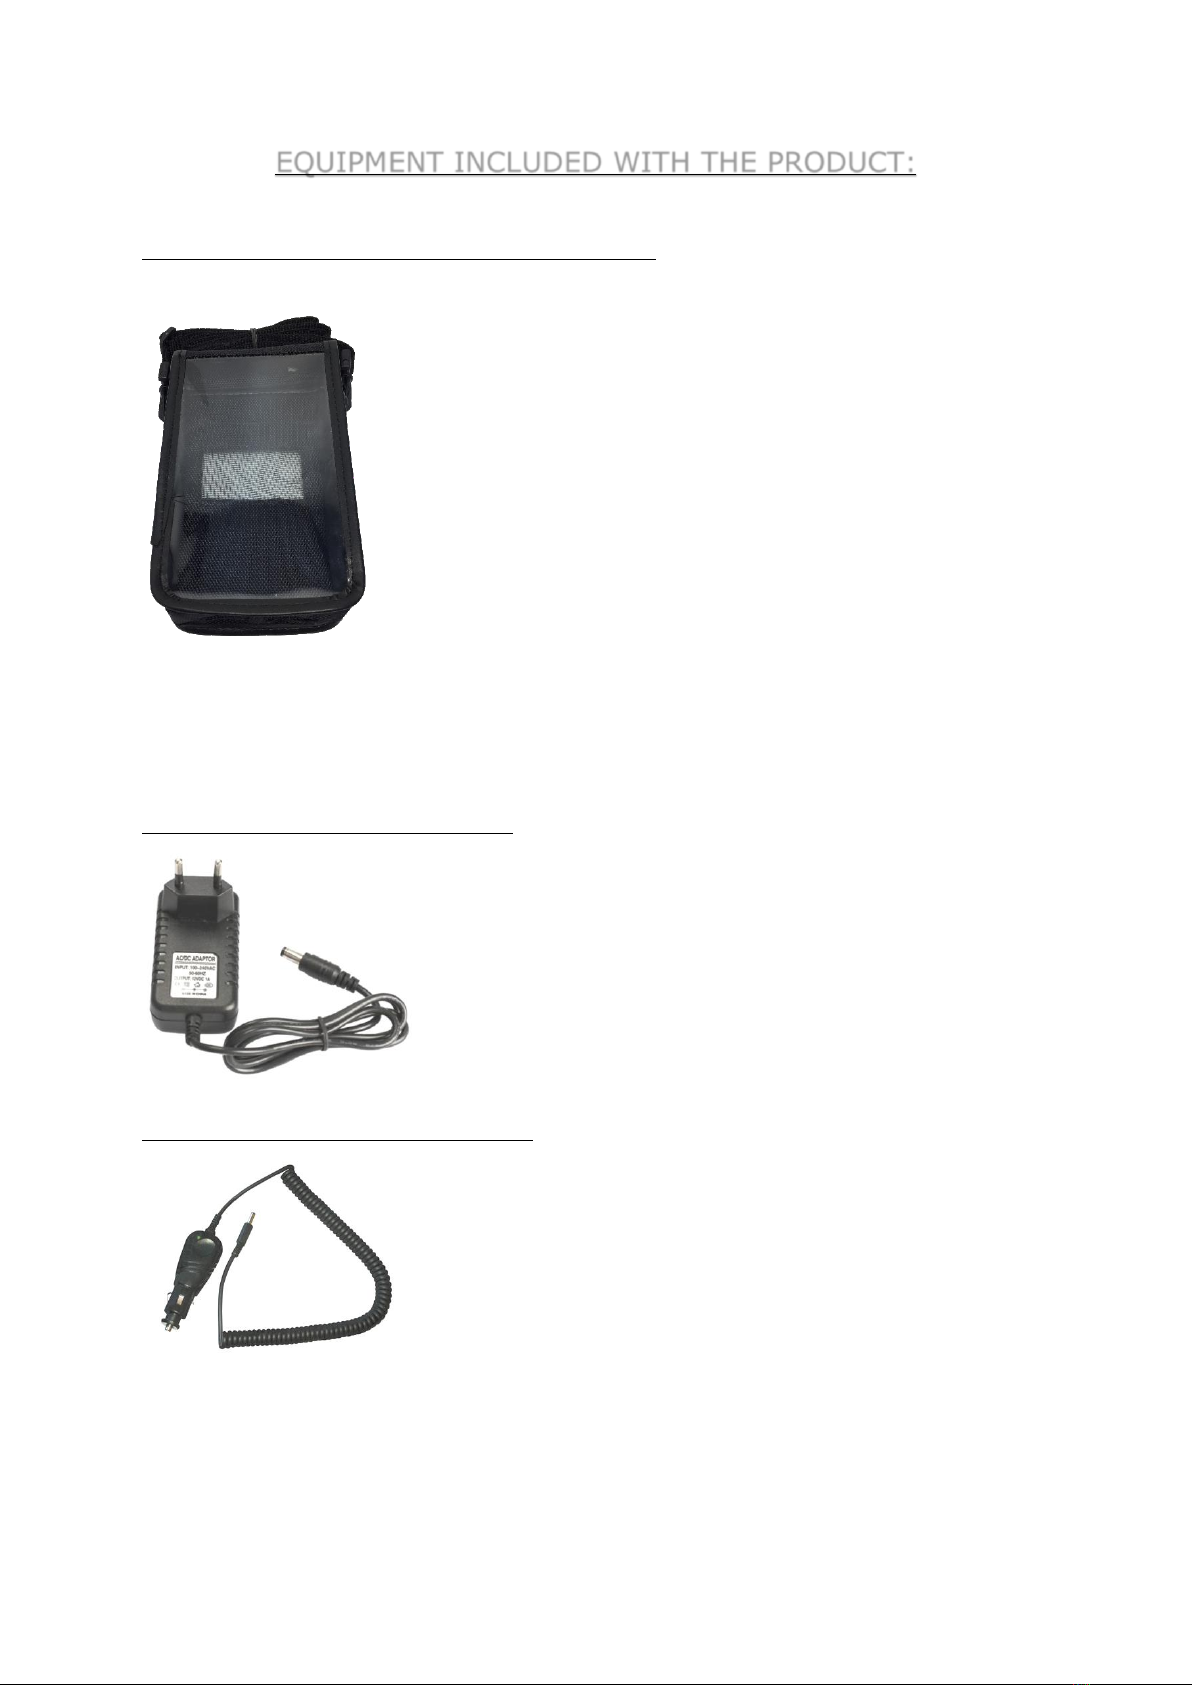
1 piece of A-V Cable:
You can test the external Video and Audio signals with
the AV input of your device. You can also test devices
such as security cameras which require focus and
direction adjustment.
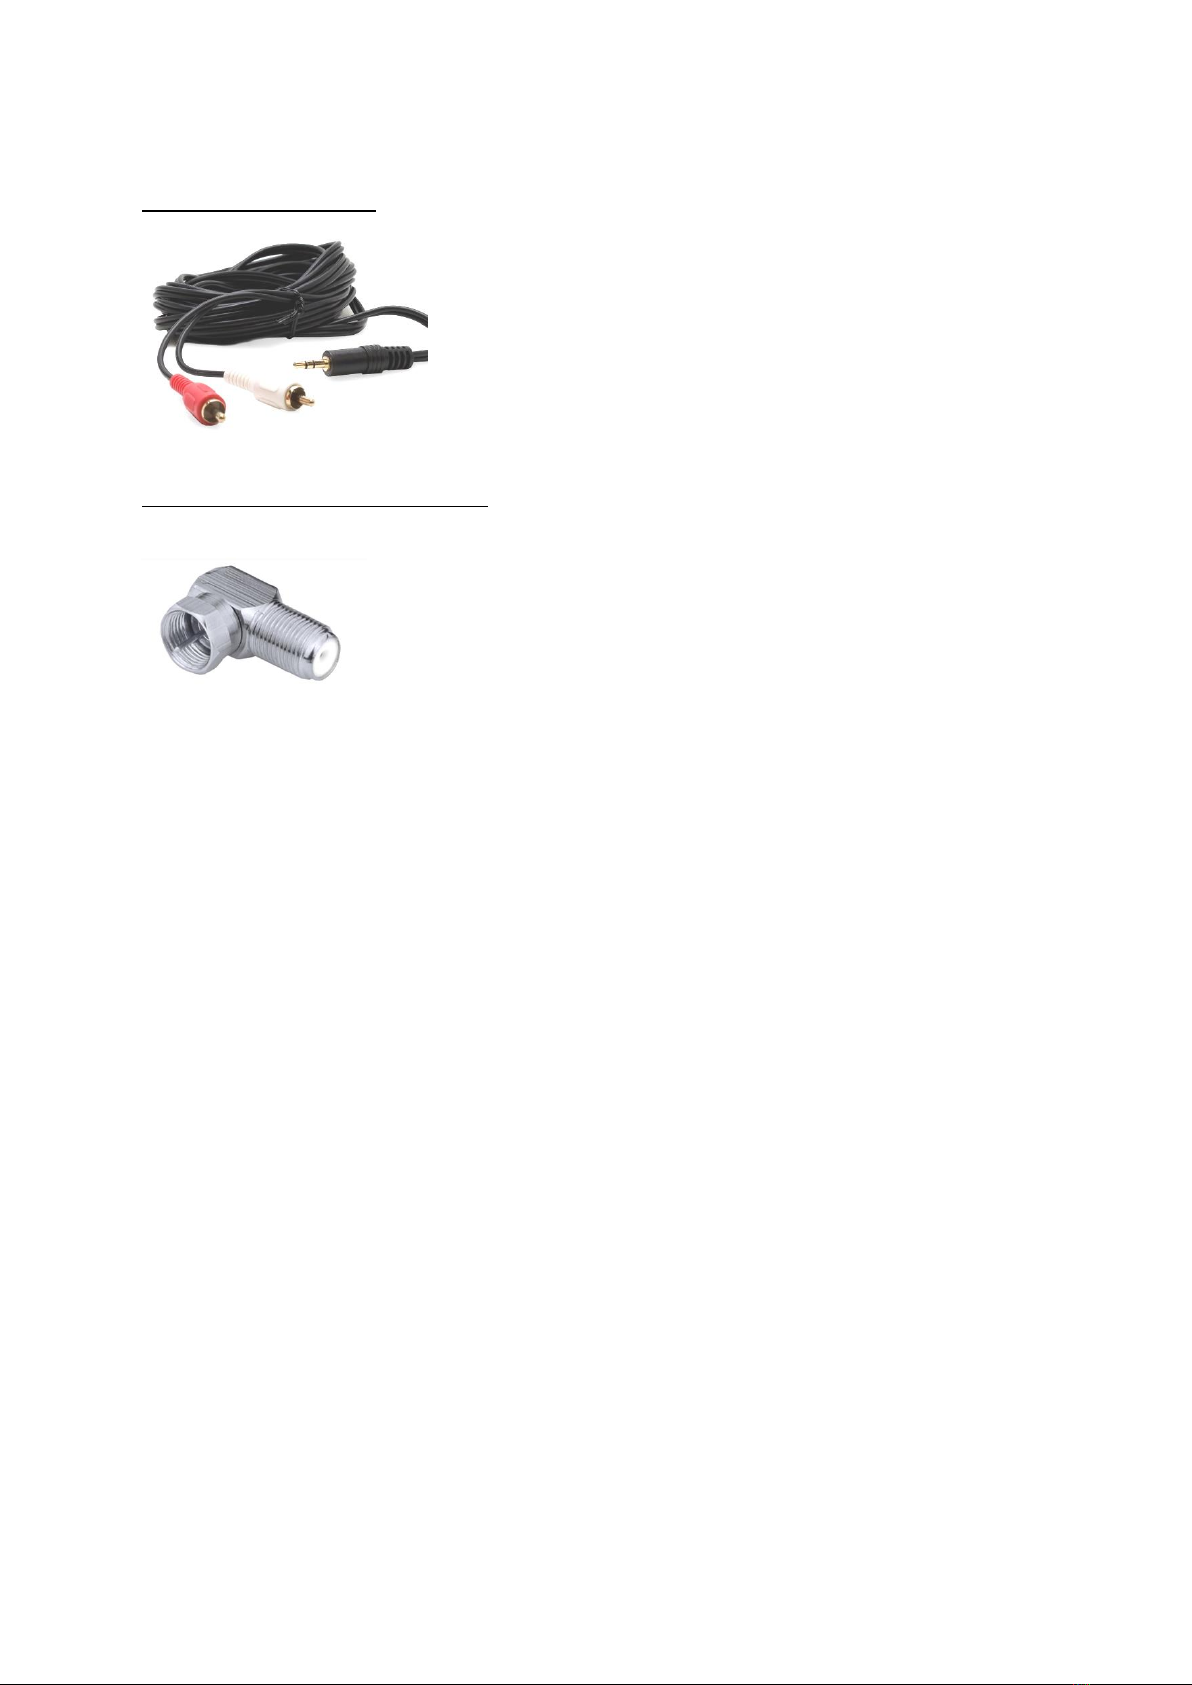
1 piece of F Female Connector:
Use your F-F Female Connector in your device all the time.
With the F-F Female Connector, the Tuner input of your
device will not be affected by factors such as wearing, tearing
and overuse.
9
USER INSTRUCTIONS:
TURNING ON THE DEVICE:
Open your device by pressing the POWER ON/OFF
button. The Tv/Radio channel list will appear on the
screen when you press ENTER on the TV Broadcast
Screen.
SOUND ADJUSTMENT:
While you are watching any channel, you can adjust
the sound volume with the RIGHT/LEFT buttons or turn
off the sound by pressing the MUTE button.
COLOR SETTINGS:
You can adjust the Color settings on the channel picture
display if you press and keep pressed the EDIT button
while you are watching any channel.
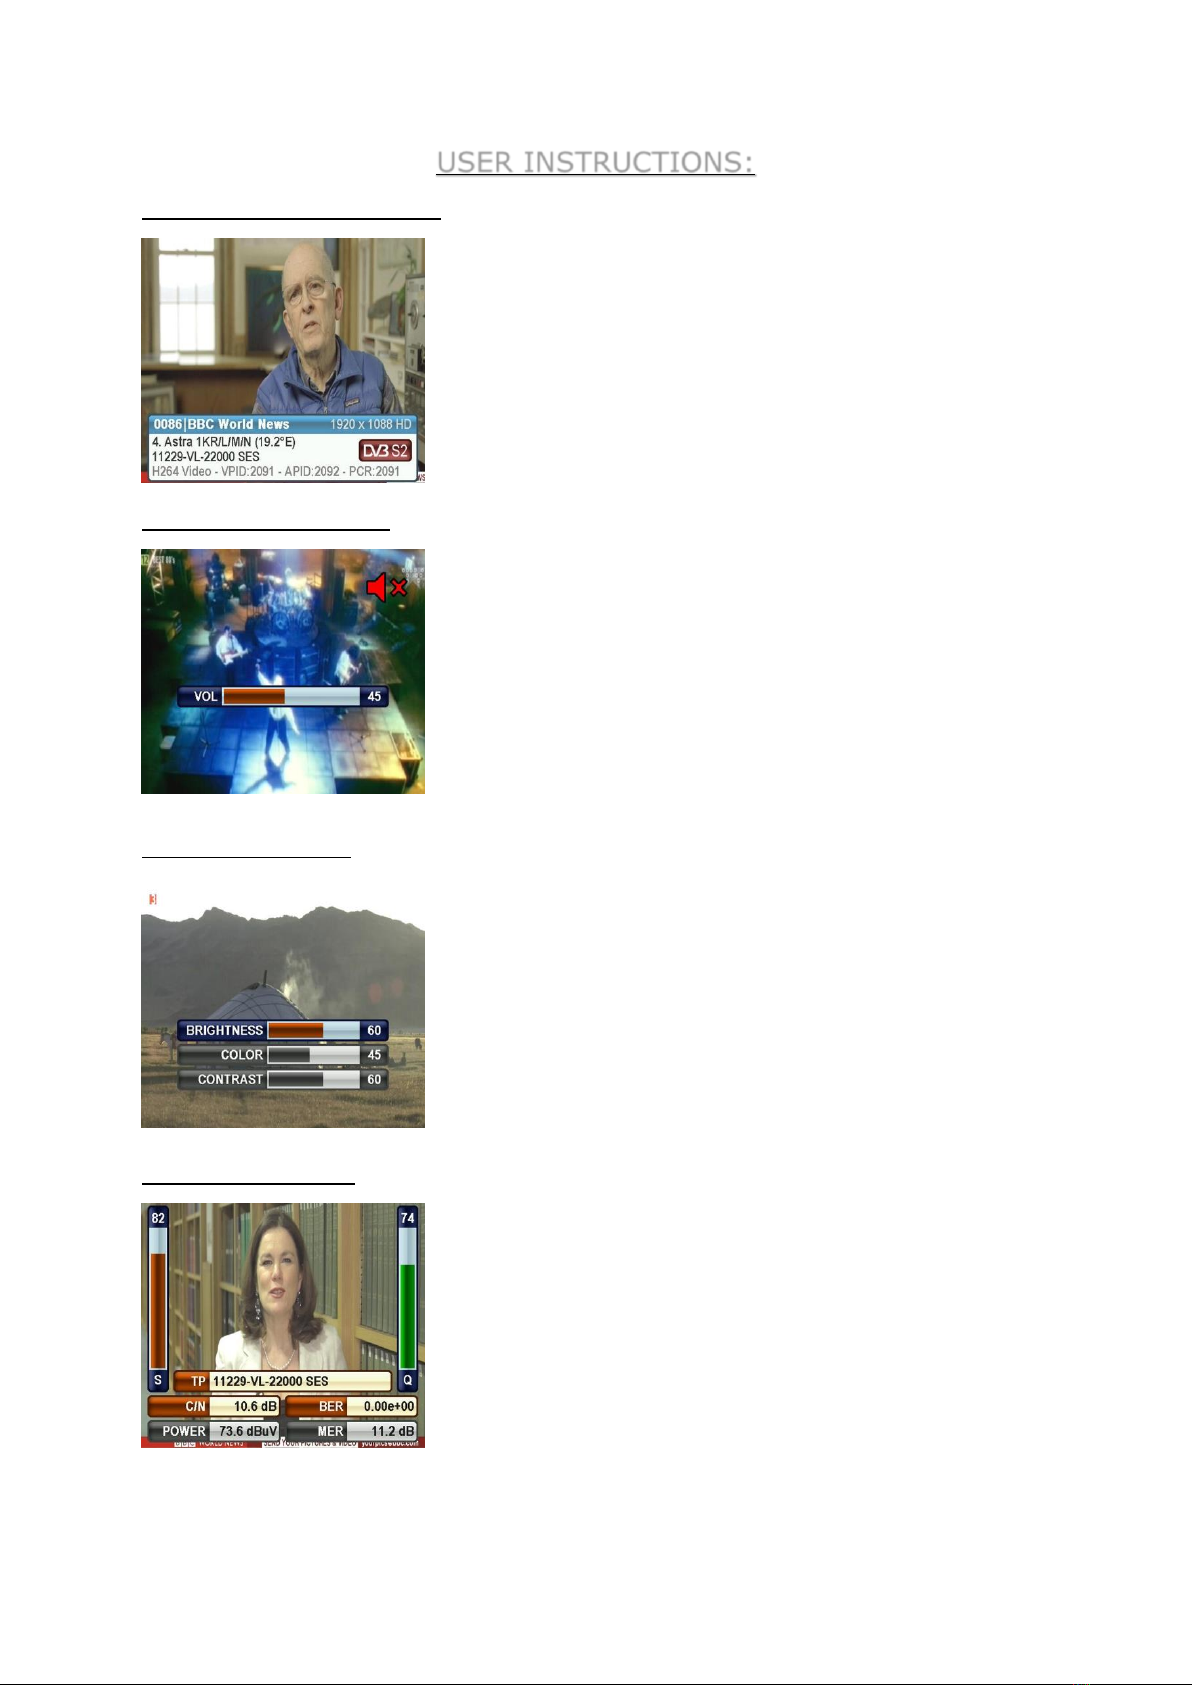
LEVEL INDICATOR:
You can instantly see the signal levels of the displayed
channel in real time by pressing the LEVEL button any
time while watching any channel.

10
SATELLITE SEARCH MENU:
Enter the MAIN MENU by pressing the MENU button, and here select the SATELLITE
SEARCH menu by using the up and down buttons. Select the satellite for which
you want to make the dish antenna adjustment or whose signal levels you want to
see, the transponder and the lnb type, and press ENTER.
You can see the signal levels on the displayed screen. You can check whether the
signal levels are at the highest values. You can see the levels on the detailed screen
by pressing the LEVEL button. You can change the order of transponders using the
RIGHT / LEFT buttons.
You can execute a CHANNEL SCAN by pressing ENTER after adjusting the signal
levels as best as you can. You can make the scanning operations in the form of
SINGLE TP / ALL TP and BLIND SCAN, and then you can add the channels found
to the CHANNEL LIST following the guidelines on the following pictures.
Table of contents
Languages:
Other Alpsat Measuring Instrument manuals


Popular Measuring Instrument manuals by other brands

Powerfix Profi
Powerfix Profi 278296 Operation and safety notes

Test Equipment Depot
Test Equipment Depot GVT-427B user manual

Fieldpiece
Fieldpiece ACH Operator's manual

FLYSURFER
FLYSURFER VIRON3 user manual

GMW
GMW TG uni 1 operating manual

Downeaster
Downeaster Wind & Weather Medallion Series instruction manual

Hanna Instruments
Hanna Instruments HI96725C instruction manual

Nokeval
Nokeval KMR260 quick guide

HOKUYO AUTOMATIC
HOKUYO AUTOMATIC UBG-05LN instruction manual

Fluke
Fluke 96000 Series Operator's manual

Test Products International
Test Products International SP565 user manual

General Sleep
General Sleep Zmachine Insight+ DT-200 Service manual


