manuals.online logo
Brands
  1. Home
  2. •
  3. Brands
  4. •
  5. Altelix
  6. •
  7. Enclosure
  8. •
  9. Altelix NP151005 Series Installation instructions manual

Altelix NP151005 Series Installation instructions manual

IS0187 Rev A 11/30/21
Altelix LLC USA: 866-660-WIFI(9434) International: +1 561-660-9434 sales@altelix.com www.altelix.com
Copyright(C)2021 Altelix LLC. All rights reserved. Altelixand the Altelix logo are Trademarks and/or Registered Trademarks of Altelix LLC.
Specificationsare subjectto changewithout notice.See www.altelix.com for mostcurrent information
Enclosure Wall Mounting Guide
Model: NP151005 Series
WARNING: INSTALLATION OF THIS PRODUCT NEAR POWERLINES IS
DANGEROUS. FOR YOUR SAFETY, FOLLOW THE INSTALLATION DIRECTIONS
Under some conditions, this enclosure may not prevent electrocution. Users should keep
enclosure away from any overhead wires. If enclosure contacts a power line, any initial
protection could fail at any time. IF ENCLOSURE NEARS ANY OVERHEAD WIRES,
IMMEDIATELY LET GO, STAY AWAY, AND CALL UTILITY COMPANY
THIS ENCLOSURE IS DESIGNED TO BE INSTALLED ONLY BY A TRAINED PROFESSIONAL
INSTALLER
Warning: To avoid electric shock, grounding must be installed by the installer as part of the
installation. The unit must be grounded and installed in accordance with National Electrical
Codes (NEC) and any local codes. Note that non-metallic enclosures do not provide
grounding between conduit connections.
Warning: Enclosure must be secured when energized to prevent unauthorized access and
shock hazard.
Important: Look over the site before beginning installation, and anticipate possible hazards.
Select a safe site to install the enclosure.
If you have power lines in the area, call your local electric utility for assistance.
NEVER work alone; always have someone near who can summon help.
Check weather conditions. Be sure that the area is not slippery and make sure that rain or
thunderstorms are not predicted for the day you install the enclosure.
If you need to use a ladder, make sure it is made of non-conductive (non-metallic) material.
Enclosures improperly installed or installed to an inadequate structure are susceptible to
wind damage that can be very serious or even life threatening. Ensure that the installation is
properly grounded. Ensure that the enclosure is properly secured and structurally sound to
support all loads (weight, wind & ice).
Rooftop Installation Warning
DO NOT assume that just because you're on a roof, you're isolated from ground. You may
still be electrocuted or fall off the roof.
Altelix enclosures feature rugged Polycarbonate+ABS, Fiberglass
Reinforced Polyester (FRP) or Steel construction.
Options include Powered Models, Ventilation, Thermostat
controlled Cooling and Heating, Insulated Models, DIN Rail
Models and Pole Mount Models.
Turnkey models such as Audio/Video Enclosures, Weatherproof
Phone Boxes and 19” Rack Mount Enclosures are also available.
Custom Product Inquiries or Technical Questions?
We are here to help. Contact us at:
[email protected]
USA & Canada: 866-660-9434
International: +1 561-660-9434
Visit us at www.ALTELIX.com
Page-2 Page-3
Got Questions?
We are here to help.
Contact us at:
sales@altelix.com
USA & Canada: 866-660-9434
International: +1 561-660-9434
Mounting Feet
Drill Locations
Inside of Enclosure
To wall mount the NP15 series enclosures, (1) external mounting tab is
provided on the rear of the enclosure. For better security, they can also be
mounted using the (4) internal mounting feet.
The mounting kit Included with the enclosure includes (4) Rubber Sealing
Washers and (4) Screws with Wall Anchors.
Rubber Sealing Washer
Mounting Hole
Mounting Screw
Step 2
Place (4) Rubber Sealing Washers
into (4) mounting holes as shown.
Mounting Screws with Wall
Anchors
Rubber Sealing Washers
Step 3
Secure the enclosure to the wall using
the (4) Screws.
Step 4
When mounting the enclosure,
ensure the rubber sealing washers
completely cover the enclosure
mounting holes to provide a water-
tight seal. Silicone sealant can also
be added to enhance the seal.
Rubber Sealing Washer
Using Mounting Tab
The enclosure can be secured to the wall using the mounting screws
included in the kit. Install wall anchors as required.
Using Internal Mounting Feet
Step 1 - Using a ¼” drill bit, drill (4) holes through the center of
the mounting feet in the locations shown.
Mounting Tab
Mounting Screw
Note: Bottom two mounting
feet must be drilled out wider
like top feet so the rubber
sealing washers can be used.

Other Altelix Enclosure manuals

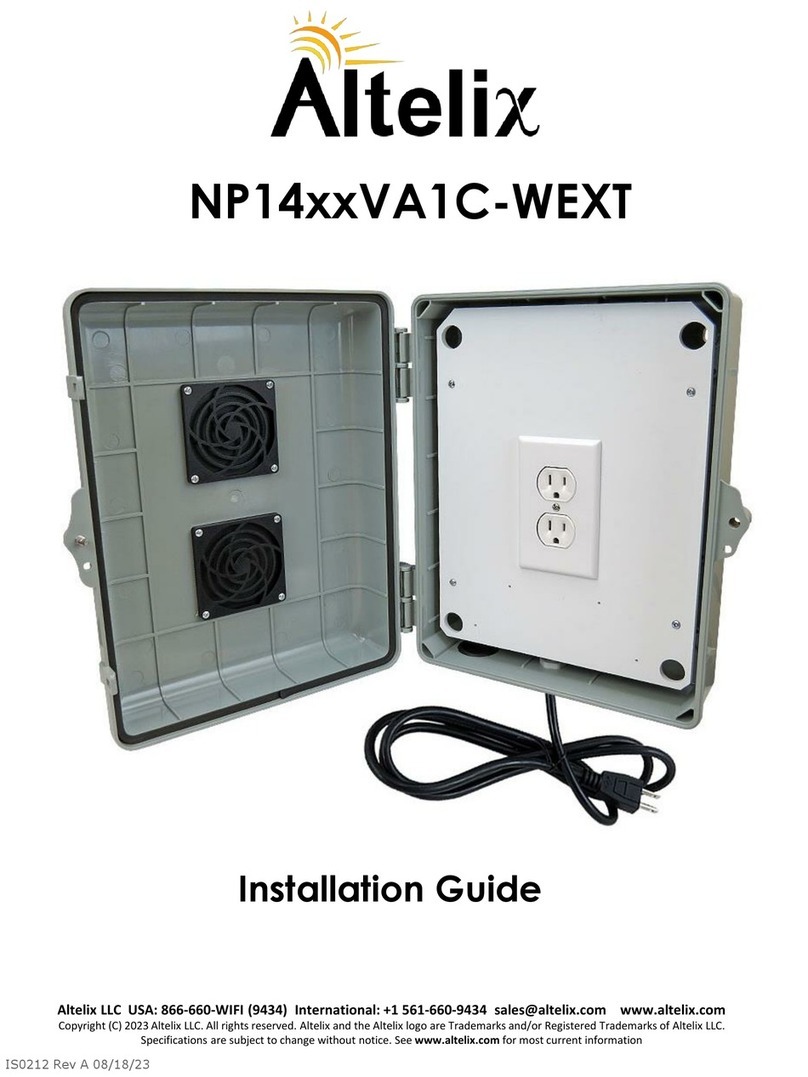
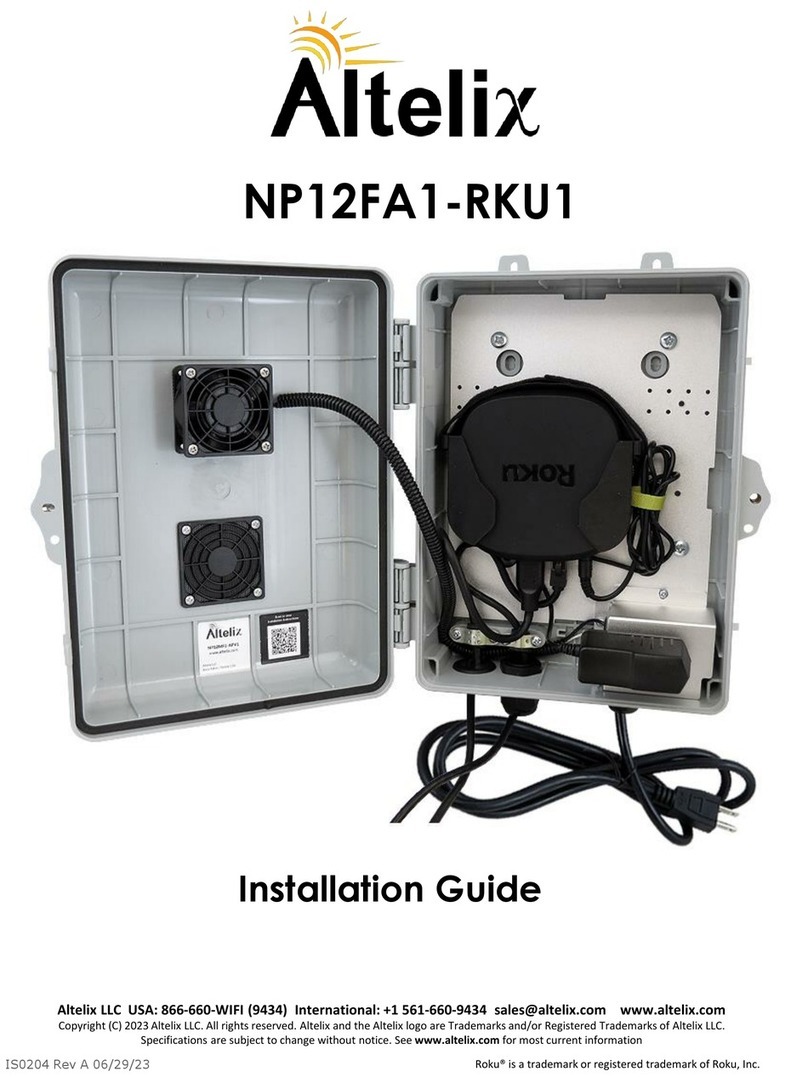
Altelix NP12FA1-RKU1 User manual

Altelix

Altelix NP12FA1-RKU1 User manual

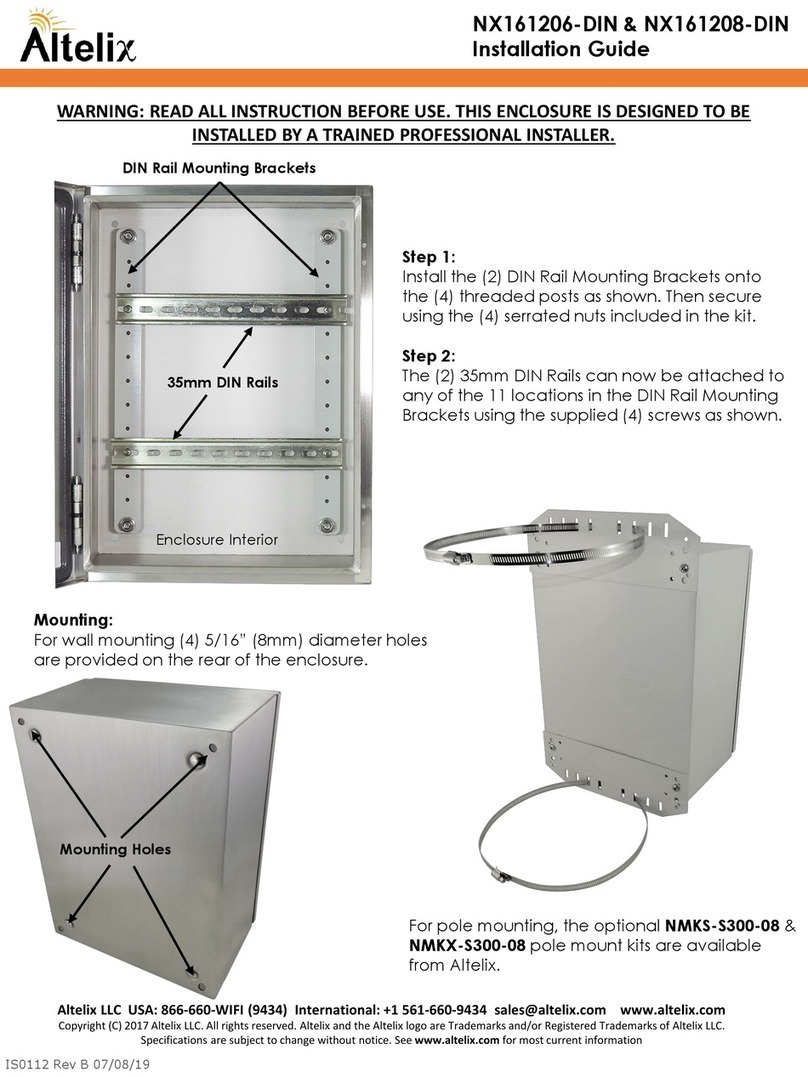
Altelix NX161206-DIN User manual

Altelix

Altelix NX161206-DIN User manual

Altelix NF141206-T01 User manual

Altelix

Altelix NF141206-T01 User manual

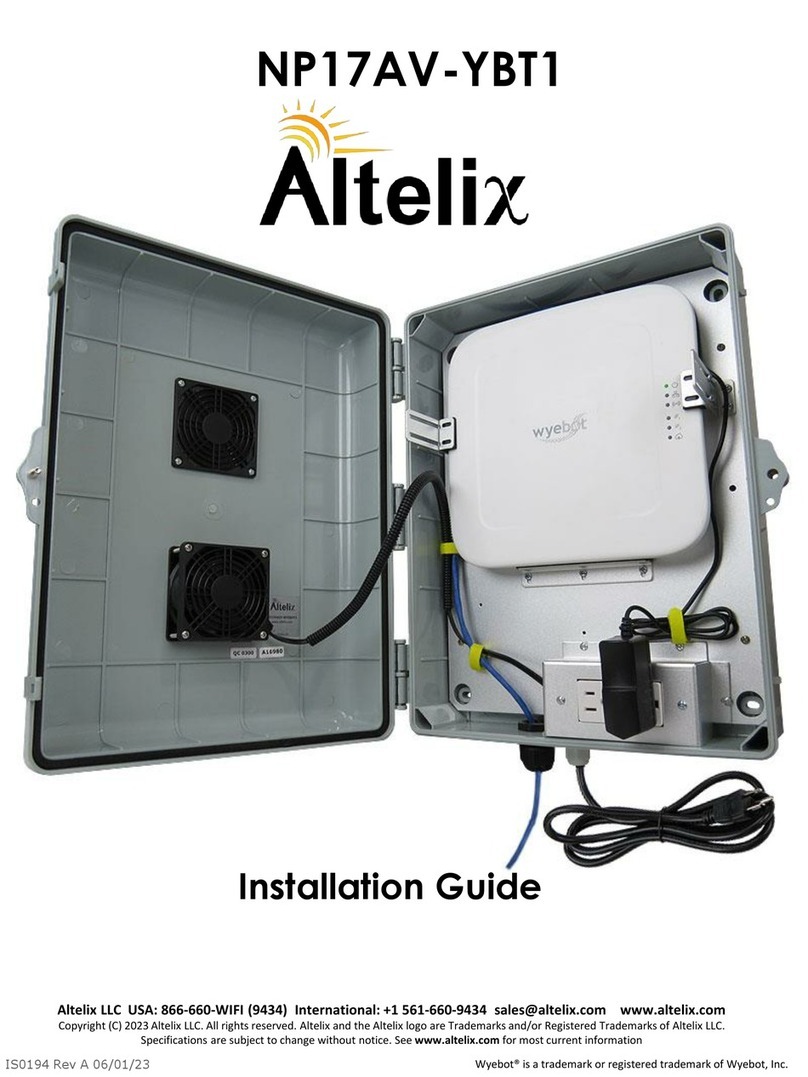
Altelix NP17AV-YBT1 User manual

Altelix

Altelix NP17AV-YBT1 User manual

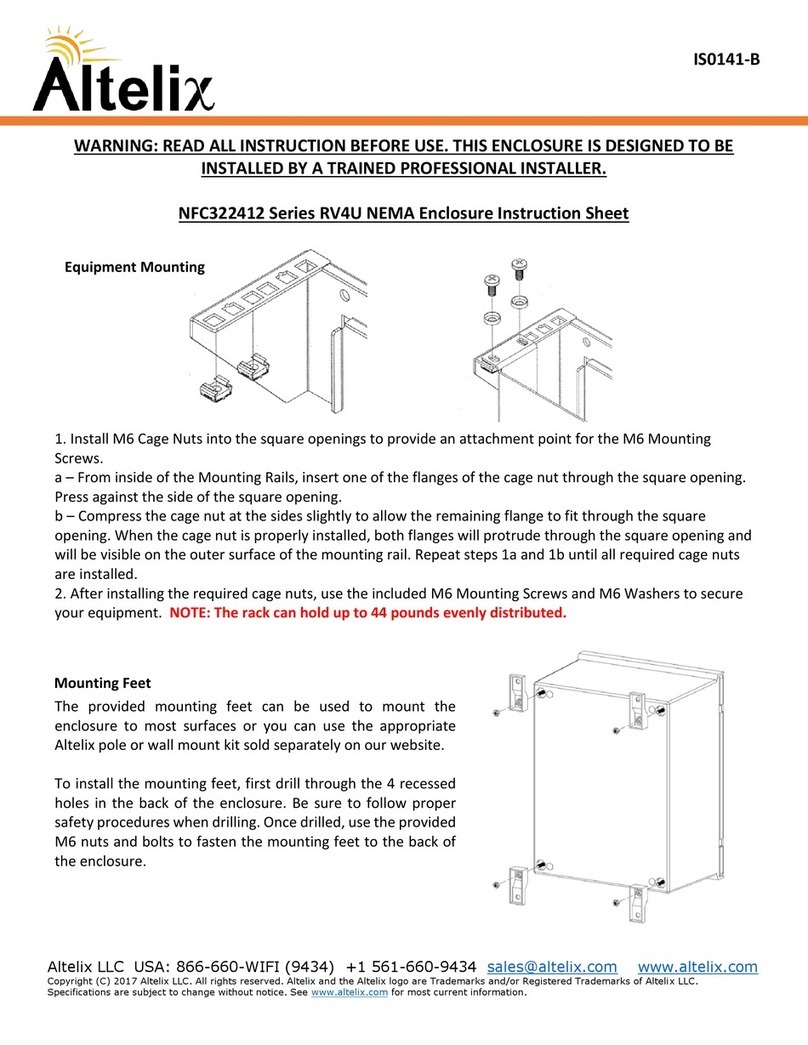
Altelix NFC322412 Series User manual

Altelix

Altelix NFC322412 Series User manual

Altelix NP17AV User manual

Altelix

Altelix NP17AV User manual

Altelix NP12VE1-YLK1 User manual

Altelix

Altelix NP12VE1-YLK1 User manual

Altelix NS242416VFA1C-R6U User manual

Altelix

Altelix NS242416VFA1C-R6U User manual

Altelix NF100806A1 User manual

Altelix

Altelix NF100806A1 User manual

Altelix NP17AV-YBT2 User manual

Altelix

Altelix NP17AV-YBT2 User manual

Altelix NS242412VFA1C-RV4U User manual

Altelix

Altelix NS242412VFA1C-RV4U User manual

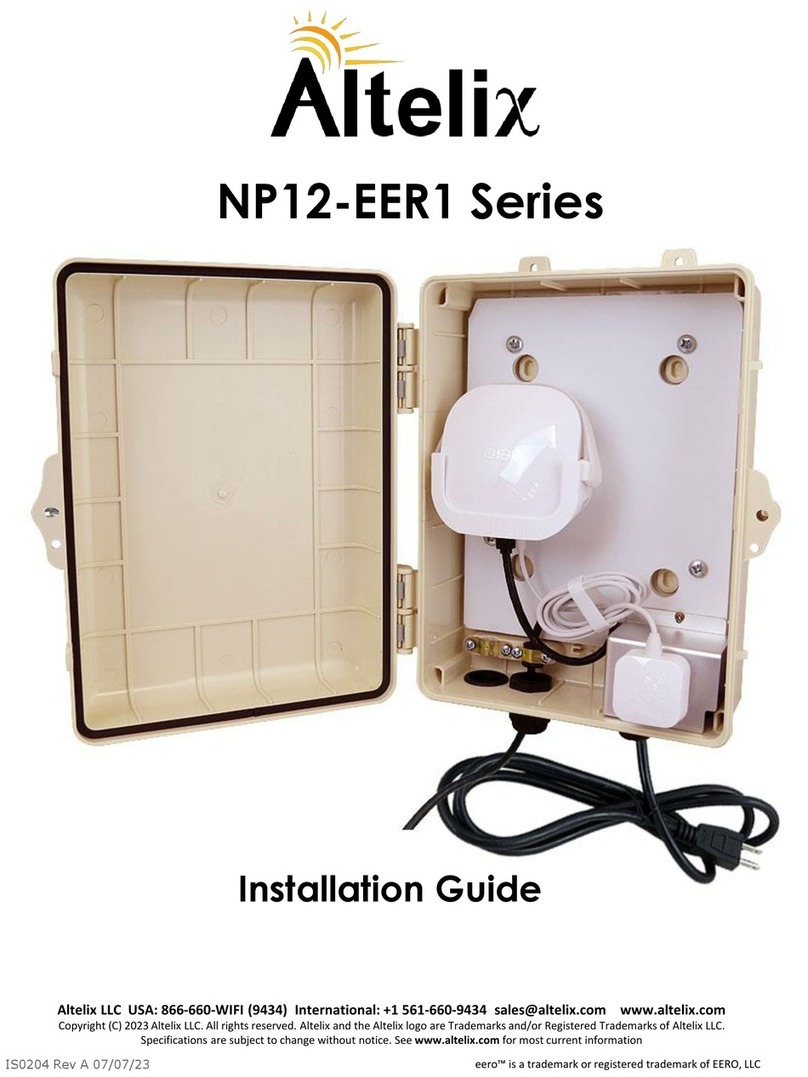
Altelix NP12-EER1 Series User manual

Altelix

Altelix NP12-EER1 Series User manual

Altelix NP12-EER3 Series User manual

Altelix

Altelix NP12-EER3 Series User manual

Altelix NP14 VA1C-WEXT Series User manual

Altelix

Altelix NP14 VA1C-WEXT Series User manual

Altelix NS100806-DIN User manual

Altelix

Altelix NS100806-DIN User manual

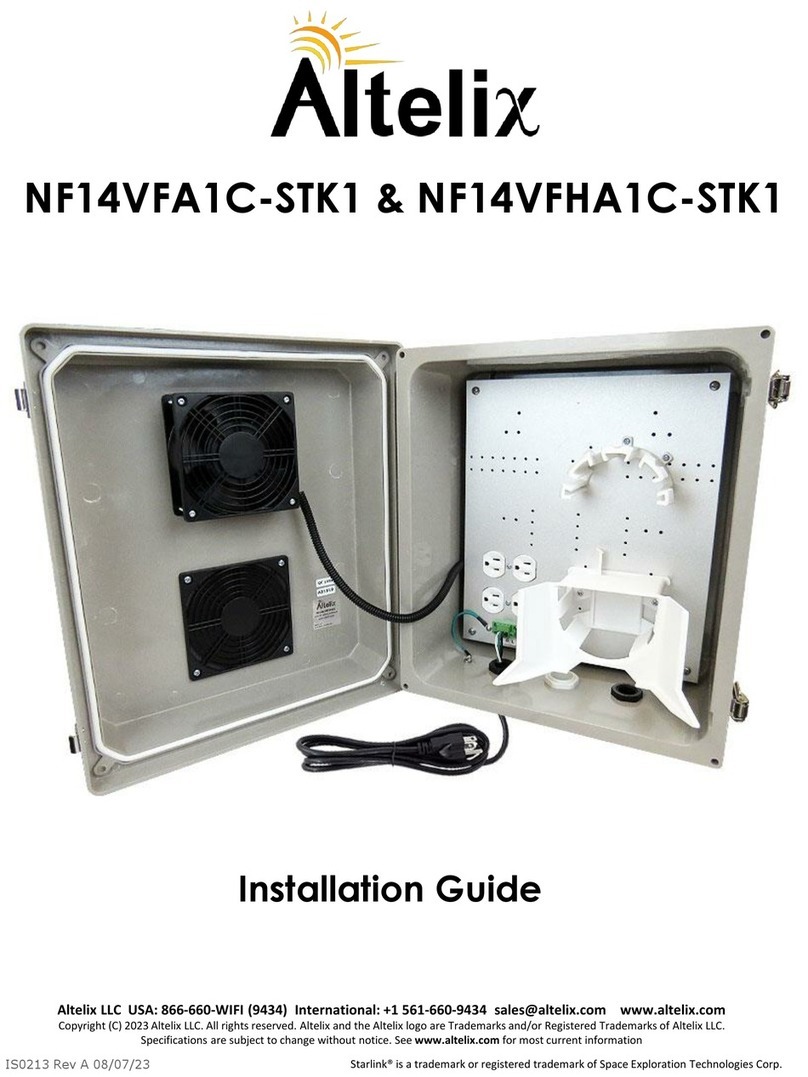
Altelix NF14VFA1C-STK1 User manual

Altelix

Altelix NF14VFA1C-STK1 User manual

Popular Enclosure manuals by other brands

Altronix Trove T2MK3F4D installation guide

Altronix

Altronix Trove T2MK3F4D installation guide

NAPCO GEM-PXCV installation instructions

NAPCO

NAPCO GEM-PXCV installation instructions

CRU Data Express QX310 quick start guide

CRU

CRU Data Express QX310 quick start guide

Positron BRX-XLR-8 quick start guide

Positron

Positron BRX-XLR-8 quick start guide

Outback Power Systems FLEXware 1000 user guide

Outback Power Systems

Outback Power Systems FLEXware 1000 user guide

Penn A28PA Series installation guide

Penn

Penn A28PA Series installation guide

Supermicro CSE-826BE1C-R609JBOD user manual

Supermicro

Supermicro CSE-826BE1C-R609JBOD user manual

Macpower & Tytech IceCube User manual & installation guide

Macpower & Tytech

Macpower & Tytech IceCube User manual & installation guide

CineRAID Home CR-H458 user manual

CineRAID

CineRAID Home CR-H458 user manual

Joy-it ACRYLIC CASE quick start guide

Joy-it

Joy-it ACRYLIC CASE quick start guide

HighPoint SSD6540M Quick installation guide

HighPoint

HighPoint SSD6540M Quick installation guide

Mustee DURAWALL 350 installation instructions

Mustee

Mustee DURAWALL 350 installation instructions

StarTech.com InfoSafe S252U2ERR user guide

StarTech.com

StarTech.com InfoSafe S252U2ERR user guide

Lindy 42901 user manual

Lindy

Lindy 42901 user manual

Honeywell HPB407 Product installation document

Honeywell

Honeywell HPB407 Product installation document

Vantec NexStar NST-D300SU3-BK specification

Vantec

Vantec NexStar NST-D300SU3-BK specification

Altec Lansing 817 LF SPEAKER CABINET BEAMWIDTH CHART manual

Altec Lansing

Altec Lansing 817 LF SPEAKER CABINET BEAMWIDTH CHART manual

StorCase Technology S21B101 user guide

StorCase Technology

StorCase Technology S21B101 user guide

manuals.online logo
manuals.online logoBrands
  • About & Mission
  • Contact us
  • Privacy Policy
  • Terms and Conditions

Copyright 2025 Manuals.Online. All Rights Reserved.