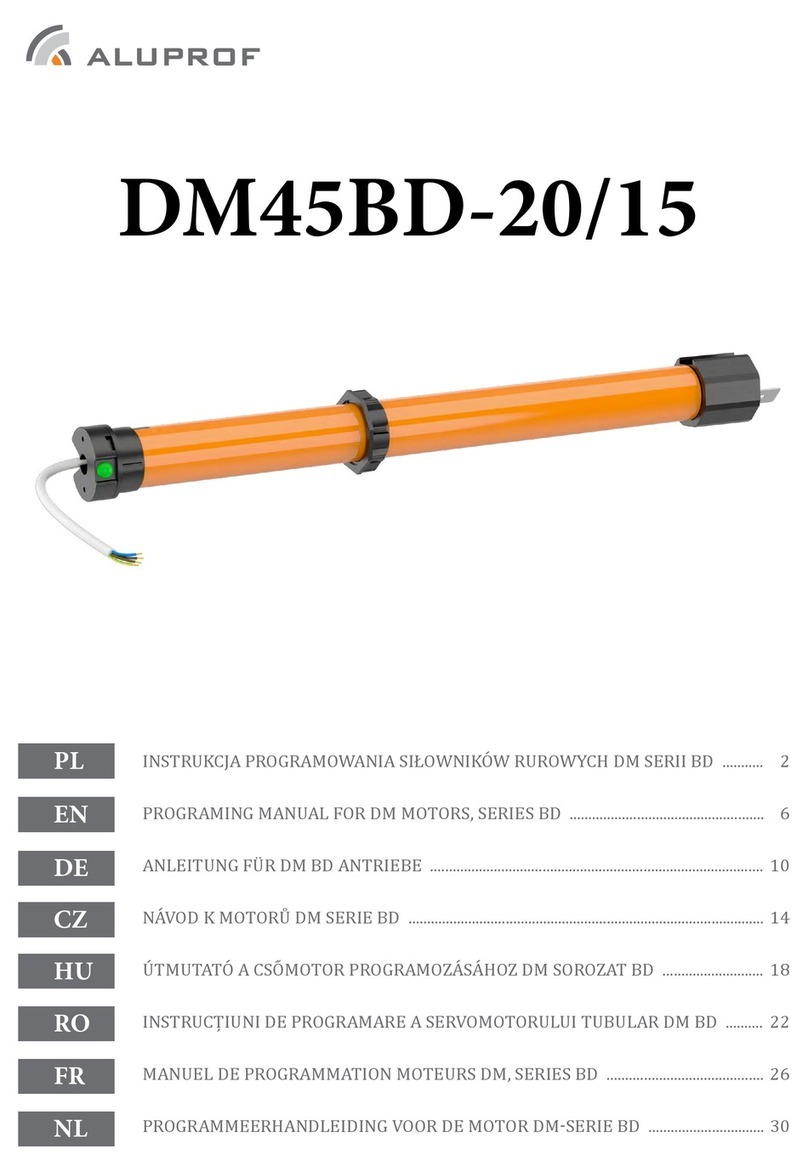
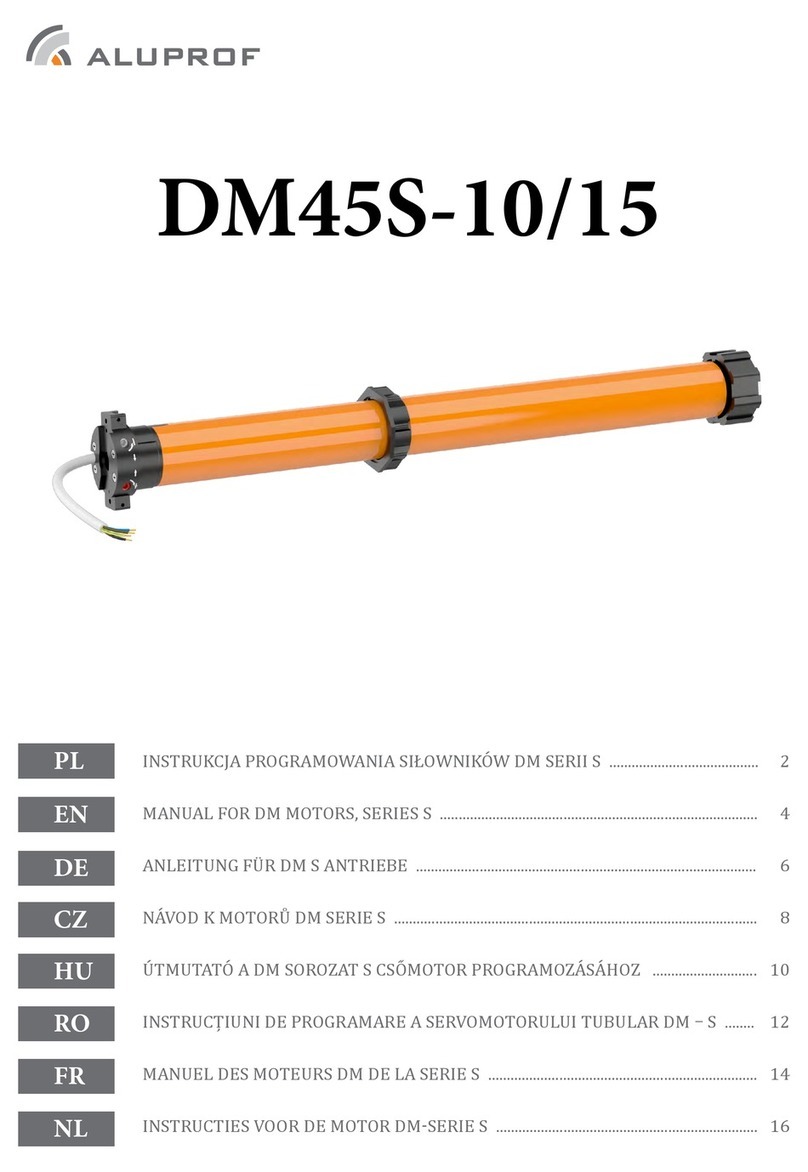
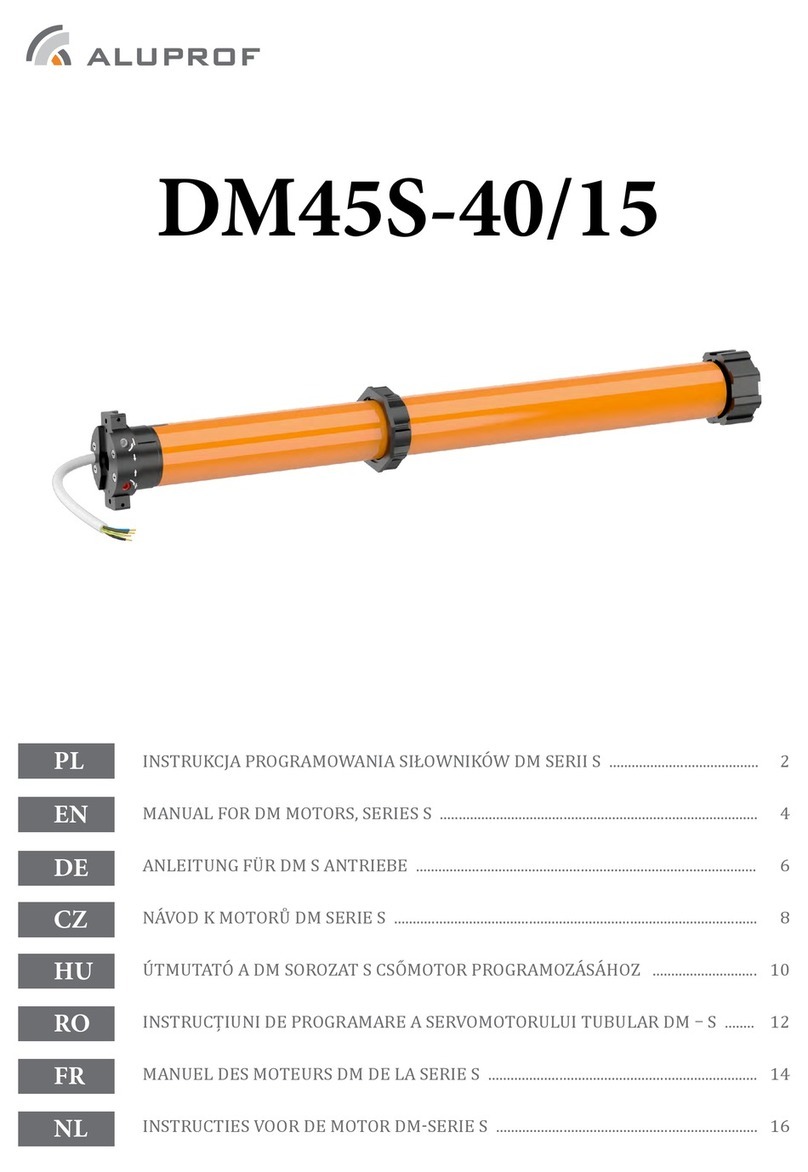
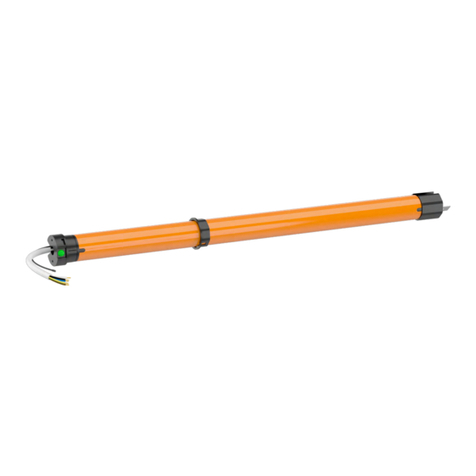
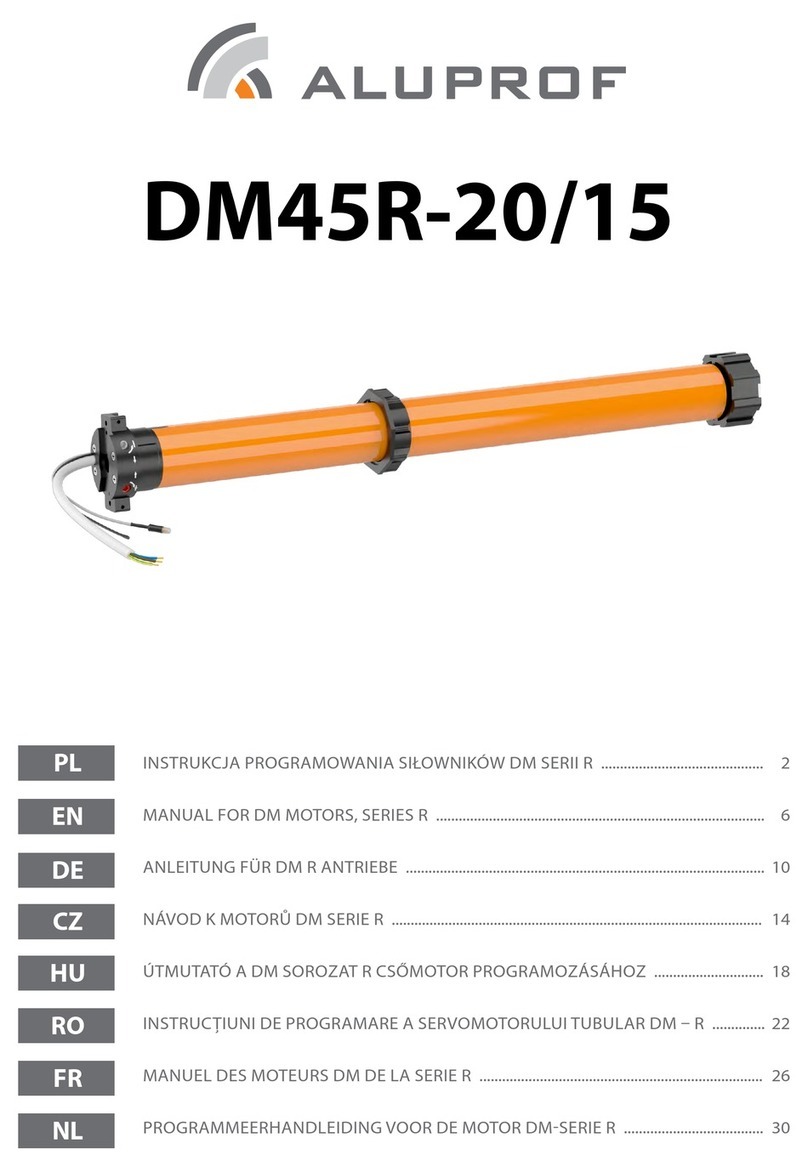
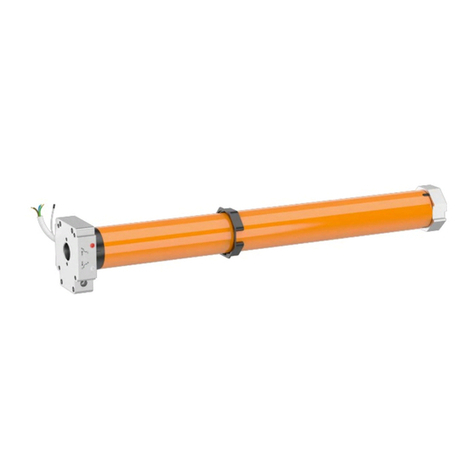
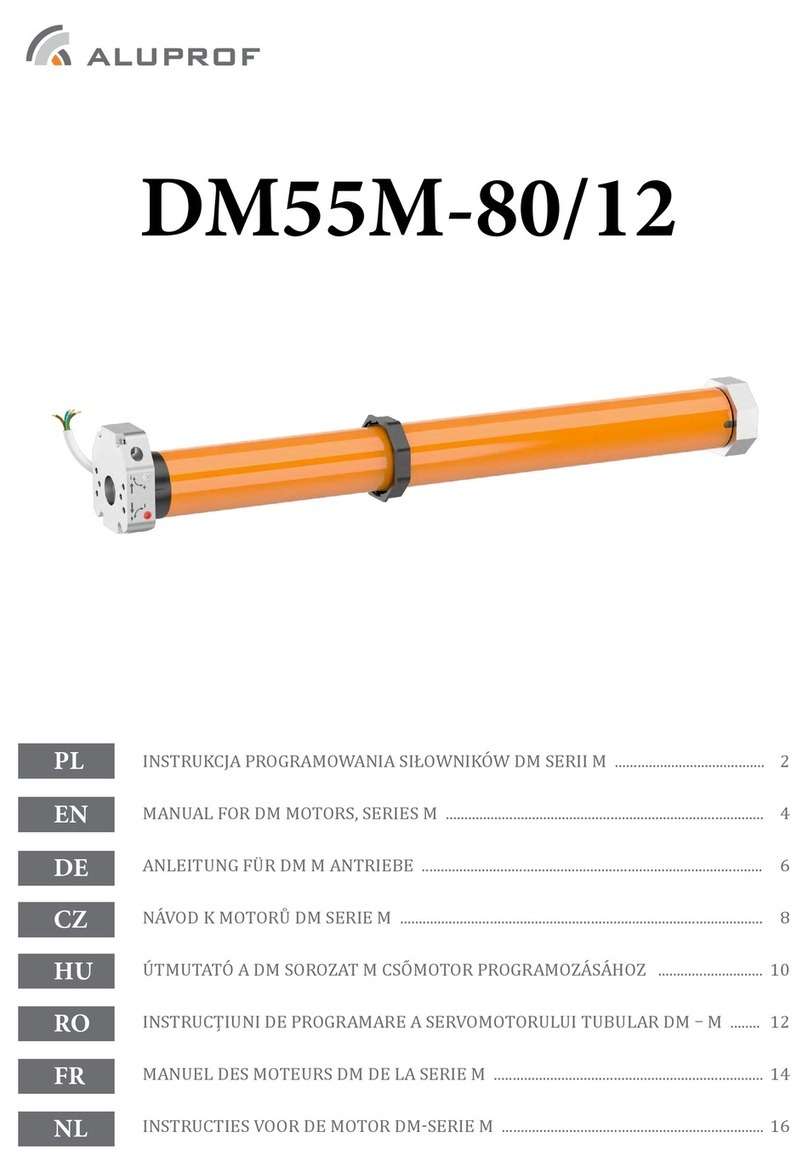
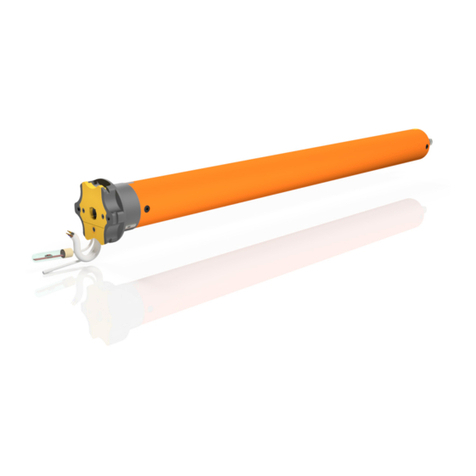
Aluprof R Series User manual

1
UWAGA
- Montaż siłownika powinien być wykonany przez osoby
uprawnione (posiadające uprawnienia SEP do 1kV).
- Siłownik przeznaczony jest do zastosowania
w pomieszczeniach suchych i nie powinien być wystawiony
na bezpośrednie działanie warunków atmosferycznych.
- Siłownik powinien być zasilony osobnym obwodem
i zabezpieczony bezpiecznikiem o zadziałaniu szybkim
np. wyłącznik nadprądowy typu B10
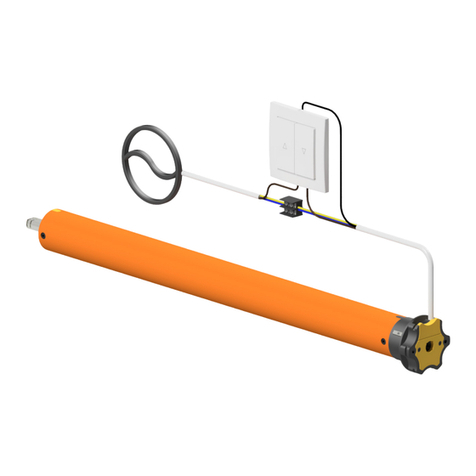
Poglądowe podłączenie siłownika
Zasilanie 230V / 50 Hz
Zgodnie z przepisami Dyrektywy Parlamentu Europejskiego i Rady 2012/19/UE z dnia 4 lipca 2012 r. w sprawie zużytego sprzętu
elektrycznego i elektronicznego (WEEE)zabronione jest umieszczanie łącznie z innymi odpadami zużytego sprzętu oznakowanego
symbolem przekreślonego kosza. Obowiązkiem użytkownika jest przekazanie zużytego sprzętu do wyznaczonego punktu zbiórki w celu
właściwego jego przetworzenia. Oznakowanie oznacza jednocześnie, że sprzęt został wprowadzony do obrotu po dniu 13 sierpnia 2005 r.
Powyższe obowiązki prawne zostały wprowadzone w celu ograniczenia ilości odpadów powstałych ze zużytego sprzętu elektrycznego
i elektronicznego oraz zapewnienia odpowiedniego poziomu zbierania, odzysku i recyklingu. W sprzęcie nie znajdują się składniki
niebezpieczne, które mają szczególnie negatywny wpływ na środowisko i zdrowie ludzi.
Zakład w Opolu
ul. Gosławicka 3, 45-446 Opole, Polska
tel. +48 77 40 00 000, fax. +48 77 40 00 006
e-mail: Aluprof@aluprof.eu
Specyfikacja techniczna
- zasilanie: 230 VAC / 50 Hz
- mechaniczne wyłączniki krańcowe
- wbudowany odbiornik radiowy
- częstotliwość transmisji: 433.92MHz
- moc transmisji: 10 miliwat (mW)
- temperatura użytkowania: ~ -10OC ~ +50OC (stopień ochrony IP44)
- dystans transmisji: 200 metrów (teren otwarty)
35 metrów (teren zabudowany)
- możliwość zaprogramowania do 20 nadajników, kolejne nadajniki powodują
nadpisywanie początkowo zaprogramowanych
Producent zastrzega sobie tolerancję danych katalogowych ze względu
na użytkowanie w różnych warunkach.
Do siłownika pasują wszystkie nadajniki z serii DC znajdujące się w ofercie
ALUPROF S.A.
Centrala; Zakład w Bielsku – Białej
ul. Warszawska 153, 43-300 Bielsko Biała, Polska
tel. +48 33 81 95 300, fax. +48 33 82 28 512
INSTRUKCJA PROGRAMOWANIA SIŁOWNIKÓW RUROWYCH DM SERII R ORAZ RM

2
DC 230
Opis nadajników
LEGENDA :
GÓRA- aktywacja przycisku spowoduje ruch pancerza w górę.
DÓŁ- aktywacja przycisku spowoduje ruch pancerza w dół.
P2- aktywacja przycisku wywołuje funkcję programowania.
K+ -aktywacja przycisku przełącza nadajnik na następny kanał.
K- -aktywacja przycisku przełącza nadajnik na poprzedni kanał.
K1 –przyciski kanału pierwszego.
K2 –przyciski kanału drugiego.
MODE –przycisk aktywujący ustawienia zegara i datownika.
DC 115A
GÓRA
DÓŁ
STOP
Blokada
klawiszy
Aktywację przycisku „P2”
w nadajnikach DC115A wykonujemy
poprzez kombinację jednocześnie
przyciśniętych przycisków
„STOP” i „GÓRA”.
DC 230
DC 229
K2
K1
GÓRA
STOP
DÓŁ
DC 316
DC 315
K2
K1
GÓRA
STOP
DÓŁ
Aktywację przycisku „P2”
w nadajnikach DC315 oraz DC316
wykonujemy poprzez kombinację
jednocześnie przyciśniętych przycisków
„STOP” i „GÓRA”.
DC 287
DC 288
DC 289
GÓRA
K+
STOP
DÓŁ
K-
P2
DC 313
DC 306
P2
DC 305
DC 920
GÓRA
K+
STOP
DÓŁ
K-
DC 250
DC 251
P2
GÓRA
K+
STOP
DÓŁ
K-
DC 1702
DC 1700
GÓRA
STOP
DÓŁ
K-
K+
P2
P2
P2
DC 1770
K2
K1
GÓRA
STOP
DÓŁ
DC 1771
DC 317
DC 448
MODE
P2
OK
GÓRA
DÓŁ
STOP
DC 559
DC 661
Aby zaprogramować zegar wraz
z datownikiem należy przytrzymać
przycisk „MODE” przez 4 sekundy
do momentu migania ikonki ”rocznika”.
Zmianę cyfr wykonujemy przyciskami
„GÓRA i DÓŁ” i zatwierdzamy
przyciskiem „MODE”, jeśli wszystkie
interesujące nas ustawienia zostały
wprowadzone to przyciskamy „OK”.
MODE
P2
OK
GÓRA
DÓŁ
STOP

3
Kiedy nie mamy dostępu do przycisku programowania to korzystamy z procedury programowania identycznej jak w serii „RM” na zasadzie
włączania i wyłączania zasilania siłownika.
RM
Włączyć zasilanie siłownika
co zostanie potwierdzone
sygnałem dźwiękowym
(x2 BIP).
x2 BIP
Po prawidłowym dokonaniu
ustawień siłownik zareaguje
sygnałem dźwiękowym (x6 BIP)
i przechodzi w tryb sterowania
użytkowego.
Trzymać przycisk aż do trzy krotnego sygnału
dźwiękowego (x3 BIP) co oznacza akceptację
procedury zmiany kierunku obrotów
siłownika.
Nacisnąć i przytrzymać przez
ok 6 sek. przycisk
„programowania” znajdujący
się na przewodzie głowicy
siłownika
x2 BIP
W odstępie około dwóch
sekund nacisnąć dwukrotnie
przycisk „P2”, co zostanie
potwierdzone sygnałem
dźwiękowym (x2 BIP).
2. Zmiana bazowego kierunku obrotów siłownika
OK
R
x2 BIP
OK
x1 BIP
Nacisnąć przycisk „DÓŁ”,
co zostanie potwierdzone
sygnałem dźwiękowym
(x1 BIP)
Kiedy nie mamy dostępu do przycisku programowania to korzystamy z procedury programowania identycznej jak w serii „RM” na zasadzie
włączania i wyłączania zasilania siłownika.
RM
Włączyć zasilanie siłownika
co zostanie potwierdzone
sygnałem dźwiękowym
(x2 BIP).
x2 BIP
Po prawidłowym dokonaniu
ustawień siłownik zareaguje
sygnałem dźwiękowym (x6 BIP)
i przechodzi w tryb sterowania
użytkowego.
Po prawidłowym dokonaniu
ustawień siłownik zareaguje
sygnałem dźwiękowym (x6 BIP)
i przechodzi w tryb sterowania
użytkowego.
Nacisnąć przycisk „GÓRA”,
co zostanie potwierdzone
sygnałem dźwiękowym
(x1 BIP)
Nacisnąć przycisk
„programowania” znajdujący
się na przewodzie głowicy
siłownika, co zostanie
potwierdzone sygnałem
dźwiękowym (x2 BIP).
x1 BIP
W odstępie około dwóch
sekund nacisnąć dwukrotnie
przycisk „P2”, co zostanie
potwierdzone sygnałem
dźwiękowym (x2 BIP).
x2 BIP
x2 BIP
W odstępie około dwóch
sekund nacisnąć dwukrotnie
przycisk „P2”, co zostanie
potwierdzone sygnałem
dźwiękowym (x2 BIP).
1. Programowanie pierwszego nadajnika
OK
R
x2 BIP
OK
x1 BIP
Nacisnąć przycisk „GÓRA”,
co zostanie potwierdzone
sygnałem dźwiękowym
(x1 BIP)

4
3. Ustawianie wyłączników krańcowych
1. Uruchomić roletę w kierunku zamykania, aż zatrzyma się w położeniu krańcowym
(jeśli pancerz został rozwinięty w całości a siłownik nadal pracuje, należy zatrzymać roletę i przejść do punktu 3).
2. Kręcąc pokrętłem ( oznaczonym strzałką ⇧ ) w kierunku (+) doprowadzić do żądanego położenia rolety.
3. W przypadku przekroczenia żądanego położenia należy podnieść roletę, wykonać kilka obrotów pokrętłem
w kierunku (-) i powtórzyć procedurę od punktu pierwszego.
1. Uruchomić roletę w kierunku otwierania, aż zatrzyma się w położeniu krańcowym
(jeśli pancerz nadal zwija się do kasety, należy zatrzymać roletę i przejść do punktu 3).
2. Kręcąc pokrętłem ( oznaczonym strzałką ⇩ ) w kierunku (+) doprowadzić do żądanego położenia rolety.
3. W przypadku przekroczenia żądanego położenia należy opuścić roletę, wykonać kilka obrotów pokrętłem
w kierunku (-) i powtórzyć procedurę od punktu pierwszego.
x2 BIP
Nacisnąć dwukrotnie przycisk „P2”
zaprogramowanego już nadajnika,
co zostanie potwierdzone sygnałem
dźwiękowym (x2 BIP)
Nacisnąć przycisk „P2”
nowego nadajnika.
Po prawidłowym dokonaniu
ustawień odbiornik radiowy
zareaguje sygnałem dźwiękowym
(x5 BIP).
4. Dodawanie kolejnego nadajnika
OK
x1 BIP
x3 BIP
Po prawidłowym dokonaniu ustawień
odbiornik radiowy zareaguje sygnałem
dźwiękowym (x3 BIP).
Urządzenie przejdzie w tryb
bez podtrzymania, aby powrócić do trybu
z podtrzymaniem należy powtórzyć
sekwencje programowania.
Nacisnąć przycisk „P2”
Nacisnąć przycisk „GÓRA”,
co zostanie potwierdzone
sygnałem dźwiękowym
(x1 BIP)
Nacisnąć przycisk „P2”,
co zostanie potwierdzone
sygnałem dźwiękowym
(x1 BIP)
x1 BIP
5. Aktywacja trybu impulsowego
Po prawidłowym dokonaniu
ustawień odbiornik radiowy
zareaguje sygnałem dźwiękowym
(x3 BIP)
oraz ruchem góra-dół.
X3 BIP
Nacisnąć przycisk „P2”,
co zostanie potwierdzone sygnałem
dźwiękowym (x1 BIP)
x1 BIP
Nacisnąć przycisk „STOP”,
co zostanie potwierdzone sygnałem
dźwiękowym (x1 BIP)
x1 BIP
Nacisnąć przycisk „P2”
6. Kasowanie nadajników z pamięci siłownika
Procedura kasowania jakiegokolwiek nadajnika usuwa wszystkie nadajniki jakie były połączone w systemie z siłownikiem.

1
NOTE
- Installation of the motor should be carried out
by authorized persons
- The motor is designed for use in dry rooms and should
not be exposed to direct weather conditions.
- The motor should be powered by a separate circuit
and protected by a quick fuse for example: circuit
breaker type B10
Electrical connections
Power 230V / 50 Hz
"In accordance with the provisions of the Directive of the European Parliament and of the Council 2012/19 / EU of 4 July 2012 on
waste electrical and electronic equipment (WEEE), it is prohibited to place of used equipment together with other wastes, marked
with crossed out wheeled bin symbol.
The users are obliged to transfer their used equipment to a designated collection point for
proper processing. The marking means, at the same time, that the equipment was put on the market after 13 August 2005.
These legal obligations have been introduced to reduce the amount of waste generated from waste electrical and electronic
equipment and to ensure an appropriate level of collection, recovery and recycling. The equipment does not contain any dangerous
components, which would have any particularly negative impact on the environment and human health."
Production plant in Opole
ul. Gosławicka 3, 45-446 Opole, Poland
tel. +48 77 40 00 000, fax. +48 77 40 00 006
e-mail: Aluprof@aluprof.eu
Technical data
- power supply: 230 VAC / 50 Hz
- mechanical limit swiches
- bulid in radio receiver
- frequency transmission rate: 433.92MHz
- output power: 10 milliwatts (mW)
- operating temperature: ~ -10oC ~ +50oC (protection degree IP44)
- transmission distance: 200 meters (open area)
35 meters (built-up area)
- ability to store up to 20 channels in one tubular motor. Each next channel will
erase the first one
All DC series transmitters available in the ALUPROF offer are suitable
for the radio control.
The manufacturer reserves a margin tolerance with respect to the catalogue
data due to use in a variety of conditions.
Headquarters; Production plant in Bielsko-Biała
Warszawska 153, 43-300 Bielsko-Biała, Poland
+48 33 81 95 300, fax. +48 33 82 28 512
PROGRAMING MANUAL FOR DM MOTORS, SERIES R AND RM

2
DC 230
Remote controllers
description
LEGEND :
UP - activation of this button will move roller shutter up
DOWN - activation of this button will move roller shutter down
P2- activation of this button will bring the tubular motor
in to programming
K+ - activation of this button will switch to the next channel
K- - activation of this button will switch to the previous channel.
K1 –buttons of channel one
K2 –buttons of channel two
MODE –button which activates the settings of clock and date coder
DC 115A
UP
DOWN
STOP
KEYS
LOCK
Activation of the “P2” button
in remote controller DC115A
is performed by a combination
of both keys “STOP” and “UP”.
DC 230
DC 229
K2
K1
UP
STOP
DOWN
DC 316
DC 315
K2
K1
UP
STOP
DOWN
Activation of the “P2” button
in remote controller DC315 and DC316
is performed by a combination
of both keys “STOP” and “UP”.
DC 287
DC 288
DC 289
UP
K+
STOP
DOWN
K-
P2
DC 313
DC 306
P2
DC 305
DC 920
UP
K+
STOP
DOWN
K-
DC 250
DC 251
P2
UP
K+
STOP
DOWN
K-
DC 1702
DC 1700
UP
STOP
DOWN
K-
K+
P2
P2
P2
DC 1770
K2
K1
UP
STOP
DOWN
DC 1771
DC 317
DC 448
MODE
P2
OK
UP
DOWN
STOP
DC 559
DC 661
To program the clock and the date coder,
please hold “MODE” button for 4
seconds until the numbers on the
display will flash. Change the numbers
using the “UP” & “DOWN” button and
press “MODE” button, if all the settings
are set up please press “OK” button.
MODE
P2
OK
UP
DOWN
STOP

3
When we don`t have an access to the SET button, we have to use procedure from RM series.
RM
Turn on the power, 2 short
beep will be heard immediately
(2xBIP).
x2 BIP
After correct programming
the tubular motor will make 6 short
beeps (6xBIP) and it is ready
to regular using.
Hold the button fill the tubular motor will
make three short beep (3x BIP). This means
that the directions of the movement have
been changed
Press the SET button
(which is on the head of the
motor) for 6 seconds.
x2 BIP
In an interval of about two
seconds, press the "P2" button
twice and you will hear an
acoustic signal (x2 BIP)
2. Programming the direction of movement
OK
R
x2 BIP
OK
x1 BIP
Press the "DOWN" button
and you will hear an acoustic
signal (x1 BIP)
When we don`t have an access to the SET button, we have to use procedure from RM series.
RM
Turn on the power, 2 short
beep will be heard immediately
(2xBIP).
x2 BIP
After correct programming
the tubular motor will make 6 short
beeps (6xBIP) and it is ready
to regular using.
After correct programming
the tubular motor will make 6 short
beeps (6xBIP) and it is ready
to regular using.
Press the "UP" button and you
will hear an acoustic signal
(x1 BIP)
Press the SET button (on
tubular motor’s head) one
time, 2 short beep will be
heard immediately (2xBIP).
x1 BIP
In an interval of about two
seconds, press the "P2" button
twice and you will hear an
acoustic signal (x2 BIP)
x2 BIP
x2 BIP
In an interval of about two
seconds, press the "P2" button
twice and you will hear an
acoustic signal (x2 BIP)
1. Programming the first transmitter
OK
R
x2 BIP
OK
x1 BIP
Press the "UP" button and you
will hear an acoustic signal
(x1 BIP)

4
3. Setting the limit swiches
1. Start the closing mode of the shutter until it stops in the requested position
(if the roller shutter is fully closed and the motor is still working, it should be stopped and proceed to step 3).
2. Regulate the knob (marked ⇧) in the (+) direction set the requested position of the shutter.
3. Raise the shutter and regulate the knob in the (-) direction and repeat the procedure if the requested position is crossed.
1. Start the opening mode of the shutter until it stops in the requested position
(if the roller shutter is still opening and the motor is still working it should be stopped and proceed to step 3).
2. Regulate the knob (marked ⇩) in the (+) direction set the requested position of the shutter.
3. Raise the shutter and regulate the knob in the (-) direction and repeat the procedure if the requested position is crossed.
x2 BIP
Press the button "P2” twice of the
already programmed transmitter
and you will hear an acoustic signal
(x2 BIP)
Press the ”P2” button of the
new transmitter
After successful setup the radio
receiver will beep (x5 BIP)
4. Memorizing another transmitter
OK
x1 BIP
x3 BIP
After successful setup the radio receiver will
beep (x3 BEEP) and move up-down.
The device will switch into operation
mode without support, repeat the
programming sequence to return to the
operation mode with support
Press the "P2" button
Press the "UP" button and you
will hear an acoustic signal
(x1 BIP)
Press the "P2" button and you
will hear an acoustic signal
(x1 BIP)
x1 BIP
5. Function with support or without support
After successful setup the radio
receiver will beep (x3 BEEP)
X3 BIP
Press the "P2" button and you will
hear an acoustic signal (x1 BEEP)
x1 BIP
Press the "STOP" button and you
will hear an acoustic signal (x1 BIP)
x1 BIP
Press the "P2" button
6. Ereasing the memory of the motor
To clean up emiter means deleting all the memory of emiter and limit switch in the motor receivers

1
ACHTUNG
- Die Montage der Motor sollte durch befügtes Personal
erfolgen.
- Der Motor ist für trockene Räume bestimmt und sollte
nicht den direkten Witterungsverhältnissen ausgesetzt
werden.
- Der Motor sollte über eine getrennte Leitung versorgt
und durch eine schnellwirkende Sicherung abgesichert
werden, z.B.: den Leitungsschutzschalter Typ B10.
Elektrischer Anschluss des Motors
Power 230V / 50 Hz
Gemäß der Richtlinie 2012/19/EU des Europäischen Parlaments und des Rates vom 4. Juli 2012 über Elektro- und Elektronik-
Altgeräte (WEEE) ist es verboten, Elektro- und Elektronik-Altgeräte, gekennzeichnet durch das Symbol der durchgestrichenen
Mülltonne,mit anderen Abfällen zu verwerten. Der Nutzer ist verpflichtet, die Elektro- und Elektronik-Altgeräte an gekennzeichneten
Sammelstellen zur entsprechenden Verwertung abzugeben. Die Kennzeichnung deutet auch darauf hin, dass das Gerät nach dem 13.
August 2005 auf den Markt eingeführt wurde. Die oben genannten Verpflichtungen wurden eingeführt, um Abfälle von Elektro- und
Elektronikgeräten zu vermeiden und Wiederverwendung, Recycling und andere Formen der Verwertung zu sichern. Diese Geräte
bestehen aus Materialien, deren gefährliche Inhaltsstoffe zu besonderen Umwelt- und Gesundheitsrisiken führen können.
Firma in Opole
ul. Gosławicka 3, 45-446 Opole, Polska
tel. +48 77 40 00 000, fax. +48 77 40 00 006
Technische Merkmale:
- Energieversorgung: 230 VAC / 50 Hz
- Mechanischer Endschaltersystem
- Einstellung durch den Sender
- Frequenzübertragung: 433.92MHz
- Übertragungsstärke: 10 Milliwatt (mW)
- Nutzungstemperatur: ~ -10OC ~ +50OC (Schutzgrad IP44)
- Übertragungsdistanz: 200 Meter (offenes Gelände)
35 Meter (bebautes Gelände)
- Bis zu 20 Sendern speichern. In fall wenn es Einführung den 21 Sender stattfindet,
der erste Sender wird aus dem Speicher entfernt.
Zu Motor passen alle Sender der Serie DC, die im Angebot der Firma ALUPROF S.A.
Der Hersteller behält sich die Toleranz der Katalogangaben aufgrund
der Nutzung in unterschiedlichen Umständen vor.
Zentrale; Werk in Bielsku –Białej
ul. Warszawska 153, 43-300 Bielsko Biała, Polska
tel. +48 33 81 95 300, fax. +48 33 82 28 512
ANLEITUNG FÜR DM R UND RM ANTRIEBE
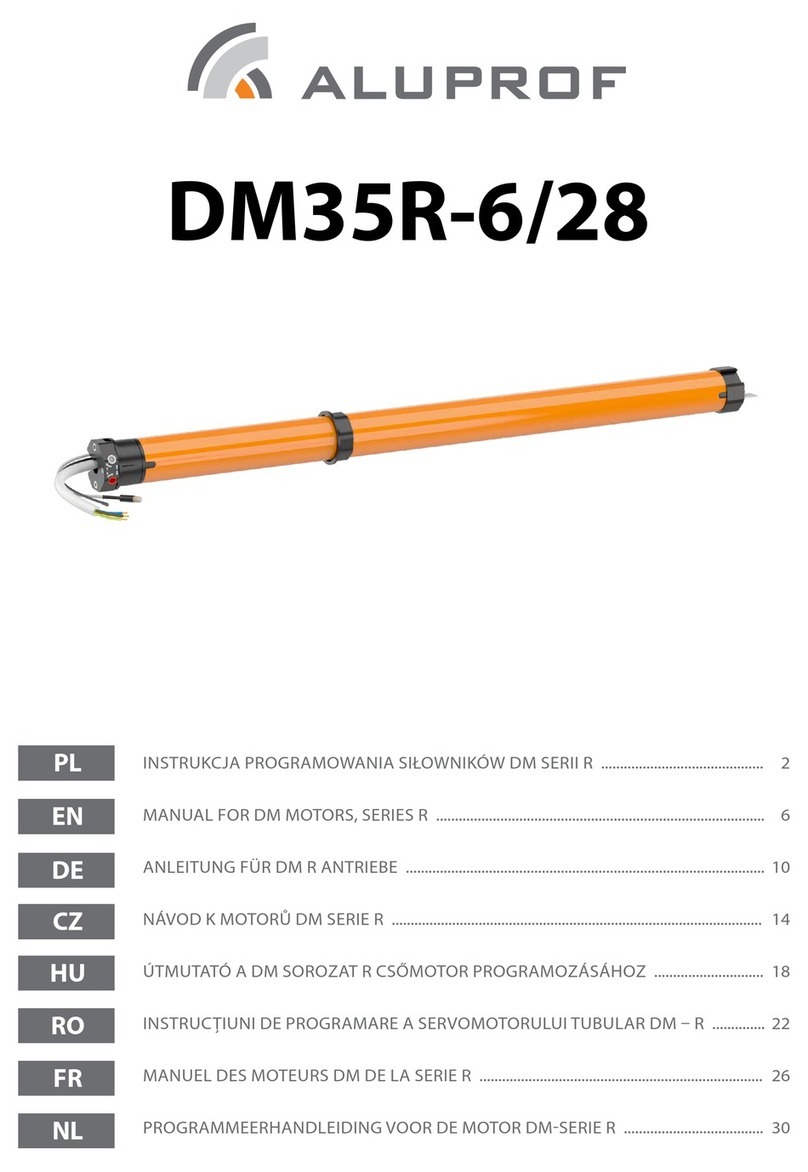
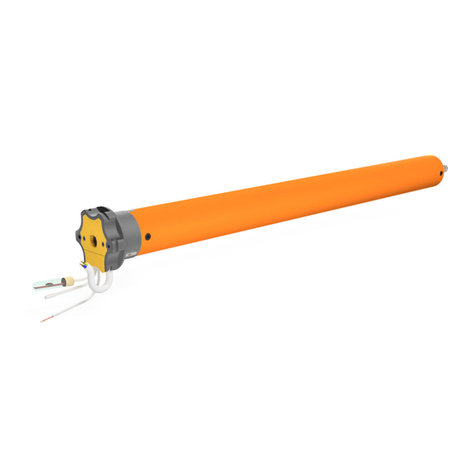
2
DC 230
Beschreibung
LEGENDE :
AUF- Aktivierung bewirkt den Rollladen nach oben.
AB- Aktivierung bewirkt den Rollladen nach unten.
P2- Aktivierung bewirkt Programmierung Modus.
K+ - Aktivierung schaltet den Sender auf den nächsten Kanal.
P- - Aktivierung schaltet den Sender auf den letzten Kanal.
K1 –Kanal 1.
K2 –Kanal 2.
MODE –Aktivierung bewirkt Programmierung von Uhr und Datum.
DC 115A
AUF
AB
STOP
Blokada
klawiszy
Aktivierung von P2 taste in Sender
DC115A erledigen wir durch eine
Kombination von Tasten „STOP”
und „AUF” Gleichzeitich gedruckt.
DC 230
DC 229
K2
K1
AUF
STOP
AB
DC 316
DC 315
K2
K1
AUF
STOP
AB
Aktivierung von P2 taste in Sender
DC315 und DC316 erledigen wir durch
eine Kombination von Tasten „STOP”
und „AUF” Gleichzeitich gedruckt.
DC 287
DC 288
DC 289
AUF
K+
STOP
AB
K-
P2
DC 313
DC 306
P2
DC 305
DC 920
AUF
K+
STOP
AB
K-
DC 250
DC 251
P2
AUF
K+
STOP
AB
K-
DC 1702
DC 1700
AUF
STOP
AB
K-
K+
P2
P2
P2
DC 1770
K2
K1
AUF
STOP
AB
DC 1771
DC 317
DC 448
MODE
P2
OK
AUF
AB
STOP
DC 559
DC 661
Um die Uhr und die Datum einzustellen,
soll Man die taste „MODE”
für 4 Sekunden gedruckt halten bis
die Symbole blinken. Zeit und Datum
wechseln wir mit die Tasten „AUF”
und „AB”, wenn die Zeit und Datum ist
richtig drucken wir „OK“ taste.
MODE
P2
OK
AUF
AB
STOP

3
Wenn wir keinen Zugang zum Programmierungsknopf haben –verwenden wir Programmierungsprozedur wie bei der RM -Serie –Anschließen
und Ausschalten der Stromversorgung
RM
RM- beim Anschluss des
Senders zur Stromversorgung,
wird er die
Programmierungsbereitschaft
durch einen kurzen Piepton
bestätigen.
x2 BIP
Nach der korrekten Einstellung
reagiert der Motor durch einen
Piepton (x6 BIP) und beginnt
Anwendersteuerung.
Die Taste so lange gedrückt halten, bis Sie
drei Pieptone hören (x3 BIP), dieses wird
Ihnen der Prozedurbeginn der Änderung der
Richtung der Motorbewegung bestätigt
Der Motor zum Stillstand
bringen. Dann die Systemtaste
des Motors 6 Sekunden lang
gedrückt halten.
x2 BIP
In einem Abstand von zwei
Sekunden wird die Taste „P2“
des Senders zweimal gedrückt,
was durch ein Tonsignal
(x2 BIP)
2. Änderung der Richtung der Motorbewegung
OK
R
x2 BIP
OK
x1 BIP
Drücken Sie bitte die Taste
„AB“ des Senders, dieses wird
Ihnen durch einen kurzen
Piepton bestätigt (x1 BIP)
Wenn wir keinen Zugang zum Programmierungsknopf haben –verwenden wir Programmierungsprozedur wie bei der RM -Serie –
Anschließen und Ausschalten der Stromversorgung
RM
RM- beim Anschluss des
Senders zur Stromversorgung,
wird er die
Programmierungsbereitschaft
durch einen kurzen Piepton
bestätigen.
x2 BIP
Nach der korrekten Einstellung
reagiert der Motor durch einen
Piepton (x6 BIP) und beginnt
Anwendersteuerung.
Nach der korrekten Einstellung
reagiert der Motor durch einen
Piepton (x6 BIP) und beginnt
Anwendersteuerung.
Drücken Sie bitte die Taste
„AUF“ des Senders, dieses wird
Ihnen durch einen kurzen
Piepton bestätigt (x1 BIP)
R-Den
Programmierungsknopf auf
der Leitung des Motorkopfs
einmal kurz drücken, dieses
wird Ihnen durch einen kurzen
Piepton bestätigt (X2 BIP)
x1 BIP
In einem Abstand von zwei
Sekunden wird die Taste „P2“
des Senders zweimal gedrückt,
was durch ein Tonsignal
(x2 BIP)
x2 BIP
x2 BIP
In einem Abstand von zwei
Sekunden wird die Taste „P2“
des Senders zweimal gedrückt,
was durch ein Tonsignal
(x2 BIP)
1. Programmierung des ersten Senders
OK
R
x2 BIP
OK
x1 BIP
Drücken Sie bitte die Taste
„AUF“ des Senders, dieses wird
Ihnen durch einen kurzen
Piepton bestätigt (x1 BIP)

4
3. Einstellung der Endschalter
1. Den Motor In Richtung Ab ausfuhren, , bis der Motor anhalt
(In falz der panzer gesamt entwickelt ist und der Motor noch lauft, stoppen Sie ihm und gehen sie zu Schritt 3).
2. Stellschraube (von Schalter ⇧) in die Richtung (+) drehen, bis der Motor in die gewünschte Stellung Anhalt.
3. In Falle der Überschreitungder gewünschten Position den Rollladen ein bisschen aufrollen, nächst ein paar
Umdrehungen von Stellschraube in Richtung (-), und wiederholen Sie den Vorgang ab dem ersten
1. Den Motor In Richtung Auf ausfuhren, bis der Motor anhalt
(In Falle der panzer wickelt sich weiter, stoppen Sie ihm und gehen sie zu Schritt 3).
2. Stellschraube (von Schalter ) in die Richtung (+) drehen, bis der Motor in die gewünschte Stellung Anhalt.
3. In Falle der Überschreitung der gewünschten Position den Rollladen ein bisschen abrollen, nächst ein paar
Umdrehungen von Stellschraube in Richtung (-), und wiederholen Sie den Vorgang ab dem ersten Punkt.
x2 BIP
In einem Abstand von zwei Sekunden wird
die Taste „P2“ des bereits
programmierten Senders zweimal
gedrückt, was durch ein Tonsignal (x2 BIP)
Drücken Sie bitte die Taste „P2“
des neuen Senders
Nach regelrechter Einstellung wird
der Radioempfänger mit Tonsignal
(x5 BIP)
4. Hinzfügen eines neuen Senders
OK
x1 BIP
x3 BIP
Nach entsprechender Einstellung wird der
Radioempfänger mit einem Tonsignal
(x3 BIP) und der Bewegung oben-unten
reagieren. Das Gerät wird den Modus ohne
Haltefunktion wählen, um in den Modus
mit Haltefunktion zurückzukehren ist
die Programmierungssequenz zu
wiederholen.
Drücken Sie bitte die Taste “P2”
Drücken Sie bitte die Taste „AUF“
des Senders, dieses wird Ihnen
durch einen kurzen Piepton
bestätigt (x1 BIP)
Drücken Sie bitte die Taste „P2“
des Senders, dieses wird Ihnen
durch einen kurzen Piepton
bestätigt (x1 BIP)
x1 BIP
5. Totmannschaltung
Nach entsprechender Einstellung
wird der Radioempfänger mit
einem Tonsignal (3xBIP)
X3 BIP
Drücken Sie bitte die Taste „P2“
des Senders, dieses wird Ihnen
durch einen kurzen Piepton
bestätigt (X1BIP)
x1 BIP
Drücken Sie bitte die Taste „STOP“
des Senders, dieses wird Ihnen
durch einen kurzen Piepton
bestätigt (X1BIP)
x1 BIP
Drücken Sie bitte die Taste “P2”
6. Löschen des Senders
Löschen des irgendwelchen Senders löscht alle Sender, welche gespeichert sind.

1
POZOR
- Montáž provádět pouze oprávněné osoby
- Motor je určen k použití v suchých místnostech. Nesmí být
vystaven přímému působení atmosférických vlivů.
- Motor musí být zabezpečen prostřednictvím samostatného
obvodu a zabezpečen pojistkami s rychlým přítahem např.
nadproudovým jističem typu B10
Připojení motoru k napájení
230V / 50Hz Napájení
V souladu s předpisy směrnice Evropského parlamentu a Rady 2012/19/EU ze dne 4. července 2012 o odpadních elektrických
a elektronických zařízeních (OEEZ) je zakázáno vyhazovat zařízení označené symbolem přeškrtnuté popelnice spolu s jinými odpady.
Povinností uživatele je odevzdat použitá zařízení do podniku zabývajícího se sběrem přístrojů za účelem jejich odpovídající recyklace.
Označení zároveň znamená, že zařízení bylo uvedeno na trh po dni 13. srpna 2005.
Výše uvedené právní povinnosti byly zavedeny
za účelem snížení množství odpadů vzniklého z použitých elektrických a elektronických zařízení a zajištění náležité úrovně sběru,
zpětného odběru a recyklace. Součástí zařízení nejsou nebezpečné látky, které by měly zvláště negativní vliv na životní prostředí a
lidské zdraví.
Technické údaje
- napájení: 230 VAC / 50 Hz
- mechanické koncové spínače
- vestavěný radiový přijímač
- kmitočet přenosu: 433.92MHz
- výkon přenosu: 10 miliwattů (mW)
- provozní teplota: ~ -10OC ~ +50OC
- dosah přenosu: 200 metrů (otevřená plocha)
35 metrů (zastavěná plocha)
- možnost naprogramování jednoho motoru do 20 ovladačů Další přidané
ovladače přepisují naprogramování stávajících ovladačů .
Motor je kompatibilní se všemi ovladači řady DC, které nabízí ALUPROF S.A.
Výrobce si vyhrazuje toleranci katalogových údajů vzhledem k používání
v různých podmínkách.
NÁVOD K NAPROGRAMOVÁNÍ MOTORŮ DM SERIE R A RM
Závod v Opole
ul. Gosławicka 3, 45-446 Opole, Polsko
tel. +48 77 40 00 000, fax. +48 77 40 00 006
e-mail: Aluprof@aluprof.eu
Centrála; Závod v Bielsko – Biała
ul. Warszawska 153, 43-300 Bielsko Biała, Polska
tel. +48 33 81 95 300, fax. +48 33 82 28 512

2
DC 230
Popis ovladačů
VYSVĚTLIVKY:
NAHORU - tlačítko spouštějící pohyb pancíře nahoru.
DOLŮ - tlačítko spouštějící pohyb pancíře dolů.
P2 - aktivací tlačítka přejdete do funkcí naprogramování.
K+ - stisk tlačítka přepíná vysílač na následující kanál.
K- - stisk tlačítka přepíná vysílač na předcházející kanál.
K1 –tlačítka prvního kanálu.
K2 –tlačítka druhého kanálu.
MODE –tlačítko aktivující nastavení hodin a data.
DC 115A
NAHORU
DOLŮ
STOP
Blokování
tlačítek
U ovladačů DC115A aktivujte tlačítko
"P2" pomocí současného stisknutí
tlačítek "STOP" a "NAHORU".
DC 316
DC 315
K2
K1
NAHORU
STOP
DOLŮ
U ovladačů DC315 a DC316 aktivujte
tlačítko "P2" pomocí současného
stisknutí tlačítek
"STOP" a "NAHORU".
P2
DC 230
DC 229
K2
K1
NAHORU
STOP
DOLŮ
DC 287
DC 288
DC 289
NAHORU
K+
STOP
DOLŮ
K-
P2
DC 313
DC 306
P2
DC 305
DC 920
NAHORU
K+
STOP
DOLŮ
K-
DC 250
DC 251
P2
NAHORU
K+
STOP
DOLŮ
K-
DC 1702
DC 1700
NAHORU
STOP
DOLŮ
K-
K+
P2
P2
DC 1770
K2
K1
NAHORU
STOP
DOLŮ
DC 1771
DC 317
DC 448
MODE
P2
OK
NAHORU
DOLŮ
STOP
DC 559
DC 661
Pro nastavení hodin a data přidržte
tlačítko "MODE" po dobu 4 vteřin dokud
nezačne blikat ikonka "roku". Změnu
čísel proveďte pomocí tlačítek
"NAHORU" a "DOLŮ". Po zavedení změn
stiskněte tlačítko "OK".
MODE
P2
OK
NAHORU
DOLŮ
STOP

3
Když nemáte přístup k mikrospínači programování, použijte stejný proces naprogramování jako v sérii „RM” pomocí zapínání a vypínání
napájení motoru.
RM
Po zapojeni napájení radiový
přijímač potvrdí svou
připravenost k
naprogramování krátkým
zvukovým signálem (2x PIP)
x2 BIP
Po správném nastavení zareaguje
motor zvukovým signálem (6X PIP)
a přejde do režimu uživatelského
ovládání.
Držte mikrospínač až do trojitého zvukového
signálu (3x PIP), který ohlásí akceptaci
procesu změny směru otáčení motoru.
Motor musí být zastaven. Dále
je nutné přidržet mikrospínač
programování motoru po dobu
zhruba 6 vteřin.
x2 BIP
Přibližně za dvou sekund
dvakrát stiskněte tlačítko „P2“
ovladače. Bude potvrzeno
zvukovým signálem (2x PIP)
2. Změna základního směru otáčení motoru
OK
R
x2 BIP
OK
x1 BIP
Stiskněte tlačítko „DOLŮ”.
Bude potvrzeno zvukovým
signálem (1x PIP)
Když nemáte přístup k mikrospínači programování, použijte stejný proces naprogramování jako v sérii „RM” pomocí zapínání a vypínání
napájení motoru.
RM
Po zapojeni napájení radiový
přijímač potvrdí
svoupřipravenost k
naprogramování krátkým
zvukovým signálem (2x PIP)
x2 BIP
Po správném nastavení zareaguje
motor zvukovým signálem (6X PIP)
a přejde do režimu uživatelského
ovládání.
Po správném nastavení zareaguje
motor zvukovým signálem (6X PIP)
a přejde do režimu uživatelského
ovládání.
Stiskněte tlačítko „NAHORU”.
Bude potvrzeno zvukovým
signálem (1x PIP)
Jedním rychlým pohybem
stiskněte mikrospínač
"programování" nacházející se
na vodiči u hlavici motoru.
Bude potvrzeno krátkým
zvukovým signálem (2x PIP).
x1 BIP
Přibližně za dvou sekund
dvakrát stiskněte tlačítko „P2“
ovladače. Bude potvrzeno
zvukovým signálem (2x PIP)
x2 BIP
x2 BIP
Přibližně za dvou sekund
dvakrát stiskněte tlačítko „P2“
ovladače. Bude potvrzeno
zvukovým signálem (2x PIP)
1. Naprogramování prvního ovladače
OK
R
x2 BIP
OK
x1 BIP
Stiskněte tlačítko „NAHORU”.
Bude potvrzeno zvukovým
signálem (1x PIP)

4
3. Nastavení koncových spínačů
1. Uveďte roletu do pohybu směrem k zavření, až se zastaví v krajní poloze
(pokud je pancíř zcela rozvinutý a motor dále pracuje, je třeba zastavit roletu a přejít k bodu 3)
2. Otáčením ovládacího kolečka (označeno šipkou ⇑ ) ve směru (+) doveďte roletu do požadované polohy.
3. V případě překročení požadované polohy je třeba roletu zdvihnout, několikrát otočit ovládacím kolečkem
ve směru (-) a zopakovat proces od bodu 1.
1. Uveďte roletu do pohybu směrem k otevření, až se zastaví v krajní poloze
(pokud se pancíř dále navíjí do kazety, je třeba zastavit roletu a přejít k bodu 3).
2. Otáčením ovládacího kolečka (označeno šipkou ⇓ ) ve směru (+) doveďte roletu do požadované polohy.
3. V případě překročení požadované polohy je třeba roletu spustit, několikrát otočit ovládacím kolečkem ve
směru (-) a zopakovat proces od bodu 1.
x2 BIP
Stiskněte dvakrát tlačítko „P2”
již naprogramovaného ovladače.
Bude potvrzeno zvukovým signálem
(2x PIP)
Stiskněte tlačítko „P2”
nového ovladače
Po správném nastavení zareaguje
motor zvukovým signálem
(5x PIP)
4. Přidání dalšího ovladače
OK
x1 BIP
x3 BIP
Po správném nastavení zareaguje motor
zvukovým signálem (3x PIP)
a pohybem nahoru-dolů.
Zařízení přejde do režimu bez přidržení.
Pro návrat do reżimu s přidržením
opakujte postup programování.
Stiskněte tlačítko „P2”.
Stiskněte tlačítko „NAHORU”.
Bude potvrzeno zvukovým
signálem (1x PIP)
Stiskněte tlačítko „P2”.
Bude potvrzeno zvukovým
signálem (1x PIP)
x1 BIP
5. Aktivace impulsního režimu
Po správném nastavení zareaguje
motor zvukovým signálem
(3x PIP)
X3 BIP
Stiskněte tlačítko „P2”.
Bude potvrzeno zvukovým
signálem (1x PIP)
x1 BIP
Stiskněte tlačítko „STOP”.
Bude potvrzeno zvukovým
signálem (1x PIP)
x1 BIP
Stiskněte tlačítko „P2”.
6. Vymazání ovladačů ze systému motoru
Proces vymazání jakéhokoliv ovladače maže všechny ovladače, které byly propojeny v systému s motorem.

1
Conform de voorschriften van Richtlijn 2012/19/EU van het Europees Parlement en de Raad van 4 juli 2012 betreffende afgedankte
elektrische en elektronische apparatuur (AEEA) is het verboden om afgedankte apparatuur die is gemarkeerd met het symbool van een
doorgekruiste verrijdbare afvalbak samen met ander afval aan te bieden. De gebruiker is verplicht om de afgedankte apparatuur aan te
bieden bij het aangewezen verzamelpunt, teneinde het op de juiste wijze te kunnen verwerken. De aanduiding betekent tegelijkertijd dat
de apparatuur op de markt is gebracht na 13 augustus 2005.
Bovengenoemde wettelijke verplichtingen zijn ingevoerd om de hoeveelheid
afval uit afgedankte elektrische en elektronische apparatuur te beperken en te zorgen voor een voldoende niveau van inzameling,
hergebruik en recycling. In de apparatuur bevinden zich geen gevaarlijke componenten die een bijzonder negatieve invloed op het milieu
en de gezondheid hebben."
Productiebedrijf te Opole
ul. Gosławicka 3, 45-446 Opole, Polen
tel. +48 77 40 0, fax. +48 33 40 6
e-mail: Aluprof@aluprof.eu
Technische specificatie
- voeding: 230 V AC / 50 Hz
- ingebouwde radiosignaalontvanger
- mechanische eindposities
- transmissiefrequentie: 433,92 MHz
- transmissievermogen: 10 milliwatt (mW)
- bedrijfstemperatuur: ~ -100C ~ +500C
- transmissieafstand: 200 meter (open terrein)
35 meter (bebouwd terrein)
- mogelijkheid om tot 20 zenders op één motor te programmeren.
Het programmeren van nog meer zenders betekent dat de eerder geprogrammeerde
zenders worden overschreven.
Alle zenders van de serie DC uit het aanbod van ALUPROF S.A. passen op de centrale.
De producent is niet aansprakelijk voor afwijkingen van de catalogusgegevens vanwege
gebruik onder verschillende omstandigheden.
Centrale; Productiebedrijf te Bielsko –Biała
ul. Warszawska 153, 43-300 Bielsko Biała, Polen
tel. +48 33 81 95 300, fax. +48 33 82 28 512
PROGRAMMEERHANDLEIDING VOOR DE MOTOR DM-SERIE R EN RM
WAARSCHUWING
- De montage van de motor moet worden uitgevoerd
door bevoegde personen.
- De motor is bestemd voor toepassing in droge
ruimten.
- De motor moet worden gevoed door een apart circuit
dat is beveiligd met een zekering met snelle werking,
bv. een zekering B10.
Aansluitschema
Power 230V / 50 Hz

2
DC 230
Beschrijving zenders
LEGENDA:
OMHOOG - indrukken van de knop zorgt ervoor dat het pantser omhoog gaat.
OMLAAG - indrukken van de knop zorgt ervoor dat het pantser omlaag gaat.
P2SYS.- SYSTEEM P2 - indrukken van de knop roept de programmeerfuncties op.
K+ - indrukken van de knop schakelt de zender over op het volgende kanaal.
K- - indrukken van de knop schakelt de zender over op het voorgaande kanaal.
K1 –knoppen van het eerste kanaal.
K2 –knoppen van het tweede kanaal.
MODE - deze knop activeert de instellingen van datum en tijd.
DC 115A
OMHOOG
OMLAAG
STOP
Toetsblokkade
U activeert de knop “ P2" in de zender
DC115A door tegelijkertijd de
knoppen "STOP" en "OMHOOG" in te
drukken.
DC 316
DC 315
K2
K1
OMHOOG
STOP
OMLAAG
U activeert de knop "P2" in de zenders
DC315 en DC316 door tegelijkertijd de
knoppen "STOP" en "OMHOOG" in te
drukken.
P2
DC 250
DC 251
P2
OMHOOG
K+
STOP
OMLAAG
K-
DC 230
DC 229
K2
K1
OMHOOG
STOP
OMLAAG
DC 287
DC 288
DC 289
OMHOOG
K+
STOP
OMLAAG
K-
P2
DC 313
DC 306
P2
DC 305
DC 920
OMHOOG
K+
STOP
OMLAAG
K-
P2
DC 1770
K2
K1
OMHOOG
STOP
OMLAAG
DC 1771
DC 317
DC 448
MODE
P2
OK
OMHOOG
OMLAAG
STOP
DC 559
DC 661
Voor het programmeren van de klok en
de data houdt u de knop "MODE"
gedurende 4 seconden ingedrukt totdat
het icoontje voor "jaartal" gaat
knipperen. U wijzigt de cijfers met
behulp van de knoppen "omhoog" en
"omlaag". Als u alle gewenste
instellingen hebt ingevoerd drukt u op
"OK".
MODE
P2
OK
OMHOOG
OMLAAG
STOP
DC 1702
DC 1700
OMHOOG
STOP
OMLAAG
K-
K+
P2

3
Als u geen toegang heeft tot de programmeerknop, gebruik dan de programmeerprocedure als in de serie "RM" op basis van het inschakelen en
uitschakelen van de voeding van de motoren.
RM
Bij het inschakelen van de
voeding bevestigt de motor dat
hij geprogrammeerd kan worden
met een kort geluidssignaal
(x2 PIEP).
x2 BIP
Na juiste uitvoering van de
instellingen reageert de motor met
een geluidssignaal (x6 PIEP) en gaat
over in de gebruiksmodus
Houd de knop ingedrukt tot u een drievoudig
geluidssignaal hoort (x3 PIEP), dit betekent
acceptatie van de wijziging van de
draairichting van de motor.
De motor moet zijn gestopt.
Houd vervolgens de
systeemknop van de motor
gedurende ongeveer 6
seconden ingedrukt.
x2 BIP
Druk tweemaal op de knop
"P2". Dit wordt bevestigd met
een geluidssignaal (x2 PIEP)
2. Wijziging van de basisdraairichting van het motor
OK
R
x2 BIP
OK
x1 BIP
Druk op de knop "OMLAAG" .
Dit wordt bevestigd met een
geluidssignaal (x1 PIEP)
Als u geen toegang heeft tot de programmeerknop, gebruik dan de programmeerprocedure als in de serie "RM" op basis van het inschakelen
en uitschakelen van de voeding van de motoren.
RM
Bij het inschakelen van de
voeding bevestigt de motor dat
hij geprogrammeerd kan worden
met een kort geluidssignaal
(x2 PIEP).
x2 BIP
Na juiste uitvoering van de
instellingen reageert de motor met
een geluidssignaal (x6 PIEP) en gaat
over in de gebruiksmodus
Na juiste uitvoering van de
instellingen reageert de motor met
een geluidssignaal (x6 PIEP) en gaat
over in de gebruiksmodus
Druk op de knop "OMHOOG" .
Dit wordt bevestigd met een
geluidssignaal (x1 PIEP)
Druk met een snelle, eenmalige
beweging op de knop
"programmeren" die zich op de
kabel van de kop van het motor
bevindt. Dit wordt bevestigd
met een kort geluidssignaal
(x2 PIEP).
x1 BIP
Druk tweemaal op de knop
"P2". Dit wordt bevestigd met
een geluidssignaal (x2 PIEP)
x2 BIP
x2 BIP
Druk tweemaal op de knop
"P2". Dit wordt bevestigd met
een geluidssignaal (x2 PIEP)
1. Programmeren van de eerste zender
OK
R
x2 BIP
OK
x1 BIP
Druk op de knop "OMHOOG" .
Dit wordt bevestigd met een
geluidssignaal (x1 PIEP)

4
3. Instellen van mechanische eindposities
1. Het rolluik laten bewegen in de sluitrichting, totdat het stopt op de endpositie
(als het pantser nog steeds oprolt in de kast, moet u het rolluik stilzetten en overgaan naar punt 3).
2. Draai de knop (aangeduid met de pijl ⇧) in de richting (+) en zorg voor de gewenste positie van het rolluik.
3. Bij overschrijding van de gewenste positie moet u het rolluik oprollen, de knop een aantal malen in de richting
(-) draaien en de procedure vanaf het eerste punt herhalen.
1. Het rolluik laten bewegen in de openingsrichting, totdat het stopt op de endpositie
(als het pantser nog steeds oprolt in de kast, moet u het rolluik stilzetten en overgaan naar punt 3).
2. Draai de knop (aangeduid met de pijl ⇩) in de richting (+) en zorg voor de gewenste positie van het rolluik.
3. Bij overschrijding van de gewenste positie moet u het rolluik laten zakken, de knop een aantal malen in de richting
(-) draaien en de procedure vanaf het eerste punt herhalen.
x2 BIP
Druk tweemaal op de knop "P2"
van de reeds geprogrammeerde
zender. Dit wordt bevestigd met een
geluidssignaal (x2 PIEP)
Druk "P2"
van de nieuwe zender
Na juiste uitvoering van de
instellingen reageert de radio-
ontvanger met een geluidssignaal
(x5 PIEP)
4. Toevoegen van een volgende zender
OK
x1 BIP
x3 BIP
Na juiste uitvoering van de instellingen
reageert de radio-ontvanger met een
geluidssignaal (x3 PIEP).
Het apparaat gaat over in de modus
zonder stoppen. Om terug te keren naar
de modus met stoppen moet u de
programmeersequentie herhalen.
Druk op de knop "P2"
Druk op de knop "OMHOOG" .
Dit wordt bevestigd met een
geluidssignaal (x1 PIEP)
Druk op de knop "P2" . Dit
wordt bevestigd met een
geluidssignaal (x1 PIEP)
x1 BIP
5. Activering impulsmodus
Na juiste uitvoering van de
instellingen reageert de radio-
ontvanger met een geluidssignaal
(x3 PIEP)
X3 BIP
Druk op de knop "P2" . Dit wordt
bevestigd met een geluidssignaal
(x1 PIEP)
x1 BIP
Druk op de knop "STOP".
Dit wordt bevestigd met een
geluidssignaal (x1 PIEP)
x1 BIP
Druk op de knop "P2"
6. Wissen van zenders uit het systeem van het motor
De procedure voor het verwijderen van elke zender verwijdert alle zenders die in een systeem met motor waren verbonden.
Other manuals for R Series
1
This manual suits for next models
1
Table of contents
Languages:
Other Aluprof Engine manuals

Aluprof
Aluprof DM45R-20/15 User manual

Aluprof
Aluprof DM45S-40/15 User manual

Aluprof
Aluprof EV/Y Series User manual

Aluprof
Aluprof DM45RM User manual

Aluprof
Aluprof DM45R User manual

Aluprof
Aluprof AM45 User manual

Aluprof
Aluprof DM S Series User manual

Aluprof
Aluprof R Series User manual

Aluprof
Aluprof M Series User manual

Aluprof
Aluprof ER-P Series Owner's manual