4
4.
Parking Monitor
When you park your car somewhere,turn on parking monitor function can make this dvr
camera do recording while parking time to avoid any offend to your car like steal or
scratch. At the same time,please do not forget set G-Sensor sensitive as high to work
up this function, also must buy external power cable to do power supply while
parking.(Details about power cable please see below)
Kindly remind:All car dvr inside battery very small can last working only around 2~3
minutes if no recharging,so Parking Monitor function can only be used together with
power cable.
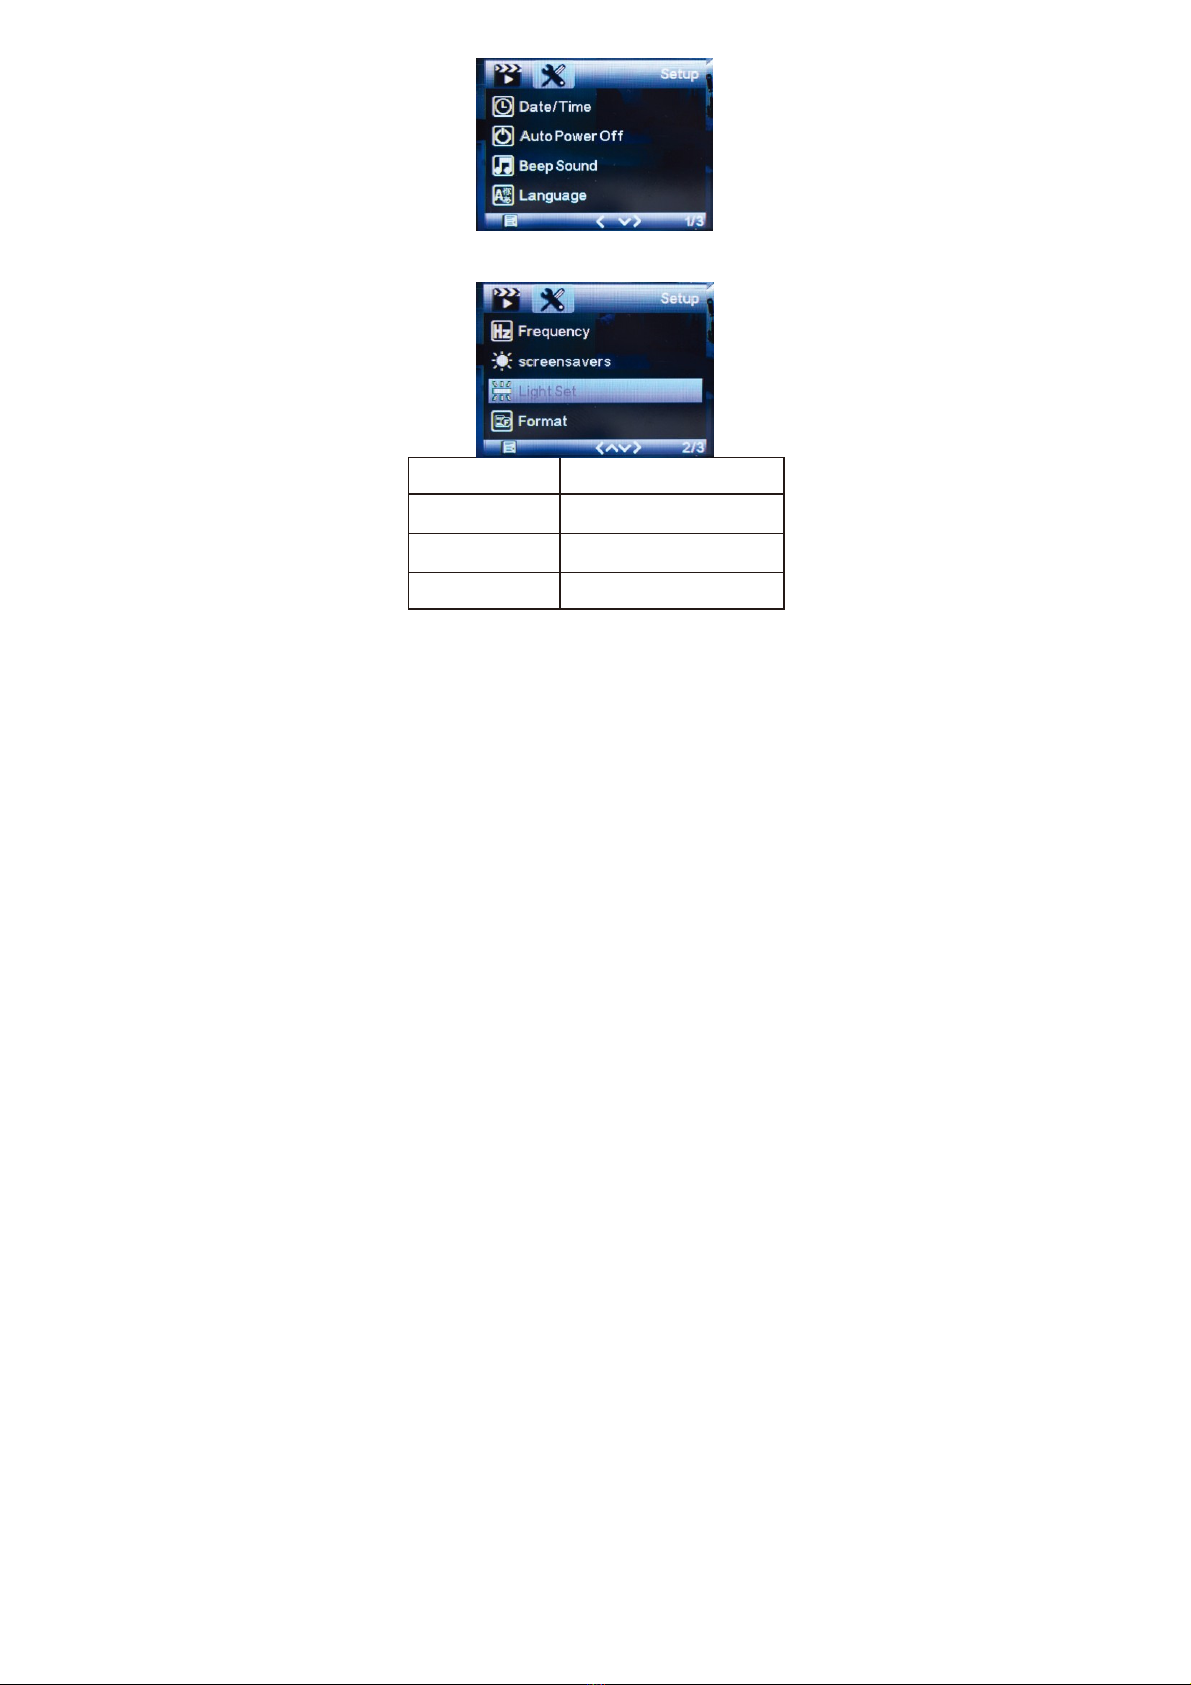
Operation Guide
1
. Power On/Off: Long press power button around 2~3 seconds to turn on & off. If
have TF card inside, once turn on it will enter into recording mode automatically.
2
. Start/Stop recording: In video mode, short press OK button start recording, short
press it again, the recording will be stopped.
3
. Photo : In photo mode, short press OK button can take photo
4
. Playback: In playback mode, short press OK button can play the video.
5
. OK button: In video mode/photo mode/playback mode, short press menu button
enter into menu, short press up/down to browse, short press OK button to
confirm.
6
. Up button: In menu setting and camera switching mode, it is up function. In
standby mode, keep press up button can make motion detection on/off. In
playback mode, short press up button can play fast backward
7
. Down button: In menu setting and camera switch mode, it is down function. In
video mode, short press down button can make audio on/off.
(
Notice: the setting will
be saved automatically, no need to set once again the next time
)
In playback mode,
short press down button can play fast forward