manuals.online logo
Brands
  1. Home
  2. •
  3. Brands
  4. •
  5. Amada
  6. •
  7. Indoor Furnishing
  8. •
  9. Amada AMFS02 User manual

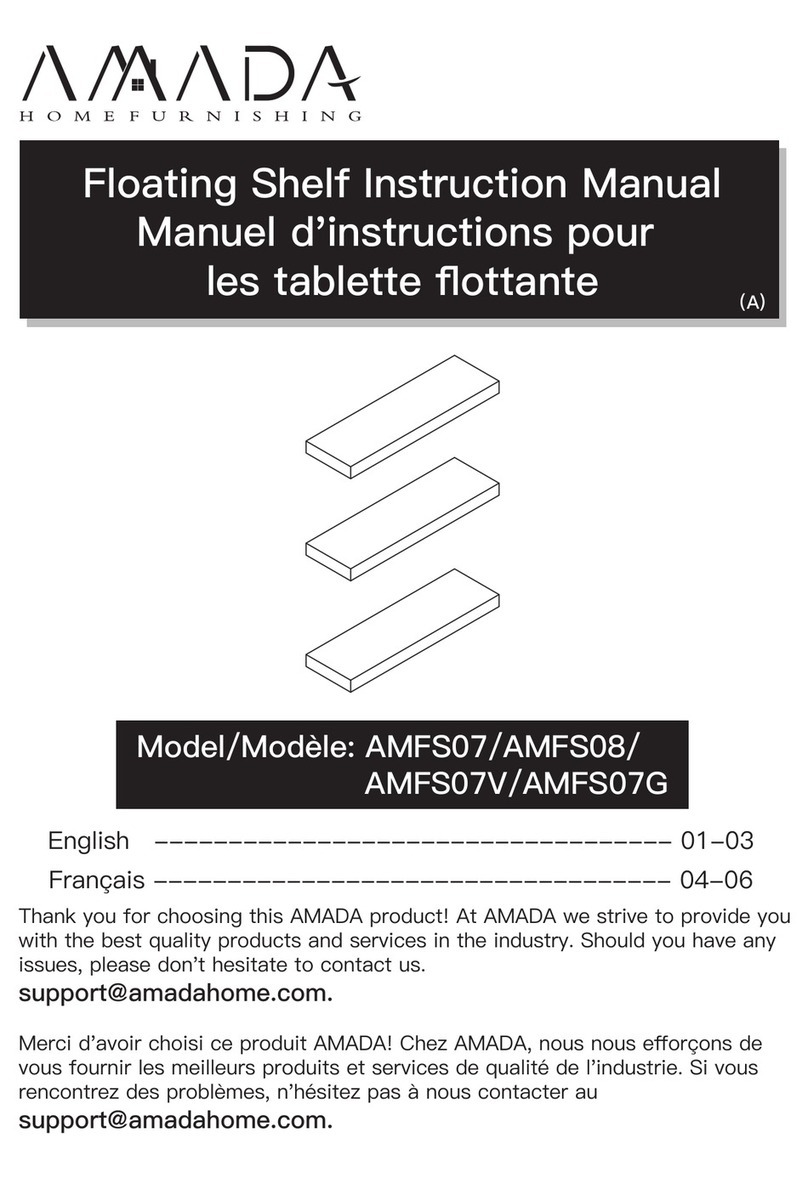
Amada AMFS02 User manual

Thank you for choosing this AMADA product! At AMADA we
strive to provide you with the best quality products and services
in the industry. Should you have any issues, please don't hesitate
to contact us at [email protected].
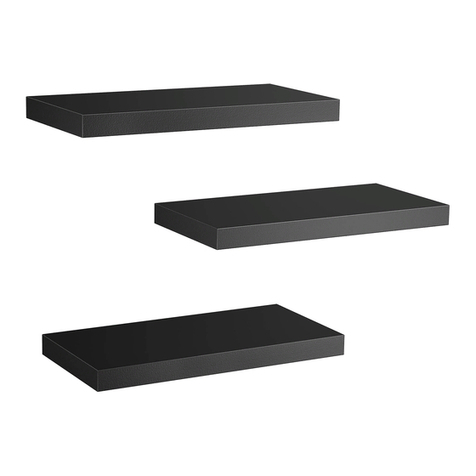
Model: AMFS02/AMFS03
Floating Shelf Instruction Manual V3.0
OR
• Check package contents against supplied parts and hardware list to assure that all
components were received undamaged. Do not use damaged or defective parts. lf you
require replacement parts, please contact amada customer service at
[email protected].
• Carefully read all instructions before attempting installation. If you do not understand the
instructions or have any concerns or questions, please contact customer service at
[email protected].
• Not all parts and hardware included will be used.
• Do not use this product for any purpose that is not explicitly specified in this manual. Do
not exceed weight capacity. We cannot be liable for damage or injury caused by improper
mounting, incorrect assembly or inappropriate use. Thank you for your understanding.
IMPORTANT SAFTY INFORMATION
Tools Needed (Not lncluded)
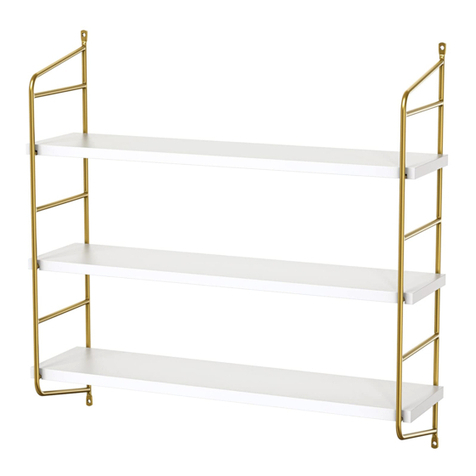
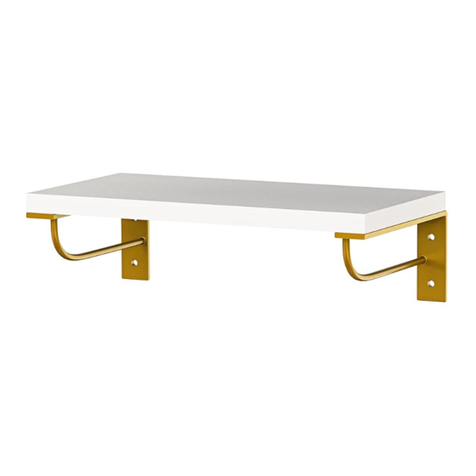
Supplied Parts and Hardware
1
Long Lag Screw
M4x50mm
x6
A
M4x30mm
Short Lag Screw
x12
B
x12
03
Short Screw
x6
02
Metal Frame
11.42x5.91 in.
Small Floating Shelf
14.17x5.91 in.
Middle Floating Shelf
16.54x5.91 in.
Large Floating Shelf
x3
01
Stud Finder Pencil Screwdriver
Level Drill
Wall Anchor
M13x40mm
x12
C
CAUTION!
These wall anchors [C]
are for drywall ONLY.
DO NOT use them in
concrete / brick / wood
studs wall.
CAUTION!
These anchors are for
concrete or brick
walls ONLY. DO NOT
use them in drywall
or wood studs.
x12
D
Wall Anchor
5/64 in.(2mm)
Wood Drill
15/64 in.(6mm)
Concrete Drill
ø6mmx4mmx30mm
2
• For drywall mounting, use wall anchors [C].
• For wood stud mounting, wall anchors [C] and [D] are not necessary.
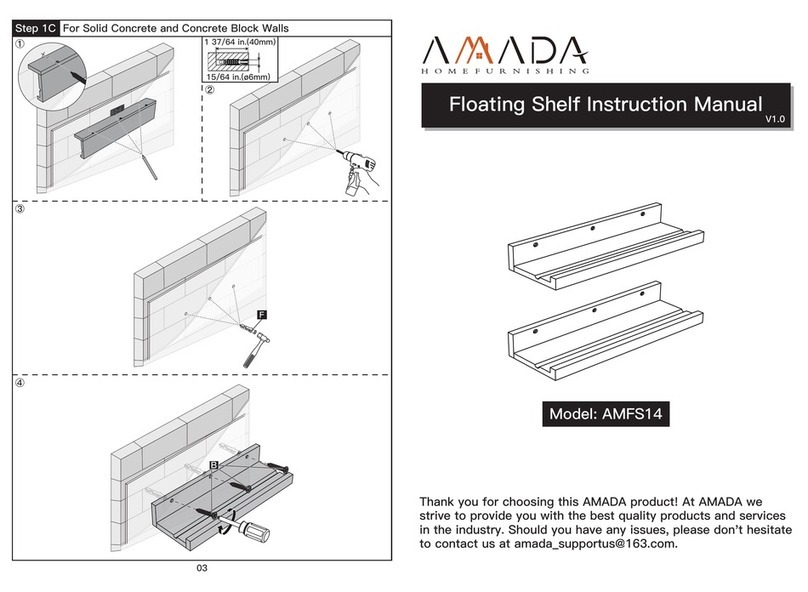
• For solid concrete, and concrete block walls, please use wall anchors [D]
NOTE:
Step 1
Option A:
Option B:
Secure the Metal Frames [02] to Floaing Shelf [01] Using
Four Short Screws [03]
[Not Included]
01
02
03
01
02
03
02
01
Before installation, please identify your wall type.
For wood stud installation, follow the step 2A.
For drywall installation, follow the step 2B.
For solid concrete and concrete block walls installation, follow the step 2C
3
Step 2 Secure Metal Frame with Floating Shelf to Wall
Use a stud finder(not included) to loacte wood studs. Mark the edge and center
location.
Position the metal frame with floating shelf at your desired height and line up the
holes with your stud center line. Level the shelf and mark the holes.
Step 2A For Wood Stud
Maximum inatallation width for the floating
shelves:
Large floating shelf: 15.7 in.(40cm)
Middle floating shelf: 13.4 in.(34cm)
Small floating shelf: 10.6 in.(27cm)
4
Install the metal frame with shelf using 2 pcs long lag screws [A] and 2 pcs short lag
screws [B]. Tighten lag screws [A]/[B] with the screwdriver(not included). If you feel it
is difficult to install the long lag screws [A] to the wall, you can simply use a
2mm(5/64 in.) drill bit to drill 2 pilot holes, Tighten the lag screws [A]/[B] only until
they are pullled firmly against the metal frames.
C
A
B
C
A
B
X
For wood stud mounting,
wall anchors [C] and [D]
are not necessary.
WARNING: X
C D
2 in.(50mm)
For Long Lag Screw
ø5/64 in.(ø2mm) [Not Included]
[Optional]
Option A
Option B
Note:
The floating shelf will be
easier to falling off for pulling
tension if you install the
floating shelf up side down
Note:
The floating shelf will be
easier to falling off for pulling
tension if you install the
floating shelf up side down
Option A
Press and screw the wall anchors [C] into the drywall using a screwdriver(not Included)
and turn clockwise, making sure that wall anchors [C] are flush with the wall.
B
5
C
Step 2B For Drywall
Position the metal frame with floating shelf at your desired height and make sure the
metal frame with shelf is level and flush to the wall. Mark the holes for the wall
anchors [C].
Note:
The floating shelf will be
easier to falling off for pulling
tension if you install the
floating shelf up side down
Option B
Insert short lag screws [B] into wall anchors [C], tighten short lag screws [B] until the
they are pulled firmly against the metal fames.
Position the metal frame with floating shelf [01] at your desired height and make sure
the metal frame with shelf [01] is level and flush to the solid concrete and concrete
block walls. Mark the holes for the wall anchors [D].
Step 2C For
Solid Concrete and Concrete Block Walls
6
B
Note:
The floating shelf will be
easier to falling off for pulling
tension if you install the
floating shelf up side down
Use the hammer to knock wall anchors [D] into the wall. Be sure the anchors [D] are
seated flush with the concrete surface.
D
Drill 4 pilot holes using a 15/64 in.(6mm) diameter drill bit. Make sure the depth is not
less than 1.4 in.(35mm). Never drill into the mortar between blocks.
1.4 in.(35mm)
For Short Lag Screw
ø15/64 in.(ø6mm)
7
Option A
Option B
Install the metal frame with floating shelf [01] using short lag screws [B] and wall
anchors [D], tighten short lag screws [B] until they are pulled firmly against the metal
fames.
8
B
Note:
The floating shelf will be
easier to falling off for pulling
tension if you install the
floating shelf up side down
B
Note:
The floating shelf will be
easier to falling off for pulling
tension if you install the
floating shelf up side down
Thank you again
for choosing this AMADA product!
Thank you for choosing this AMADA product! At AMADA we
strive to provide you with the best quality products and services
in the industry. Should you have any issues, please don't
hesitate to contact us at [email protected].
OR

Other manuals for AMFS02

1

This manual suits for next models

1

Other Amada Indoor Furnishing manuals

Amada AMFS01B1 User manual

Amada

Amada AMFS01B1 User manual

Amada AMFS02 User manual

Amada

Amada AMFS02 User manual

Amada AMFS14 User manual

Amada

Amada AMFS14 User manual

Amada AMFS07 User manual

Amada

Amada AMFS07 User manual

Amada AMFS17 User manual

Amada

Amada AMFS17 User manual

Amada AMFS07 User manual

Amada

Amada AMFS07 User manual

Amada AMFS15 User manual

Amada

Amada AMFS15 User manual

Popular Indoor Furnishing manuals by other brands

overstock MF286255 Assembly instructions

overstock

overstock MF286255 Assembly instructions

Poliman CLARA KIT Assembly instructions

Poliman

Poliman CLARA KIT Assembly instructions

Coaster 300260F B1 Assembly instructions

Coaster

Coaster 300260F B1 Assembly instructions

modway Transmit EEI-2528 manual

modway

modway Transmit EEI-2528 manual

PAIDI SINO 2 Assembly instructions

PAIDI

PAIDI SINO 2 Assembly instructions

National Alloy Assembly instruction

National

National Alloy Assembly instruction

Classy Home BW19-02T Assembly instructions

Classy Home

Classy Home BW19-02T Assembly instructions

Fif Möbel Toro-4 Assembly instruction

Fif Möbel

Fif Möbel Toro-4 Assembly instruction

Seatcraft Vienna Assembly & general use guide

Seatcraft

Seatcraft Vienna Assembly & general use guide

Habitat Ribi manual

Habitat

Habitat Ribi manual

Space 2387C operating instructions

Space

Space 2387C operating instructions

Trinity EcoStorage THA-3328 owner's manual

Trinity

Trinity EcoStorage THA-3328 owner's manual

Workzone ASPECT BC1800 Assembly & instruction manual

Workzone

Workzone ASPECT BC1800 Assembly & instruction manual

Costway HW65959 user manual

Costway

Costway HW65959 user manual

IKEA KULLEN 703.557.33 manual

IKEA

IKEA KULLEN 703.557.33 manual

OMT-Veyhl OV1018 user guide

OMT-Veyhl

OMT-Veyhl OV1018 user guide

Costway HU10107 user manual

Costway

Costway HU10107 user manual

Jysk Verona 40177001 Assembly instruction

Jysk

Jysk Verona 40177001 Assembly instruction

manuals.online logo
manuals.online logoBrands
  • About & Mission
  • Contact us
  • Privacy Policy
  • Terms and Conditions

Copyright 2025 Manuals.Online. All Rights Reserved.