Amateur Radio August 2016 25
Function Menu screen – displays
the available functions under the
operating frequency. The options
can be scrolled through using
the forward and back functions.
Pressing one of the functions
displays the next level of detail or
guides you though the settings. Any
of the functions displayed at the top
menu level can be associated with
one of the four dedicated function
keys.
Compass screen – The direction
of travel of your own station
and direction coordinates of the
received station are displayed on
the compass screen.
Altitude Display screen – The
altitude of the current location is
shown in the bar graph display.
Timer / Clock screen – The current
time is shown in analogue and
digital formats along with the date.
Other available screens include
Lap Timer screen, Count down
Timer screen, GPS Detail screen,
Numbers and Symbols input screen,
and Alphabet input screen.
Programming the transceiver
There are a few options available
for programming the transceiver.
The most basic option is via the
front panel. You will probably want
to load it with a large list of local
repeaters therefore I would highly
recommend using programming
software. After all, the transceiver
comes with a programming cable
and the Yaesu software can be
downloaded from their web site for
free.
I use RT Systems software for
programming all of my transceivers;
therefore I downloaded a copy of
the FTM-400XDR radio programmer
which cost me $25 USD (~$35
AUD). The RT Systems software
will work with the Yaesu supplied
cable or a micro-SD card. The
FTM-400DR is not yet listed on
the CHIRP web site, although I’m
sure it will appear soon given the
popularity of this software.
The best place to get the latest
repeater files is from the WIA web
site. There is a CSV file available
that can be massaged and imported
directly into the programmer. When
you run the programmer, you will
notice that there are two bands
available (Band A and Band B).
Yaesu has decided to remove the
memory bank functionality from
this transceiver to help reduce
its complexity. I personally think
this was a wrong move because
organising memories into banks is
great for travelling and grouping
favourite channels together.
I configured all of the 2 m
repeaters for VIC (50 of) in Band
A and 70 cm repeaters (65 of) in
Band B. The 500+500 available
memory channels will be more
than adequate for most users in
Australia. This was a simple copy
and paste from the FTM-100DR
repeater configuration file I setup
earlier in the year.
In addition to the Band A and
Band B memories, there are nine
pairs of limit memories that can be
programmed for each band; five
home channels and the initial VFO
frequencies can be set. All of the
other functions can be set via tabs
on the menu settings window. There
are too many functions to go through
here. Once you have saved the
transceiver configuration, you have
the option of communicating with it
via the supplied cable or saving the
configuration to a micro-SD card.
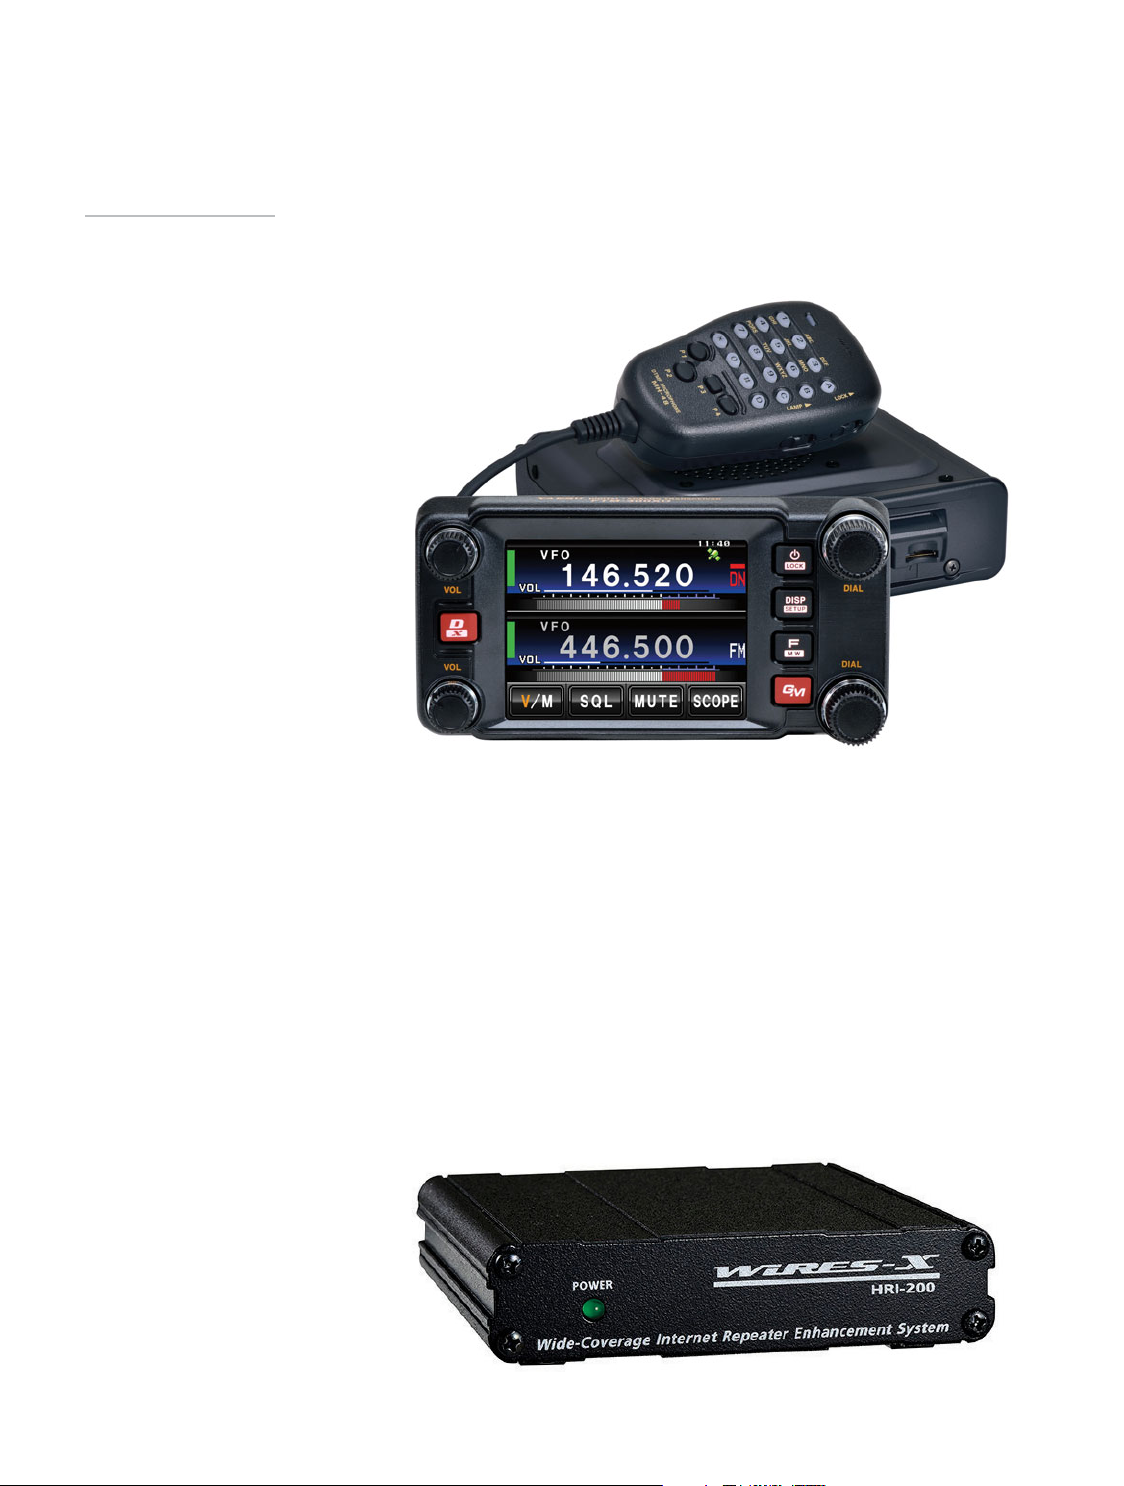
Micro-SD card
The micro-SD memory card slot
is located at the front of the main
body. The letters SD are displayed
on the front panel when a card is
detected in the transceiver. Note
that a micro-SD card is not supplied
with the transceiver. The micro-SD
card can be used for the following
functions:
• Backing up the information and
settings of the transceiver
• Saving GPS log data for use in a
personal computer
• Saving data downloaded using
the GM and WIRES-X functions
• Exchanging data with other
transceivers
The transceiver supports micro-
SD cards from 2 GB to 32 GB in
size. According to the manual, not
all commercial micro-SD cards
will work and the card must be
initialised in the transceiver to
ensure proper operation. I used
an 8 GB SanDisk Ultra without
a problem. The transceiver
supports the FAT32 file system.
Note that if you format the card in
the transceiver according to the
initialisation procedure, all data on
the card will be lost.
The micro-SD card is a very
convenient way to program or re-
program the transceiver after it has
been installed in a vehicle. It is a
much easier alternative to removing
the transceiver or having to take your
laptop and cable out to the vehicle.
Simply insert it in the transceiver,
select write to micro-SD card and
remove it. Insert the micro-SD
card into a personal computer. The
programming software allows you to
read from it, make whatever changes
you need and then write back to
it. Re-insert it into the transceiver,
perform a read from micro-SD card
and you are up and running with the
changes you just made.
C4FM digital mode
As you can see, this transceiver is
packed with features, but the main
attraction is the C4FM digital mode.
The FTM-400XDR transceiver
is equipped with an Automatic
Mode Select (AMS) function which
automatically selects one of four
transmission modes depending on
the signal received. If AMS is off,
the mode can be set manually.
• DN (voice / data simultaneous
transmission mode) – This is
the standard mode for C4FM
digital. Transmission is less
prone to interruptions due to
detection and correction of voice
signals. GPS data (if available)
is transmitted along with the
voice data and the transmitting
stations Callsign. The LCD
screen will display the Callsign
and distance to the received
station (if GPS data is available).