9
English Français Deutsch Italiano Español
English.............................2
Français...........................9
Deutsch...........................1 6
Italiano...........................23
Español...........................30
日本語..............................37
中文.................................44
Deutsche 日本語中文
FrançiasEnglish Italiano Español
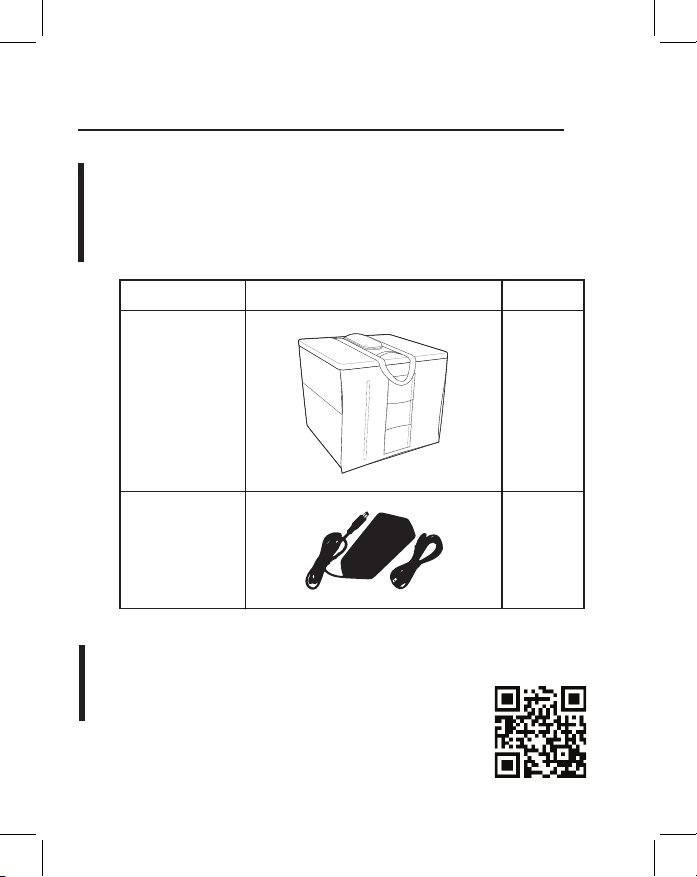
Instructions to Set Up
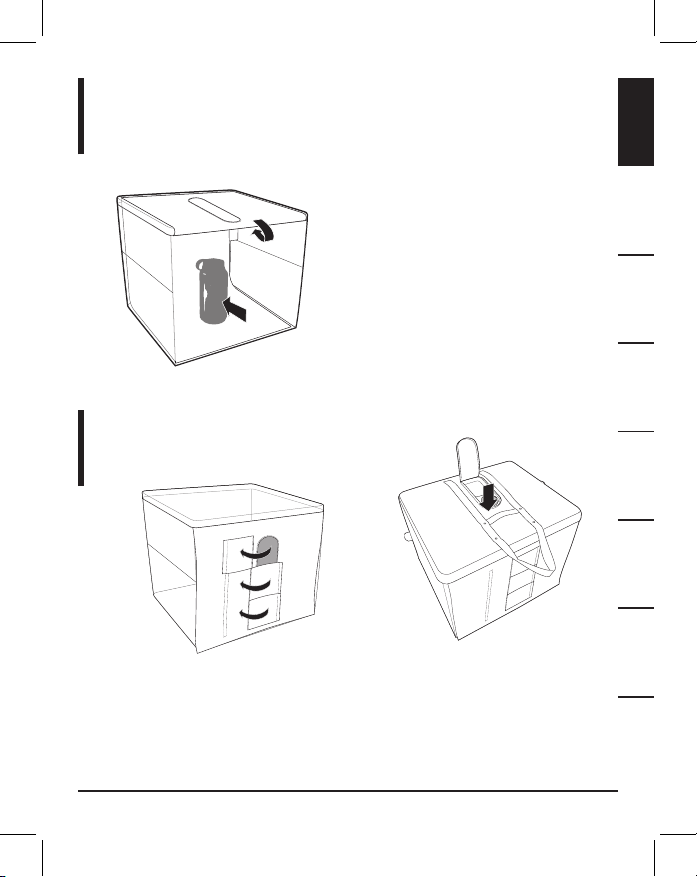
Step 7:
Place object in photo booth.
For best results place object approximately
6 inches (15.24cm) from the front. Center
larger objects in the photo booth. Bring
front flap down to cover front of booth for
better lighting. (Note: If larger object fills
the booth, the front flap may remain open
to take pictures.)
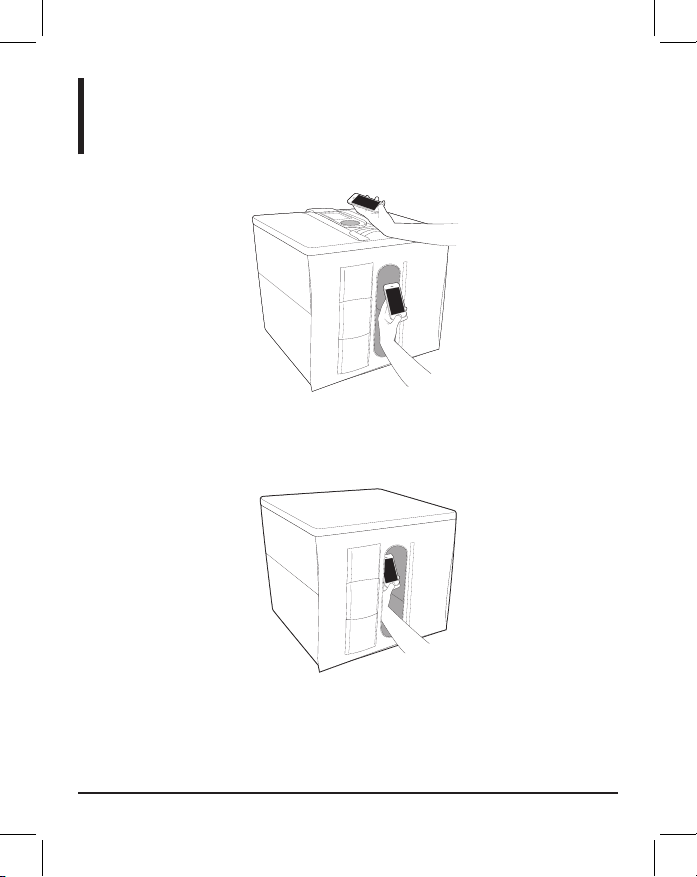
Step 8:
Take pictures.
(Ensure camera lens is free of smudges and dust.)
Pictures can be taken from front three separate windows (A) or from the top (B).
The front windows have a magnetic tape edge that attaches to a secondary
magnetic strip to stay open. (Note: Taking pictures through one window with
the other windows closed improves lighting in the booth. Also, reflections are
reduced on objects such as glass, shiny plastic, jewelry and watches.)
B
A-1
A-2
A-3