2
Copyright ADS Installation Manual Model ET-AF Gravity, Revision 3.0 , 6/7/2013
CHEMICALS— There are potentially hazardous situations when working with industrial cleaning
chemicals for dishmachines. See chemical manufacturer’s safe practices and MSDS sheets for
handling and installing chemicals and supply containers.
#1 BEFORE YOU BEGIN— American Dish Service provides this information as a service to our
customers. Keep all instructions for future reference. ADS reserves the right to alter or update
this information at any time. Should you desire to make sure that you have the most up-to-date
information, we would direct you to the appropriate document on our web site:
www.americandish.com. Set out below are the specifications and requirements that you must use
and follow to properly install the type or types of equipment listed above. It is your obligation as
the customer to ensure that the machine is installed safely and properly, and when completed,
the machine is left in proper and safe working order. Electrical, Plumbing, and Chemical hookup
should be performed by a qualified professional who will ensure that the equipment is installed
in accordance with all applicable Codes, Ordinances, and Safety requirements. Failure to follow
the installation instructions could void the warranty. ADS assumes no liability or control over the
installation of the equipment. Product failure due to improper installation is not covered under the
ADS Warranty.
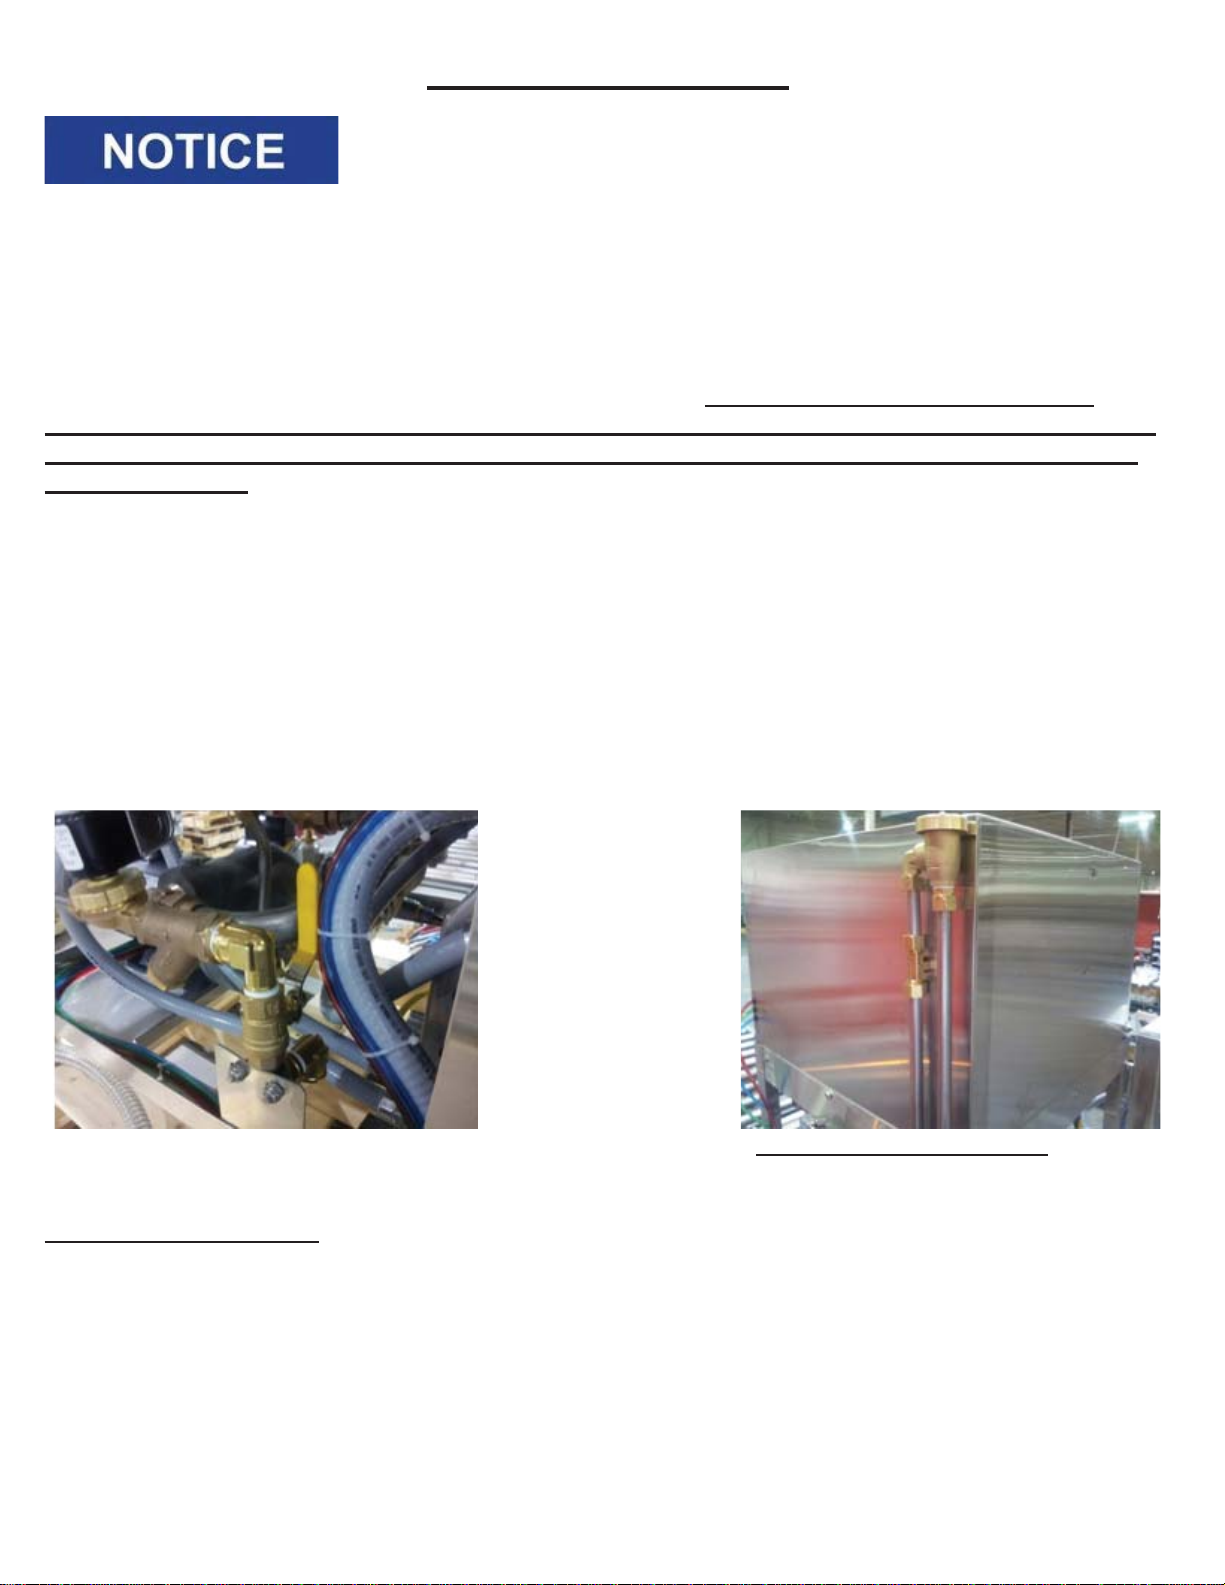
#2 FLUSH OUT—Do not install spray arm until machine is flushed with water. When this machine
is turned on, first fill by pushing and holding the button marked FILL until water inside the pan
reaches the water level decal on the outside of the pan, then push the button on front door marked
START to complete one cycle. Do this before installing the spray arm. Dump the flush water out
before installing spray arm by pushing the button marked DRAIN. Draining the water will flush
installation debris from the tank and pump; this prevents damage to the spray arm bearing.
#3 WATER HEATERS— or boilers must provide the minimum temperature of 120°F required by the
machines listed above, which have a minimum demand of 60 gallons per hour. The recommended
temperature range for optimal performance is 130-140°F. These specifications are for the
dishmachine only, which typically accounts for 70% of a restaurant’s hot water demand.
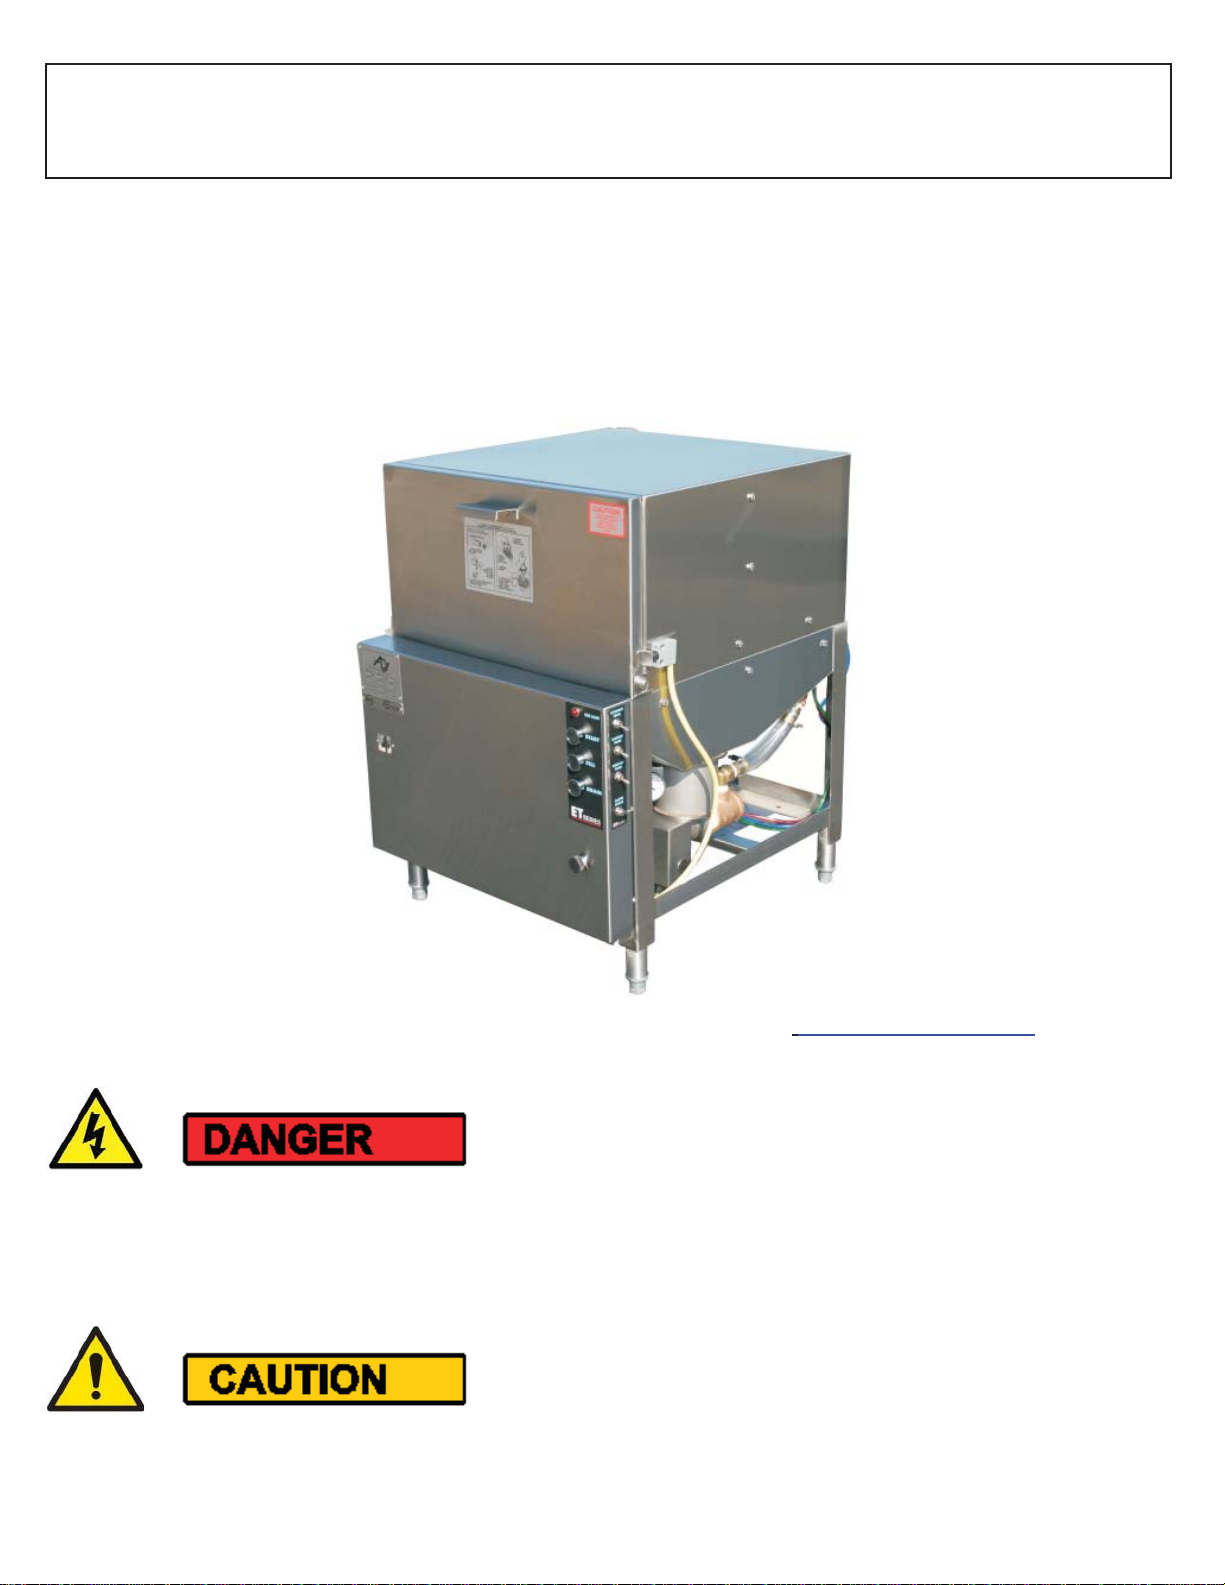
#4 IMPORTANT—The models of dishmachine listed in this document must be installed with space
around the outside to allow for servicing of the motor as well as a 4” space behind the machine
from the wall. It should not be built into wooden cabinets.
#5 INSPECT FOR DAMAGE—If you receive a damaged dishmachine, do not sign “Clear” but write
“damaged” on the documents.
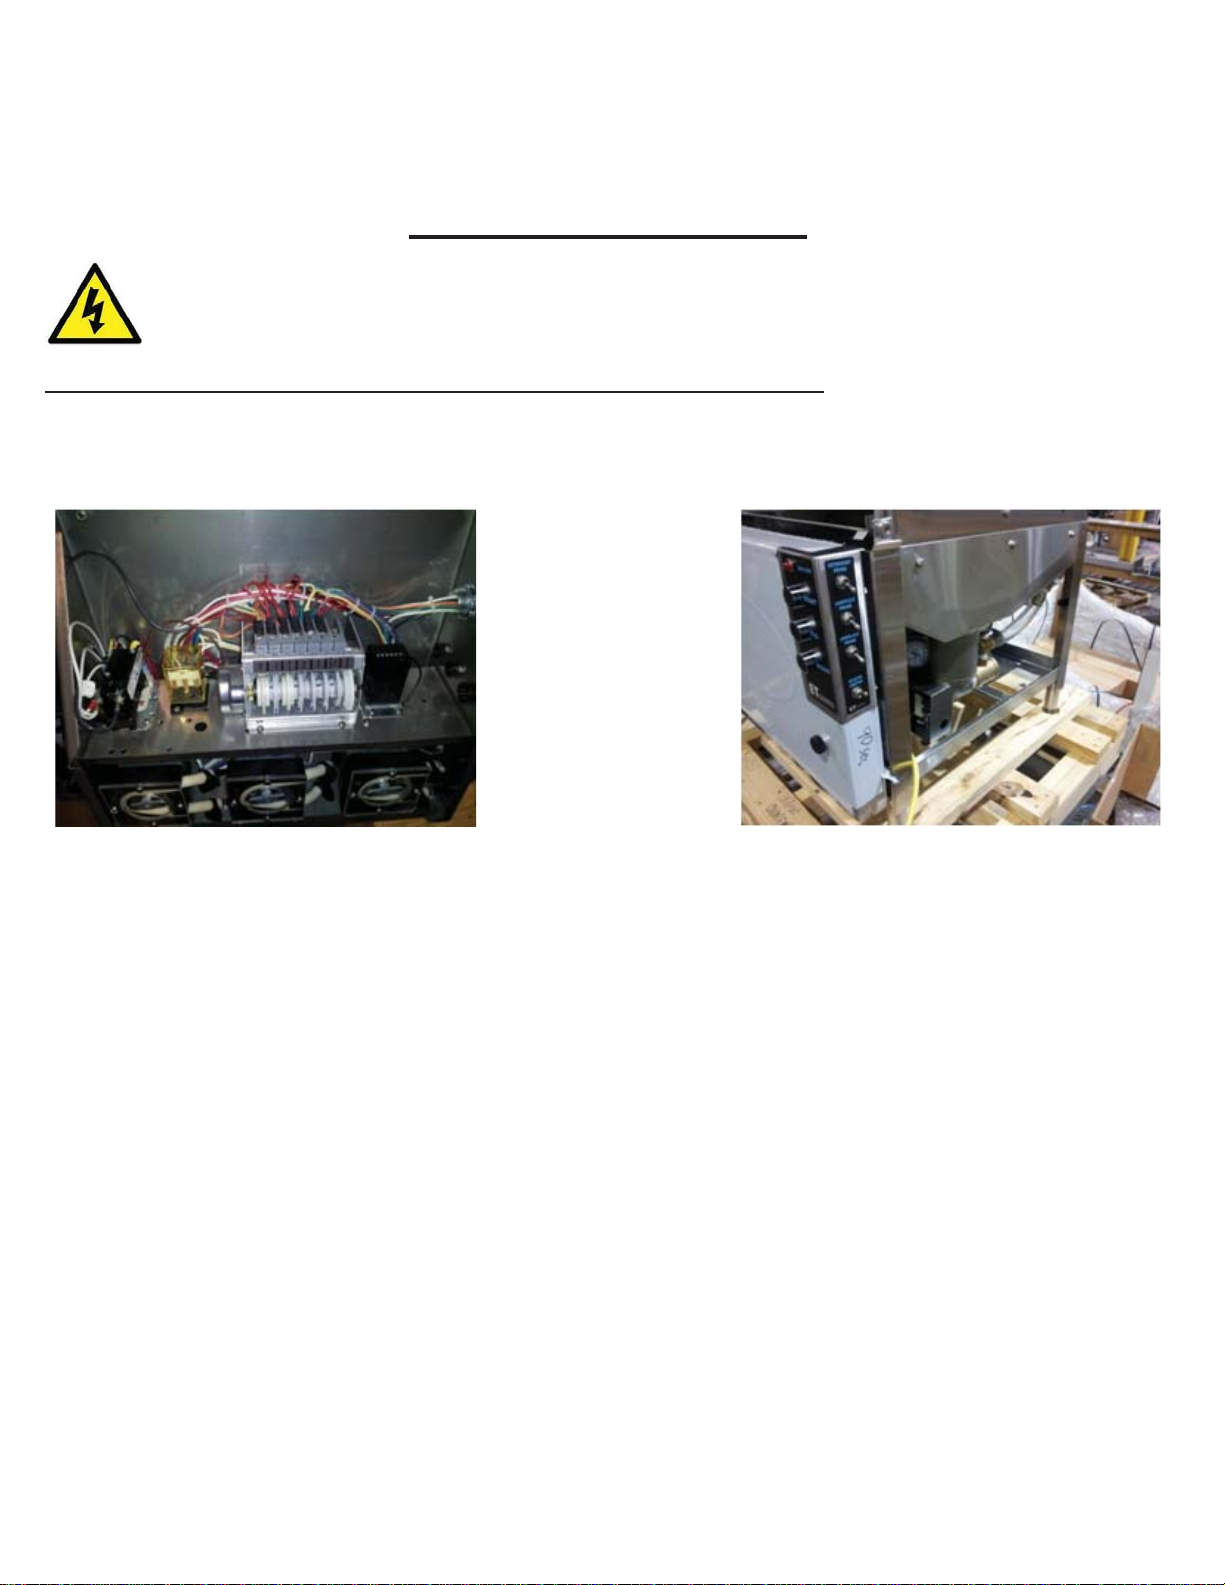
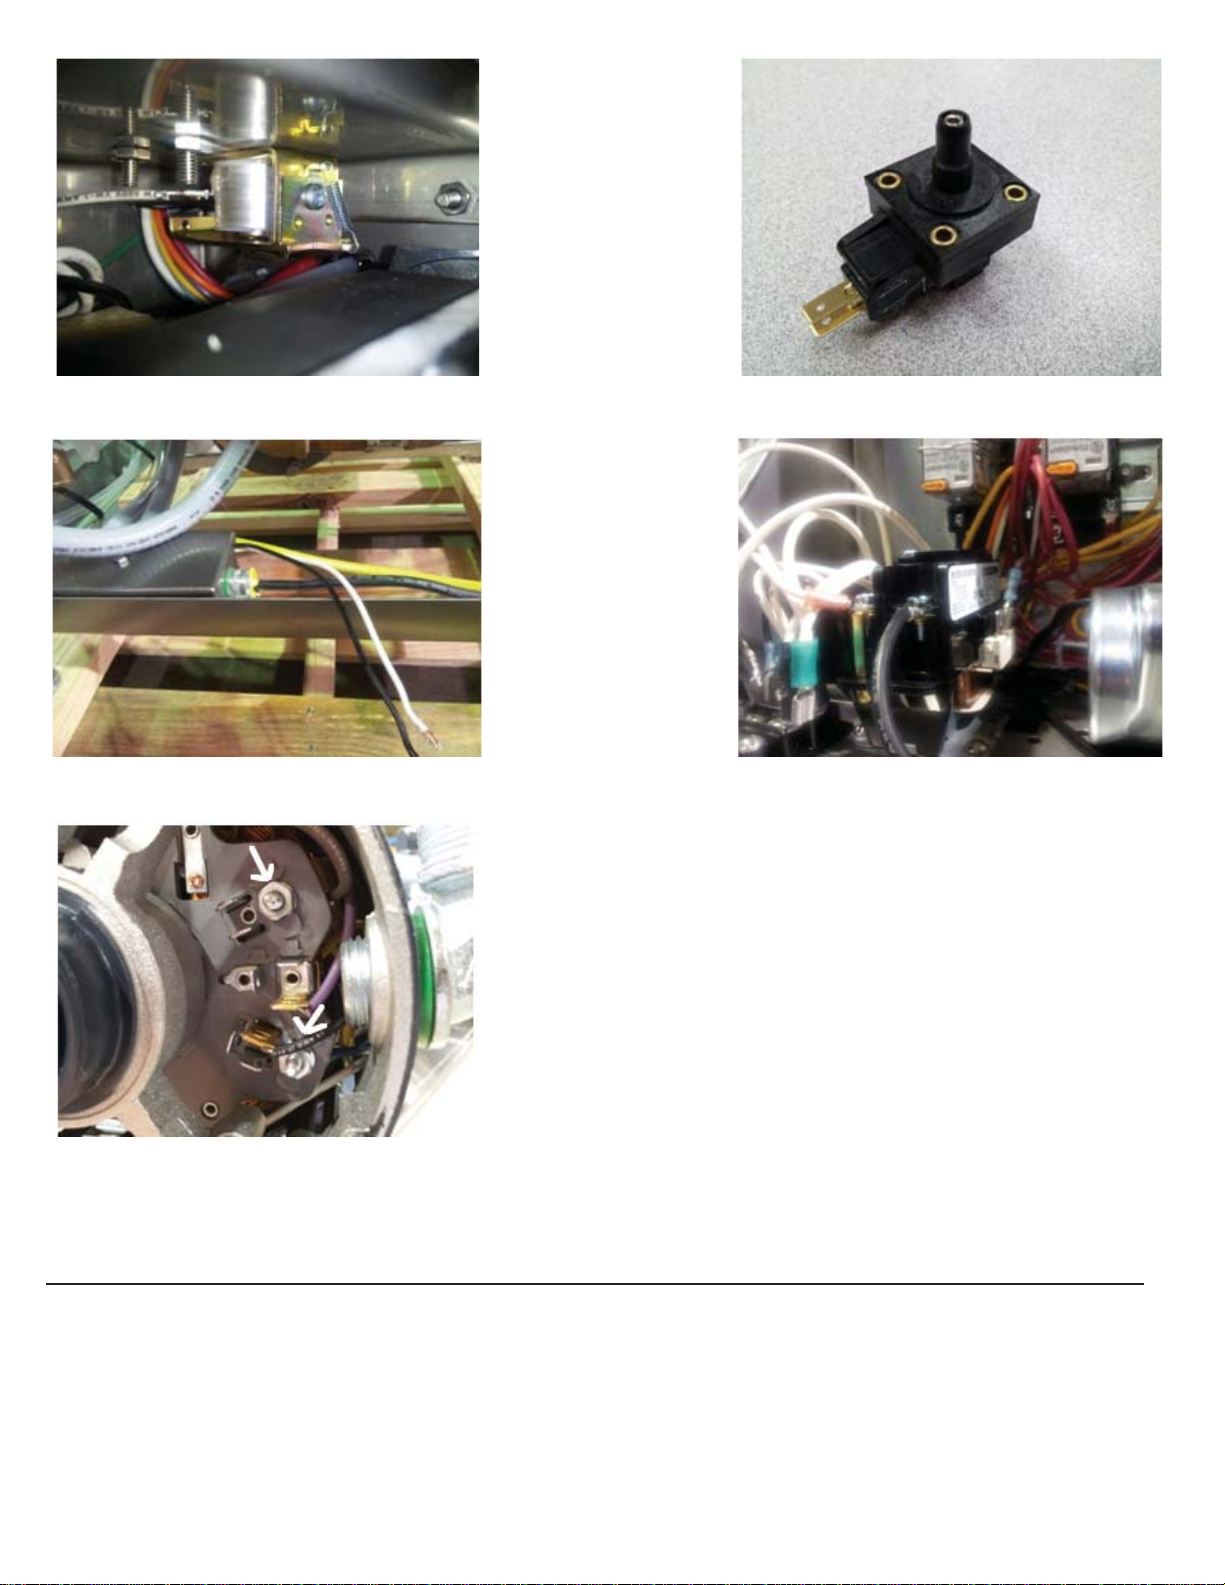
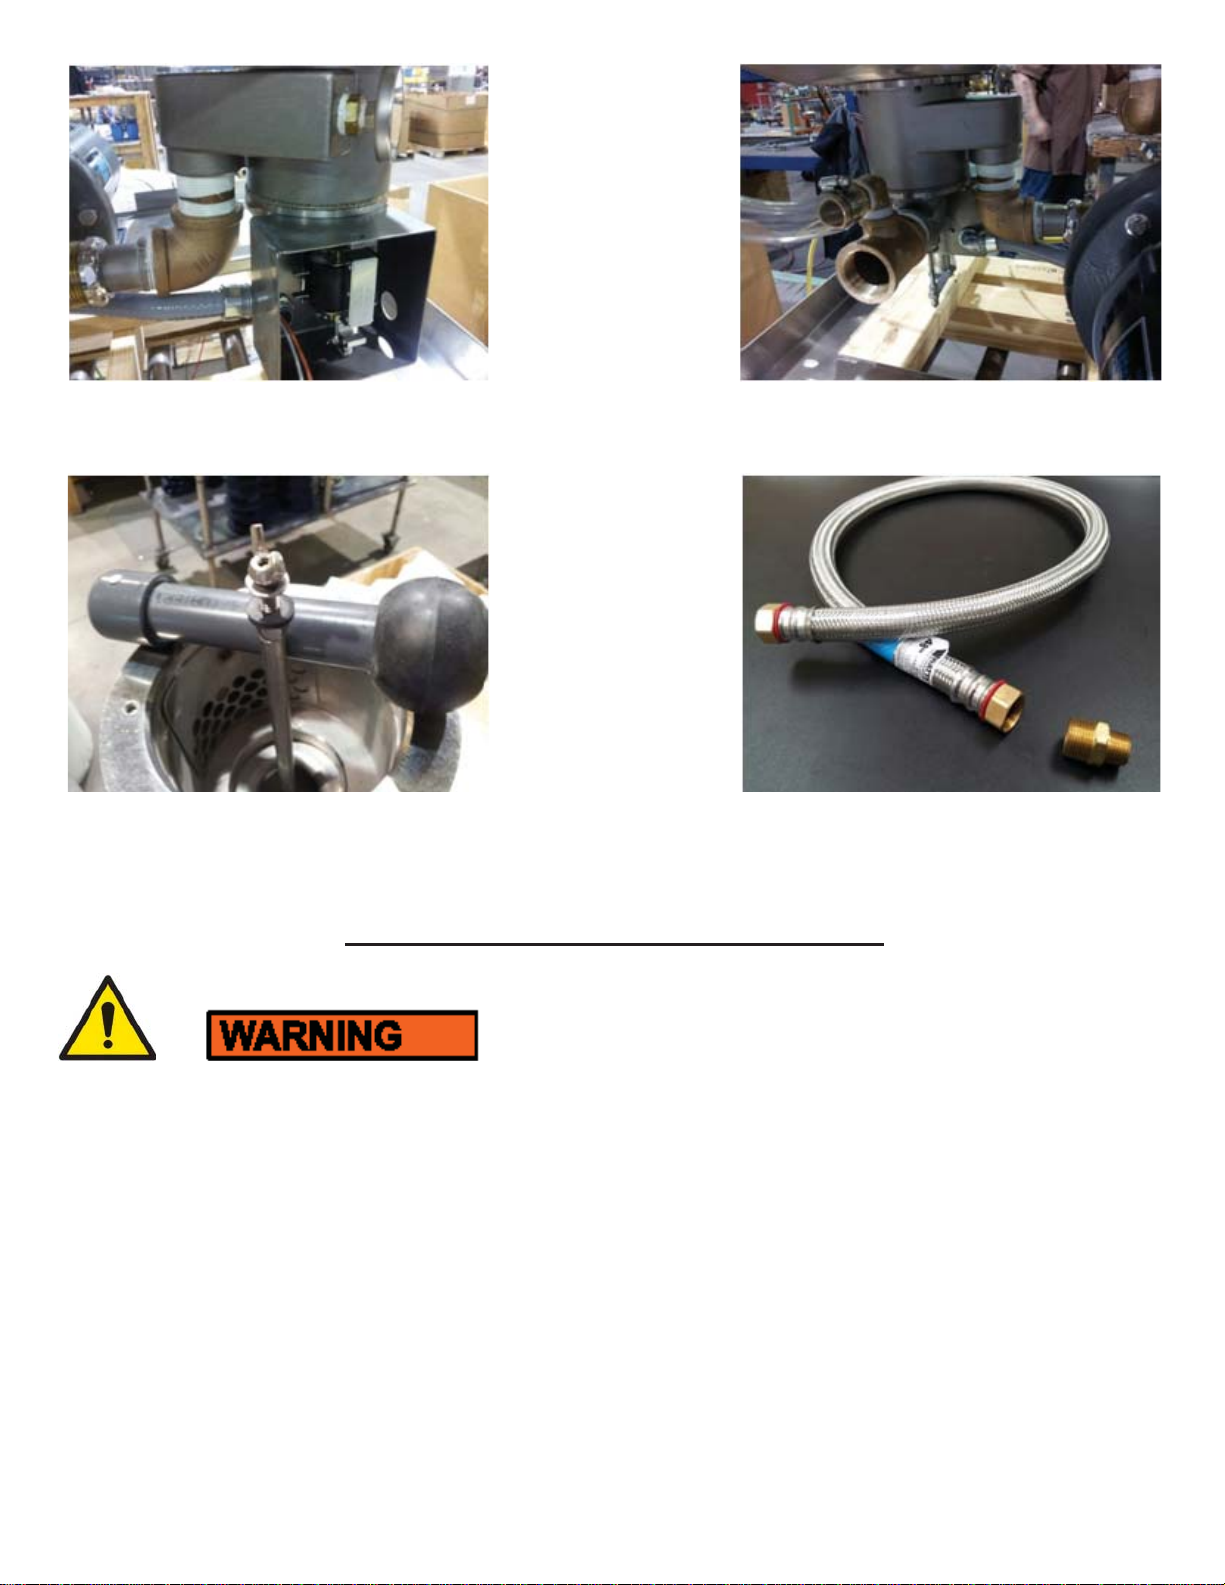
#6 LOOSE ELECTRICAL CONNECTIONS—Damage to equipment can occur if the following
precautions are not observed. Before connecting power to the machine, check all electrical
terminals in the control box. Screws can loosen in transit. Loose connections on high amp load
terminals such as the pump motor will cause wire burning and component damage during
operation and will not be covered under ADS warranty.
#7 “CLEAN CIRCUIT” means the electrical circuit breaker for the dishmachine supplies no other
outlets, machines, or lights. GFCI outlets are not recommended for commercial dishmachines;
ADS recommends that a single-rack machine be installed with the wire connection (hard-wired)
directly from the circuit breaker. If a plug and socket are used to provide electrical power to a
dishmachine in a commercial kitchen, then according to electrical code it must be a GFCI, but not
all GFCIs are the same. They must be rated for the draw of the circuit.