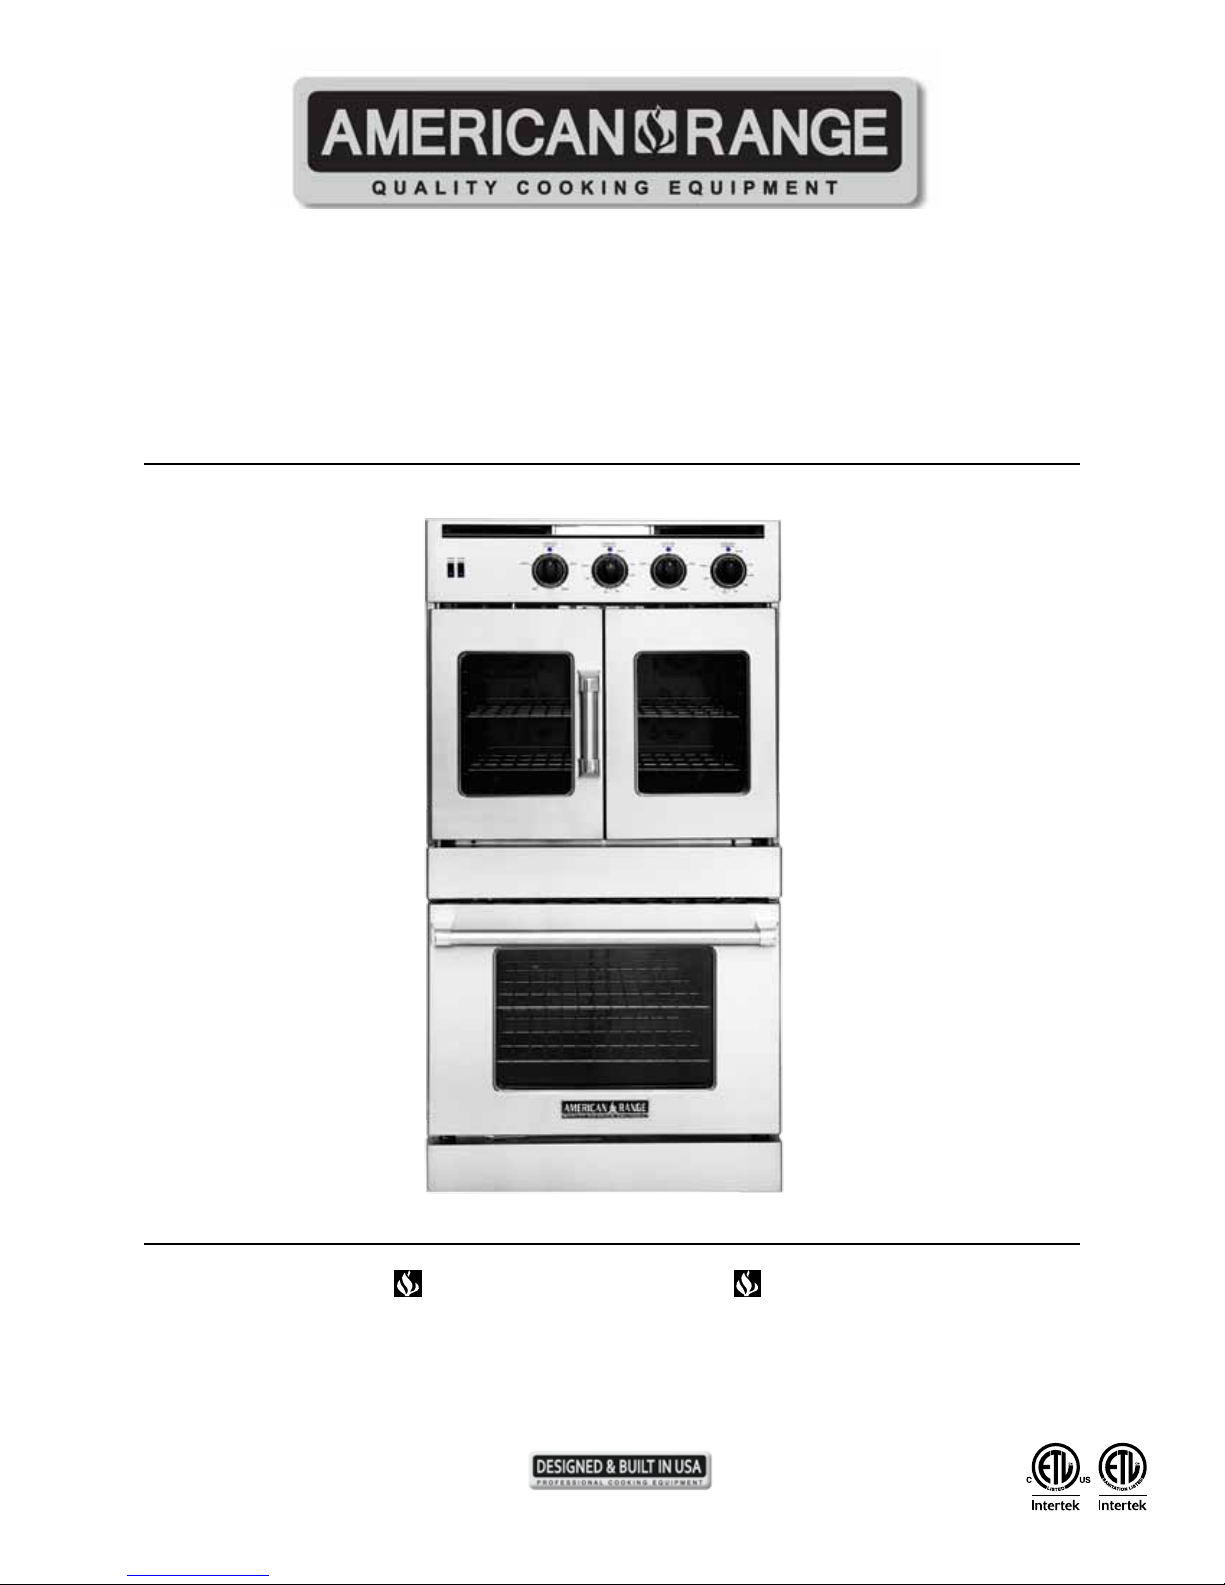
Legacy Wall OvensUse & Care Manual
13592 Desmond St., Pacoima, CA 91331 818.897.0808 tel 888.753.9898 toll free www.americanrange.com
4
Always disconnect the electrical plug from the wall outlet before servicing the unit. It is recommended that a dedicated
electrical circuit be used for this appliance.
Always turn gas shut-off valve to OFF position before servicing unit.
WARNING
Do not store items of interest to children above or near the appliance. Children, as well as adults, should never be allowed to
sit, stand or climb on any part of the appliance. Serious personal injury may occur.
DANGER
To avoid the possibility of explosion or re, do not store or use combustible, ammable or explosive liquids (such
as gasoline) or vapors inside or in the vicinity of this or any other appliance. Keep items that could explode, such as
aerosol cans, away from the product. Do not store explosive or ammable materials in nearby cabinets or areas.
When operating the oven or broiler, do not touch the surfaces of the ceramic tile broiler, the rack or rack supports, the
walls of the oven or the inside surfaces of the oven door - interior surfaces become hot enough to cause burns. The heat
deector, which deects heat away from the control panel, and the oven door sides will also be hot during use.
DANGER
WARNING
If not installed, operated and maintained in accordance with the
manufactuerer's instructions, this product could expose you to fuel or fuel combustion substances,
which can cause death or serious illness and which are known to the State of California to cause
cancer, birth defects or other reproductive harm.
The State of California enacted the California Safe Drinking Water and Toxic Enforcement Act of 1986, (Prop. 65), which
“prohibits any person in the course of doing business from knowingly and intentionally exposing any individual to a chemical
known to the State of California to cause cancer or reproductive toxicity without rst giving clear and reasonable warning to
such individuals.” The Governor’s Scientic Advisory Panel added carbon monoxide to the list of hazardous chemicals known to
cause reproductive harm.
In order to establish full compliance with Proposition 65, a yellow warning label has been attached to each gas-red unit
manufactured by The Company.
Carbon monoxide would not be present in concentrations that would pose a “signicant risk” to the consumer when the
equipment is installed, operated and maintained as follows:
1. Installed in accordance with all local codes, or in the absence of local codes, with the current National Fuel Gas Code ANSI
Z223.1 Latest Addenda.
2. Installed under a properly designed and operating exhaust hood.
3. Connected to the type of gas for which the unit is equipped.
4. Proper appliance pressure regulator installed on the gas supply line and adjusted for the manifold pressure marked on the
rating plate.
5. Adequate air supply to the unit.
6. The equipment is operated in the manner intended and using the proper utensil for that type of appliance.
7. Keep the equipment clean and have it checked periodically.
8. Burner air adjustments, mechanical maintenance and repairs must be performed by qualied service personnel.