PPAARRTTSS••FFEEAATTUURREESS••SSTTOORRAAGGEETTIIPPSS••SSAAFFEETTYY
AAmmeerriisstteepp®®IInncc..990011TTaaccoommaaCCtt..••PP..OO..BBooxx118899••CClliioo,,MMII4488442200((881100))668866--44003355wwwwww..aammeerriisstteepp..ccoomm
Page 4
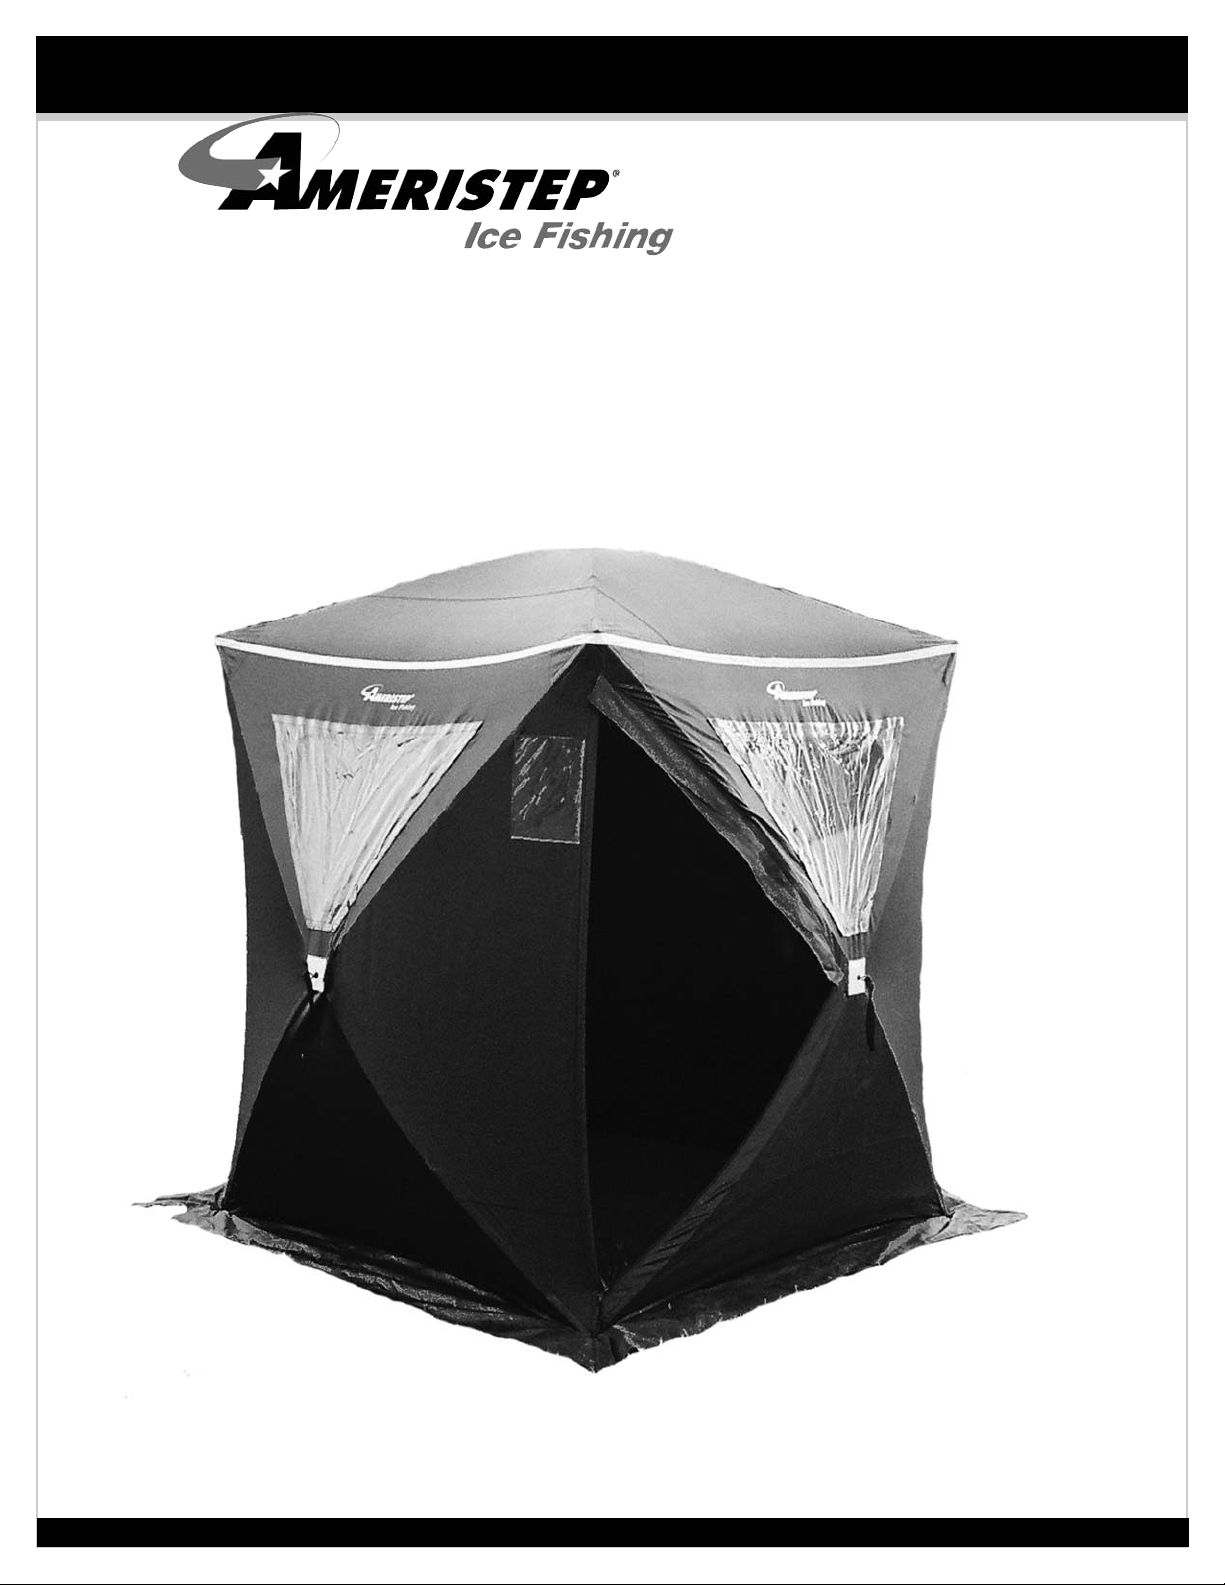
• 1 Ice Shelter
• 1 Carrying Back Pack Case
• Features roof vent for dissipation of carbon dioxide
from portable heaters.
• 4 Wind Tie-Downs
• 8 Ice spikes with auger point and non-slip handle
keep shelter secured to ice in windy conditions.
• Clear vinyl windows designed for easy removal or
replacement.
PARTS LIST/FEATURES
• Store Shelter in a cool dry place - free ice, dirt and any debris
• Never store Shelter wet or damp
• Avoid leaving Shelter outdoors for any extended period of time. Prolonged exposure to sunlight may cause fabric to fade.
• To stop any leakage, use seam sealer on all seams and silicon spray on seams/sidewalls.
• To store your Clear Vinyl Windows, avoid wrinkles and creases that could significantly reduce visibility
• To aid in folding Shelter, be sure the windows are all the way up and secured
SSTTOORRAAGGEEAANNDDTTIIPPSS
• NEVER USE A HEATER IN YOUR AMERISTEP® PRODUCT WITHOUT ROOF VENT OPEN -
UNVENTED FUMES COULD CAUSE SICKNESS OR DEATH
• NEVER EXPOSE THIS PRODUCT TO ANY OPEN FLAME. THIS PRODUCT IS NOT FIREPROOF
• NEVER ALLOW CHILDREN TO PLAY WITH THIS PRODUCT WITHOUT ADULT SUPERVISION
• NEVER ALLOW MATERIAL TO COVER YOUR FACE. IT CAN CAUSE SUFFOCATION AND DEATH
• NEVER ALLOW ANYONE TO USE LIGHTED CANDLES, MATCHES OR OTHER SOURCES OF FIRE NEAR THIS PRODUCT
• UV (ULTRAVIOLET LIGHT) WARNING:
Ultraviolet light breaks down lightweight fabric fibers (and almost any synthetic material).
The material will fade (discolor), lose strength and eventually disintegrate if left in prolonged sunlight. To extend the life of
your Ameristep® product avoid leaving it out in direct sunlight.
TTHHIINNKKSSAAFFEETTYY!!
WWAARRNNIINNGG::KKEEEEPPAALLLLFFLLAAMMEEAANNDDHHEEAATTSSOOUURRCCEESSAAWWAAYYFFRROOMMTTEENNTTFFAABBRRIICC..
This tent meets the flammability requirements of CPAI-84. The fabric may burn if left in continuous contact with any flame source.
This tent is made of flame-resistant fabric. IIttiissnnoottffiirreepprrooooff..The fabric will burn if left in continuous contact with a flame source. DO NOT use candles, matches or
open flames of any kind in or near a tent; DO NOT cook inside a tent; DO NOT smoke in a tent; DO NOT store flammable liquids inside a tent; build campfires
downwind and several meters away from a tent and be sure to fully extinguish campfires before leaving a campsite or before retiring for the night; exercise
EXTREME caution when using fuel-powered lanterns or heaters inside a tent and use battery operated lanterns whenever possible; DO NOT refuel lamps, heaters
or stoves inside a tent; extinguish or turn off all lanterns before going to sleep. The application of any foreign substance to tent fabric may render flame resistant
properties ineffective.
CCPPAAII--8844WWAARRNNIINNGG
©2008 (rev 8/08)
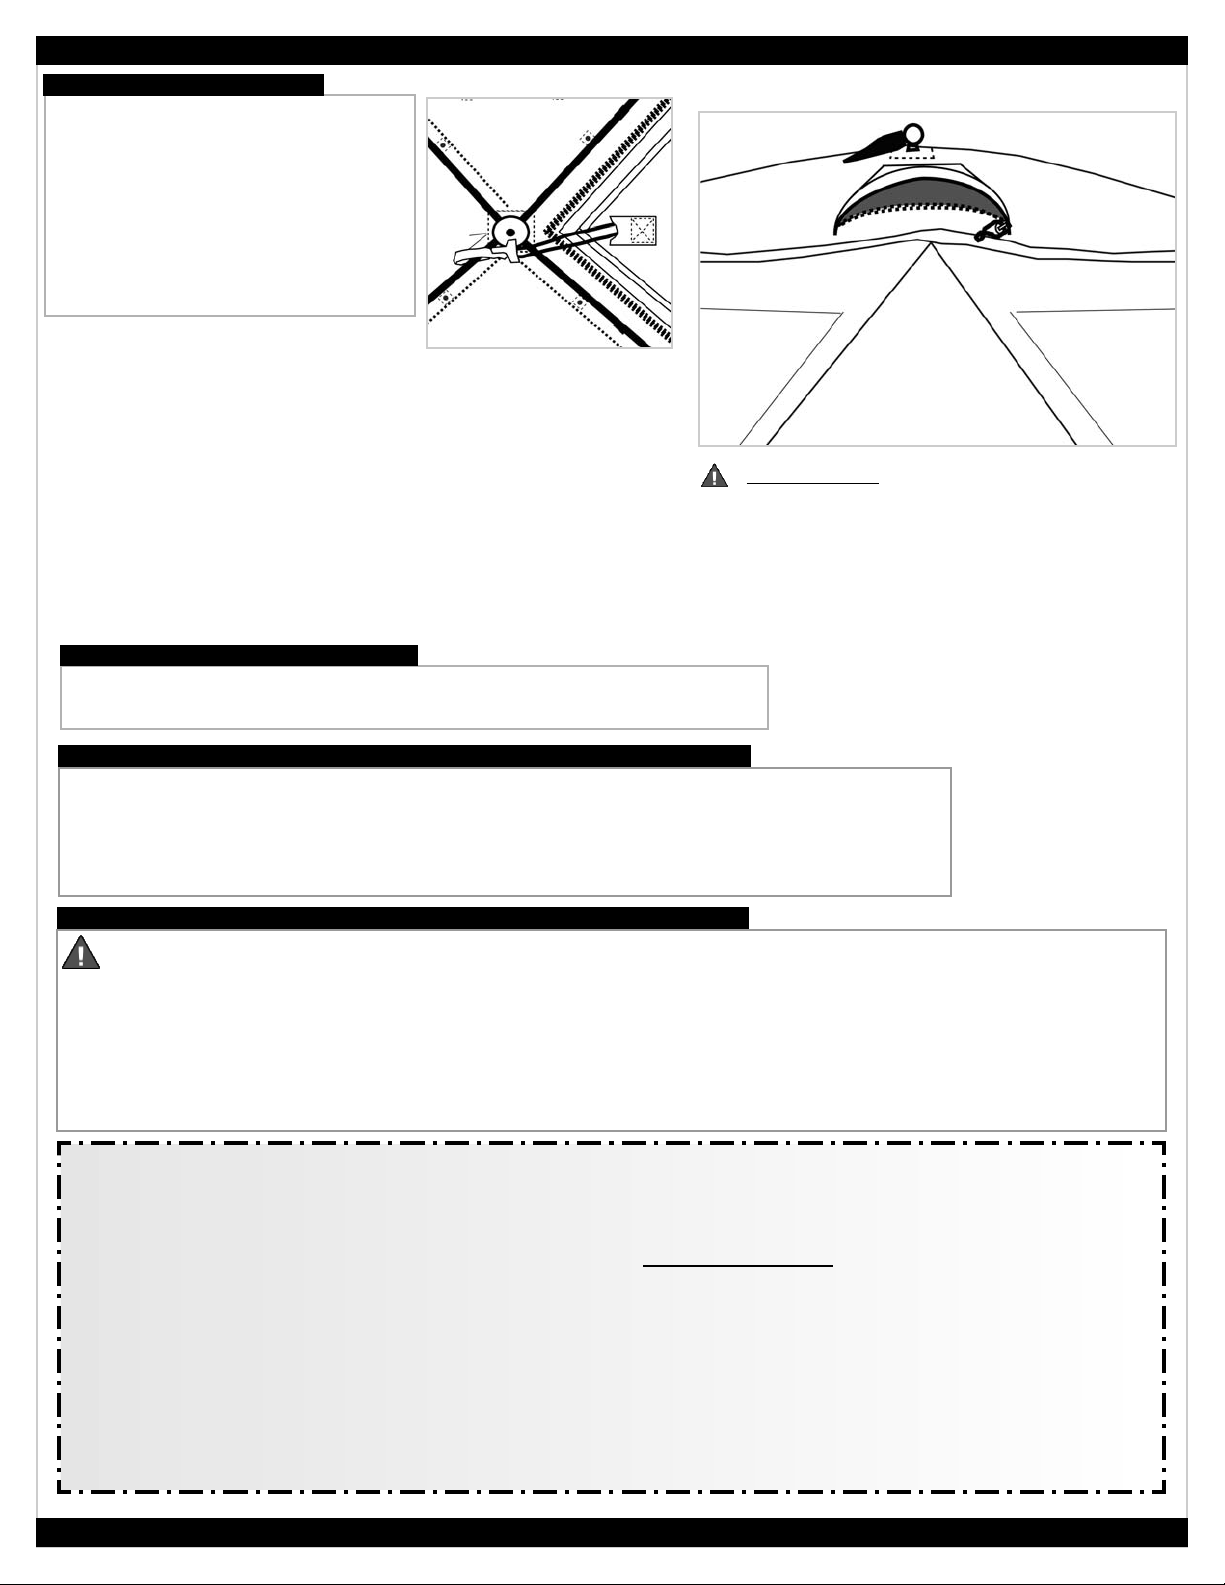
The Door has option to be secured
after it has been unzipped and you
are inside. This helps keep door
from catching in the wind.
!!
!!IIMMPPOORRTTAANNTT::
IIMMPPOORRTTAANNTT::The Alaskan also features a Zippered
Roof Vent. UUssiinnggaannyyppoorrttaabblleehheeaatteerriinnaaccoonnffiinneeddaarreeaaiiss
hhaazzaarrddoouusswwiitthhoouuttpprrooppeerrvveennttiillaattiioonn.
MMaakkeessuurreezziippppeerreeddvveennttiissooppeennwwhheenneevveerruussiinnggaappoorrttaabbllee
hheeaatteerrttooaavvooiiddppoossssiibblleeccaarrbboonnmmoonnooxxiiddeeppooiissoonniinngg..
If your fiber poles would ever happen to fail or become lost you can order
replacements from AAmmeerriisstteepp’’sswweebbssiitteeor contact our CCuussttoommeerrSSeerrvviicceeDDeeppaarrttmmeenntt.
REPLACEMENT HUB FIBER POLES
TTHHEEAALLAASSKKAANN&&AALLAASSKKAANNKKIINNGGIICCEESSHHEELLTTEERRSS
Models #20001A & #20002A