manuals.online logo
Brands
  1. Home
  2. •
  3. Brands
  4. •
  5. Analogue Solutions
  6. •
  7. TV Mount
  8. •
  9. Analogue Solutions TR Series User manual

Analogue Solutions TR Series User manual

TB303 / TR606 rack mount bracket - Guide only - E.& O.E. (C 6-1999 ANALOGUE SOLUTIONS www.users.globalnet.co.uk/~concuss/
TR606 / TB303 Rack mounting bracket
by Analogue Solutions
Note: we used to sell these, but there was not enough interest. If enough people can get together, I will get some more made up. Tel/Fax +44 0) 1364 35 36 94
TB303 / TR606 rack mount bracket - Guide only - E.& O.E. (C 6-1999 ANALOGUE SOLUTIONS www.users.globalnet.co.uk/~concuss/
91mm 91mm300mm
482mm
50mm
300mm
Metal Sheet 582x148mm. Apprx. 2.5mm thick aluminium. 4x slots next sheet).
91mm 91mm
148mm
TB303 / TR606 rack mount bracket - Guide only - E.& O.E. (C 6-1999 ANALOGUE SOLUTIONS www.users.globalnet.co.uk/~concuss/
91mm
50mm
<- BEND ->
6
Right end of bracket only shown. Holes and bends identical on
other end.
Rack-mounting holes are standard sized slots for 19" rack.
Height of bracket is 3.5U. Slot spacing vertically is 3.5U
11 x 7mm slot,
centre 6mm down, 9mm in from
edge.
9
134mm
<- BEND ->
TB303 / TR606 rack mount bracket - Guide only - E.& O.E. (C 6-1999 ANALOGUE SOLUTIONS www.users.globalnet.co.uk/~concuss/
TB303
Notes:
If TB/TR feels too loose in Bracket, you may want to add more
strips or remove TR/TB's plastic feet with a scalpel.
Velcro strips should easily peel off back of TB/TR if necessary. If
not, warm up the glue of the Velcro with a hair-dryer to help peel
them off when the glue warms up, it loses its stickyness).
Velcro cannot cope with continual ri[[ing apart. You should only
need to remove TR/TB off Bracket to change batteries. Should Velcro
fastening work loose, apply more or new) strips.
Have fun.
T.Carpenter
Example of TB303 in a 4U space - leave an empty space above Bracket if you need to get a DIN SYNC24
lead in;
TB303 / TR606 rack mount bracket - Guide only - E.& O.E. (C 6-1999 ANALOGUE SOLUTIONS www.users.globalnet.co.uk/~concuss/
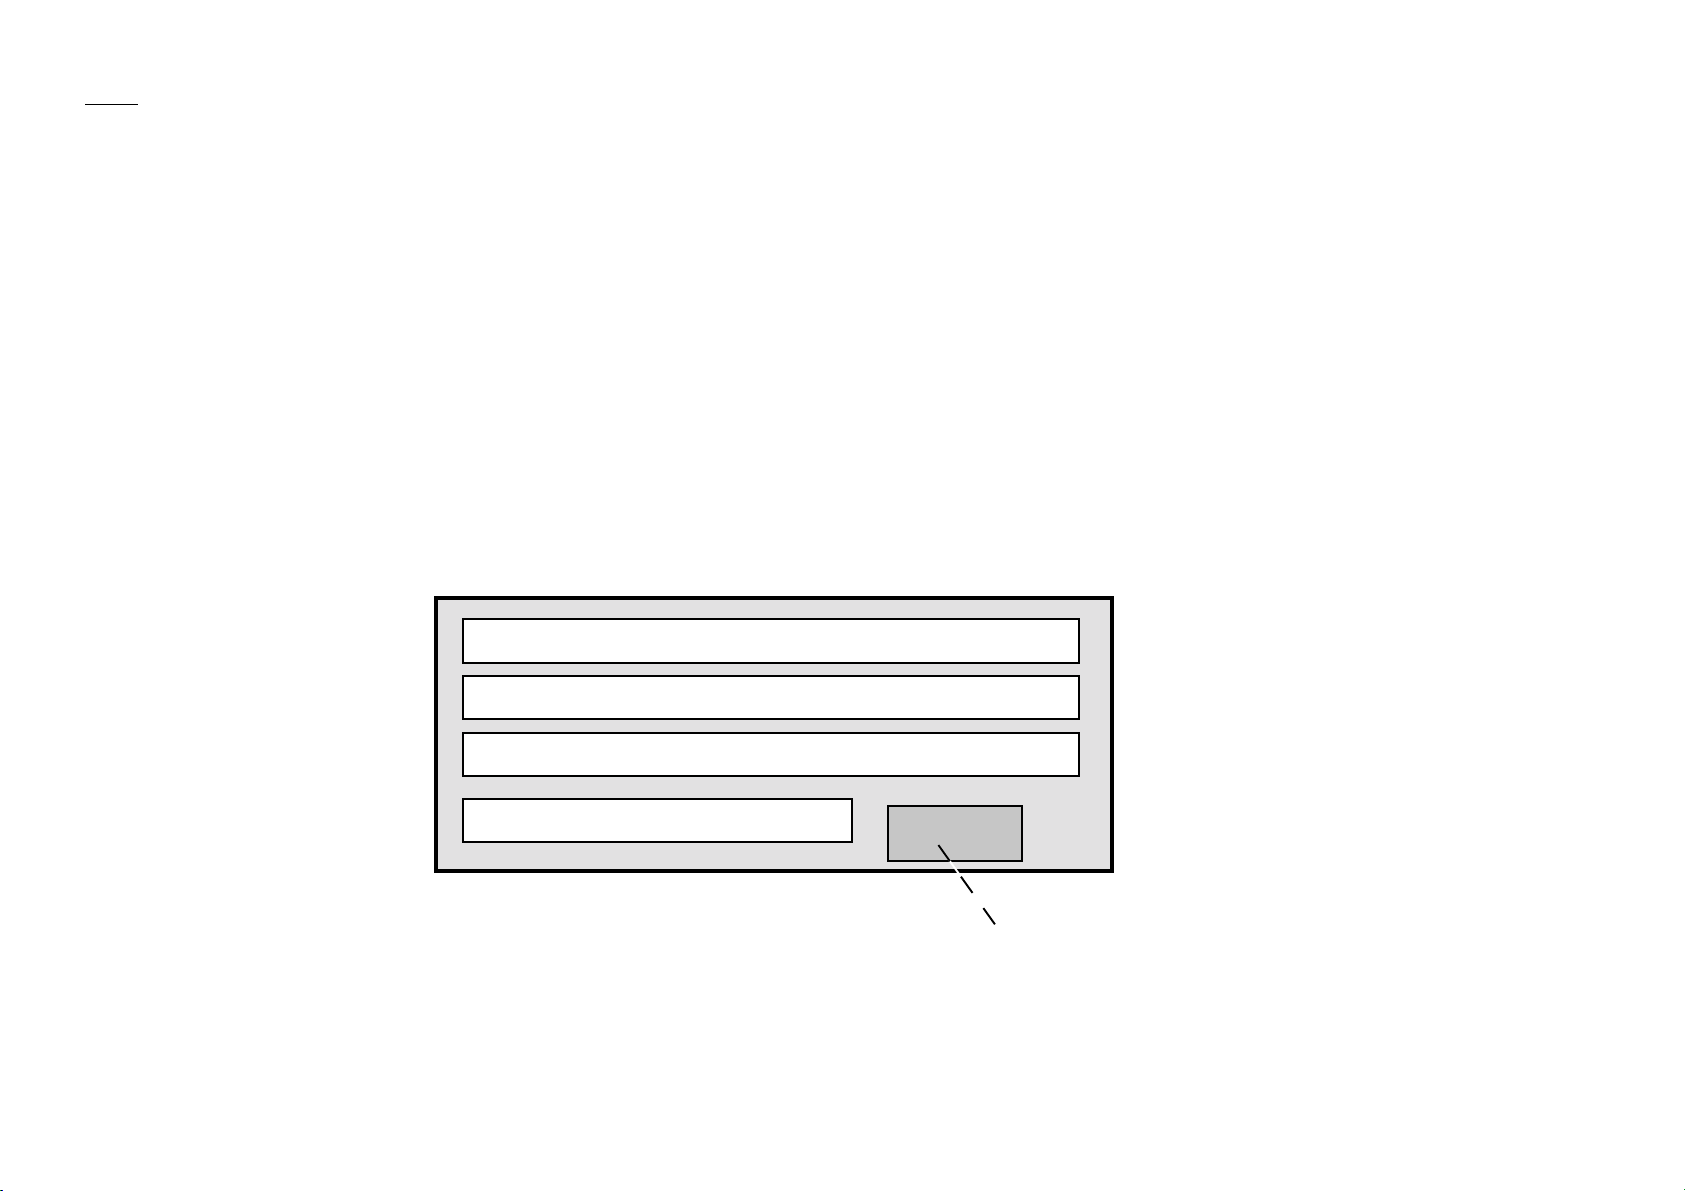
Base panel of TR/TB fig.1)
Velcro strips...
Battery Compartment
1, Make sure base of TR/TB is clean of grease, dirt and dust.
2, Peel off paper on ONE side only of each Velcro strip. Stick themacross the base of the TR/TB and press them down, firmly. fig.1)
3, Peel off protective blue plastic off of Bracket.
4, Peel back off other side of Velcro strips
5, Line up TR/TB to Bracket - ensure top of TR/TB is alined with top of Bracket.
6, Stick it down! Press firmly.
Bracket will fit into a 4U space. This will leave a small gap above the back end of the TR/TB the top of the Bracket. This space is enough to fit power cable and
right-angled 1/4" audio jack plug and any other plugs - e.g. separate outs).
If you need to plug in a SYNC24 DIN cable, you may need to leave an empty space above TR/TB Bracket total 5U).
Note; We accept no responsibilty for damage caused to synth due to incorrect fitting of kit or misinterpretation of instructions.

This manual suits for next models

3

Popular TV Mount manuals by other brands

Pyle PSW976S installation guide

Pyle

Pyle PSW976S installation guide

Grunkel SP-18 AT-2 instruction manual

Grunkel

Grunkel SP-18 AT-2 instruction manual

KSL UKR2ET449 quick start guide

KSL

KSL UKR2ET449 quick start guide

Samsung SIB-0001 user manual

Samsung

Samsung SIB-0001 user manual

Nordic DELTACO ARM-0302 user manual

Nordic

Nordic DELTACO ARM-0302 user manual

Fiber Novelty FN01 installation manual

Fiber Novelty

Fiber Novelty FN01 installation manual

Sanus VisionMount MD115 user manual

Sanus

Sanus VisionMount MD115 user manual

ERARD WILL 1050L manual

ERARD

ERARD WILL 1050L manual

Vivo Mount-E-FD55 instruction manual

Vivo

Vivo Mount-E-FD55 instruction manual

Barkan E110 manual

Barkan

Barkan E110 manual

PEERLESS LWS210/BK Installation and assembly

PEERLESS

PEERLESS LWS210/BK Installation and assembly

Future Automation PS Series Product guide

Future Automation

Future Automation PS Series Product guide

Hitachi CMPAK15 installation instructions

Hitachi

Hitachi CMPAK15 installation instructions

ECG LD 1333 K instruction manual

ECG

ECG LD 1333 K instruction manual

modway EEI-2532 quick start guide

modway

modway EEI-2532 quick start guide

Aiphone IX-MB installation instructions

Aiphone

Aiphone IX-MB installation instructions

Hama 00118654 operating instructions

Hama

Hama 00118654 operating instructions

Assa Abloy effeff Maxi-Magnet MAG-1200SM Mounting instructions

Assa Abloy

Assa Abloy effeff Maxi-Magnet MAG-1200SM Mounting instructions

manuals.online logo
manuals.online logoBrands
  • About & Mission
  • Contact us
  • Privacy Policy
  • Terms and Conditions

Copyright 2025 Manuals.Online. All Rights Reserved.