Overview
Unpacking Christmas in a Box
The Christmas In a Box is a plug-and-play package from Animated
Lighting that enables you to build an exciting music and light show on
bushes, trees, windows and any other illuminated items in your display.
The Christmas In A Box includes an instructional video, installation
examples, multiple “shows” to choose from, a FM transmitter so visitors
can listen to your music via their FM radio, etc.
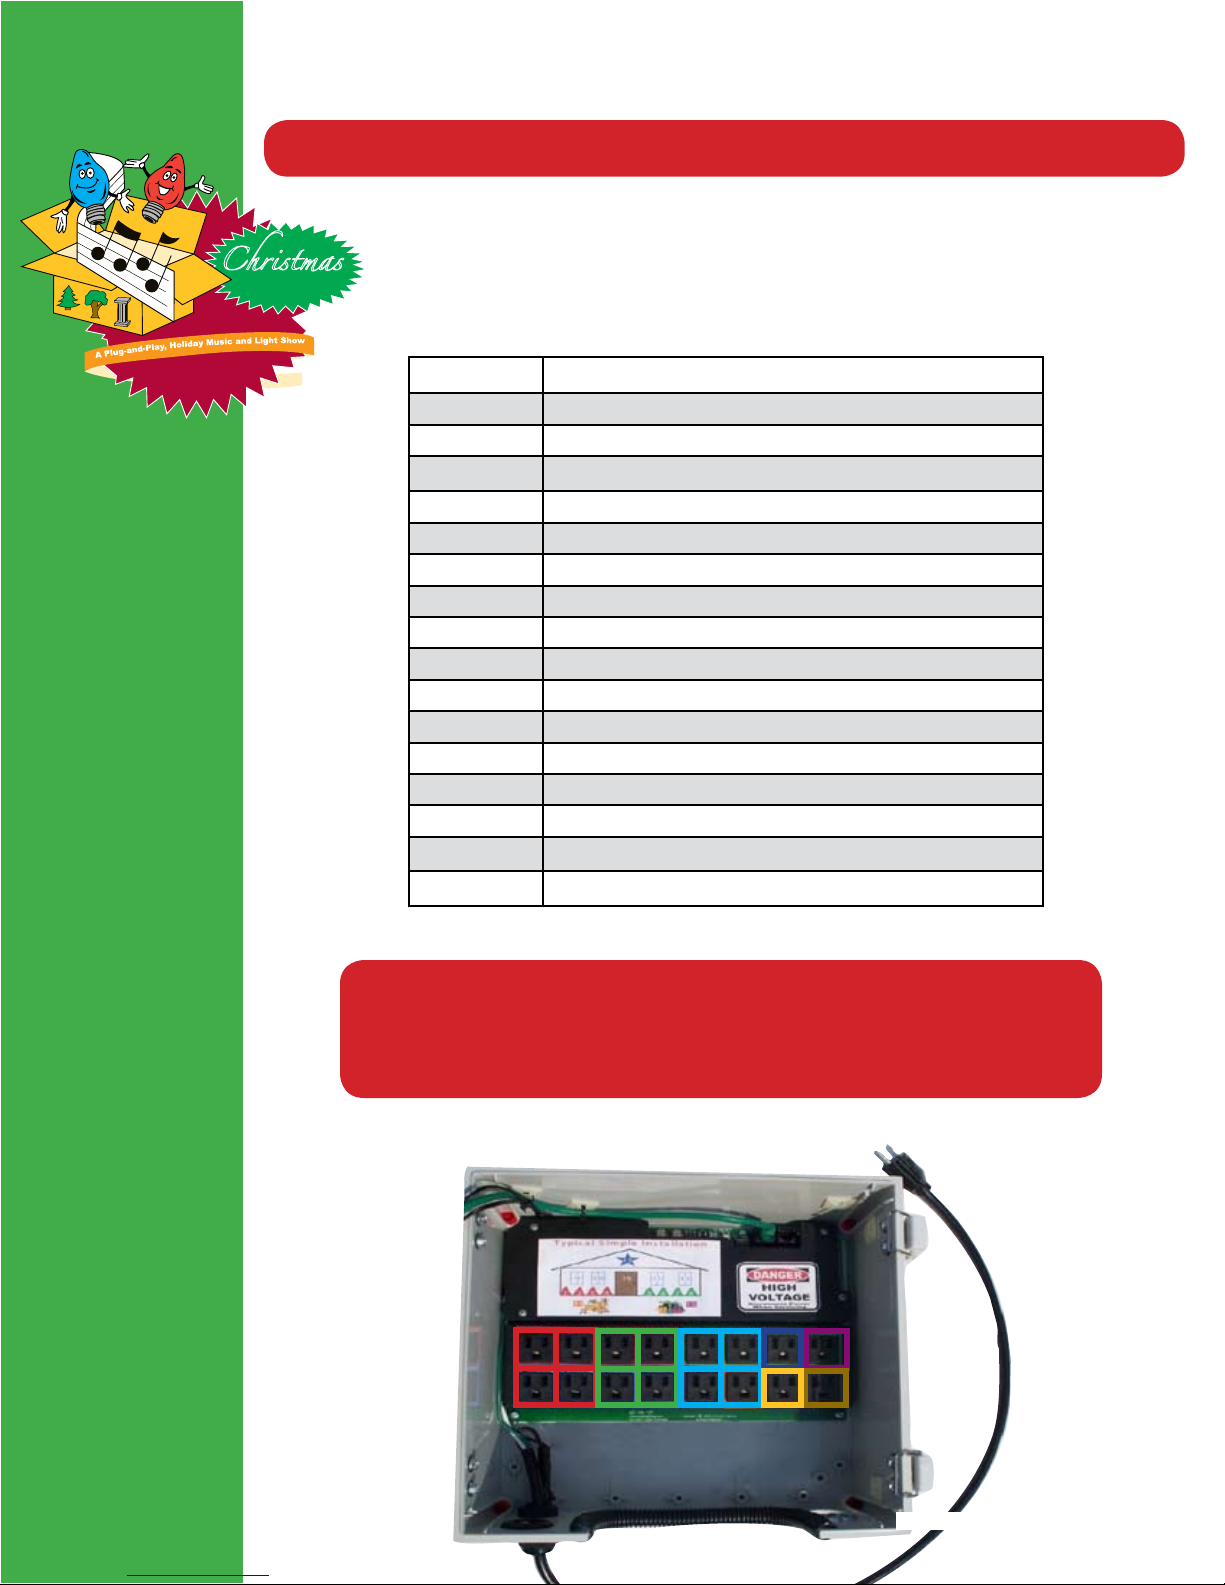
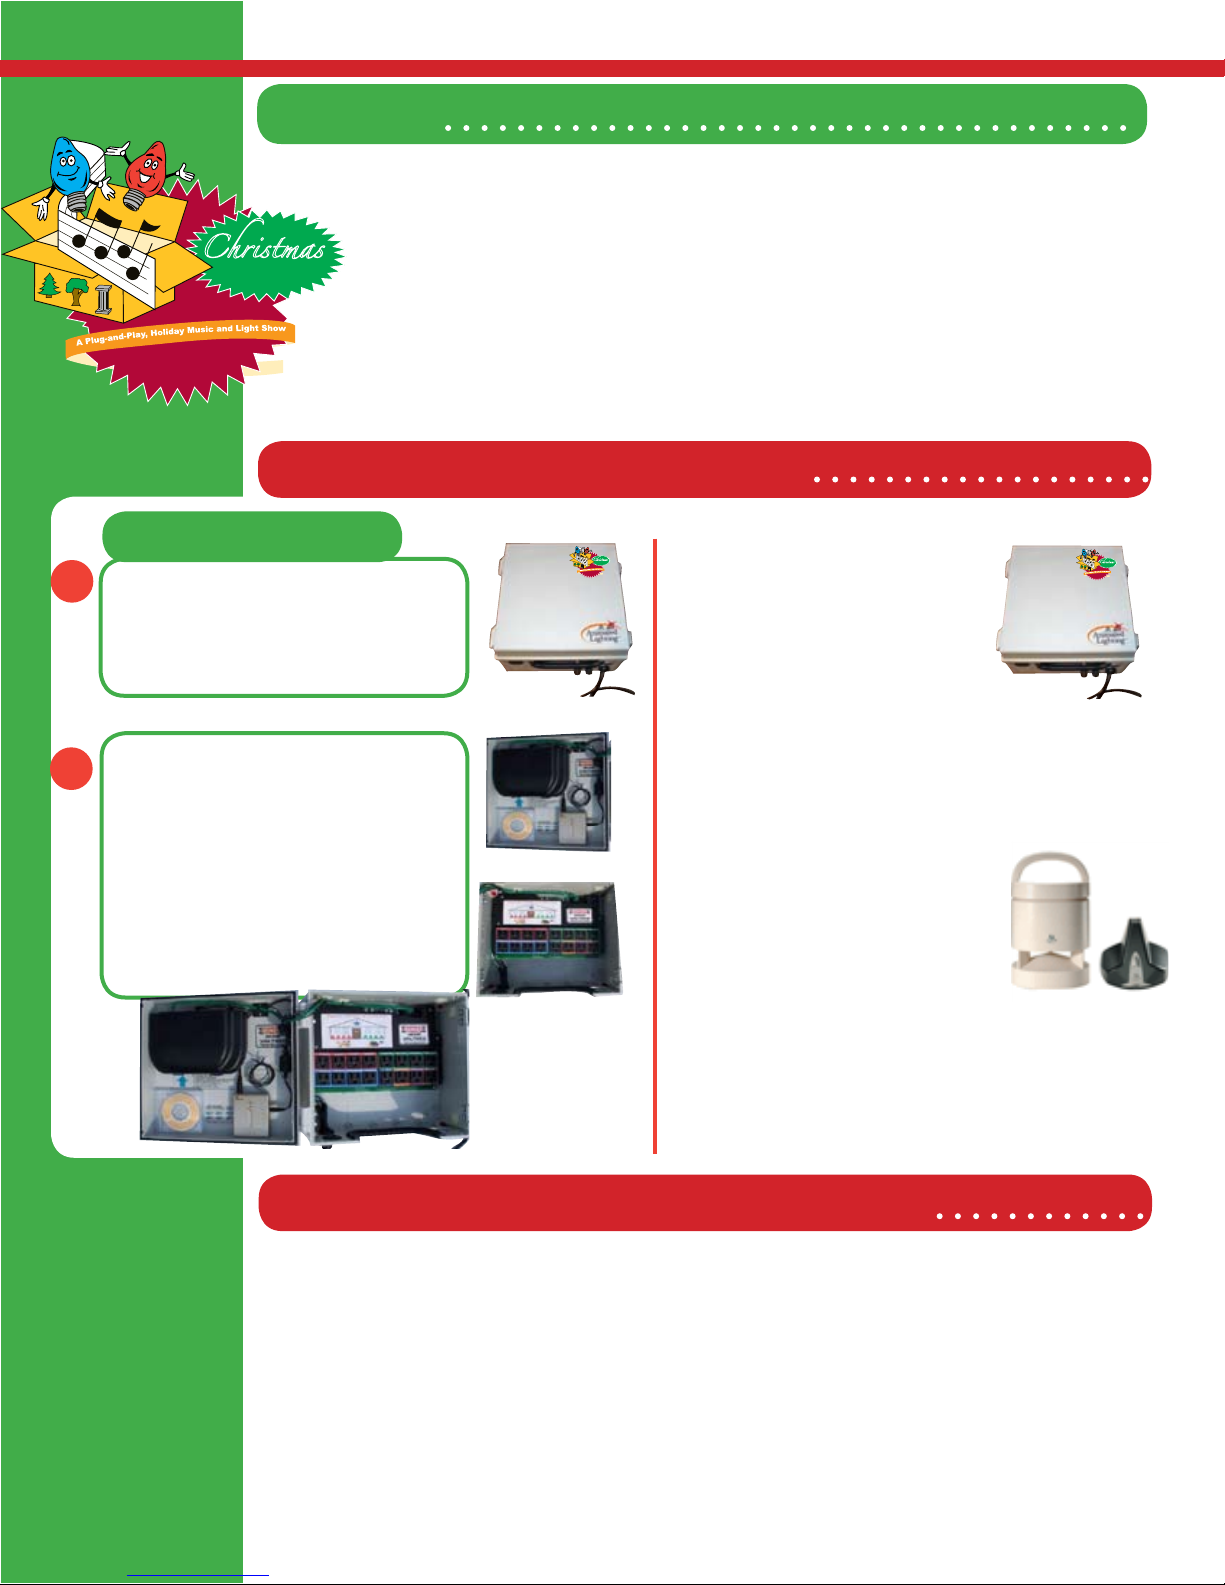
This is the front of the Christmas in
a Box. This includes a 16-Channel
Light Controller and one power cord
dangle (15A).
For Christmas in a Box
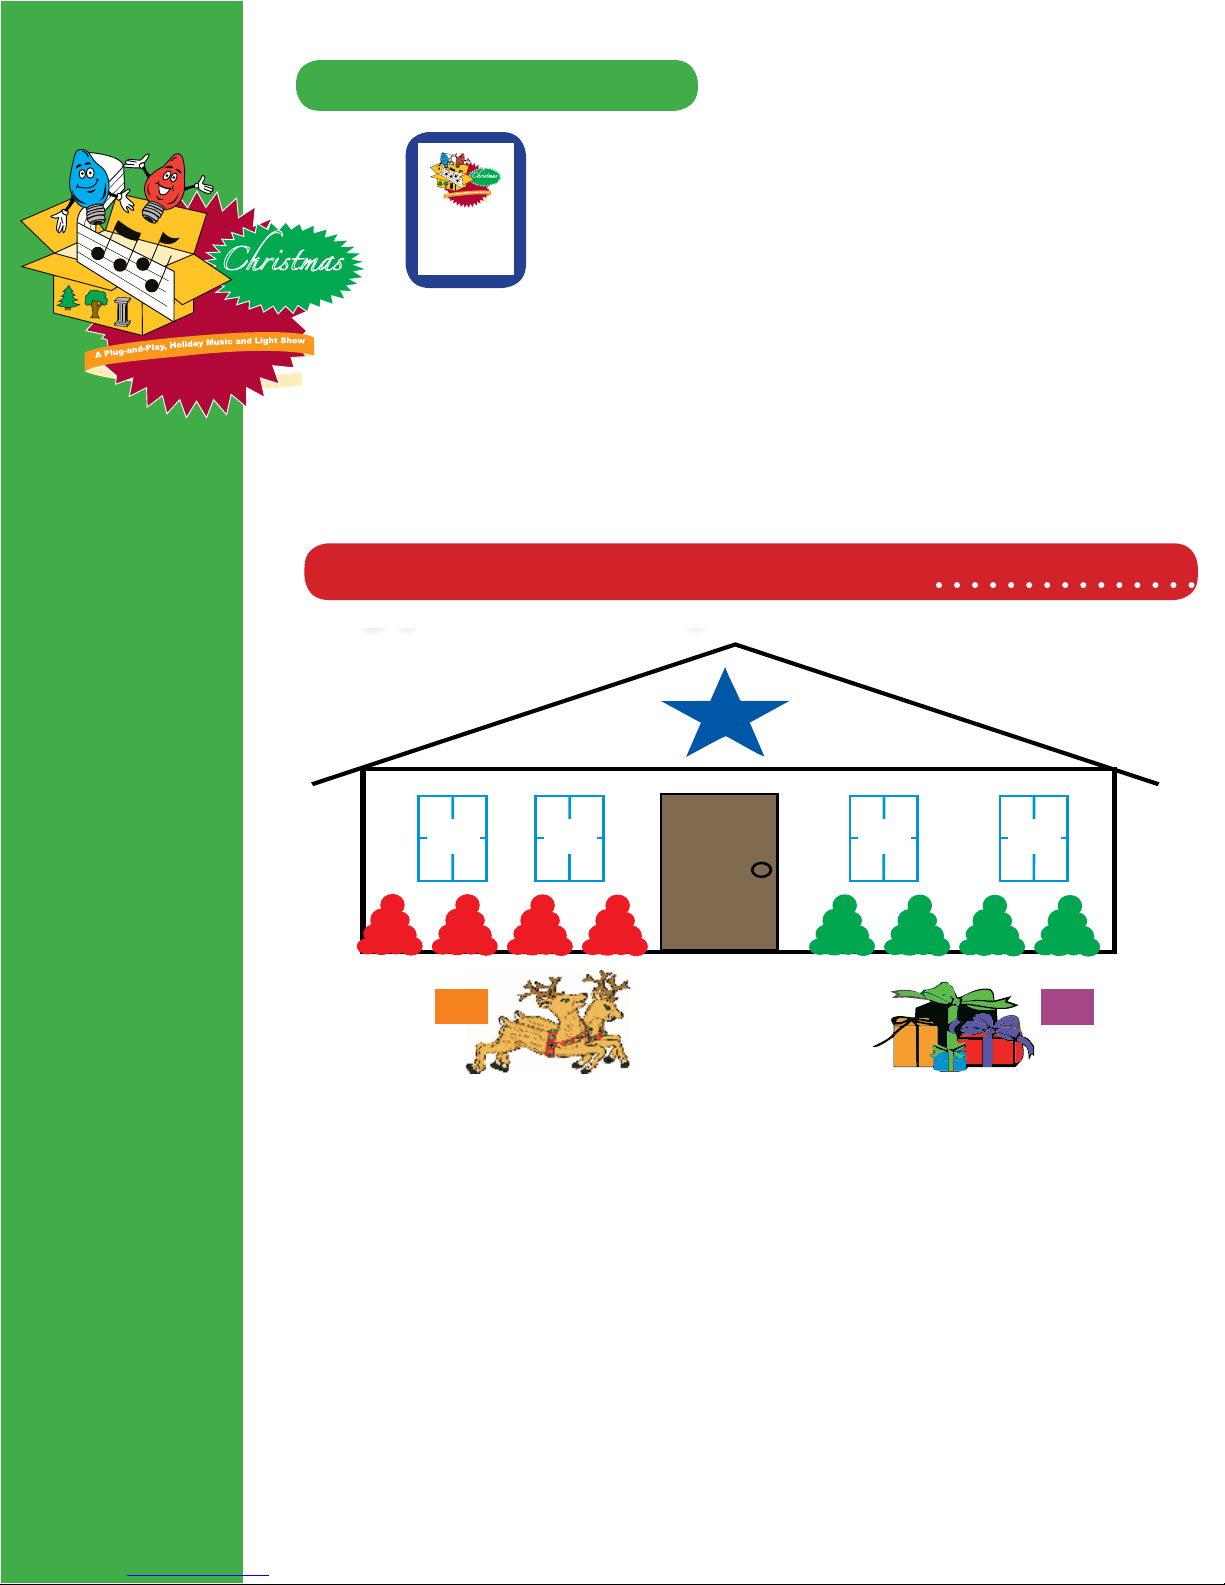
To complete a Christmas In A Box installation, you will need to supply
extension cords that can connect your lights from their hanging area to
the Christmas In A Box Light Controller Box. If you want to also broadcast
music over speakers, you will need a pair of speakers and perhaps an
amplier. You will need to supply your own light strands, whether they
be C9, C7, mini-lights or LED light strings (Consult Appendix A for more
information if using your own light strands). Finally, you might need cable
ties to secure lights to trees or other items plus duct tape for securing
wires that cross walking paths.
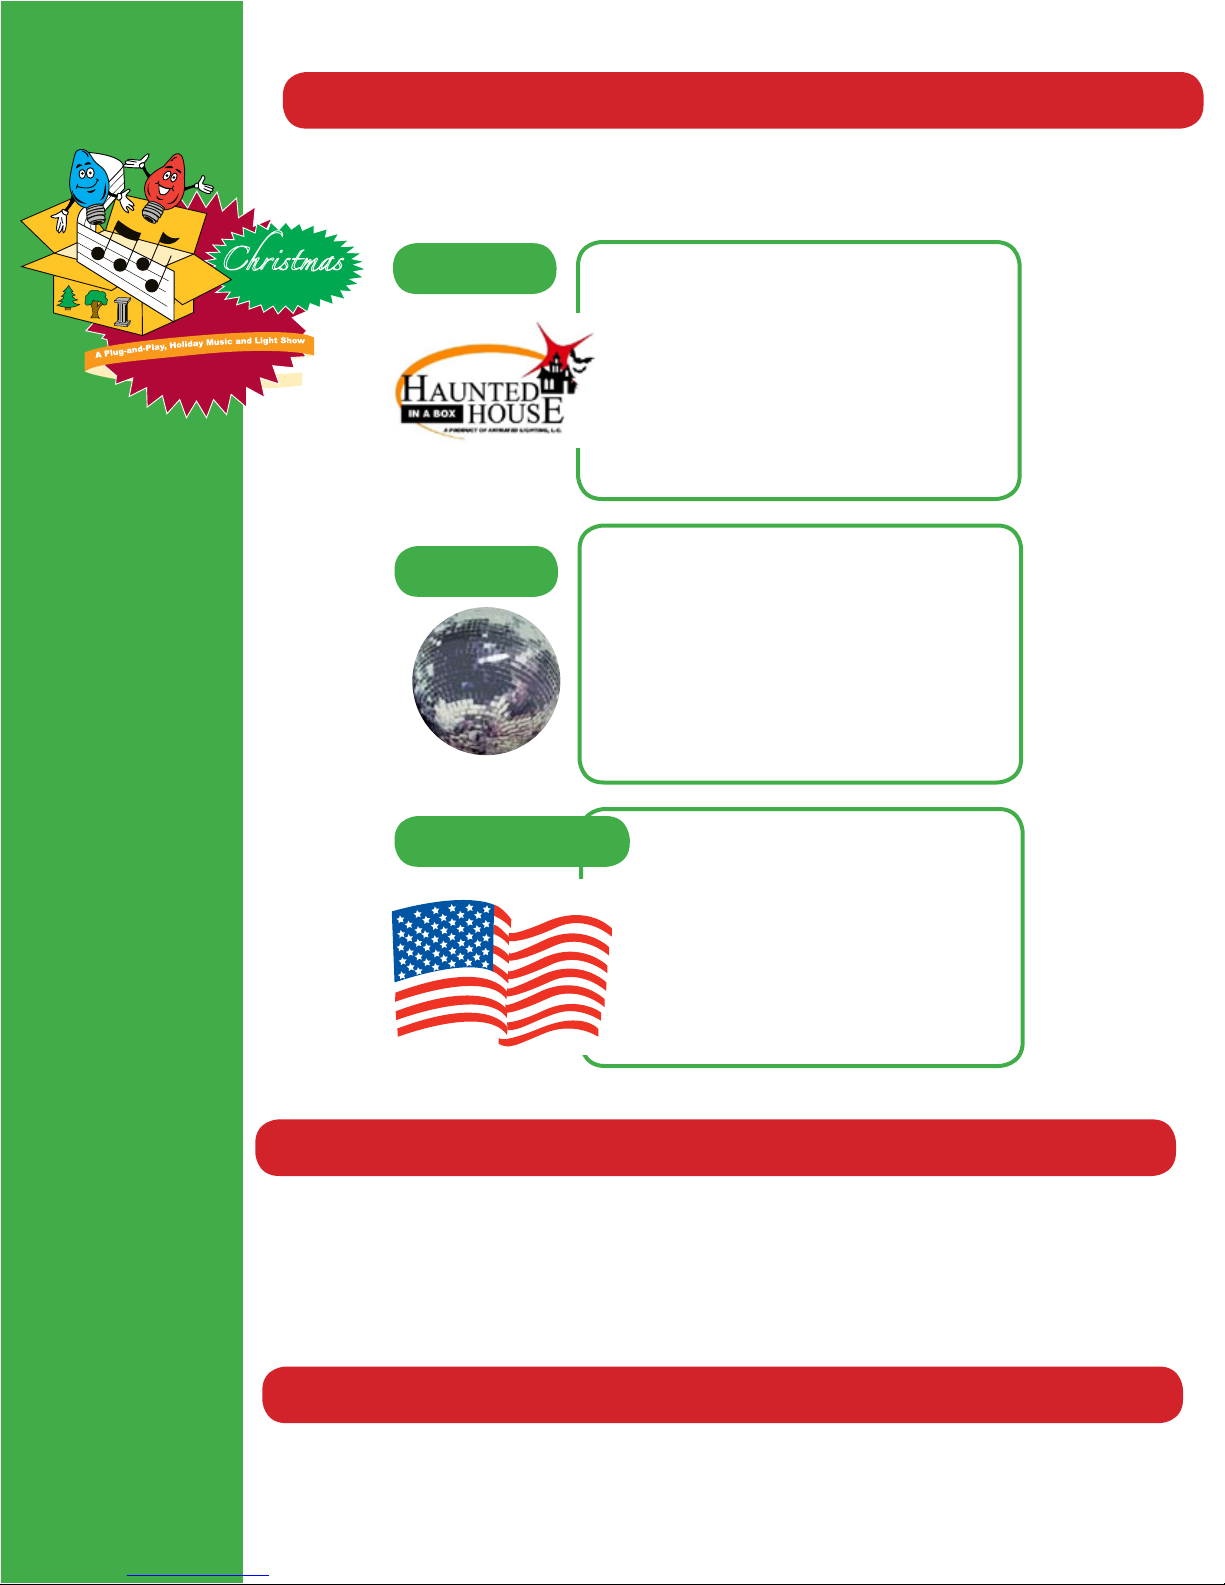
Amplied Outdoor Speaker
(An Optional Item Sold Separately)
This amplied outdoor speaker can
be added if you want to broadcast
music via a speaker to visitors to
your display.
Here are the insides of the Christmas
in a Box. On the left is the Monster
Brain (that plays your lighting
shows), an Installation Video, and
the FM Transmitter (the gold unit on
the bottom). On the right is the 16
channel light controller and a diagram
showing a typical installation. You
plug your extension cords for your
lighting channels directly into the right
side of this unit.
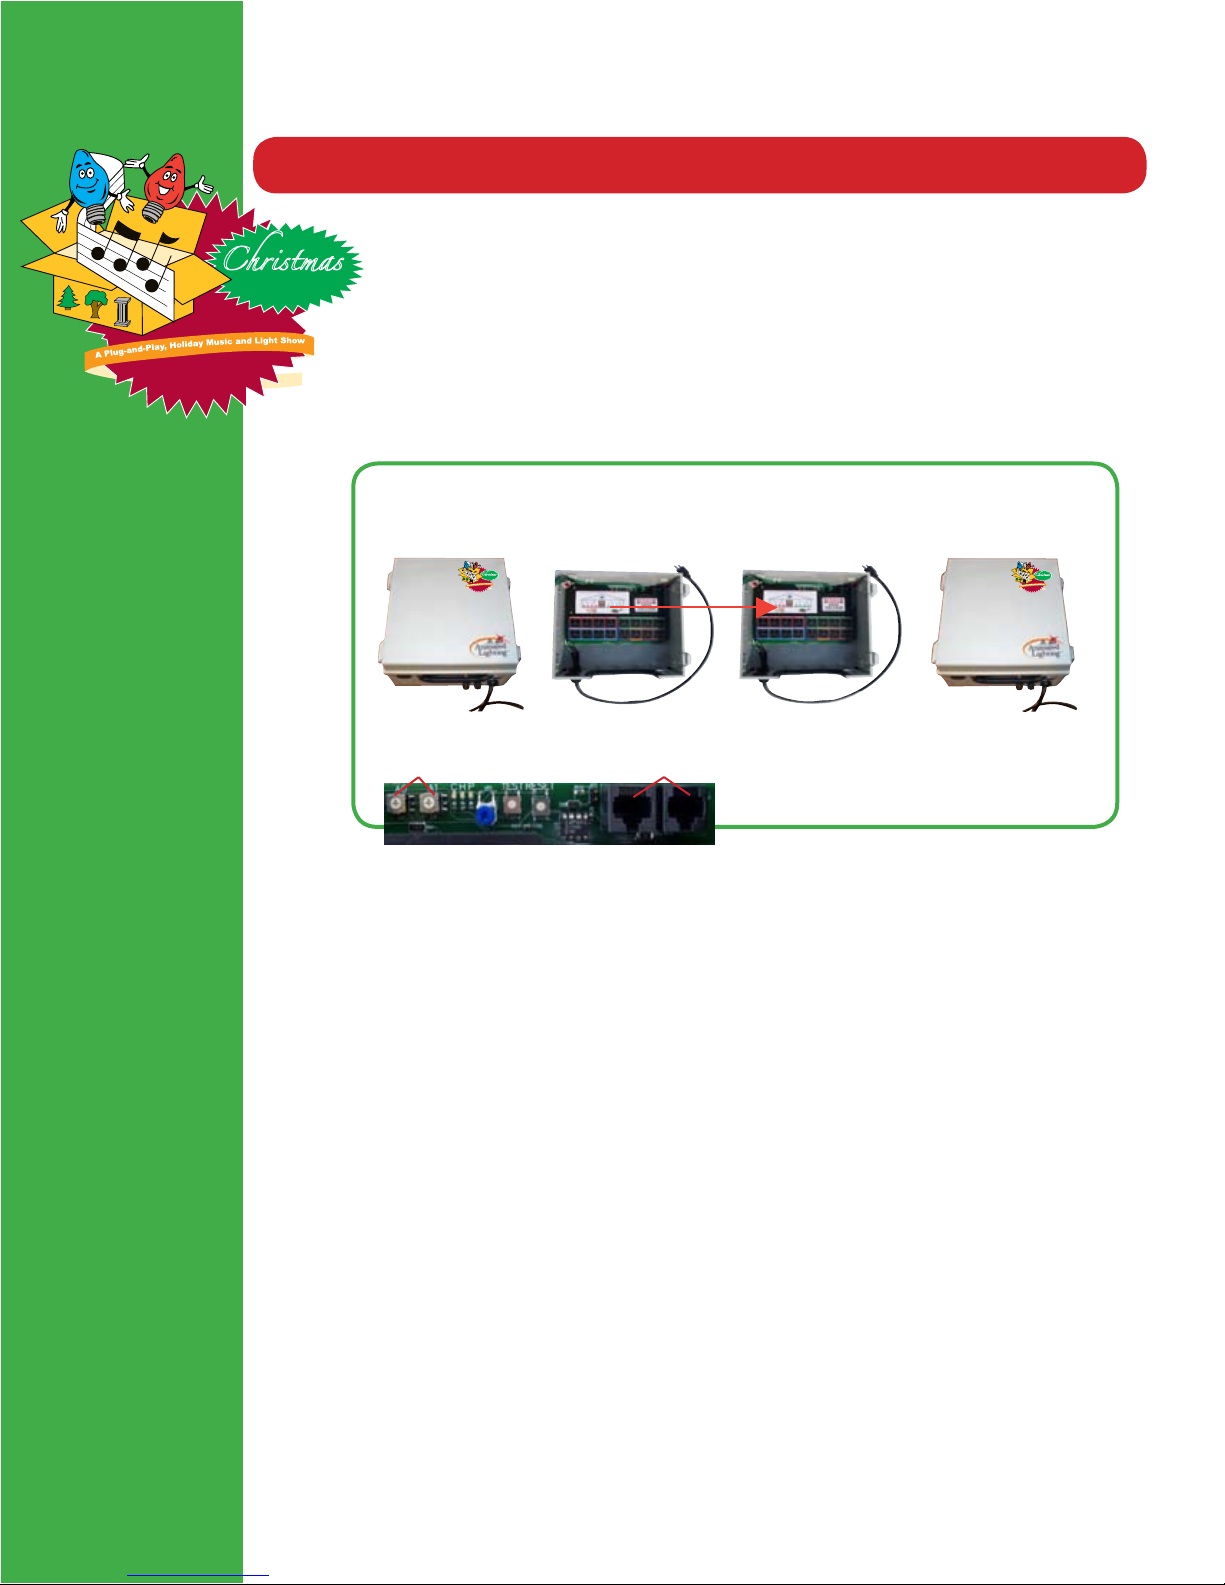
Expansion Controller
(An Optional Item Sold Separately)
The Christmas In A Box
Expansion Controller (includes
a 16-channel light controller
and one to four power cord
dangles depending on
amperage requirements)
1
2
Other Parts You Might Need to Supply
This is available in 15A, 30A, or 60A conguration.
Animated Lighting, Inc PAGE 1