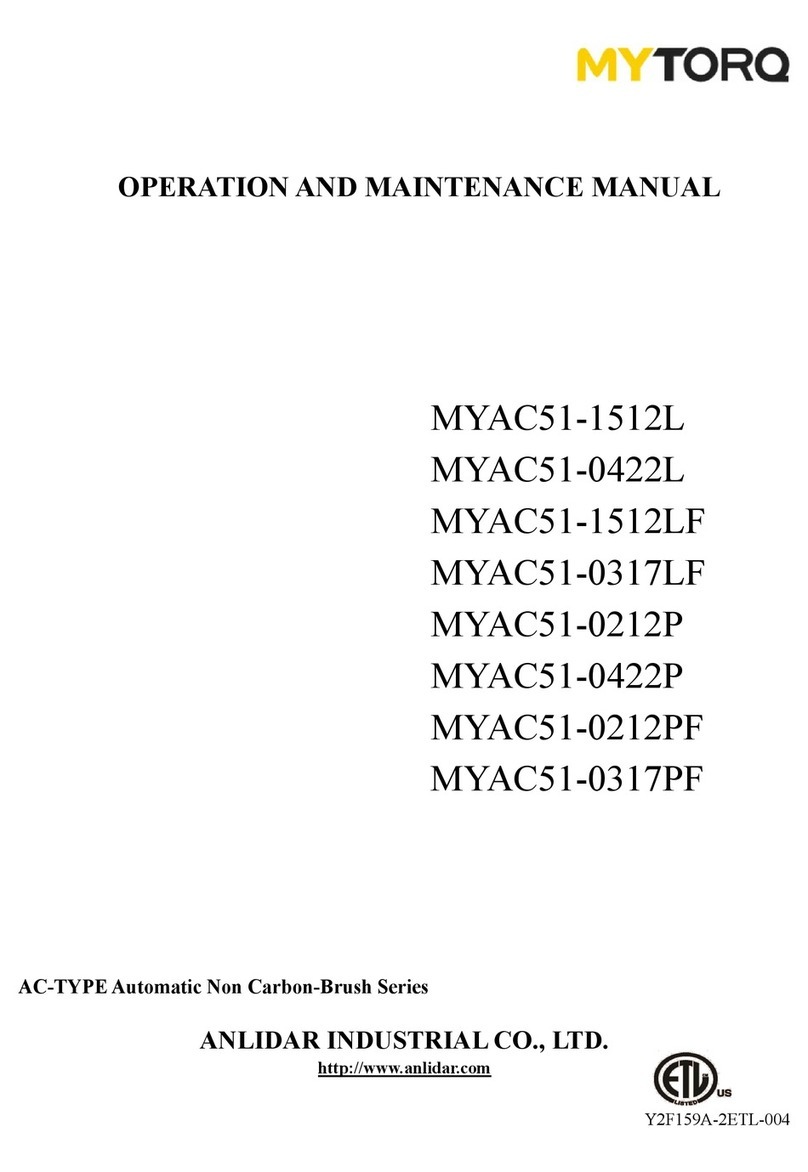
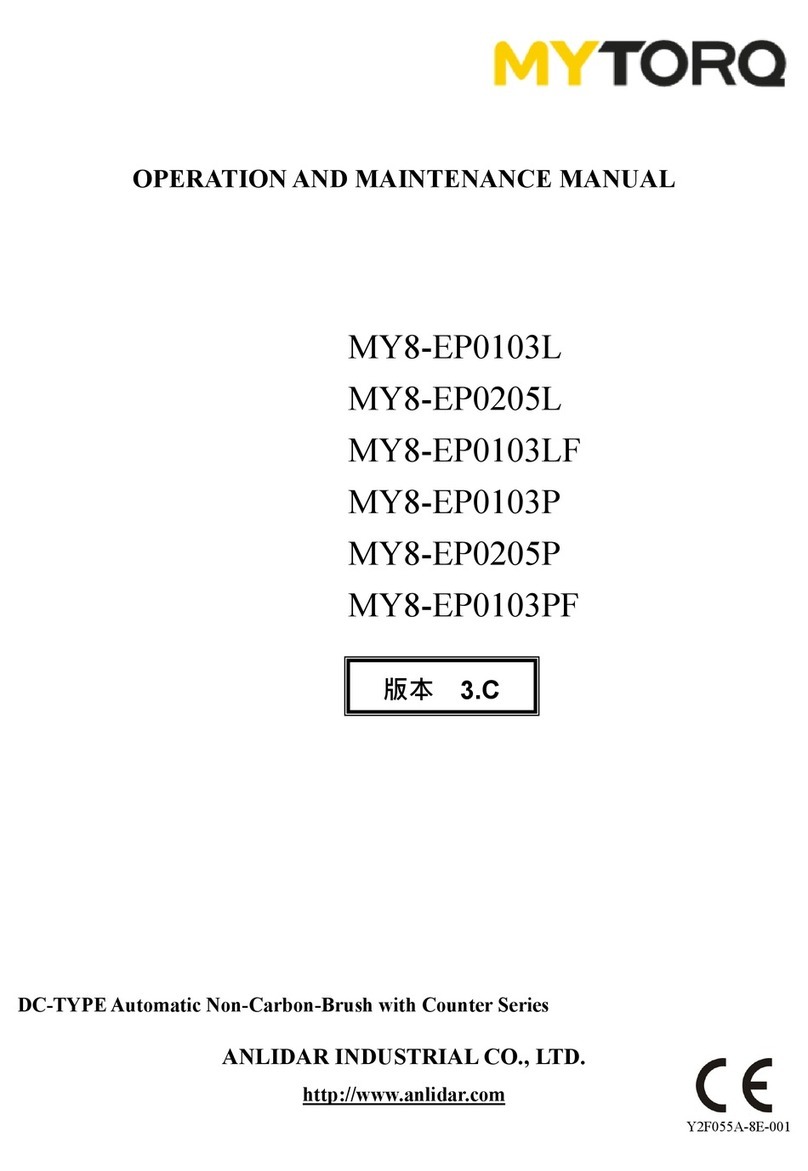
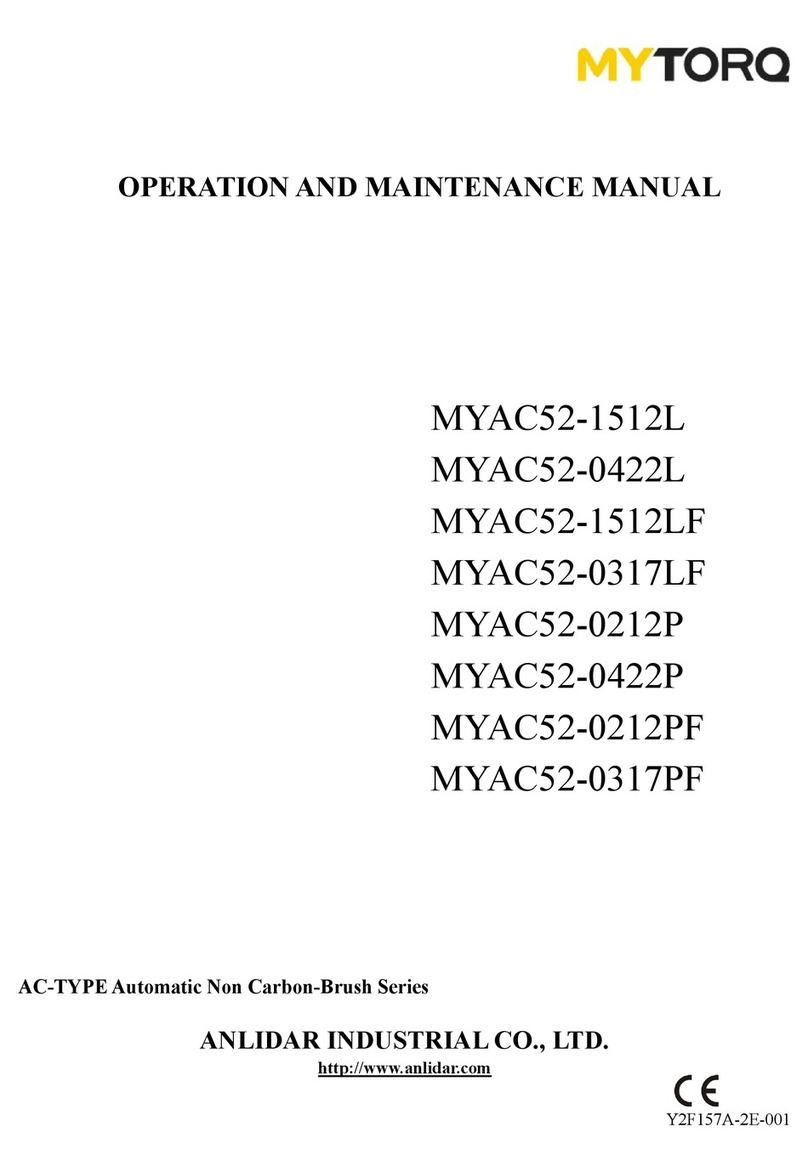
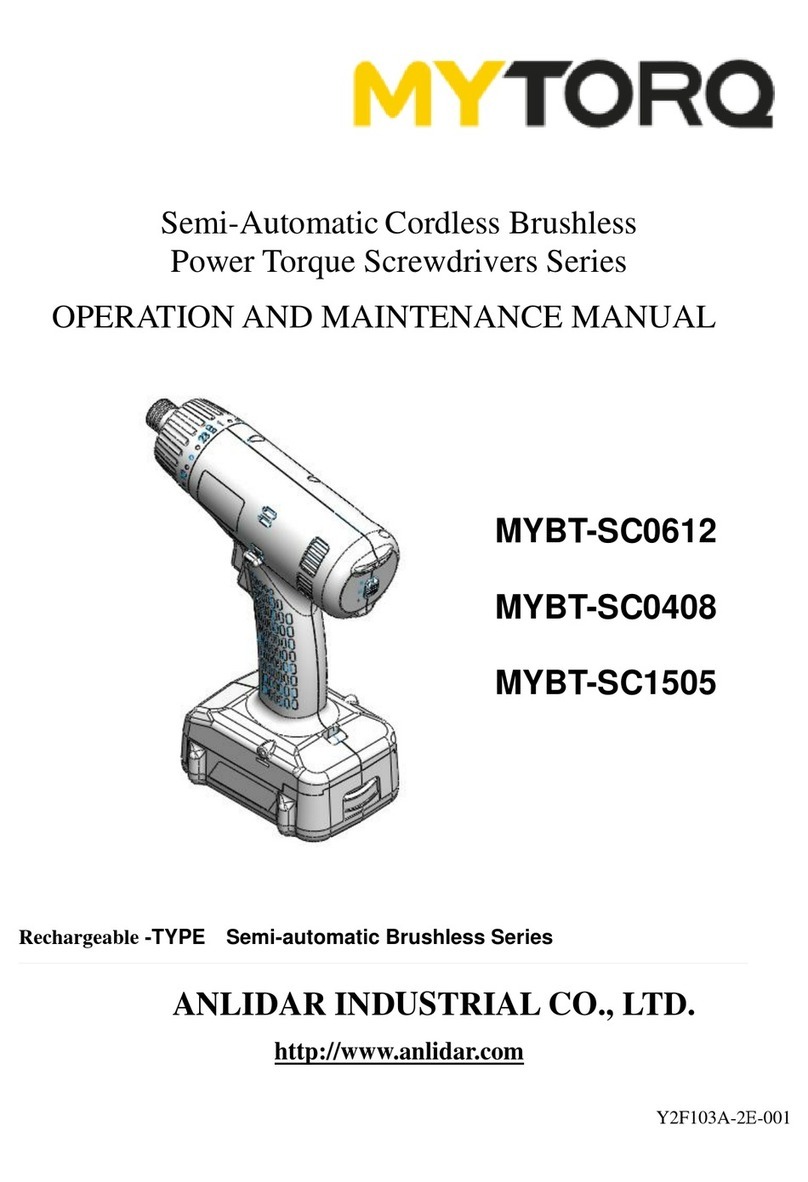
ANLIDAR MYTORQ MY9-0206L User manual

OPERATION AND MAINTENANCE MANUAL
Attention!
TR0309/TR0612 is belonging to high torque series. For safety consideration,
please collaborate it with Auxiliary Arm(KP-AUXA2).
DC-TYPE Automatic Non Carbon Brush Series
ANLIDAR INDUSTRIAL CO., LTD.
http://www.anlidar.com
Y2F182A-3E-002
MY9-0206L
MY9-0206LF
MY9-0309L
MY9-0612L
MY9-0206P
MY9-0206PF
MY9-0309P
MY9-0612P

1
Metal Assembly Screwdrivers are designed for installing threaded fasteners in light industrial and appliance manufacturing
applications.
Anlidar is not responsible for customer modification of tools for applications on which Anlidar was not consulted.
Important safety information enclosed.
Read all these instructions before placing tool in service or operation this tool and save these instructions. It is the responsibility of the
employer to place the information in this manual into the hands of the operator. Failure to observe the following warnings could result
in injury. When using electric tools, Basic safety precautions should always be followed to reduce the risk of fire, electric shock and
personal injury, including the following:
WARNING
NOTICE

2
WARNING! Read all instructions Failure to follow all instructions listed below may result in electric shock fire and/or serious
injury. The term “power tool” in all of the warning listed below refer to your mains operated (corded) power tool or battery operated
(cordless) power tool.
S AV E THESE INSTRUCTIONS
1) Electrical Safety
a) Keep work area clean and well lit. Cluttered and dark areas invite accidents.
b) Do not operate power tools in explosive atmosphere, such as in the presence of flammable liquids, gases or dust. Power tool
create sparks which may ignite the dust of fumes.
c) Keep children, and bystanders away while operating a power tool. Distractions can cause you to lose control.
2) Electrical Safety
a) Power tool plugs must match the outlet. Never modify the plug in any way. Do not use any adapter plugs with earthed
(grounded) power tools. Unmodified plugs and matching outlets will reduce risk of electric shock.
b) Avoid body contact with earthed or grounded surfaces such as pipes, radiators, ranges and refrigerators. There is an
increased risk of electric shock if your body is earthed or grounded.
c) Don’t expose power tools to rain or wet conditions. Water entering a power tool will increase the risk of electric shock.
d) Do not abuse the cord. Never use the cord to carry, pulling or unplugging the power tool. Keep cord away from heat, oil,
sharp edges or moving parts. Damaged or entangled cords increase the risk of electric shock.
e) When operating a power tool outdoors, use an extension cord suitable for outdoor use. Use of cord suitable for outdoor
use reduces the risk of electric shock.
3) Personal Safety
a) Stay alert, watch what you are doing and use common sense when operating a power tool. Do not use power tool while you
are tired or under the influence of drugs, alcohol, or medication. A moment of inattention while operating power tools may
result in serious personal injury.
b) Use safety equipment. Always wear eye protection. Safety equipment such as dust mask, non-skid safety shoes, hard hat, or
hearing protection used for appropriate conditions will reduce personal injuries.
Rubber gloves and non-skid footwear are recommended when working outdoors.
c) Avoid accidental starting. Ensure the switch is in the off position before plugging in. Carrying power tools with your finger on
the switch or plugging in power tools that have the switch on invites accidents.
d) Remove any adjusting keys or wrench before turning the power tool on. A wrench or a key that is left attached to a rotating
part of the power tool may result in personal injury.
e) Do not overreach. Keep proper footing and balance at all times. This enables better control of the power tool in unexpected
situations.
f) Dress properly. Do not wear loose clothing or jewelry. Keep your hair, clothing, and gloves away from moving parts.
Loose clothes, jewelry, or long hair can be caught in moving parts
g) Secure work. Use clamps or a vice to hold the work. It is safer than using your hand and frees
both hands to operate the tool.
h) If devices are provided for the connection of dust extraction and collection facilities, ensure these are connected and
properly used. Use of these devices can reduce dust related hazards.
i) Use a safety device. Wear protective earmuffs to reduce personal injury.
4) Power tool Use and Care
a) Do not force the power tool. Use the correct power tool for your application. The correct power tool will do the job better and
safer at the rate for which it was designed.
b) Do not use power tool if switch does not turn it on or off. Any power tool that cannot be controlled with the
switch is dangerous and must be repaired.
c) Disconnect the plug from the power source before making any adjustments, changing accessories, or storing the power tools.
Such preventive safety measures reduce the risk of starting the power tool accidentally.
Noise:
The typical A-weighted noise level acc. To EN62841-2-2
.Sound pressure level(LpA): 53.6 dB(A)
.Sound power level(LwA): 64.6 dB(A)
Vibration:
The vibration total valoue acc. EN62841-2-2
.Vibration emission value ah (m/s²): 0.17 m/s²
.Uncertainty K (m/s²): 0.02 m/s²
Important Safety Rules

3
d) Store idle power tools out of reach of children and do not allow persons unfamiliar with the power tool or these instructions
to operate the power tool. Power tools are dangerous in the hands of untrained users.
Do not let visitors touch the tool or extension cord. All visitors should be kept away from work area.
e) Maintain power tools. Check for misalignment or binding of moving parts, breakage of parts and any other condition that
may affect the power tools operation. If damaged, have the power tool repaired before use. Many accidents are cause by
poorly maintained power tools.
Inspect extension cords periodically and replace, if damaged.
f) Keep cutting tools sharp and clean, properly maintained cutting tools with sharp cutting edges are less likely to bind and are
easier to control.
g) Use the power tools, accessories and tool bits etc., in accordance with these instructions and in the manner intended for the
particular type of power tool, taking into account the working conditions and the work to be performed. Use of the power
tool for operations different from intended could result in a hazardous situation.
5) SERVICE
a) Have your power tool serviced by qualified repair person using only identical replacement parts, this will ensure that the safety of
the power tool is maintained.
Additional information shall be provided
a) Instruction for putting into use
1. Setting-up or fixing power tool in a stable position as appropriate for power tools which can be mounted on a support.
2. Assembly
3. Connection to power supply, cable, fuse, socket type and earthing requirements.
4. Illustrated description of functions.
5. Limitations on ambient conditions.
6. List of contents.
b) Operating Instructions.
1. Setting and testing. 2. Tool changing.
3. Clamping of work. 4. Limits on size of work piece.
5. General instructions for use.
c) Maintenance and servicing.
1. Regular cleaning, maintenance, and lubrication.
2. Servicing by manufacture or agent, list of addresses.
3. List of user-replaceable parts.
4. Special tools which may be required.
6) Clamp fixed position for 3cm Nylon Fixed-Wire
The clamp fixed position for 3cm Nylon Fixed-Wire is at 235mm start count from the top of the screwdriver flat surface (for
direct cable), as shown in Figure 1.
The clamp fixed position for 3cm Nylon Fixed-Wire is at 285mm start count from the top of the screwdriver flat surface( for
15 cm tail cable), as shown in Figure 2.
The clamp fixed position for 3cm Nylon Fixed-Wire is at 390mm start count from the top of the screwdriver flat surface (for
Iron ring socket type), as shown in Figure 3.

4
WARNING!
DO NOT OPERATE THIS TOOL WITHOUT
PROTECTIVE EARTH CONNECTED
1、This tool should be grounded while in use to protect the operator from electric shock. NOTICE! To ensure the grounding result,
the grounding conductor of the power cord must be well connected with the grounding terminal of power facility. This tool is
equipped with grounding conductors. The Green (or Green and Yellow) conductor in the Power Cord is the grounding wire.
Never connect Green (or Green and Yellow) to a live terminal. The grounding wires in this tool can not only earth the electric
leakage safely, but also can eliminate ESD-the electrostatic that tool occurred while in use.
2、The grounding is the most important task a user. Periodically, depends on the working condition and circumstance, for
maintaining a good function the user has to check the grounding condition every 3~6 months by an electric meter and following
simple steps; Set the Ohm meter to level R*100(Ohm). Touching 2 test rods (“+”&”-”) together and reset the meter to “0”.
Using the Red(“+”) rod to touch the Grounding wire on the Plug of controller’s cord, and the Black(“-”) rod to the end of Bit
Head. It stands for the grounding is normal if the meter is read as close as to “0”. For getting a normal indication on the meter
while in testing, need to press the test rods firmly to the testing objects.
3、The instrument QC of the tool is performed before the tool ex-factory. The grounding continuity test is conducted by input 26A
voltage to the end of earth terminal, and subject to the resistance value lower than 0.3Ohm.
Grounding Instructions

5
1)Before changing bits from BK Series screwdriver, make sure the Forward / Reverse switch stays at
“OFF”position.
The screwdriver must be unplugged.
2) To avoid damaging the housing of screwdriver, do not allow chemicals get in touch with housing of screwdriver. Ex.: Acetone,
benzene, thinner, trichloroethylene ketone, and other similar chemicals.
3) Use screwdriver carefully, do not drop or abuse. It would be better to use with the spring balancer. If without spring balancer,
you can place the screwdriver in the suspension rack.
4) Assemble / disassemble bits : Only use fingers pull up the bit sleeve to release bits. ; Place back the bit sleeve to lock the bit
holder.
Attention : Make sure the power is off, or the Forward / Reverse switch stays at “OFF”position when assemble or disassemble
bits.
5)Connect the plug to the socket. Attention : It will cause an electric shock if the plug or the hand is wet.
6)You can adjust the torque by the torque adjuster ring. The number on the scale is not equal to the real torque, please refer to our
torque range chart, or test the torque by our torque meter.
Attention : Hi gear Do not adjust the torque setting higher than 8 on the torque scale.
Lo gear Do not adjust the torque setting higher than 4 on the torque scale.
7) a)MY9-0206L Series Trigger Start Type screwdriver : When fasten a screw, please set Forward / Reverse
Switch to “Forward”.
(If the screw is reversed-thread screw, please set Forward / Reverse switch to “Reverse”.) Point at the place of the bit and the
screw, press the trigger to start; When torque reaches user’s setting, the clutch will shut out automatically, the power will shut
off and the motor breaks immediately, the screwdriver stop running.
b) MY9-0206P Series Push Start Type screwdriver : When fasten a screw, please set Forward / Reverse switch to “Forward”.
(If the screw is reversed-thread screw, please set Forward / Reverse switch to “Reverse”.) Point at the place of the bit and the
screw, push down the screwdriver to start; When torque reaches user’s setting, the clutch will shut out automatically, the
power will shut off and the motor breaks immediately, the screwdriver stop running.
8) Trigger Start Type screwdriver : When loosen a fastened screw, please set Forward / Reverse switch to “Reverse”.
(If the screw is reversed-thread screw, please set Forward / Reverse switch to “Forward”.)
Follow the above operation, after loosening the screw, release the trigger to stop.
Push Start Type screwdriver : When loosen a fastened screw, please set Forward / Reverse switch to “Reverse”
(If the screw is reversed-thread screw, please set Forward / Reverse switch to “Forward”.)
Follow the above operation, after loosening the screw, stop pushing the screwdriver to stop.
9) Operation frequency: The original setting of the frequency is 1 sec on / 3 sec off. The number of screw fastened is about 15 pcs.
Over frequently using makes the motor overheated and damage to screwdriver.
Enough heat-dissipation is good for screwdriver.
10) Do not use this screwdriver to fasten wooden screws.
11) Do not operate the Forward / Reverse switch when the motor is running.
12) Whenever a screwdriver is not being used, move the Forward / Reverse switch to the “OFF” position and unplug the screwdriver.
13) Keep staying aware.
Pay attention on your work, check safety measures and every part is workable before using screwdrivers, to make sure
screwdrivers can work under original design function.
14) Use cable for the external counter and I/O box is shield cable for avoidance of electrical interference
Use Anti-interference lines.
Slow speed (rpm)
operation frequency
Slow speed (rpm)
operation frequency
Slow speed (rpm)
operation frequency
900
1.0 ON 3.0 OFF
600
1.0 ON 3.0 OFF
300
2.0 ON 5.0 OFF
850
1.0 ON 3.0 OFF
550
2.0 ON 5.0 OFF
250
2.0 ON 5.0 OFF
800
1.0 ON 3.0 OFF
500
2.0 ON 5.0 OFF
200
2.0 ON 5.0 OFF
750
1.0 ON 3.0 OFF
450
2.0 ON 5.0 OFF
150
2.0 ON 5.0 OFF
700
1.0 ON 3.0 OFF
400
2.0 ON 5.0 OFF
100
2.0 ON 5.0 OFF
650
1.0 ON 3.0 OFF
350
2.0 ON 5.0 OFF
Operations Cautions
Slow speed Duty Cycle Conversion (for reference)
Based on 1000 rpm, 1 second ON/3 seconds OFF. For example, the duty cycle for 350rpm,1000-350=650,
650/1000%=65%
ON= 1*1.65= 1.65,OFF =3*1.65 =4.95 (rounded value) =2 seconds ON / 5 seconds OFF
This tool is intended for a duty cycle of 2.0 sec on, 5.0 sec off.

6
● Donot drop or abuse the tool.
● Whenever a tool is not being used, position the Power Switch to the “OFF” position and unplug the power cord.
Attaching / detaching bit and bit type
Push up the holder clamp by finger tip, and it will be unlocked. Thus, the bit can be freely attached and detached (single finger
notion type) select such a bit whose shank is equal to the size shown below.
Insert the power plug into a receptacle and set the changeover switch to “F”position.
Apply the bit to the screw head and press the lever or push main body to, then the switch will be turned ON to start the motor
running.
When the screw is tighten and reach the torque that you had set, The tool will stopped automatically.
To reset the tool by releasing the lever to the original position or releasing the bit From the screw head.
To return the screw, set the changeover switch to “R” position.
Hi/Lo Switch
When the TR0206 Series rotating speed needs to be changed, set up the switch to Hi for the fastest rotation, and set
up the switch to Lo for slowest rotation. It's possible that the uncompleted shut-off occurs when the switch is setup to Lo and the
presetting torque is more than 50% of torque range. Please refer to the following table.
Lo Switch
MY9-
0206L
MY9-
0309L
MY9-
0612L
MY9-
0206LF
MY9-
0206P
MY9-
0309P
MY9-
0612P
MY9-
0206PF
OK 3( N.m )↓ 4.5( N.m )↓ 6( N.m )↓ 3( N.m )↓ 3( N.m )↓ 4.5( N.m )↓ 6( N.m )↓ 3( N.m )↓
NG 3( N.m )↑ 4.5( N.m )↑ 6( N.m )↑ 3( N.m )↑ 3( N.m )↑ 4.5( N.m )↑ 6( N.m )↑ 3( N.m )↑
Description of Operation
CAUTION

7
Maintenance and Inspection:
1. The screw driver must be operated in top condition, one day working hour must be
2. not more than eight hours Please note don’t let the motor get over heated, every minute use 10~15 screws to operate.
3. The frequency use of this electric screwdriver is over than eight hours a day, still it needs periodically testing and treatment.
Every 5-6 months.
4. Inspect tool cords periodically and if damaged, have them repaired by an authorized service facility. Inspect extension cords
periodically and replace if damaged.
5. Do not remove any labels. Replace any damaged label.
1. The use of other than genuine MYTORQ replacement parts may Result in decreased
tool performance and increased maintenance, and may invalidate all warranties.
2. All repairs and maintenance of this tool and its word must be performed by an authorized service center.
3. Anlidar is not responsible for customer modification of tools for applications on which Anlidar was not consulted.
4. Repairs should by made only by authorized, trained personnel. Consult your nearest MYTORQ authorized service center.
5. It is the responsibility of the employer to place the information in this manual into the hands of the operator.
DO NOT ATTEMPT TO REPAIR THIS
ELECTRIC SCREWDRIVER
SAVE THESE INSTRUCTIONS
DO NOT DESTROY
Servicing
CAUTION
CAUTION

8
1N.m=10.2Kgf.cm 1N.m=8.85Lbf.in
1、BIT Type:No. 00 ... Bit use in dia 1.3~1.8mm screw
No. 0.... Bit use in dia 1.8~2.0mm screw
No. 1... .Bit use in dia 2.0~2.6mm screw
No. 2.. ..Bit use in dia 3.0~4.0mm screw
MY9-0206LB;MY9-0206PB with BIT 2# 2 Pcs.
MY9-0206LFB;MY9-0206PFB with BIT 2# 2 Pcs.
MY9-0309LB;MY9-0309PB with BIT 2# & 3# 1 Pcs. Each
MY9-0612LB;MY9-0612PB with BIT 2# & 3# 1 Pcs. Each
MODEL
MY9-0206L MY9-0206LF MY9-0309L MY9-0612L
MY9-0206P MY9-0206PF MY9-0309P MY9-0612P
Input voltage(DC) DC 40V
Power Consumption 150 150 150 150
Torque (N.m)
hard joints 2~6 2-6 3~9 6~12
soft joints
80%↓
2~4.8 2~4.8 3~7.2 4~9.6
Repeatable Torque Accuracy
(%)
±5%
Torque Adjustment Stepless
Unloaded Rotation Speed
(R.p.m) )±10%
1000 2200 1000 880
Screw Size Dia
Machine
screw(mm)
4.0~5.0 4.0~5.0 5.0~6.0 ≤8
Tapping
screw(mm)
≤4 ≤4 ≤4.5 ≤6
Weight (Kg)
1.03
Length (mm)
306
Model of Auxiliary Arm KP-AUXA2
Model of Side Handle Ass’y
CF85002
Power controller MYP40-1500
Bit Type
B HEX 6.35mm(NO.3)
Specifications
Accessories

9
To adjust the torque on these screwdrivers. Proceed as follows :
1. Determine the torque output of the tool by checking a tightened Fastener with a torque wrench.
2. Increase or decrease the torque by rotating the Spring Adjusting Ring. Rotating the Ring clockwise to a higher number on the
torque Scale increase torque output while rotating the Ring counterclockwise to a lower number decreases the torque output.
3. Check the adjustment with a torque wrench. A number of factors will affect torque output from one job to another. Final torque
adjustment should be made at the job through a of series of gradual increase. Always start below the desired torque and work
upward.
4. Adjust the bit torque by changing the driving in length of the adjust ring at the end.
5. The relationship between torque scale and bit torque is as shown Ring, in the torque diagram. The figures of torque scale do not
indicate bit torque values. However, the clamping torque of screw itself is different form type, size, material of the screw and the
material of its mating part. Use it as standard to obtain an appropriate clamping torque.
6. The (Return torque method) in which once-clamped screw is returned with torque wrench or the like is available as one of torque
control methods however, note that the measured values by the return torque method generally appear in 10%~30% lower than
the actually clamping torque.
7. The torque checker measures the torque of screwdriver. The clamping torque of screw itself is different from the clamped
conditions. Understand the correlation between clamping torque values and the torque checker values perform the torque control
properly.
1. Please read the operation caution carefully before using our screwdriver, and follow the safety information to use this power
supplier.
2. This model screwdriver must work with 6PIN power cord assembly and MYP40-1500 power supplier.
3. Turn off the screwdriver before adjusting its torque.
4. If switch the Forward/Reverse switch when the motor is still running, the protection program will be started to stop the motor.
You can restart the screwdriver to use as usual.
5. The torque scale on the screwdriver is for reference only, not the real toque from the screwdriver.
6. The wastage of the screwdriver depends on the torque for using, the using time, and the using frequency by the user. The
attrition rate will be higher under the higher torque for using, the longer using time, and the higher using frequency; A new
screwdriver with the torque scale 4, after 1 month ( 8 hours per day, operate frequency 12PCS per minute ) will lose 3~5%
torque. (lose 5~7% torque with torque scale 8 ). According to the time of using, the wastage will get less and become stable.
User can regular uses the torque meter to measure the torque to adjust the proper torque.
7. If turn to “LO”on the power supplier, the screwdriver can’t offer high watt output, the torque on the screwdriver should be
adjust under middle range to use.
8. Please refer to MYTORQ website http://www.anlidar.com for the detail component list.
Torque Adjustment Operation
Attention
This manual suits for next models
7
Table of contents
Other ANLIDAR Power Screwdriver manuals

ANLIDAR
ANLIDAR MYTORQ MYBT-AS0212 User manual

ANLIDAR
ANLIDAR MYTORQ MYAC52-1512L User manual

ANLIDAR
ANLIDAR MYTORQ MYAC51-1512L User manual

ANLIDAR
ANLIDAR MYTORQ MYBT-EP0612 User manual

ANLIDAR
ANLIDAR MyTorq MY8-EP0103L User manual

ANLIDAR
ANLIDAR Mytorq MYBT-IM50 User manual

ANLIDAR
ANLIDAR MYTORQ MYBT-SC0612 User manual

ANLIDAR
ANLIDAR MYTORQ MY5-TR0212L User manual

ANLIDAR
ANLIDAR MYTORQ MY5-0212L User manual

ANLIDAR
ANLIDAR MYTORQ MY2-TR0235L User manual