Quick Installation Guide
English
9
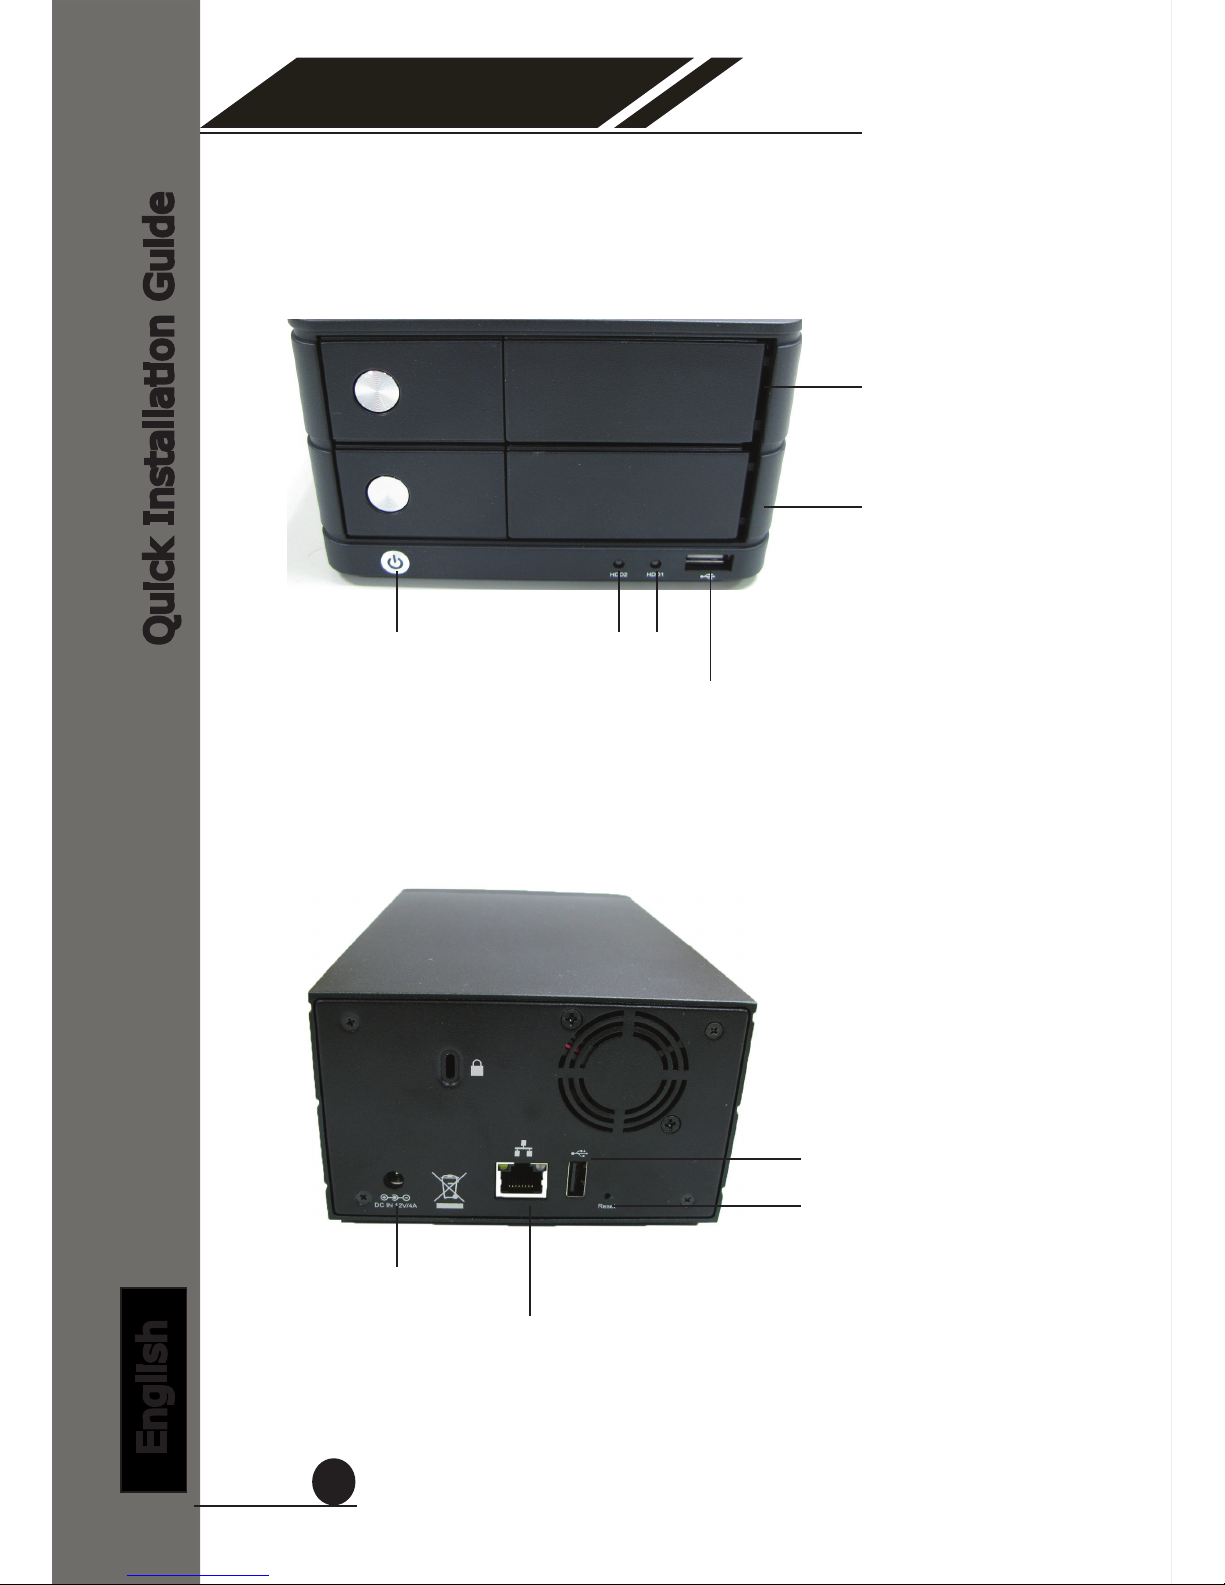
4 Channel
Network Video Recorder
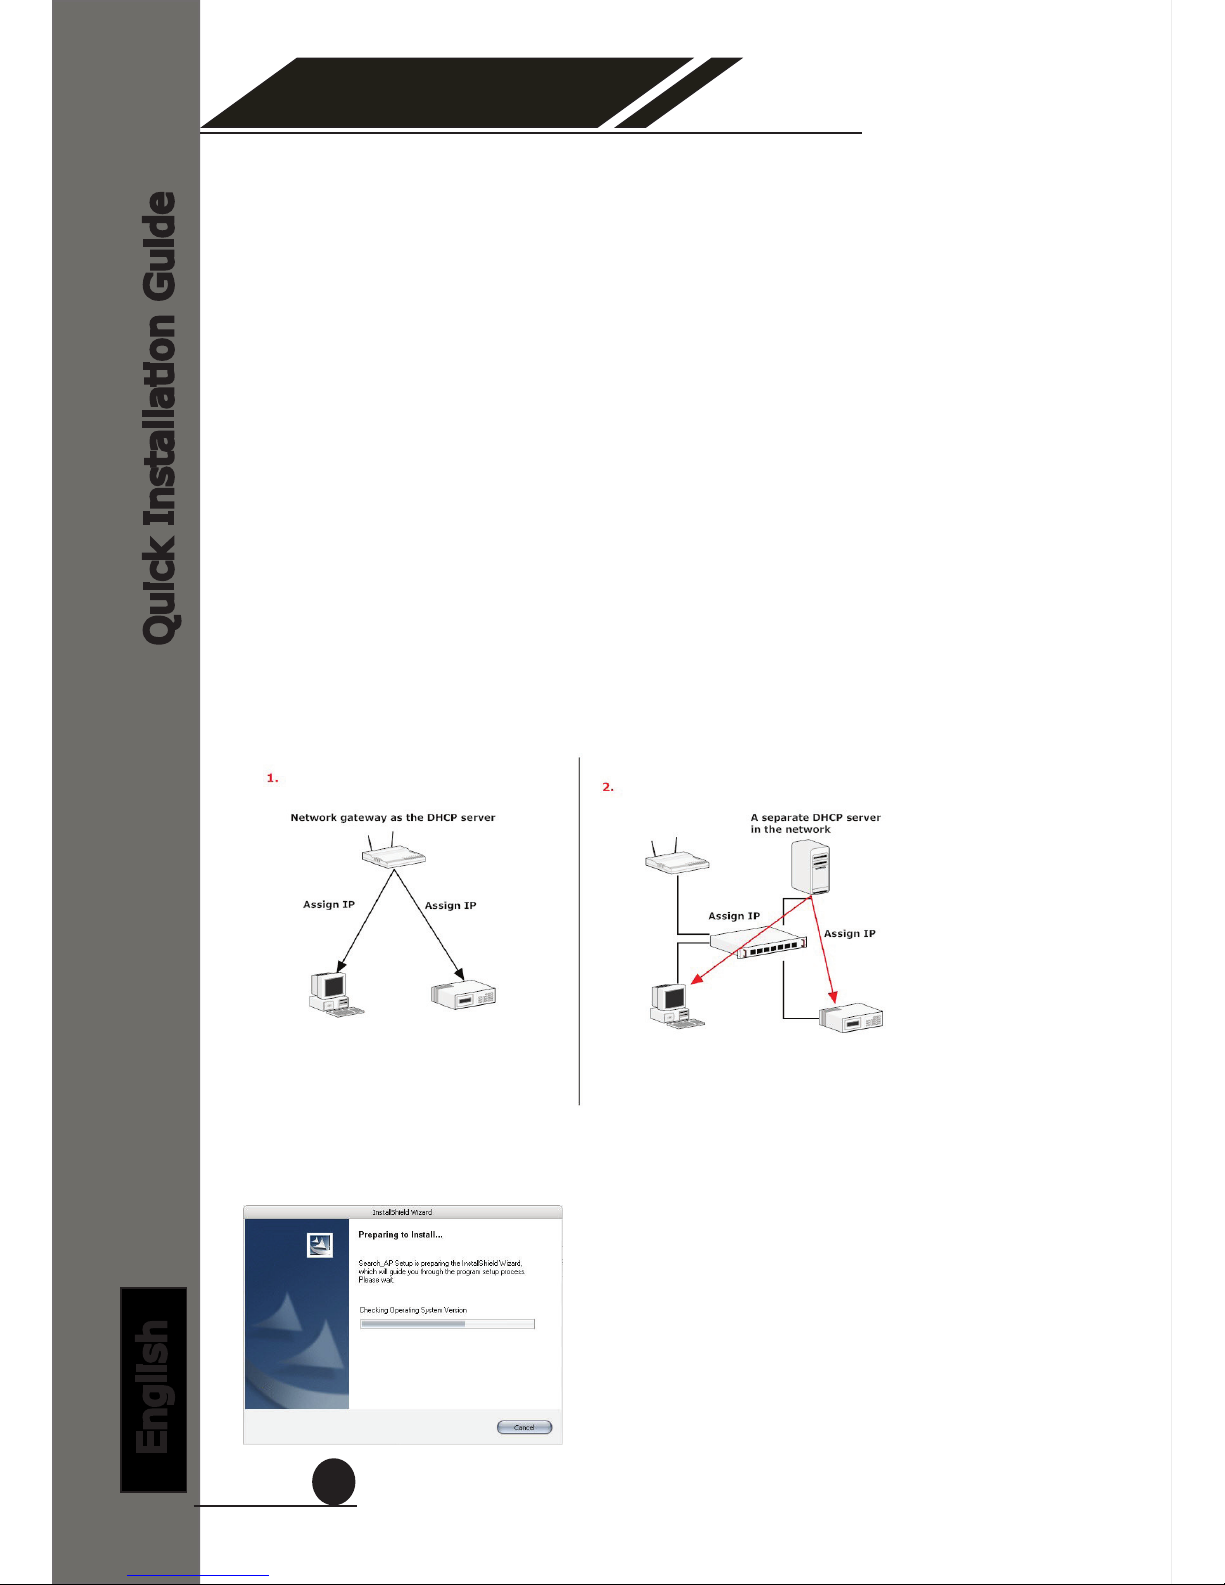
The NVR comes with a pre-congured static IP “192.168.101.50”.
However, it is only used when there is no DHCP server presented in
the network. The NVR will turn on its DHCP server function and act
as the DHCP server in the network. To connect to the NVR, use a PC
that is on the same network over a switch or hub, or connect the PC
directly to the NVR using a crossover CAT5 Ethernet cable.
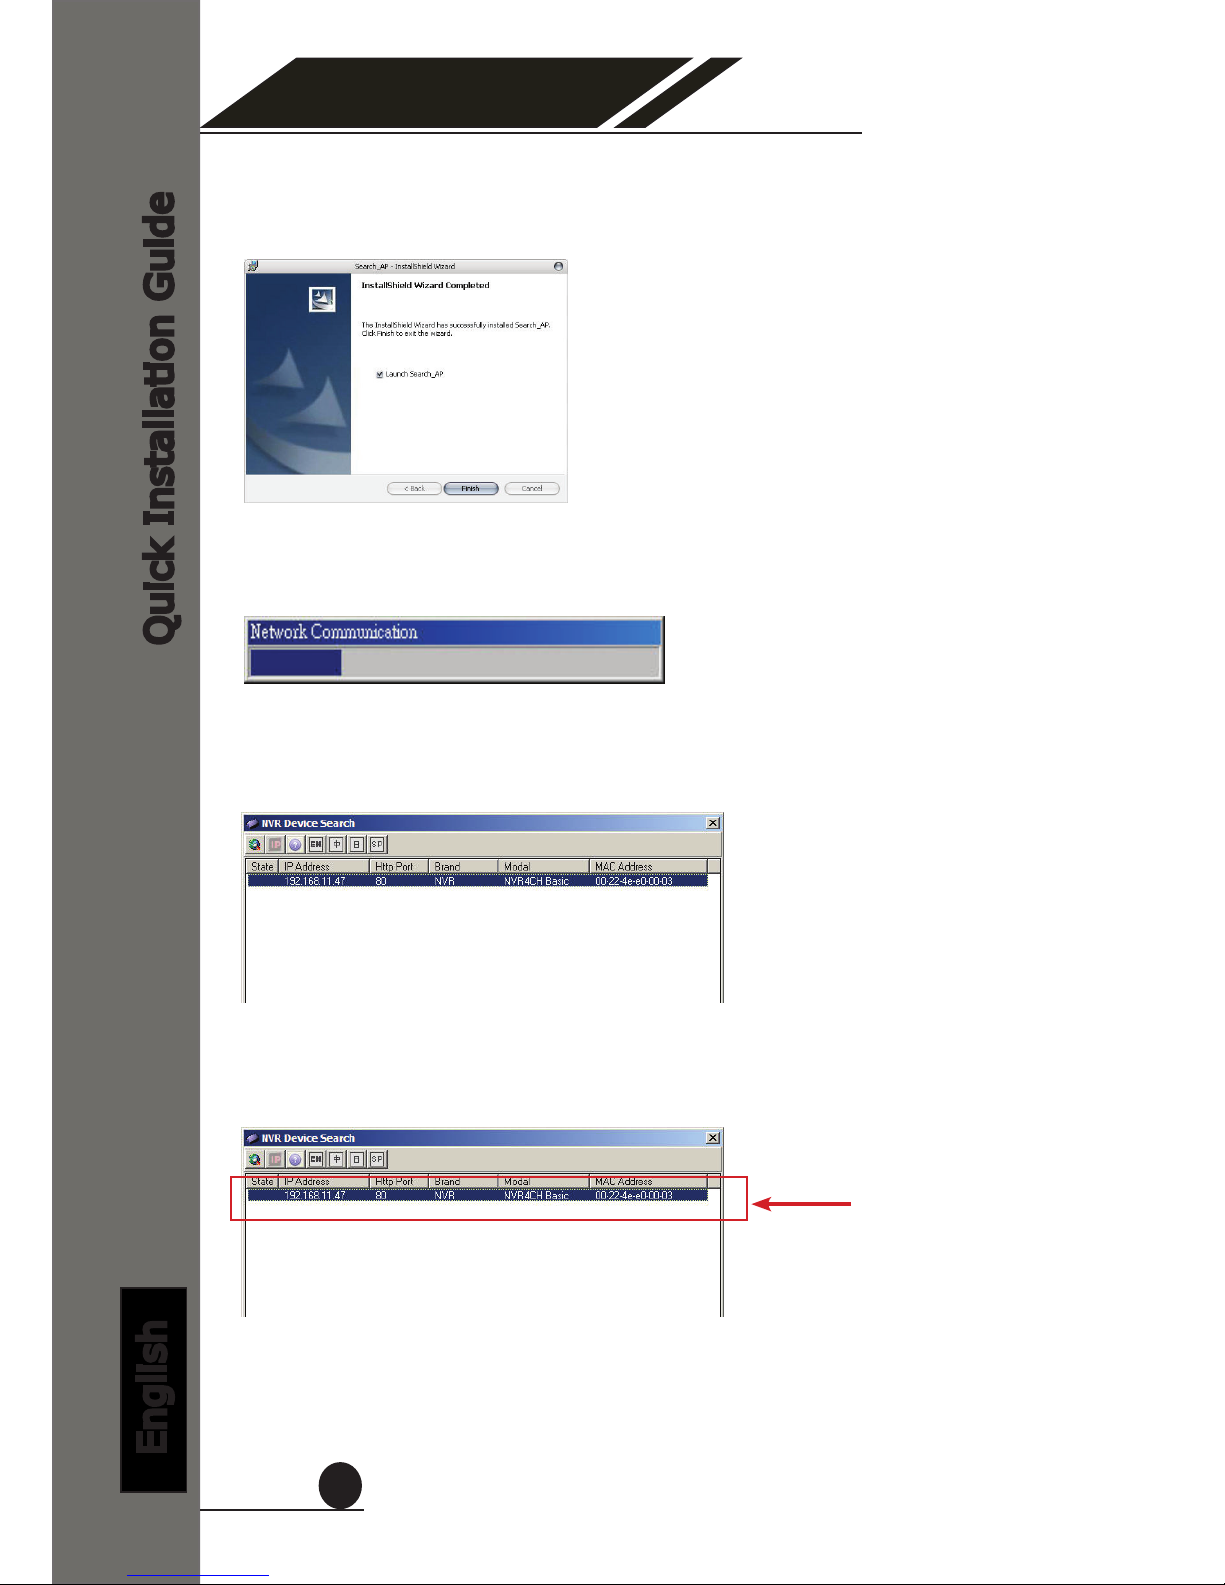
The PC that is connected directly to the NVR (or within the same local
area network) should receive an IP from the NVR. Simply access the
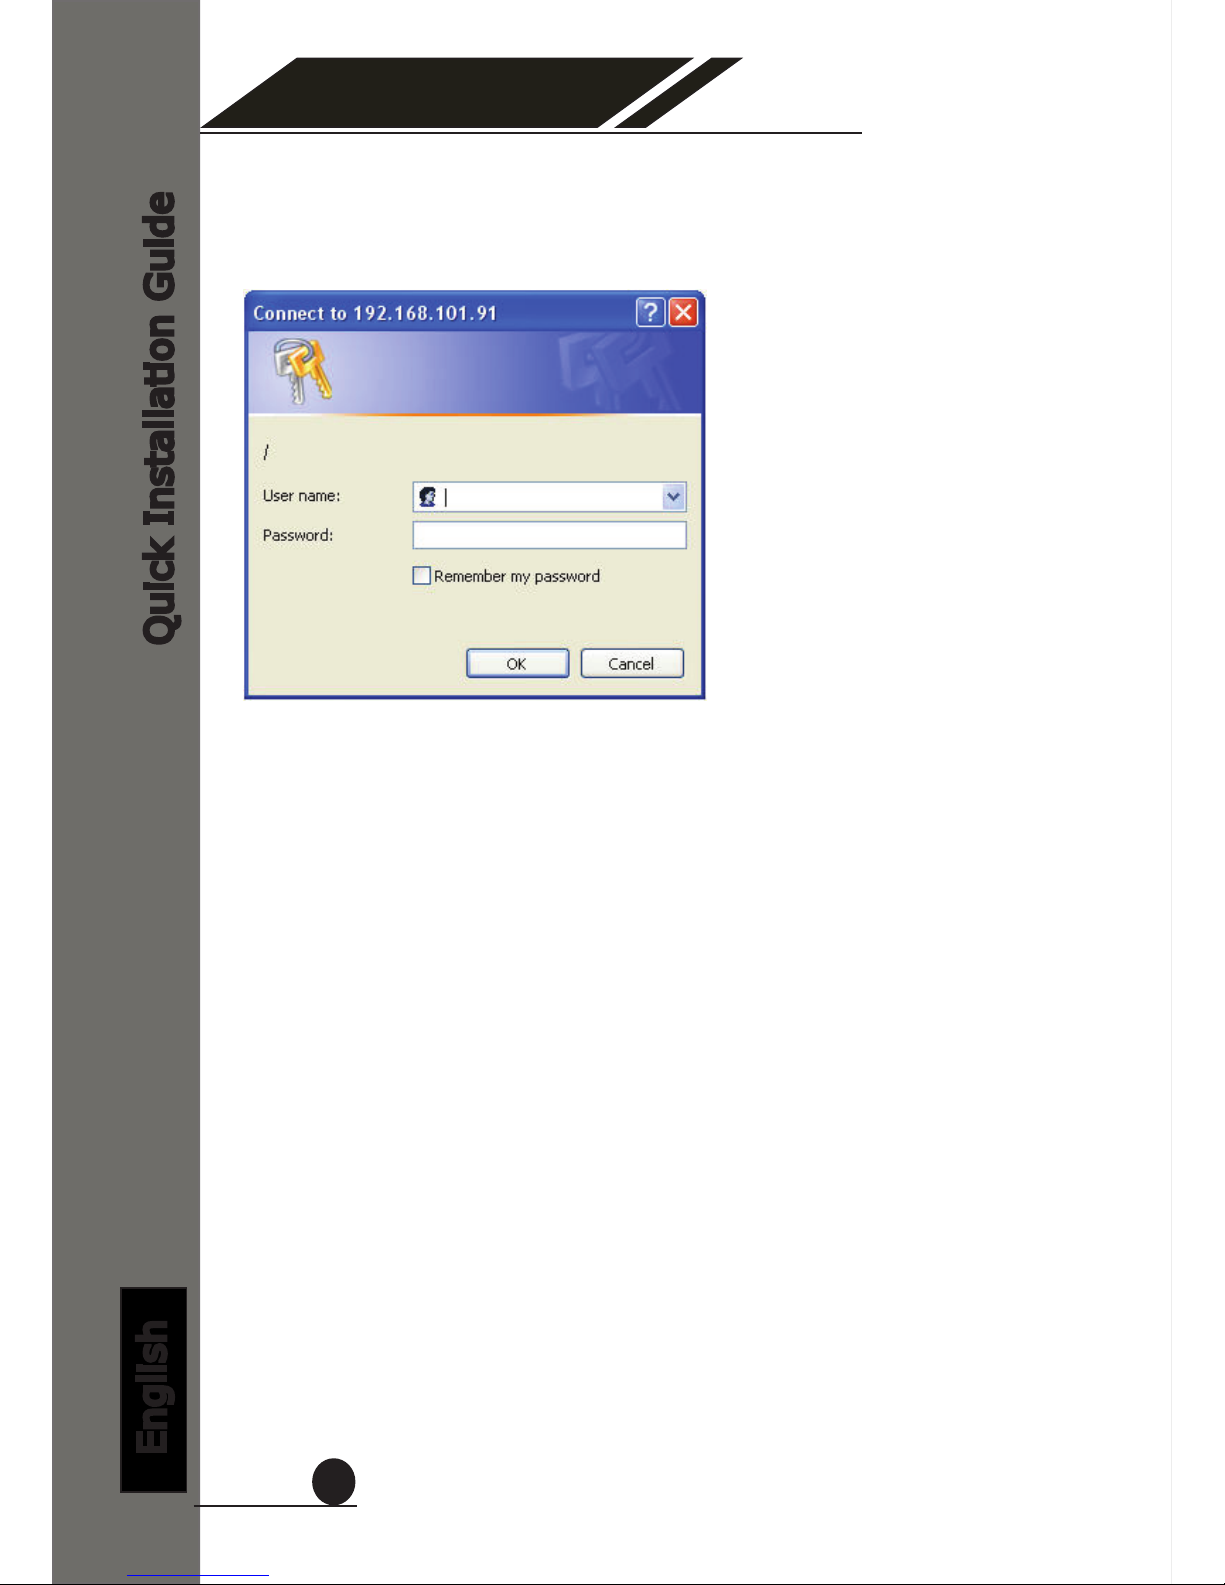
NVR from your web browser with its IP address
Again, you should be prompted for the username and password. En-
ter its default username “admin” and password “admin” and then
click”OK” to enter the system
AccesstheNVRwithitsdefaultIPaddress