PM1122‐INTfrontpaneldescription:
1. Clearwirelessremotesknob:pushthisbuttonformorethan2secondstoclearthelistofall
assignedwirelessremotesettingsstoredinthePM1122‐INTinternalmemory.
2. Wirelessremotelearnbuttonforzone1:pushthisbuttontoassignawireless‘Easywave’
remotebytozone1.Afterpushingthebutton,thelearnled3willflashforabout5seconds,
pressanybuttononthewirelessremotetoassignittozone1.
3. Learnledforzone1,afterpushingbutton2,thisledwillflashforabout5seconds,duringthis
timeyoucanpushabuttononthewirelessremotetoassignittozone1.
Note:buttons1,2and4havebeenmountedslightlyrecessedtoavoidunintendedoperation.
Ifnecessary,useapenorpenciltopushthesebuttons.
4. Wirelessremotelearnbuttonforzone2:pushthisbuttontoassignawireless‘Easywave’
remotebytozone2.Afterpushingthebutton,thelearnled5willflashforabout5seconds,
pressanybuttononthewirelessremotetoassignittozone2.
5. Learnledforzone2,afterpushingbutton4,thisledwillflashforabout5seconds,duringthis
timeyoucanpushabuttononthewirelessremotetoassignittozone2.
6. Musicselectorindicatorforzone1,theseledswillindicatewhichmusicsourcehasbeen
selectedforzone1.Youcanusethewhitefieldsnexttotheledstowritethesourcetype.
7. Musiclevelindicator:theseledsshowthemusiclevelforzone1.
8. Microlevel:theseledsshowthemicrophonelevelforzone1.
9. Musicselectorindicatorforzone2,theseledswillindicatewhichmusicsourcehasbeen
selectedforzone2.Youcanusethewhitefieldsnexttotheledstowritethesourcetype.
10. Musiclevelindicator:theseledsshowthemusiclevelforzone2.
11. Microlevel:theseledsshowthemicrophonelevelforzone2.
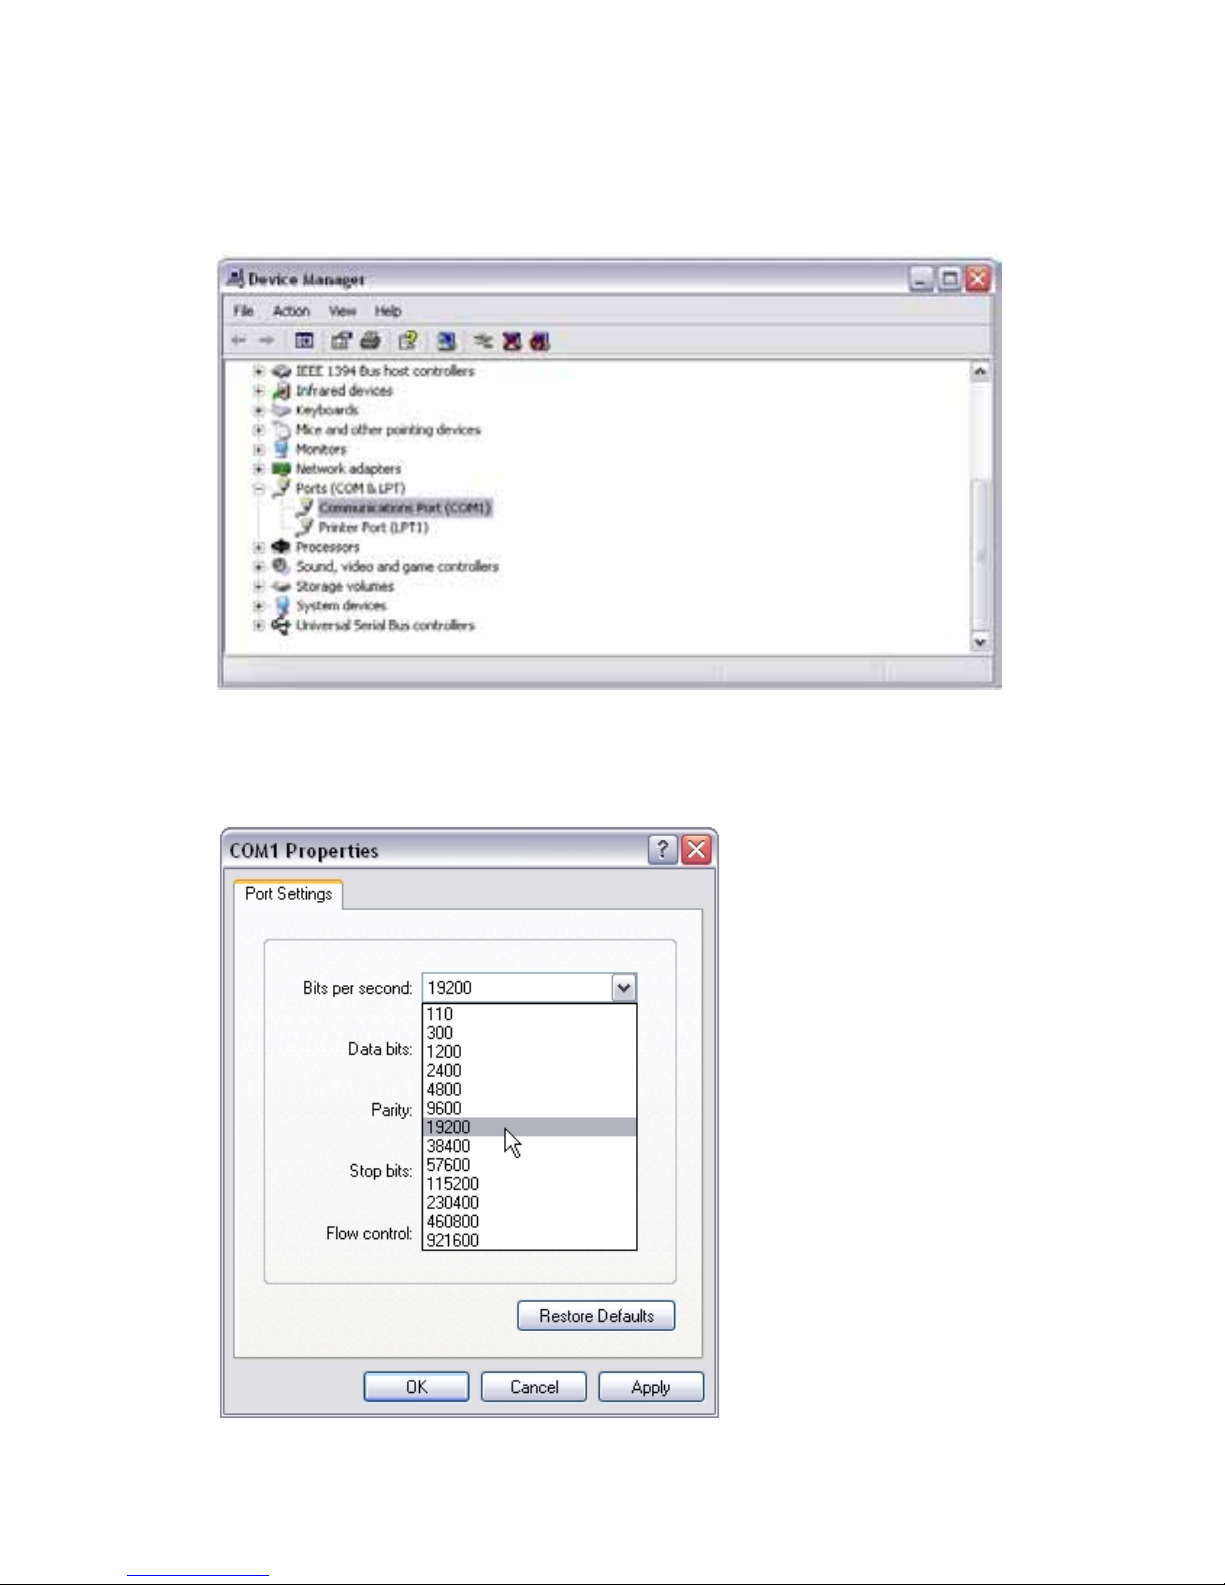
Note:whenyoupowerontheunit,“LEARN”leds3and5willlightupduringafewseconds.
Alsowhiletheyarelit,themicrolevelledbar11willshowthebaudrateasstoredinthe
PM1122‐INTinternalmemory.Bottomled=2400,secondled=4800,thirdled=9600,topled
=19200.Factorydefaultis19200.
ThePM1122‐INTwillonlyoperateifconnectedtoaPM1122pre‐amplifierusingastandard
CAT5cable.Powersupplyfortheinterfaceisprovidedbythepre‐amplifier’spowersupply.Do
notattempttoconnectthePM1122‐INTCAT5connectorstoanythingotherthanaPM1122
CAT5connector.