API FlexiRamp User manual

Instruction Manual FlexiRamp™
Projekt K9 –L1(M) - L2(XL)
Citroen Berlingo
Peugeot Rifter

Preamble
Dear customer.
We would like to congratulate you on the purchase of
your new FlexiRamp™ vehicle and thank you for your
confidence.
We do not want to disappoint you and would like to
give you a manual for the FlexiRamp™.
The aim is to fully exploit the potential of your
converted vehicle and prevent damage to both you
and the vehicle.
There are a few things to keep in mind for this, which
will be explained below. Please read this manual
complete before using the vehicle and always carry it
with you. This ensures that any questions that arise
can be answered quickly.
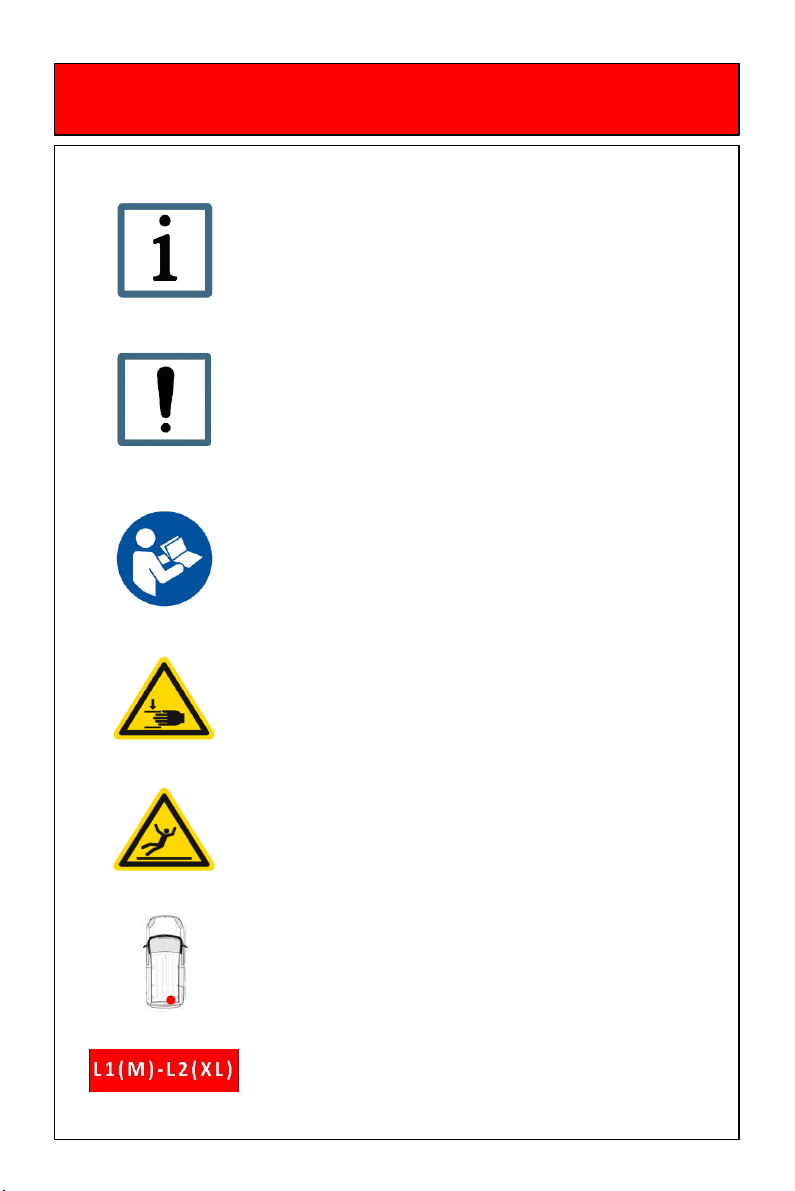
The explanations in this manual refer to version L1
(M) and L2 (XL) with their optional extras. Please note
the marking on the right margin.
All papers concerning the vehicle and the
FlexiRamp© must be handed over to the new owner
when changing vehicles.
If you still have questions about your Flexi Ramp©,
please visit us on our website
www.apicz.com.
We are looking forward to your visit and wish you
interesting moments while reading this manual.

Explanation Symbols and Signs
Reference
Rule: Absolutely observe
Observe the operating instructions
elsewhere.
Caution Danger of crushing
Caution: Slippery
Position of the respective action
Note version

Operation
Park the vehicle with sufficient space to the
side and rear.
Lock the parking brake.
Pay attention to following traffic and get out.
Open the tailgate as described in the
description for your vehicle.
Reach the ramp handle and bring the platform
into the upright position.
Make sure that the platform is audibly locked
by the red lever on the left.

Operation
Secure the platform with one hand and pull
the right lever upwards by about 5 cm with the
other hand until the entire flap unit releases
audibly and perceptibly.
Now place the entire platform on the level
parking area so that the outer edge is flush
with the floor. If necessary, change your
parking position.

Operation
11°
18°
160mm
Maximal allowable working range
Normal working range
0mm
It is essential to ensure that the
maximum opening angle is not exceeded.
Any damage resulting from non-
compliance is not covered by any
warranty.

Now enter the vehicle via the unfolded ramp.
Release the original locks on the left and right
backrests with one hand and hold them tight
with the other.
If you carefully release
the backrest, make
sure that the levers
shown here do not
drop the backrest
forward.
The backrests must be locked before starting the
journey.
Operation

Operation
If, however, the backrests are to be completely
folded down, the locking devices must be
loosened.
If you are
behind the seats,
move the
respective lever
for the
back
a little upward.
Or if you are
in front of the
Seats, then
press the
same lever
between
Seats downwards.
In both cases, take the backrest back slightly so
that the lock is relieved and can be released
more easily.

Operation
To move the entire seat console, unlock the
middle lever, grip the handle above with your
other hand and push the console a little out of
position.
Now release the red locking lever and push the
console into the next position until it clicks into
place.
Repeat the procedure for each additional
position.
The 2nd row of seats can be locked in 4 positions:
Original, +100mm, +150mm, +200mm.
The foremost position is for very large
wheelchairs. Seats are no longer usable here.

Operation
Now unlock the holders for the backrests in a
similar way to the row of seats. Pull out the pin
with one hand and hold the holder with the
other.
Slide a little out of position and audibly click
into new position by moving the entire holder.
The position of the holder backrest must
correspond to the position of the seat console.
If the bench seat is in its original position, the
backrest brackets are fully inserted. The same
applies to the backrest if the seat console is
locked in the forward position.

Operation
Now set the toggle switch on the right side panel
to light signal is on. This allows the front
retractors to be pulled out to the rear.
Remove the hooks of the front retractors from the
illuminated retaining holes and attach them to
the wheelchair you have positioned in front of the
ramp.

Operation
Select a fixing point at which the wheelchair
can also be secured in the vehicle. Also refer to
the manual of the wheelchair for specified
anchoring points.
Pull out the front Retractors and make shure
they are straight. Hook it on the wheelchair.
No guarantee can be given for damage
resulting from non-observance.

Operation
Before pushing the wheelchair into the vehicle,
set the switch on the right-hand panel into the
non lightning position. The front retractors will roll
up automatically, but will not unroll again.
This function serves as safety against
unintentional rolling out and must be strictly
observed.

Wheelchair Safety
Now push the wheelchair into the vehicle.
Note that depending on the weather conditions,
the ramp and the interior may be slippery.
If the wheelchair is fully retracted, there
should still be enough space in the front area
for the feet and the rear retractors should be
able to be stretched as flat as possible.
Retractors shall also be attached to suitable
wheelchair anchorage points. See wheelchair
manual.

Wheelchair Safety
Once you have attached the rear retractors to
the prescribed wheelchair attachment points,
turn the retractor handwheels clockwise to
tighten the straps.
Be sure to tighten the straps evenly on the left
and right side.
The rear and front retractors must be inserted
straight into the housing and must not pass
over rods, frames or other detours.
If the handwheels of the rear retractors are
tightened by hand, move the wheelchair back
and forth again. Then turn the handwheels
repeatedly to tighten the belts.

Ocupant Safety
To secure the transported persons, they are
provided with a three-point belt which is guided
from the right-hand side.
The variant shown here is only a suggestion for
fastening when no person is being transported.

Ocupant Safety
Remove the belt buckle tongues from belt
buckles 1and 2.
Start with buckle tongue 1 instered to the right
buckle.
Guide the belt buckle tongue 2around the
front of the passenger to the left side so that
the lap belt 3is placed from right to left
around the hip and the belt coming from
above is guided from the right shoulder to the
left hip of the passenger.
Now insert the belt buckle tongue 2into the
left belt buckle of the FlexiRamp™ or use an
extension 4, as shown in this picture.

Ocupant Safety
Insert the belt buckle tongue 1into the right
belt buckle of the FlexiRamp™. The occupant
safety lock is now complete.
Make sure that the 3-point belt system described
here is only used to secure persons seated in the
loaded wheelchair. The belts must be used close
to the person, must not be released while driving
and all safety regulations of the vehicle
manufacturer must be observed.

Journey Start
Make sure that no loose parts in the interior,
both passengers and material, such as
wheelchair, FlexiRamp™ or the vehicle, can be
damaged during the journey. Damage resulting
from non-observance cannot be covered by
the warranty.
Lift the ramp and let it snap into the 90°
position by light pressure in the lower area.
Make sure that there are no objects between
the ramp and the FlexiRamp™ floor trough.
Now close the tailgate/doors and all other
doors.
Ensure the well-being of the person to be
transported and start your journey.

End of Trip
Once you have arrived at your destination,
lock the parking brake and proceed to the rear
of the vehicle.
Open the tailgate/doors.
Unlock the ramp at the rear by pulling up the
right red lever as described on page 5.
Place them on the outside according to the
same instructions as described on page 5.
Table of contents
Popular Automobile Accessories manuals by other brands

Harbor Freight Tools
Harbor Freight Tools 92043 Assembly and operating instructions

SuperATV
SuperATV WS-CA-DEF installation instructions

RVS systems
RVS systems RVS-082612 Product manual and installation instructions

Xtool
Xtool IK618 user manual

Viofo
Viofo HK3-C Hardwire Kit user manual

ICHECKEY
ICHECKEY XMZ01 manual

Westin
Westin 32-0240 instructions

Whelen Engineering Company
Whelen Engineering Company Mirror-Beam 14116 installation guide

Elite Power Solutions
Elite Power Solutions EMS Operation and installation manual

PNEUMATIC
PNEUMATIC KU-MI-PJSP-02 Installation instruction

STO N SHO
STO N SHO SNS 289 Installation procedures

Lippert Components
Lippert Components Innolight Sliding Installation and owner's manual