FR 01GB 01
APRAMO METTRO
Instruction Manual
Thank you for choosing our Apramo®Mettro Child Car Seat. We
are so excited to be a part of your family’s journey! To ensure
complete protection and comfort for your child, please refer
to the instruction manual for the correct installation and use of
this child car seat. Please carefully read this manual and follow
each step before usage. For any questions about the installation
and use of the Apramo®Mettro Child Car Seat, please contact
apramo.com or the seller.
GB 01
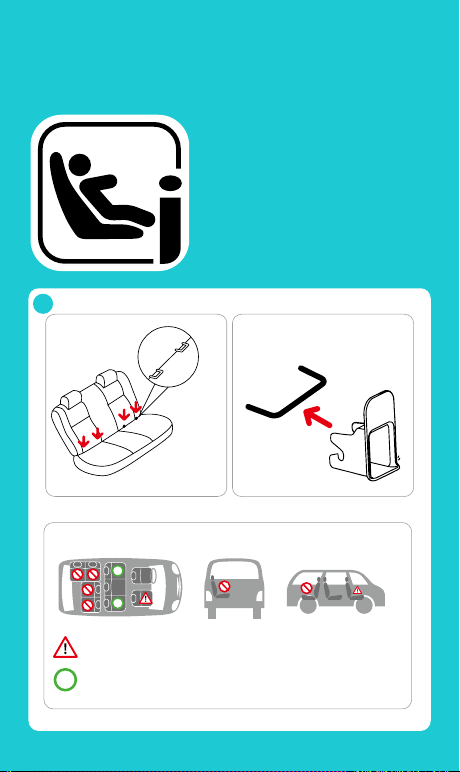
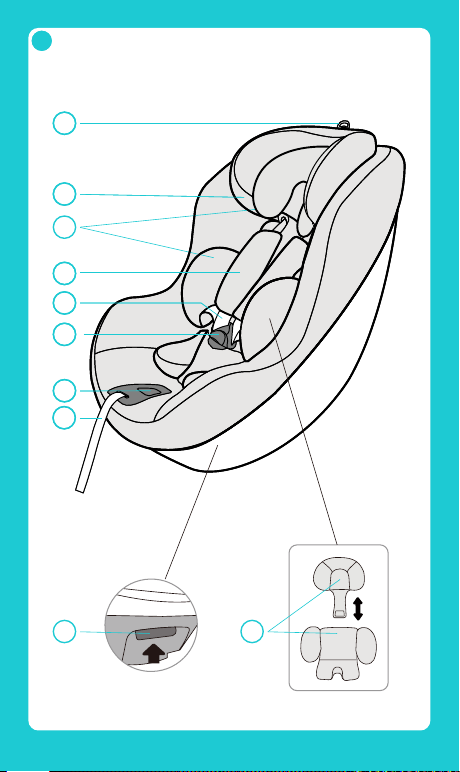
APRAMO HUB SYSTEM
The Apramo®Hub Base with the Citti Infant Carrier and/or
Mettro Child Car Seat have been approved to the strictest
child safety regulations. This set consists of a rotating base
(the Hub Base) plus two seats that can be fixed to it (the Citti
Infant Carrier and the Mettro Child Car Seat). Regulation
129.03 ECE guarantees the safety of your baby from birth
to approximately 4 years (40-105 cm high). The Citti Infant
Carrier can be used up to a maximum height of 75 cm; you
can then progress to the Mettro Child Car Seat, which can be
used rearward-facing from 40 to 105 cm and forward-facing
from 76 to 105 cm.
®
®