Quick Start
Guide
UPGRADE YOUR NOTEBOOK’S HARD DRIVE IN 4 EZ STEPS
Step 1: Insert the PC Card into the
PCMCIA slot.
Step 2: Start computer with the EZ Gig II Data
Transfer Utility CD in the computer’s CD-ROM
drive. Use CloneEZ to make an exact copy of your
old hard drive onto the new hard drive.
IMPORTANT: Shutdown computer after process is
completed.
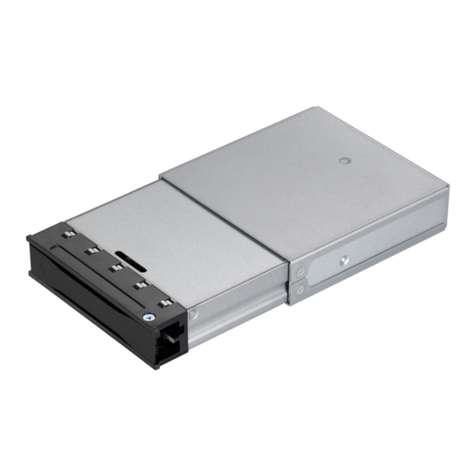
Step 3: Remove the old hard drive
and replace it with the new hard drive
Step 4: After booting into Windows,
use the old hard drive as an external
hard drive.
This guide is not intended to replace the full user’s manual. If your are not familiar with this product
please use the full manual or check our website:
http://www.apricorn.com
IT IS IMPORTANT TO REMOVE OLD HARD DRIVE BEFORE
STARTING WINDOWS AFTER THE TRANSFER IS COMPLETE
