manuals.online logo
Brands
  1. Home
  2. •
  3. Brands
  4. •
  5. Apricorn
  6. •
  7. Storage
  8. •
  9. Apricorn EZ Storage User manual

Apricorn EZ Storage User manual

1
Apricorn Inc.
EZ Storage
Users Guide
Model Name:
Apricorn EZ Storage
For use with Windows 98, Windows 2000, and MacOS 8.6+
Users Guide Version 0.3
2
Table of Contents
Table of Contents.................................................................................................................... 2
Document Control Information.................................................................................................. 3
Revision History and Comments............................................................................................ 3
EZ Storage Product Description............................................................................................... 4
Benefits of EZ Storage:........................................................................................................4
System Requirements.......................................................................................................... 4
Getting Started....................................................................................................................... 5
Connecting to a Macintosh computer..................................................................................... 5
Connecting to a Windows computer...................................................................................... 6
Using your EZ Storage Drive.................................................................................................... 8
Formatting and Partitioning................................................................................................... 8
Transferring Data to/from the Device...................................................................................... 8
What the LEDs Mean........................................................................................................... 8
Battery Information............................................................................................................... 9
Replacing Batteries............................................................................................................ 10
Rayovac Battery Information................................................................................................ 11
Troubleshooting..................................................................................................................... 12
No drive letter shows up...................................................................................................... 12
Red LEDs never turn on...................................................................................................... 12
Green LED never turns on and the Red LED is blinking.......................................................... 12
All of the Red LEDs are blinking.......................................................................................... 12
Specified path not available................................................................................................. 12
Technical Specifications........................................................................................................ 13
Federal Communications Commission................................................................................. 13
Glossary.............................................................................................................................. 14
User Support and Maintenance............................................................................................... 15
User Support..................................................................................................................... 15
Maintenance...................................................................................................................... 15
Warranty Conditions...........................................................................................................16
3
Document Control Information
Title Apricorn Inc. EZ Storage Users Guide
Document Name Users Guide.doc
Current Revision # 1.0
Revision Date/Time 3/22/00 3:06 PM
Revision History and Comments
Revision Who Comments
0.1 RS Initial release
.2 RS Miscellaneous corrections. Connecting to a Windows computer, Removable
device instead of non-removable.
.3 MLC More miscellaneous corrections. Some additions perApricorn.
1.0 MLC Released toApricorn.
4
EZ Storage Product Description
EZ Storage is the most portable and easiest solution for storage, with no external power to worry about. Its
great for mobile users, engineers, graphic art designers, or anyone who wants portable storage. Just
connect the drive conveniently with the industry-standard USB port and youre up and running. For
backup, for security, for portability  whatever your needs, EZ Storage makes it easy, efficient and afford-
able.
This product has been designed to provide fast, reliable external storage to PCs and Macintosh computers
which support USB. The storage mechanism within this product is currently available in two sizes; either a
6GB (Gigabyte) or 12GB hard disk drive. This drive receives its power from the USB port on the
computer.No other power connections are required. To supplement the USB-provided power during drive
spin-up and heavy usage, the device has Rayovac Renewal rechargeable alkalineAAAbatteries which
are continually being recharged while the drive is plugged into the computer.The amount of power that the
device draws from the USB port is compatible with the USB1.1 specification.
Warning!--Should this hard disk device be used in conjunction with a USB hub, it is necessary to
ensure that the hub is 500mA (milliamps). Should the hard disk device be operated with a USB
hub that is not full-power, the device may not operate properly. If you are unsure of the power
available in the hub, please contact the hub manufacturer.
Benefits of EZ Storage:
· Plug-and-Play, hot swap
· Cross-Platform for any computer  Mac or PC, laptop or desktop
· No external power required
· Lightweight and Portable
· Requires MacOS 8.6+ or Window 98 or Windows 2000
· Highest Capacity 2.5
· Fast speed, 1.2MB/sec transfer rate
· Bring all your important data with you
· Desktop publishing, file storage, disaster recovery, photo storage, etc.
System Requirements
Operating System:
 Windows 98, Windows 2000, or
 MacOS 8.6+,
One standard USB port and,
A CD-ROM (or compatible) drive.
5
Getting Started
This external drive is designed to work with both Macintosh and Windows computers which support the
Universal Serial Bus (USB) standard. For Windows, the operating systems which support this drive are:
Win98, Win98SE, and Win2000.All Mac computers which have a USB port and an operating system later
than 8.6 should work with this device. The drivers necessary for this device are included in the software
CD or can be downloaded at www.apricorn.com.
Connecting to a Macintosh computer
a. Insert the software CD into the CD-ROM drive on the Mac.
b. Double click on theApricorn EZ Storage Installer icon.
c. Follow the installation instructions. During the course of installation, you will see the following boxes:
You will be prompted to restart your computer following a successful installation of the EZ Storage product
drivers. SelectYes.
Your computer will inform you of different tasks that it is completing. However, this does not require any
action on your part.Simply wait for the dialog box below to appear.
Once this box appears, you have successfully completed the installation of the drivers for your EZ Storage
product. Select Restart, so that your computer can properly restart, allowing the EZ Storage product to
function properly.
d.After the driver has been successfully installed and the system has been restarted, plug one end of the
USB cable into the storage device and the other end into the computer.
e. In just a few seconds, an icon representing the device should show up on the desktop signifying that the
device is ready to be used.
6
Connecting to a Windows computer
a. Close all open applications.
b. Place the software CD into the CD-ROM drive.
c. Plug one end of the USB cable into the device and the other end into the computer.
d. Plug & Play will recognize the device and attempt to load drivers. Once you have plugged in the device,
you will see the following dialog boxes.
Select Next.
It is recommended to allow your system to Search for the best driver. By default, the radio button to the
Search option will be selected. Simply click on the Next button.
7
e. Point Add New Hardware wizard to the CD-ROM drive.
If you have already placed the software CD into the drive, make sure the above CD-ROM Drive box is
checked and click on the Next button.
f. Two drivers will be loaded. Click on the Next button.
g. The disk drive will be assigned the next available drive letter.
Click the Finish button.You are now ready to utilize yourApricorn EZ Storage device.
8
Using your EZ Storage Drive
Formatting and Partitioning
The drive comes pre-formatted and partitioned as a single logical device. No further formatting or partition-
ing is required unless you would like to re-partition the device into multiple logical devices.This can be done
using the partitioning utilities provided by the operating system (FDISK for Windows 98 or Disk Manager
for Windows 2000. There are no partitioning utilities available in a MacOS. The disk will need to be
partitioned on a Windows system).
Transferring Data to/from the Device
Once properly installed, the device will operate as a typical hard disk within the system.The user can
transfer data to/from the drive using drag and drop, or other standard file access mechanisms.
Warning!--If you wish to unplug the device, it should be done only when all applications that have
been accessing the drive have been closed. If the device is unplugged while it is being accessed,
data loss can occur and will cause system errors. This may also damage the hard disk device.
Use the appropriate disconnection procedure for your particular operating system (keystrokes CMD/ORE,
or dragging to the Trash icon on the Mac; right-click and Eject on Windows 98; Stop USB on Windows
2000).
What the LEDs Mean
When looking at the front of the drive, you will see three round LEDs (Light-Emitting Diodes) on the right-
hand side, and one round LED on the left-hand side (see image below) of the case.
The one LED on the left, is green when the disk is being accessed by the computer. Under normal use, this
LED will flicker on and off as the disk is accessed.
9
When all of the red LEDs are ON, it means
that the batteries within the device are fully charged.
If the drive is being heavily used (constant disk accesses) for long periods of time, it is possible that the
internal batteries can discharge.As the batteries discharge, the red LEDs will be turned off in a sequential
fashion starting with the rightmost LED (similar to an automobiles fuel gauge). Battery life is extended if the
batteries are kept fully charged.The battery technology used in this product does not have the same
memory problems associated with some battery technologies (see Battery Information).
When all of the red LEDs are flashing, it means that the
batteries are getting very low on charge. The user should
immediately stop accessing the drive, but leave it plugged into
the computers USB port. The batteries will re-charge while
the drive is not being used.
Battery Information
The power management of this device requires the use of Rayovac Renewal rechargeable alkaline batteries
exclusively. Irregularity in operation signals battery replacement.All batteries must be replaced at the same
time to assure satisfactory functionality of this device.
Under normal use, the rechargeable batteries within the drive should last for several years. The state-of-
the-art charging circuitry inside the device will keep the batteries maintained and charged to the appropriate
level.
The three LEDs on the right, are red acting as a fuel gauge indicating the charge of the batteries inside the
device. When the batteries are fully charged, all three LEDs will be on (once the drive is plugged into a
USB port).
10
Replacing Batteries
If the user notices that a significant change in the behavior of the device (or the red LEDs), it is probable that
the batteries need to be replaced. In order to replace the batteries, it is necessary to take apart the devices
case. When doing so, please take special care and notice of what components are included and how the
parts are aligned, so that when putting the device back together, there are no parts lost or damaged.
Battery clips
First, remove the rubber feet on the bottom of the case, so that there is access to the 4 screws on each of
the 4 corners of the device.Once the screws are removed, the upper half of the case can be removed (be
especially carefulonce the screws are removed, the circuit board securing both the hard drive and the
batteries is no longer secure).After removing the top half of the case, you will find the defective batteries on
the top of the circuit board. Carefully remove the existing batteries and replace them with fresh batteries
(Rayovac Renewal brand RechargeableAlkalineAAAbatteries). Note the + sign on the circuit board
next to one end of each battery clip (all 6 batteries will line up the same way) and insert each battery until it
clicks into place and has firm contact with both clips.
Carefully, close the case and re-insert the screws in place. Tighten firmly and replace the rubber feet.
Below is information regarding the Rayovac brand batteries. More information can be found on Rayovacs
website (www.rayovac.com).
Remove screws
(under rubber feet) Remove screws
(under rubber feet)
Rear of case
Battery clips
Battery clips
11
Rayovac Battery Information
Renewal Rechargeable Alkaline
Rayovac Renewal RechargeableAlkaline batteries are the most affordable rechargeable system on the
market today. They are well suited for household toys and games as well as a variety of other devices.
Unlike regular alkaline batteries that have to be thrown away after just one use, Renewal Rechargeable
Alkaline batteries can be recharged 25 times or more.Apatented formula allows Renewal batteries to
return to a full 1.5 volt charge when recharged in a Rayovac Power Station charger.
Renewal batteries like to be charged frequently. Charging before your Renewal batteries are fully drained
will dramatically extend battery life and provide you with the greatest savings.
Renewal Environmental Benefits
RechargeableAlkaline is the most environmentally friendly battery on the market today.
Renewal is made with a Mercury-free formula, and unlike Nickel Cadmium rechargeables, Renewal is
Cadmium-free. That's why Renewal batteries do not need to be collected for disposal. They can be
disposed of safely with regular household waste.
12
Troubleshooting
No drive letter shows up
Situation:After installing the software and plugging the device into a USB port on the computer, no drive
icon appears on the desktop.
Things to check:
1. Unplug, then plug back in the USB cable to the computer and to the device.
2. If the problem persists, try another USB cable.
Red LEDs never turn on
This condition occurs if the device is not seen by the operating system. Make sure the USB cable is
plugged in correctly to both the computer and the device and the appropriate drivers are loaded.
Green LED never turns on and the Red LED is blinking.
There is insufficient power in the batteries to spin up the drive. Let the batteries charge while connected to
the computer through the USB cable. If, after 24 hours of charging the batteries, the LEDs are still blinking,
the batteries are defective and should be replaced.
All of the Red LEDs are blinking
The batteries are discharged. Let the batteries charge while connected to the computer through the USB
cable.After 24 hours of charging the batteriesand the LEDs are still blinking, the batteries are defective
and should be replaced (see Replacing Batteries).
Specified path not available
Check on the drive letter assignment. If other peripherals have been added, the EZ Storage may have been
assigned a letter different than the letter assigned during a save command.
13
Technical Specifications
Transfer Rate:800-900 Kilobytes per second
Power Consumption: 500mA
Dimensions:140mm (W) x 80mm (D) x 31mm (H)
5.25(W) x 1.25(D) x 3(H)
USB Cable:1 meter (typical), (weighs approximately 5 grams)
Weight:132 grams, without USB cable
  1.5 lbs, without USB cable
Operational Environment:
Ambient Temperature: 5 to 55 º C (operating); -40 to 65 º C (non-operating)
 Relative Humidity: 8% to 90% (operating); 5% to 95% (non-operating)
Federal Communications Commission
This equipment has been tested and found to comply with the limits for a Class B digital device, pursuant to
Part 15 of the FCC Rules. These limits are designed to provide reasonable protection. This equipment
generates, uses and can radiate radio frequency energy, and if not installed and used in accordance with the
instructions, may cause harmful interference to radio communications. However, there is no guarantee that
interference will not occur in a particular installation. If this equipment does cause harmful interference to
radio or television reception, which can be determined by turning the equipment off and on, the user is
encouraged to try to correct the interference by one or more of the following measures:
·Reorient or relocate the receiving antenna;
·Increase the separation between the equipment and receiver;
·Connect the equipment into an outlet on a circuit different from that to which the receiver is connected;
·Consult the dealer or an experienced radio/TV technician for help. Shielded interface cables must be used
in order to comply with emission limits.
Specifications not expressly approved by the party responsible for compliance could void the users author-
ity to operate the equipment.
14
Glossary
CD-ROM DriveAdevice to read specific media, the Compact Disk, Read-Only Memory disk. This
technology is a format and system for recording, storing, and retrieving electronic information on a compact
disk that is read using an optical drive. ACD-ROM player willnot allow writing to the disk. CD-ROM
media are able to be read on CD-R, CD-RW, and DVD drives.
DriverAdriver is a written program that interacts with a specific device or special kind of software. The
driver contains the special knowledge of the device or special software interface that programs using the
driver do not. Most hardware devices are distributed with their own specific drivers to properly function
with many or most other hardware devices.Adriver is sometimes packaged as a dynamic link library
(DLL) file.
Formatting Drive The process of making the media in a drive accessible to the operating system, for data.
Icon On a computer screen, an icon is an image that represents an application, a capability, or some other
concept with meaning for the user. An icon is usually selectable (clicked by the mouse) but can also be a
non-selectable image such as a company's logo.
LED (Light-Emitting Diode)Asmall semiconductor device that emits visible light when an electric current
passes through it.
Logical DeviceAhard disk drive (also known as a physical device) can be broken up into smaller segments
(or partitions), which are each assigned a new drive letter. These other partitions are known as logical
devices.
Partitioning Drive The process of making logical divisions of space for a disk drive.After partitioning, a
partition must be formatted.
Removable DeviceAn external device that can be attached to any host computer, utilizing a quick connec-
tion, like USB.
Universal Serial Bus (USB) USB is a "Plug-and-Play" interface between a computer and any of several
readily available add-on devices (such as hard drives, audio players, joysticks, keyboards, scanners, and
printers). With USB, a new device can be added to your computer without having to add an adapter card
or even having to power down the computer.
USB 1.1 SpecificationAlevel of standardization of USB technology agreed upon by the Universal Serial
Bus Implementers Forum.
15
User Support and Maintenance
User Support
Questions regarding the product may be answer by contacting user support as indicated below please
consult the ting us for assistance.
User Support
Apricorn
 12191 Kirkham Rd.
 Poway, CA 92064
 Tel: (858) 513-2000 or (800) 458-5448
 Fax: (858) 513-2020
 Email: [email protected]
 Hours of operation: 8:00am  5:00pm PST
 http://www.apricorn.com
Maintenance
Before calling for repairs, please follow these important steps.
1. If you must return the unit, call the RMAdepartment at the phone number listed above.Apricorn will not
accept C.O.D. charges. This unit is a precision device, and care should be taken to package it properly.
16
Warranty Conditions
Statement of Warranty:Apricorn warrants a one-year warranty from the date of purchase that this prod-
uct(1) is free from defects in materials and workmanship and(2) conforms to its specifications. If this
product does not function as warranted during the warranty period,Apricorn, at its option, will either
replace the product with one that is functionally equivalent or will refund your purchase price. These are
your exclusive remedies under this warranty. Please call 1-800-458-5448 for warranty service.
Disclaimer and terms of the warranties:
THE WARRANTY BECOMES IN EFFECT BEGINNING THE DATE OF PURCHASEAND MUST
BE VERIFIED WITH YOUR SALES RECEIPT OR INVOICE DISPLAYING THE DATE OF PROD-
UCT PURCHASE.
APRICORN WILL,AT NOADDITIONAL CHARGE, REPAIR OR REPLACE DEFECTIVE PARTS
WITH NEW PARTS OR SERVICEABLE USED PARTS THATARE EQUIVALENT TO NEW IN
PERFORMANCE.ALL EXCHANGED PARTSAND PRODUCTS REPLACED UNDER THIS
WARRANTYWILLBECOME THE PROPERTYOFAPRICORN.
THIS WARRANTYDOES NOT EXTENDTOANY PRODUCT NOT PURCHASED OR SERVICED
DIRECTLY FROM APRICORN NOR TO ANY PRODUCT THAT HAS BEEN DAMAGED OR
RENDERED DEFECTIVE: 1. AS A RESULT OF ACCIDENT, MISUSE, NEGLECT, ABUSE OR
FAILURE AND/OR INABILITY TO FOLLOW THE WRITTEN INSTRUCTIONS PROVIDED
IN THIS INSTRUCTION GUIDE; 2. BY THE USE OF PARTS NOT MANUFACTURED OR
SOLD BYAPRICORN; 3. BY MODIFICATION OF THE PRODUCT; OR 4. ASA RESULT OF
SERVICE,ALTERATION OR REPAIR BYANYONE OTHER THANAPRICORNAND SHALL BE
VOID. THIS WARRANTY DOES NOT COVER NORMALWEARAND TEAR.
NO OTHER WARRANTY, EITHER EXPRESS OR IMPLIED, INCLUDINGANYWARRANTY OF
MERCHANTABILITYAND FITNESS FOR APARTICULAR PURPOSE, HAS BEEN OR WILLBE
MADE BY OR ON BEHALF OFAPRICORN OR BY OPERATION OF LAW WITH RESPECT TO
THE PRODUCT OR ITS INSTALLATION, USE, OPERATION, REPLACEMENT OR REPAIR.
APRICORN SHALL NOT BE LIABLE BYVIRTUE OF THIS WARRANTY, OR OTHERWISE, FOR
ANYINCIDENTAL, SPECIALOR CONSEQUENTIALDAMAGE INCLUDINGANY LOSS OF
DATA RESULTING FROM THE USE OR OPERATION OF THE PRODUCT, WHETHER OR NOT
APRICORN WASAPPRISED OF THE POSSIBILITY OF SUCH DAMAGES.

Other Apricorn Storage manuals
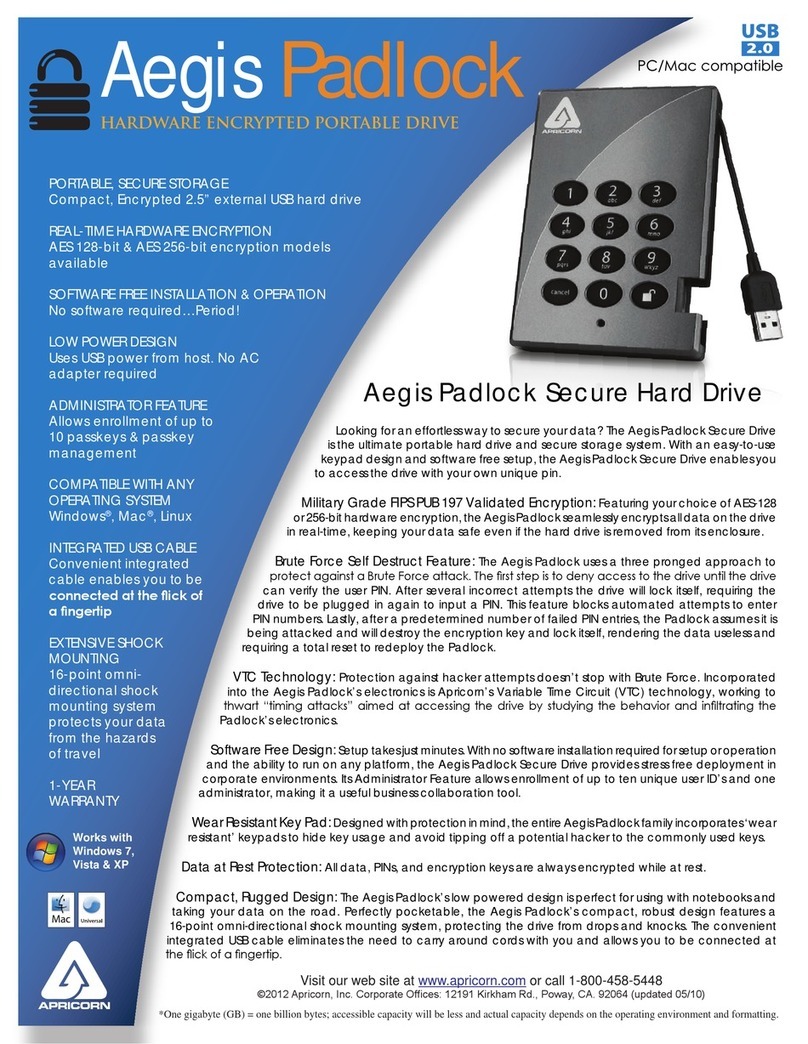
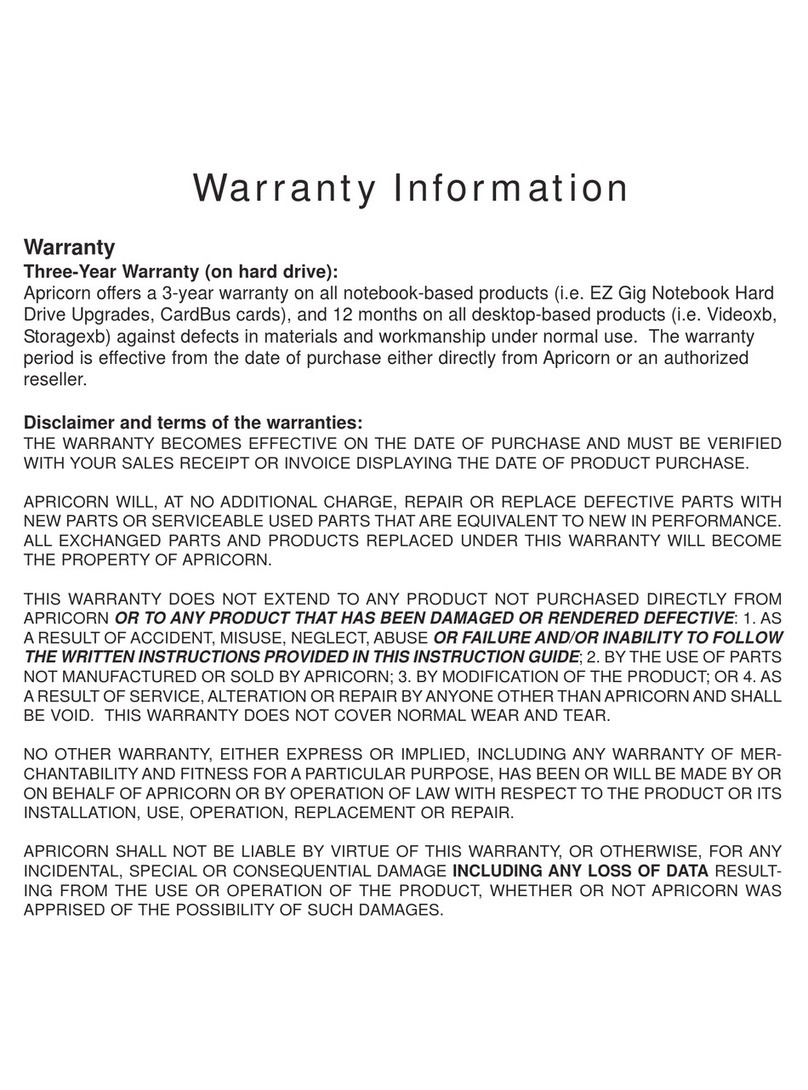
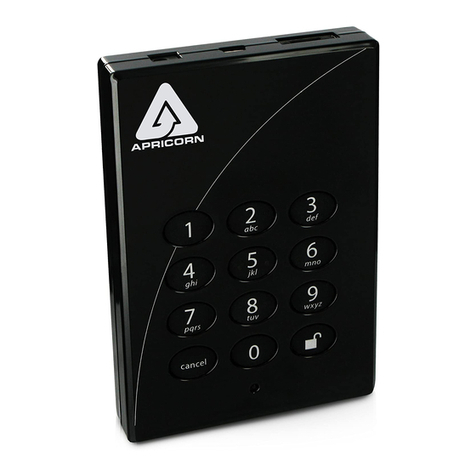
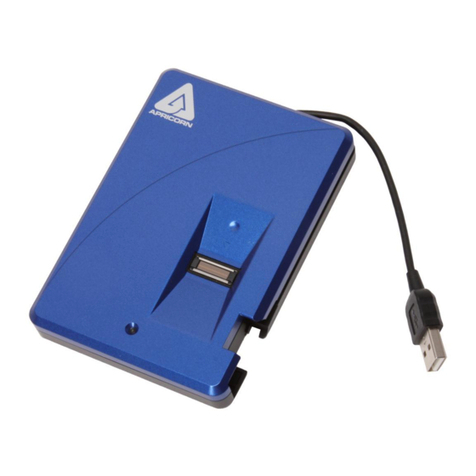
Apricorn Aegis Padlock A25-PL256 128GB User manual

Apricorn

Apricorn Aegis Padlock A25-PL256 128GB User manual

Apricorn Aegis Fortress User manual

Apricorn

Apricorn Aegis Fortress User manual

Apricorn DVR External eXpander Storage System User manual

Apricorn

Apricorn DVR External eXpander Storage System User manual

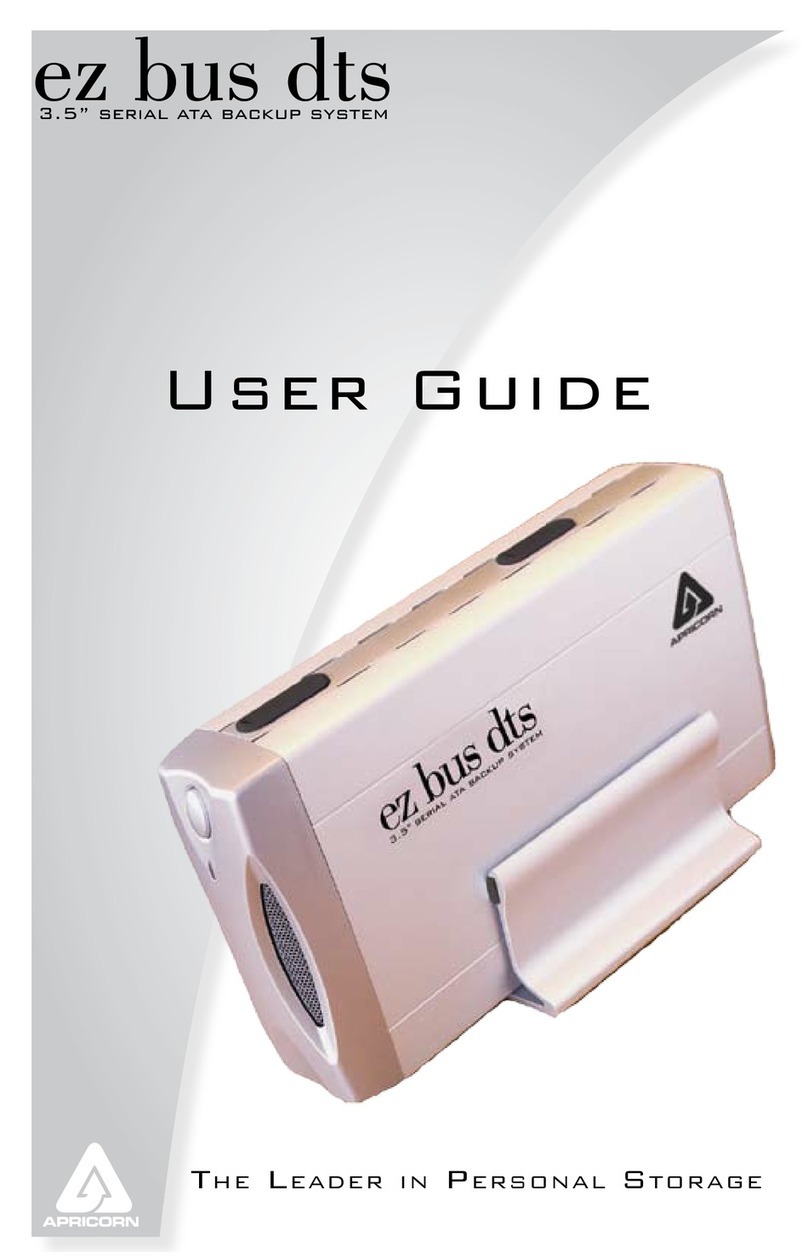
Apricorn EZ Bus DTS User manual

Apricorn

Apricorn EZ Bus DTS User manual

Apricorn Aegis Bio A25-BIO 128GB User manual

Apricorn

Apricorn Aegis Bio A25-BIO 128GB User manual

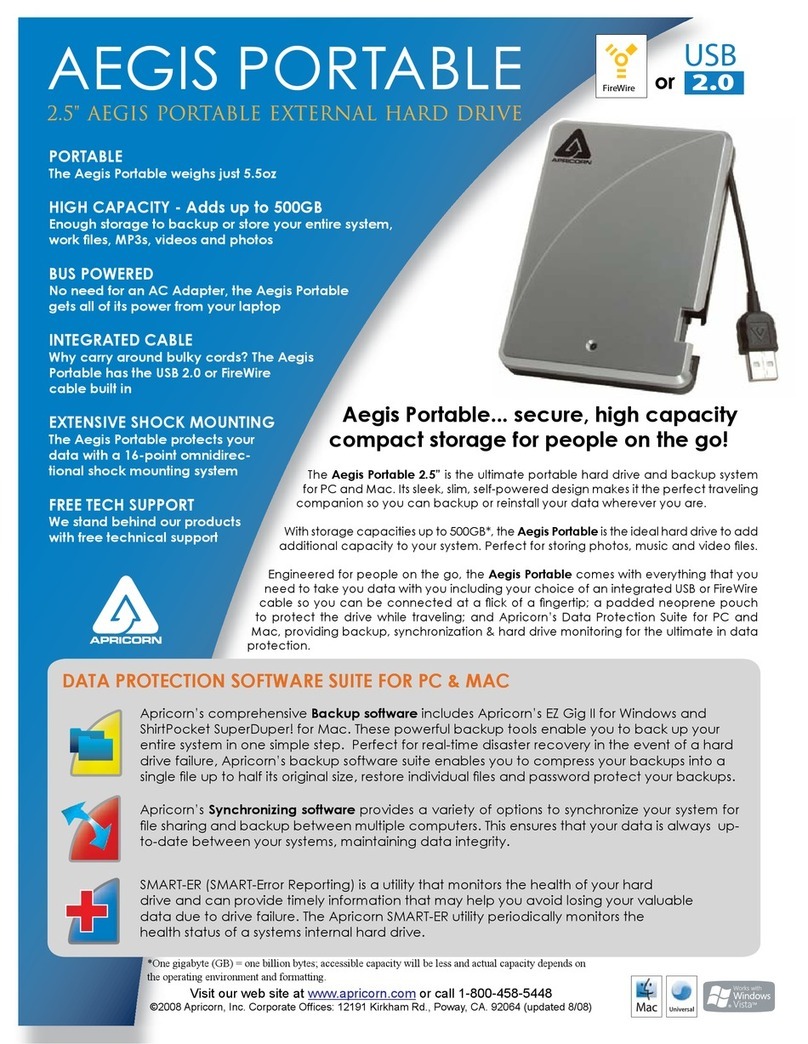
Apricorn Aegis Portable User manual

Apricorn

Apricorn Aegis Portable User manual

Apricorn Aegis Secure Key User manual

Apricorn

Apricorn Aegis Secure Key User manual

Apricorn Aegis Portable A25-USB 500GB User manual

Apricorn

Apricorn Aegis Portable A25-USB 500GB User manual

Apricorn Aegis Padlock DT User manual

Apricorn

Apricorn Aegis Padlock DT User manual

Apricorn Aegis Portable A25-FW 120GB User manual

Apricorn

Apricorn Aegis Portable A25-FW 120GB User manual

Apricorn Aegis Padlock SSD User manual

Apricorn

Apricorn Aegis Padlock SSD User manual

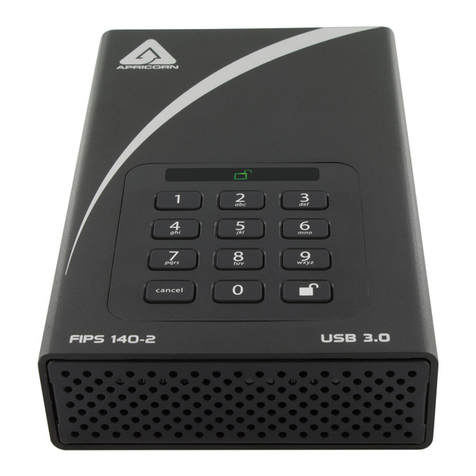
Apricorn Aegis Padlock 3.0 User manual

Apricorn

Apricorn Aegis Padlock 3.0 User manual

Apricorn USB Storage Device User manual

Apricorn

Apricorn USB Storage Device User manual

Apricorn Aegis Secure Key 3z User manual

Apricorn

Apricorn Aegis Secure Key 3z User manual

Apricorn Aegis Secure Key User manual

Apricorn

Apricorn Aegis Secure Key User manual

Apricorn Aegis Portable A25-USB 160GB User manual

Apricorn

Apricorn Aegis Portable A25-USB 160GB User manual

Apricorn Aegis Padlock A25-PLE256 256GB User manual

Apricorn

Apricorn Aegis Padlock A25-PLE256 256GB User manual

Apricorn Aegis Bio A25-BIO 640GB User manual

Apricorn

Apricorn Aegis Bio A25-BIO 640GB User manual

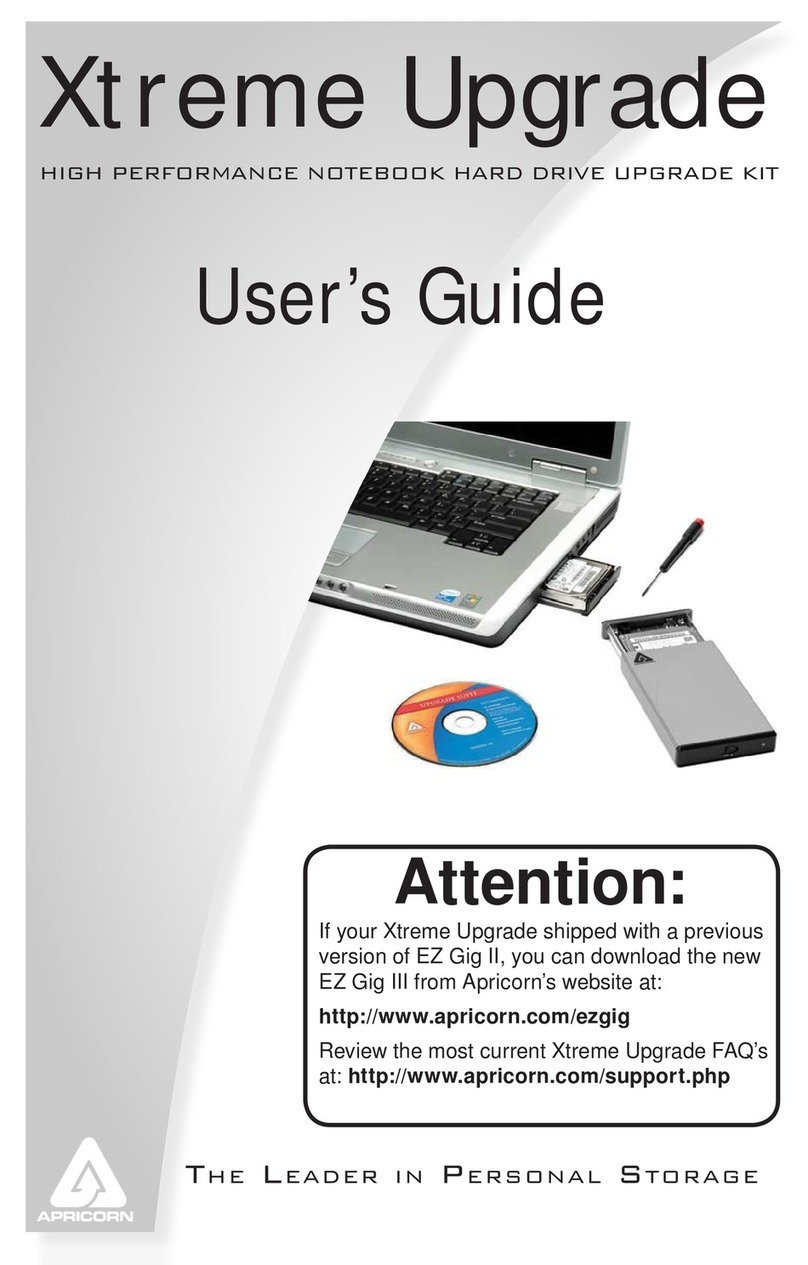
Apricorn Xtreme Upgrade User manual

Apricorn

Apricorn Xtreme Upgrade User manual
Apricorn Aegis Fortress User manual

Apricorn

Apricorn Aegis Fortress User manual

Apricorn Aegis Portable A25-USB 500GB User manual

Apricorn

Apricorn Aegis Portable A25-USB 500GB User manual

Apricorn EZ Gig User manual

Apricorn

Apricorn EZ Gig User manual

Apricorn EZ-BUS-DTS 1TB User manual

Apricorn

Apricorn EZ-BUS-DTS 1TB User manual

Apricorn Aegis NetDock User manual

Apricorn

Apricorn Aegis NetDock User manual
Popular Storage manuals by other brands
Data General 6662 Customer Documentation

Data General

Data General 6662 Customer Documentation

Ono Sokki DS-5000 Series instruction manual

Ono Sokki

Ono Sokki DS-5000 Series instruction manual

Alpha ESS SMILE-B3-PLUS installation manual

Alpha ESS

Alpha ESS SMILE-B3-PLUS installation manual

LaCie Rikiki Go user manual

LaCie

LaCie Rikiki Go user manual

PotteryBarn Newport Wall Storage Assembly instructions

PotteryBarn

PotteryBarn Newport Wall Storage Assembly instructions

Corsair Flash Padlock 2 manual

Corsair

Corsair Flash Padlock 2 manual

Avtech AVC950 user manual

Avtech

Avtech AVC950 user manual

Promise VTrak S3000 quick start guide

Promise

Promise VTrak S3000 quick start guide

Corsair Padlock 2 brochure

Corsair

Corsair Padlock 2 brochure

Promise Apollo user guide

Promise

Promise Apollo user guide

Qlogic iSR6200 quick start guide

Qlogic

Qlogic iSR6200 quick start guide

Iomega StorCenter ix-Series quick start guide

Iomega

Iomega StorCenter ix-Series quick start guide

Spectra Logic T-Series Spectra T200 install guide

Spectra Logic

Spectra Logic T-Series Spectra T200 install guide

LaCie RUGGED BOSS SSD user manual

LaCie

LaCie RUGGED BOSS SSD user manual

Addonics Technologies AJCHDIU user guide

Addonics Technologies

Addonics Technologies AJCHDIU user guide

Toshiba SecuRed user manual

Toshiba

Toshiba SecuRed user manual

LaCie Golden Disk user manual

LaCie

LaCie Golden Disk user manual

Oracle StorageTek SL3000 user guide

Oracle

Oracle StorageTek SL3000 user guide

manuals.online logo
manuals.online logoBrands
  • About & Mission
  • Contact us
  • Privacy Policy
  • Terms and Conditions

Copyright 2025 Manuals.Online. All Rights Reserved.