manuals.online logo
Brands
  1. Home
  2. •
  3. Brands
  4. •
  5. Apricorn
  6. •
  7. Storage
  8. •
  9. Apricorn Velocity Solo x2 User manual

Apricorn Velocity Solo x2 User manual

Power-down the system and physically remove the power
cord(s) from the system.
Remove the cover from the system’s chassis, following
instructions provided by the manufacturer.
Select an available PCIe Gen 1 / Gen 2 (x2, x4, x8 or x16)
slot and insert the Velocity Solo card into the slot, as
shown in Figure 1. (NOTE: x2 slots are very rare in
desktop systems, typical installation will use a x4 slot).
Hold the Velocity Solo card at the edges and press down
gently into place.
Secure the Velocity Solo metal bracket to the system
chassis by tightening the slot screw.
After the Velocity Solo is installed, replace the chassis
cover, reconnect the power cord(s) and boot the computer.
Follow the directions below to complete your upgrade.
1.
2.
3.
4.
5.
6.
7.
Installing the Velocity Solo
in your desktop computer
Figure 2. Connecting the Velocity Solo to a
HDD or SSD
Optional - Connecting an
additional drive to the Velocity Solo
SATA III connector
Using a SATA data cable connect an additional drive to the
SATA III port on the Velocity Solo card, as shown in Figure 2.
Using a power cable connect the drive to your computer’s
power supply, as shown below.
NOTE: Additional Power Cable is not available in Mac Pro
1.
2.
Velocity Solo x2 Quick Start Guide
To prevent ESD
(Electrostatic Discharge) damage
Use an ESD wrist strap or discharge static electricity by
touching a grounded bare metal surface before handling,
installing, and removing the Velocity Solo. Observe proper
ESD grounding techniques. Store your HDD or SSD in an
anti-static bag until you are ready to install it in the system.
When installing and removing the Velocity Solo Card hold by
the edge of the printed circuit board (PCB), and avoid
touching components including connectors.
IMPORTANT HANDLING INFORMATION
Connecting your SSD to the
Velocity Solo Card
Slide your SSD onto
the SATA connector
on the Velocity Solo
Card. Use mounting
screws to secure the
drive in place.
SATA connector
SATA
Data Cable
SATA III Connector for optional expansion
to another SATA drive
Connect to your
computer’s
power supply
Power cable
Any SATA Drive
2.5” or 3.5” /
HDD or SSD
Disk Drive
Power cable
SATA cable
SATA connector
Power connector
PCIe Gen 1 / Gen 2 ( x2, x4, x8 or x16 slot)
Figure 1. Installing the Velocity Solo
on PCIe Gen 1 / Gen 2 slot
NOTE: Windows XP users and those using the Velocity
Solo with a boot disk (i.e. with OS already installed)
Before connecting your SSD to the Velocity Solo, please refer
to the directions below for installation of Windows drivers.
NOTE: x2 slots are very rare in
desktop systems, typical
installation will use a x4 slot
Apricorn’s Technical Support Specialists are available
8.00am to 5.00pm, PST Monday through Friday
Email our Technical Support Department at
[email protected] or call 800-458-5448 option 3
Free Tech Support
Need help? Download product manuals,
checkout FAQs and set up questions at
www.apricorn.com
Changing the boot drive on your PC
Once you have cloned your system to your Velocity Solo drive, you have two options.
Remove your original drive, thereby forcing your system to boot from the Velocity Solo drive.
Go into your system’s BIOS and change your boot order to the Velocity Solo drive, keeping your original drive for storage.
Entering your computer’s BIOS to change the boot order is dependent on your particular system. For directions that apply to your particular
system, please refer to your computer’s product manual.
1.
2.
Note: Do not turn your computer off or allow your computer to sleep during the cloning process. Let the process continue until you
see the congratulations screen. When the congratulations screen appears, select “Quit EZ Gig” and then turn off your computer.
Apricorn’s innovative EZ Gig allows you to clone your entire hard drive or deselect data files from the cloning process to save space, giving
you the option to run your OS and applications from a fast, smaller SSD boot drive, while keeping your documents and media files on your
original hard drive. As EZ Gig is able to run from inside the Windows operating system, simply download EZ Gig from Apricorn’s website
(www.apricorn.com/solo-ezgig) and run the program. The EZ Gig wizard will guide you through the cloning process in a few simple steps.
Cloning your hard drive using
Apricorn’s EZ Gig for Windows
For complete instructions go to Apricorn’s
website to download the Velocity Solo manual.
After downloading EZ Gig from Apricorn’s site, open the
EZ Gig program or double click on the EZ Gig icon to get
started. Click “Run EZ Gig” from the EZ Gig Start-up
Options window.
Select “Let’s Get Started” from the EZ Gig main screen.
EZ Gig will then scan for connected drives.
Note: The Velocity Solo card must be installed for EZ Gig to
run. EZ Gig will only run with Apricorn Upgrade devices.
1.
2.
The EZ Gig Wizard will then ask you to choose your Source
drive and your Destination drive. Choose your internal drive
as the Source and the Velocity Solo drive as your
Destination drive.
Once the Source and Destination drives are selected,
EZ Gig will give you the option of cloning your entire system
or deselecting data files from the cloning process to save
space. Make your selection then click “Start Clone.”
Once the clone is complete, you can boot your computer
from the new drive. Please refer to the directions below.
3.
4.
5.
Cloning your hard drive using Apple’s Built-in Disk Utility
Starting in Mac OSX 10.4 it is possible to use the Disk Utility application to perform a Restore operation of the Boot disk to another disk.
Starting in OSX 10.7 this operation needs to be performed while booted in Recovery mode, but the process is still the same. Open Disk Utility
from Applications / Utilities / Disk Utility. Select the Restore tab located at the top of the application window. Carefully drag your original boot
volume to the Source field, and then drag the new SSD mounted to the Velocity Solo to the Destination field. Click the Restore button and the
process will begin. Once the process has finished you will quit the Disk Utility application, and open the System Preferences. Use the Startup
Disk preference pane to choose your new Velocity Solo as the startup disk. Reboot the Mac and the OS will start from the new disk.
Installation of drivers and initial setup of the Velocity Solo
If the Velocity Solo drive is not detected, check the drive connections and ensure that the Velocity Solo is installed correctly in the PCIe slot.
Windows - Before booting any version of Windows from the Velocity Solo, Windows must detect and install drivers for the new
storage controller. If you installed a new blank SSD on the Velocity Solo (directions above) AND are running Windows 7 or Vista,
drivers will be automatically installed. If you are installing a boot drive (i.e. with OS already installed) to the Velocity Solo or are
running Windows XP, please ensure that Windows is booted one time with the Velocity Solo card installed in the computer but
without the SSD connected. After the drivers are installed, the SSD may be attached to the Velocity Solo.
Windows XP owners need to download drivers from http://www.apricorn.com/downloads/VelSoloX2_drivers.zip
Windows Vista and 7 will automatically detect and install the drivers from Windows Update.
Mac - Hardware support for the Velocity Solo product family is built into the Mac OSX, so no driver install is necessary.
Mac OSX can be booted from any drive attached to the Velocity Solo.
PC CLONING SOFTWARE DOWNLOAD
Apricorn EZ Gig Software for the Velocity Solo
http://www.apricorn.com/solo-ezgig
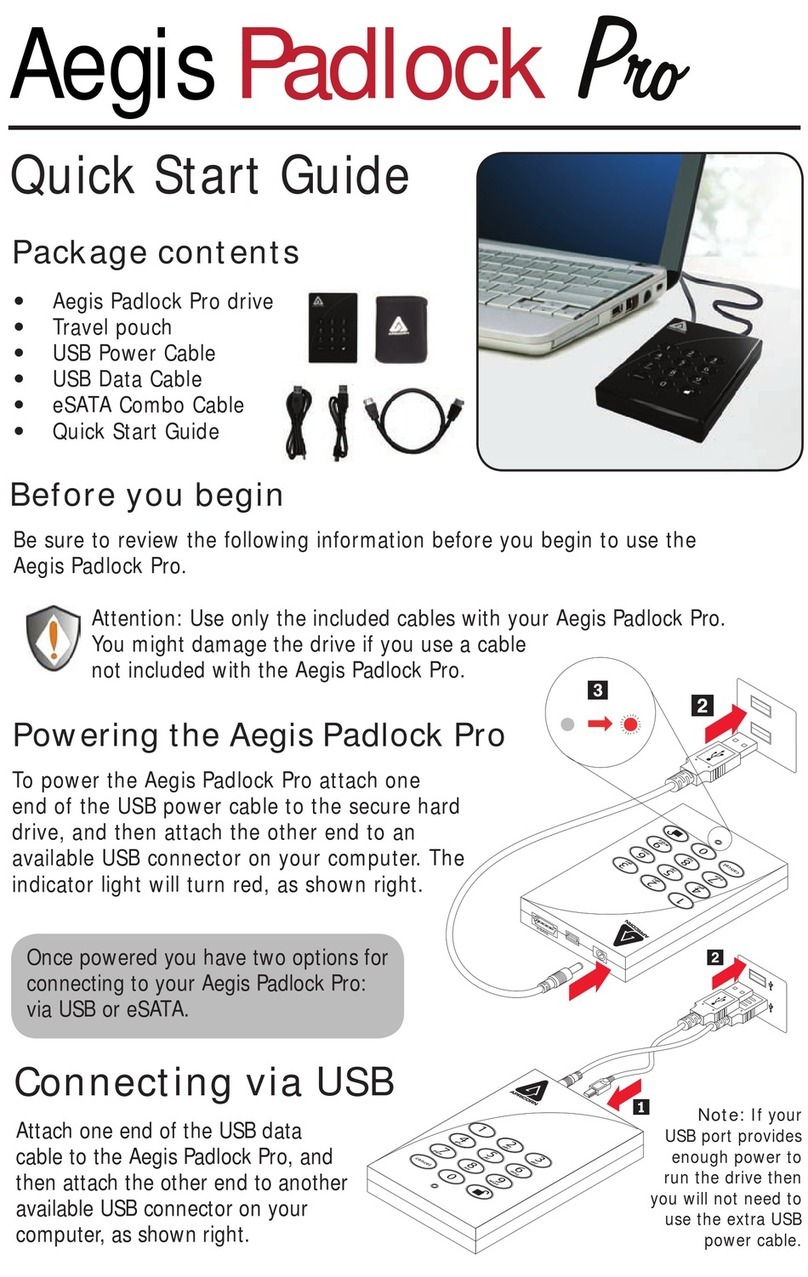
Other Apricorn Storage manuals

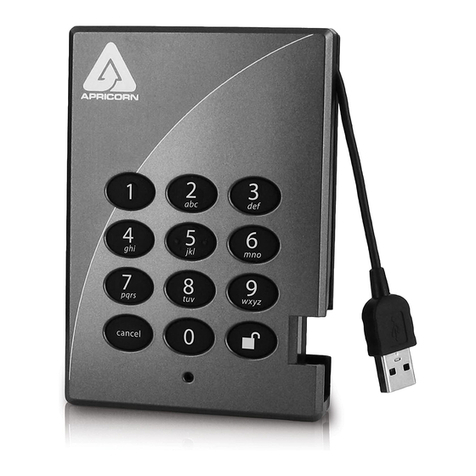
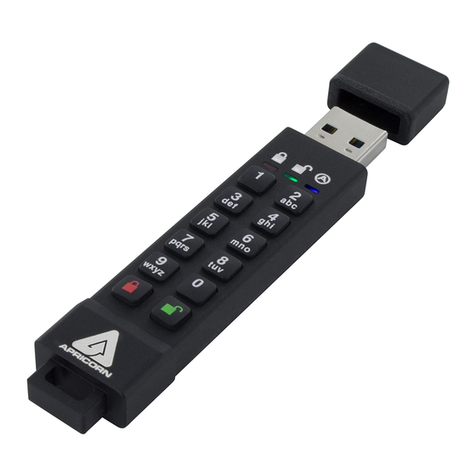
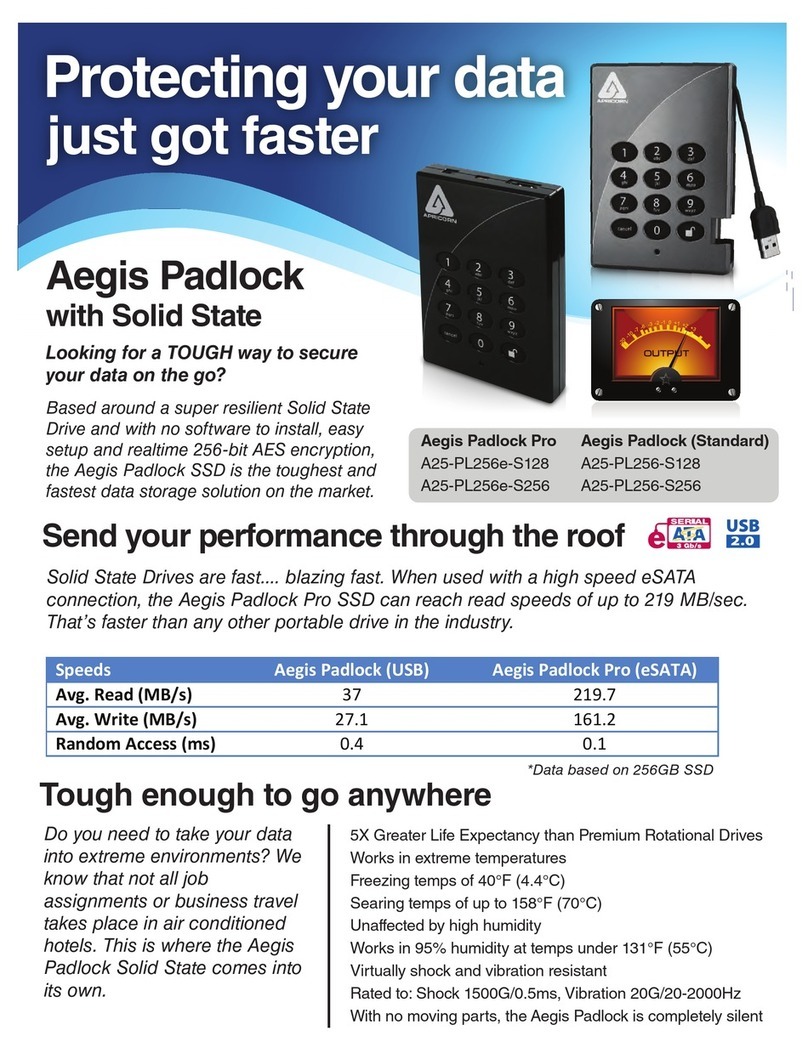
Apricorn Aegis Padlock Pro User manual

Apricorn

Apricorn Aegis Padlock Pro User manual

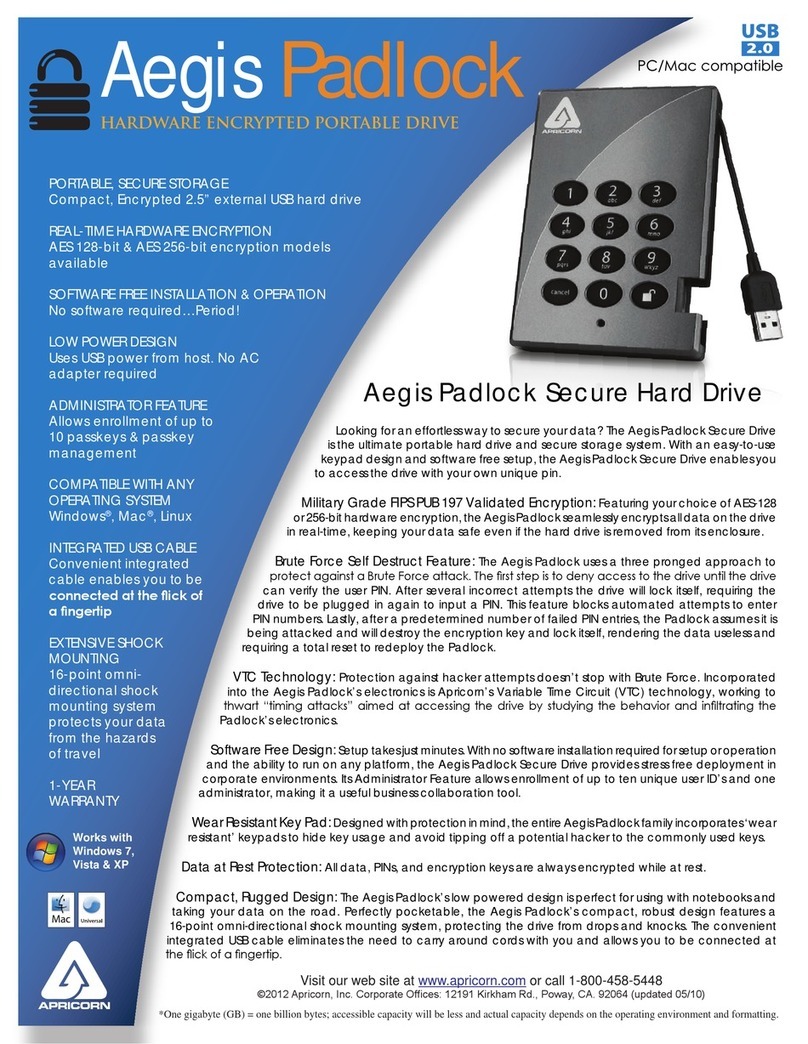
Apricorn Aegis Padlock User manual

Apricorn

Apricorn Aegis Padlock User manual

Apricorn EZ-BUS-DTS-EKIT User manual

Apricorn

Apricorn EZ-BUS-DTS-EKIT User manual

Apricorn Aegis Mini A18-USB 240GB User manual

Apricorn

Apricorn Aegis Mini A18-USB 240GB User manual

Apricorn Aegis Mini A18-USB 240GB User manual

Apricorn

Apricorn Aegis Mini A18-USB 240GB User manual

Apricorn Aegis Padlock DT User manual

Apricorn

Apricorn Aegis Padlock DT User manual

Apricorn Aegis Fortress User manual

Apricorn

Apricorn Aegis Fortress User manual

Apricorn Aegis Padlock Fortress Owner's manual

Apricorn

Apricorn Aegis Padlock Fortress Owner's manual

Apricorn Aegis Padlock A25-PL256-1TB User manual

Apricorn

Apricorn Aegis Padlock A25-PL256-1TB User manual

Apricorn EZ-UP-UNIVERSAL User manual

Apricorn

Apricorn EZ-UP-UNIVERSAL User manual

Apricorn Aegis Padlock A25-PLE256 500GB User manual

Apricorn

Apricorn Aegis Padlock A25-PLE256 500GB User manual

Apricorn Upgrade Kit for iPod User manual

Apricorn

Apricorn Upgrade Kit for iPod User manual

Apricorn Aegis Padlock DT FIPS User manual

Apricorn

Apricorn Aegis Padlock DT FIPS User manual

Apricorn Aegis Padlock A25-PL128 640GB User manual

Apricorn

Apricorn Aegis Padlock A25-PL128 640GB User manual

Apricorn Aegis Portable User manual

Apricorn

Apricorn Aegis Portable User manual

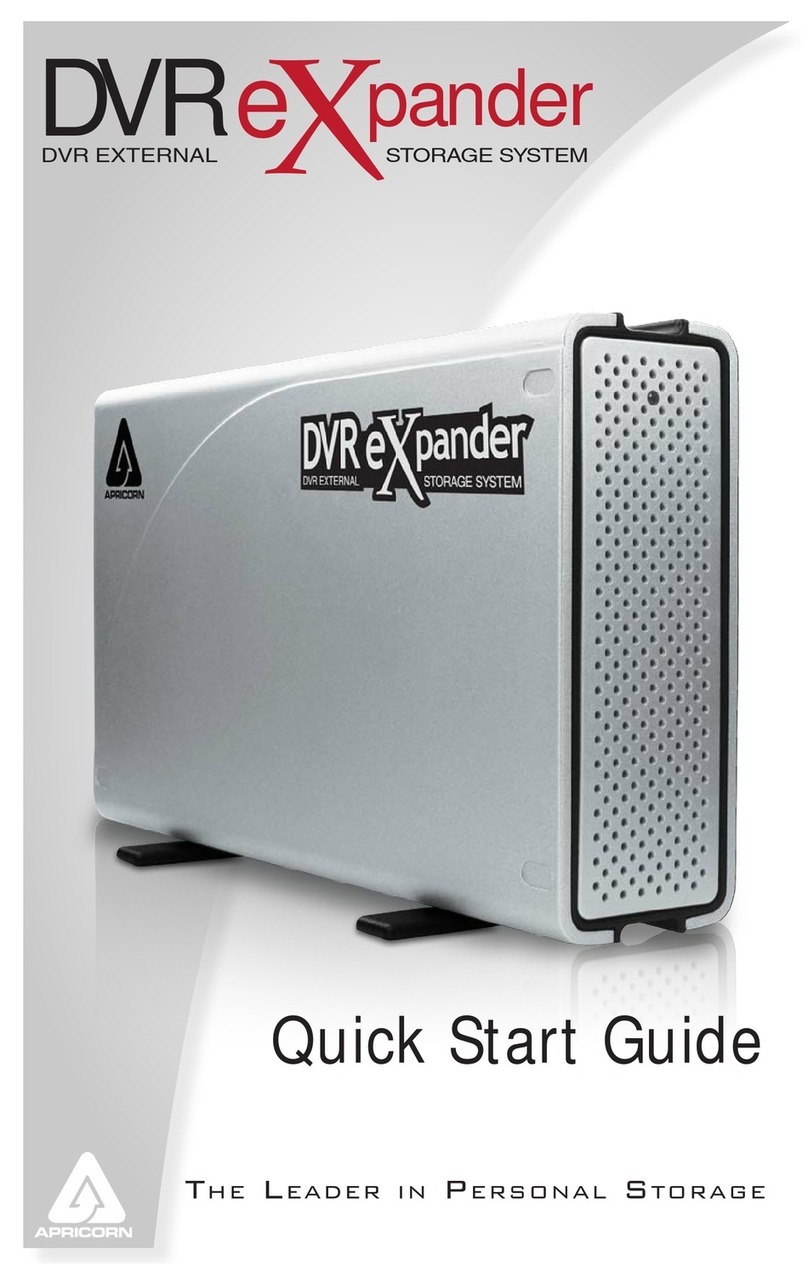
Apricorn DVR External eXpander Storage System User manual

Apricorn

Apricorn DVR External eXpander Storage System User manual

Apricorn Aegis Padlock DT User manual

Apricorn

Apricorn Aegis Padlock DT User manual

Apricorn Aegis Padlock A25-PL256 250GB User manual

Apricorn

Apricorn Aegis Padlock A25-PL256 250GB User manual

Apricorn ADVRX 500GB User manual

Apricorn

Apricorn ADVRX 500GB User manual

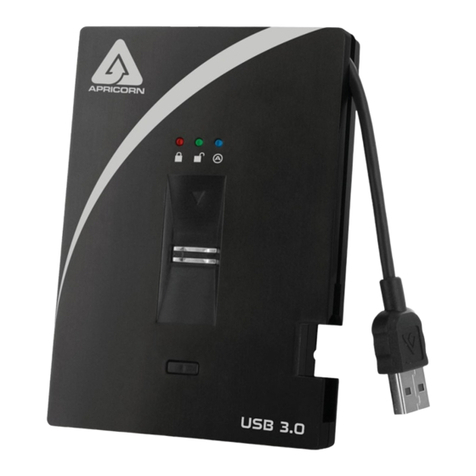
Apricorn Aegis Bio 3.0 User manual

Apricorn

Apricorn Aegis Bio 3.0 User manual

Apricorn Aegis Secure Key 3z User manual

Apricorn

Apricorn Aegis Secure Key 3z User manual

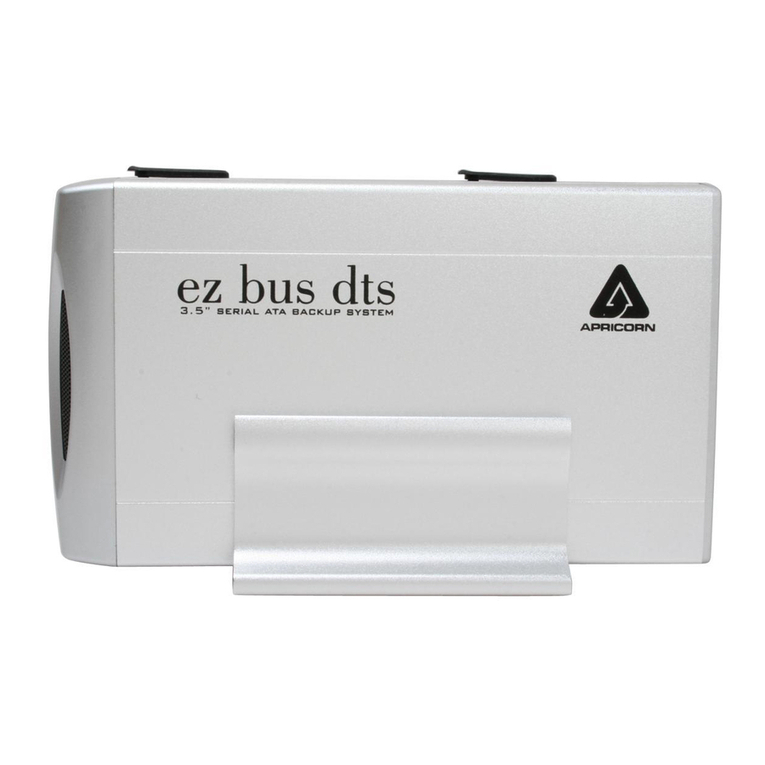
Apricorn EZ Bus DTS User manual

Apricorn

Apricorn EZ Bus DTS User manual

Apricorn ASK-256-4GB User manual

Apricorn

Apricorn ASK-256-4GB User manual

Apricorn Aegis Padlock A25-PLE256 256GB User manual

Apricorn

Apricorn Aegis Padlock A25-PLE256 256GB User manual

Popular Storage manuals by other brands

Buffalo LinkStation Pro Quick setup guide

Buffalo

Buffalo LinkStation Pro Quick setup guide

Hootoo HT-IM003 Online guide

Hootoo

Hootoo HT-IM003 Online guide

Verbatim Wallet Drive 640GB user guide

Verbatim

Verbatim Wallet Drive 640GB user guide

Ezquest B12568 quick start guide

Ezquest

Ezquest B12568 quick start guide

Qsan XN5012R owner's manual

Qsan

Qsan XN5012R owner's manual

TrueNAS ES24F Basic Setup Guide

TrueNAS

TrueNAS ES24F Basic Setup Guide

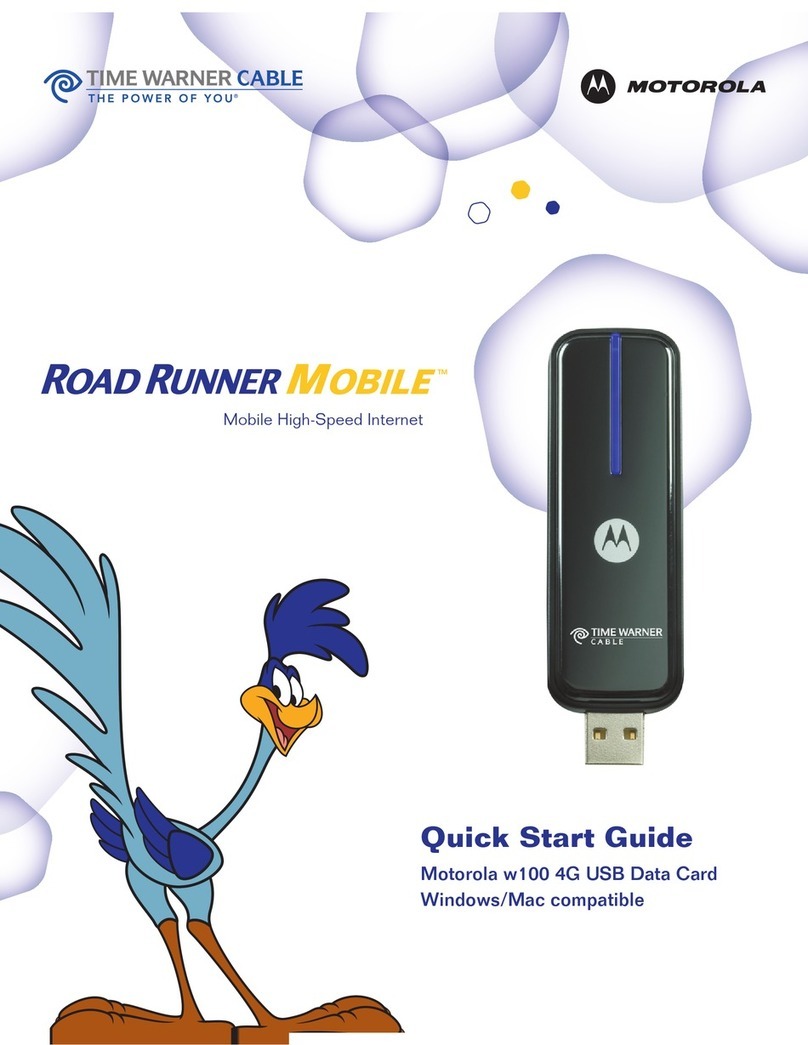
Motorola road runner mobile quick start guide

Motorola

Motorola road runner mobile quick start guide

Sun Microsystems TIMBERWOLF 9740 Hardware operator's guide

Sun Microsystems

Sun Microsystems TIMBERWOLF 9740 Hardware operator's guide

Smacq Technologies USB-3200 Series user manual

Smacq Technologies

Smacq Technologies USB-3200 Series user manual

Storex StoryDisk Quick installation guide

Storex

Storex StoryDisk Quick installation guide

Infortrend EonNAS Pro 500 Quick installation guide

Infortrend

Infortrend EonNAS Pro 500 Quick installation guide

Western Digital My Book WDG1NC10000 Quick install guide

Western Digital

Western Digital My Book WDG1NC10000 Quick install guide

Dell PS4100 Hardware maintenance guide

Dell

Dell PS4100 Hardware maintenance guide

Intel SS4000-E - Entry Storage System NAS Server troubleshooting guide
Intel

Intel SS4000-E - Entry Storage System NAS Server troubleshooting guide

Iomega eGo 35330 quick start guide

Iomega

Iomega eGo 35330 quick start guide

Vistor NAS-34 user guide

Vistor

Vistor NAS-34 user guide

HP Surestore Disk Array 12h - And FC60 Notice

HP

HP Surestore Disk Array 12h - And FC60 Notice

Argosy Mobile Video HDD user manual

Argosy

Argosy Mobile Video HDD user manual

manuals.online logo
manuals.online logoBrands
  • About & Mission
  • Contact us
  • Privacy Policy
  • Terms and Conditions

Copyright 2025 Manuals.Online. All Rights Reserved.