- 15 -
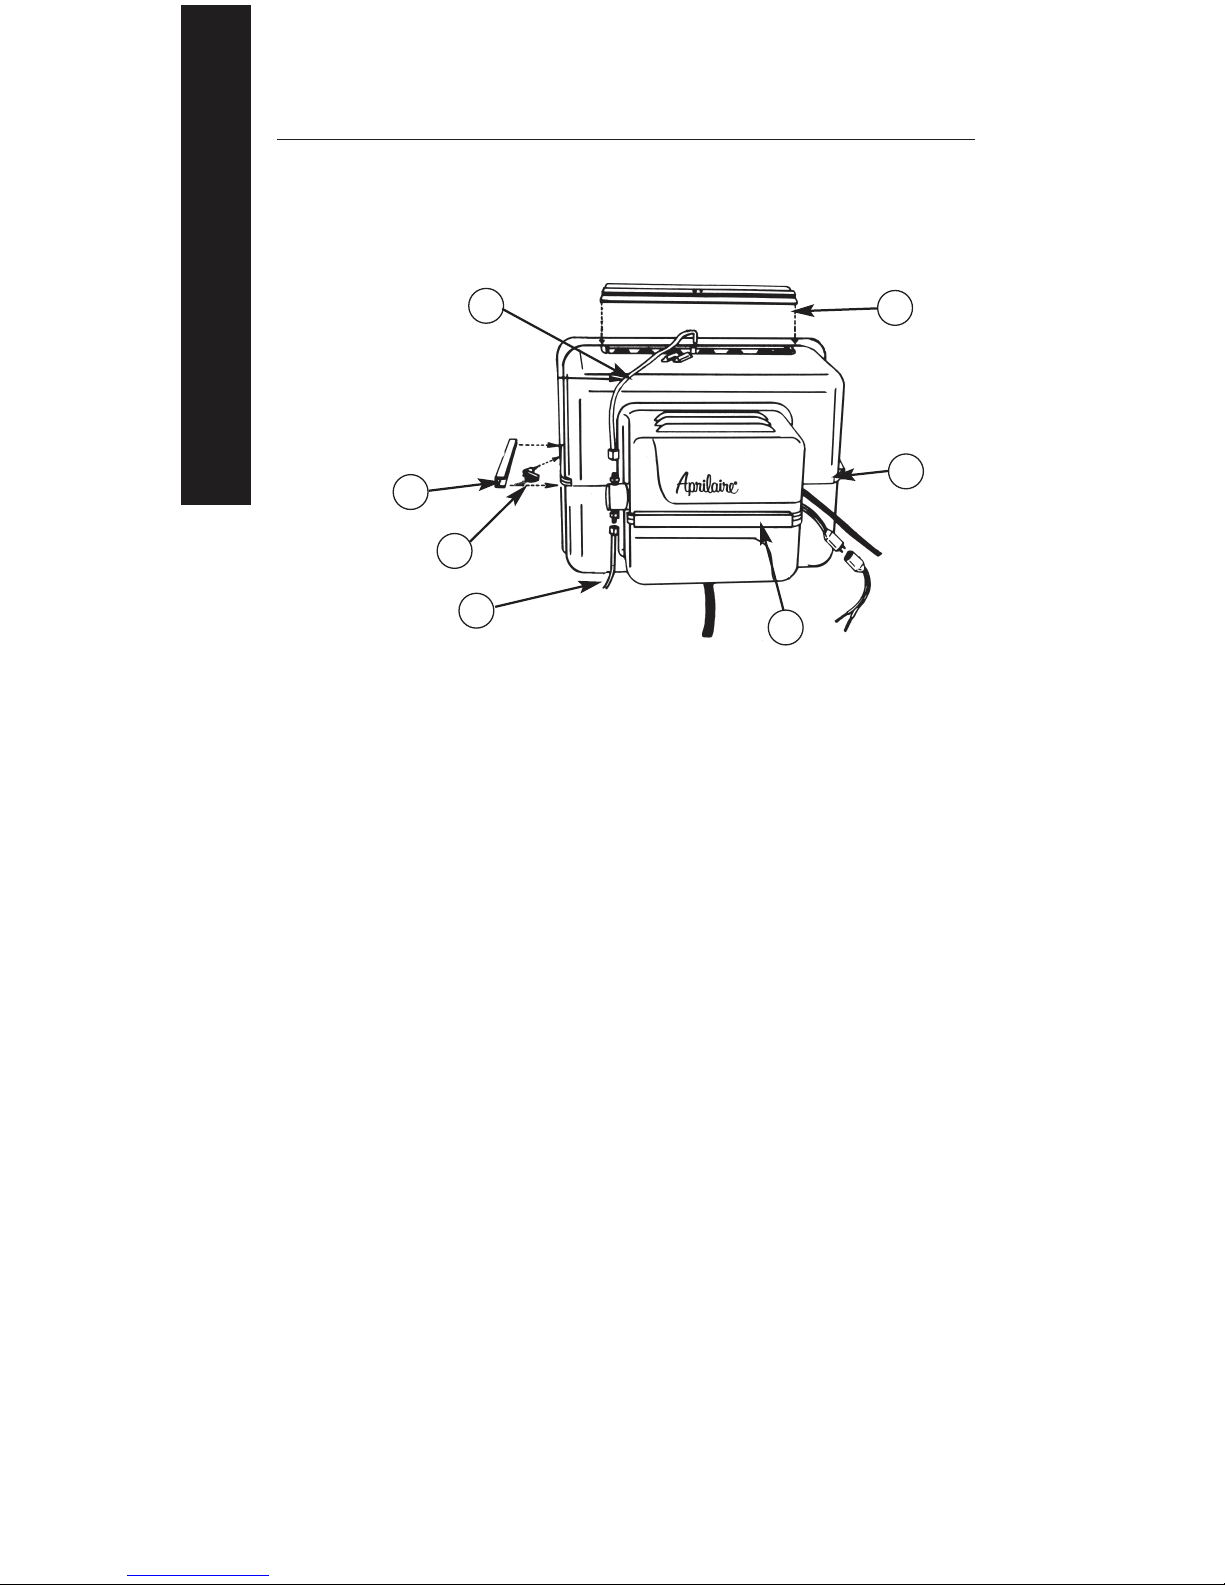
A. TO CLEAN RESERVOIR
1. Hold bottom of reservoir (IT IS FILLED
WITH WATER) and loosen retainer knob.
Carefully lower reservoir, disengaging
from metal frame.
2. Empty water, remove partition and
reservoir liner.
3. Clean or replace reservoir liner. Reinstall
partition in liner. To replace reservoir,
hook back of reservoir over lip of dark
metal frame and tighten knob.
B. TO CLEAN HOSE
1. Disconnect hose from pump and pull
hose up through hole.
2. Flex hose to loosen scale and flush clean
with a stream of water.
3. Clean nozzle at the same time.
C. TO CLEAN PUMP
1. Remove pump impellor cap (1) by
pushing down on projecting sides (2).
2. Clean scale from inside of cover and
impellor (3) with dull blade.
3. Clean flow control (4) in pump outlet with
5/32” bit.
4. Snap pump impellor cap (1) back in
place.
5. Pull water hose down through hole,
connect to pump, and attach nozzle into
water distribution tray.
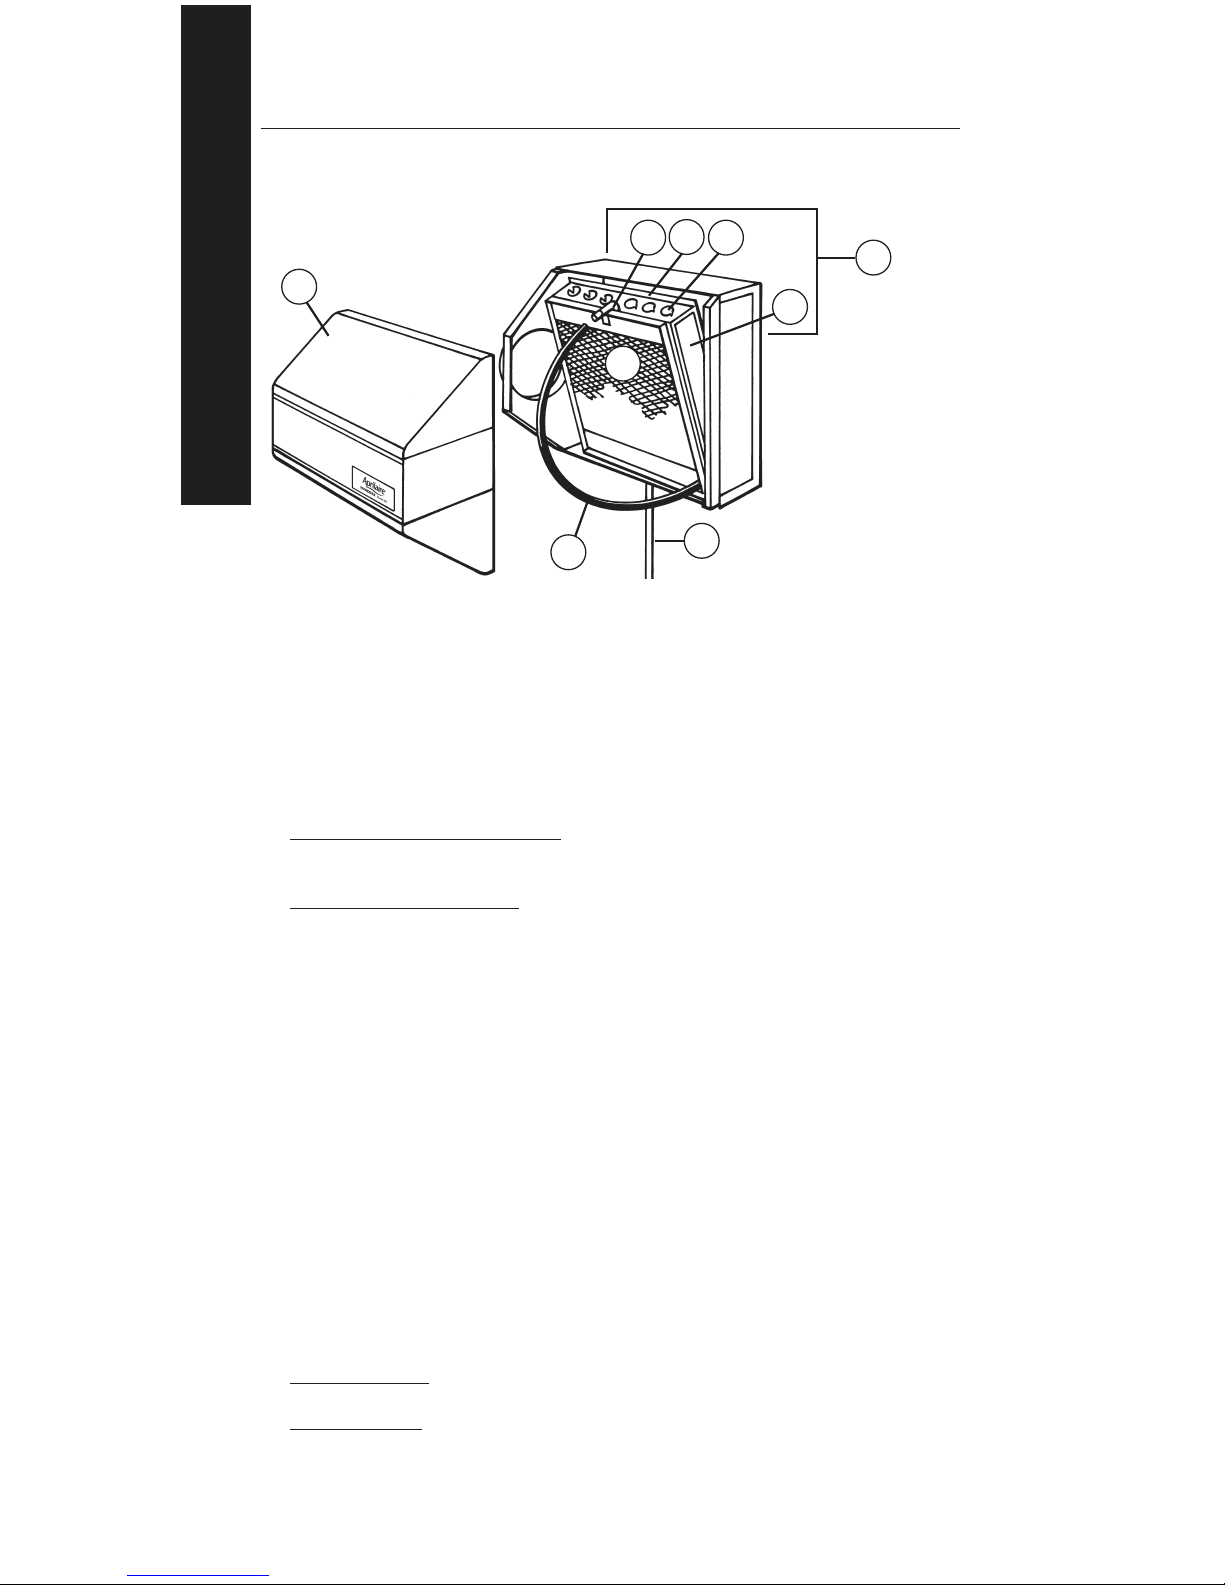
D. TO CLEAN FLOAT
1. Clean scale off float (5) and arm
mechanism (6) with dull blade.
2. Work arm mechanism (6) up and down to
dislodge any scale buildup.
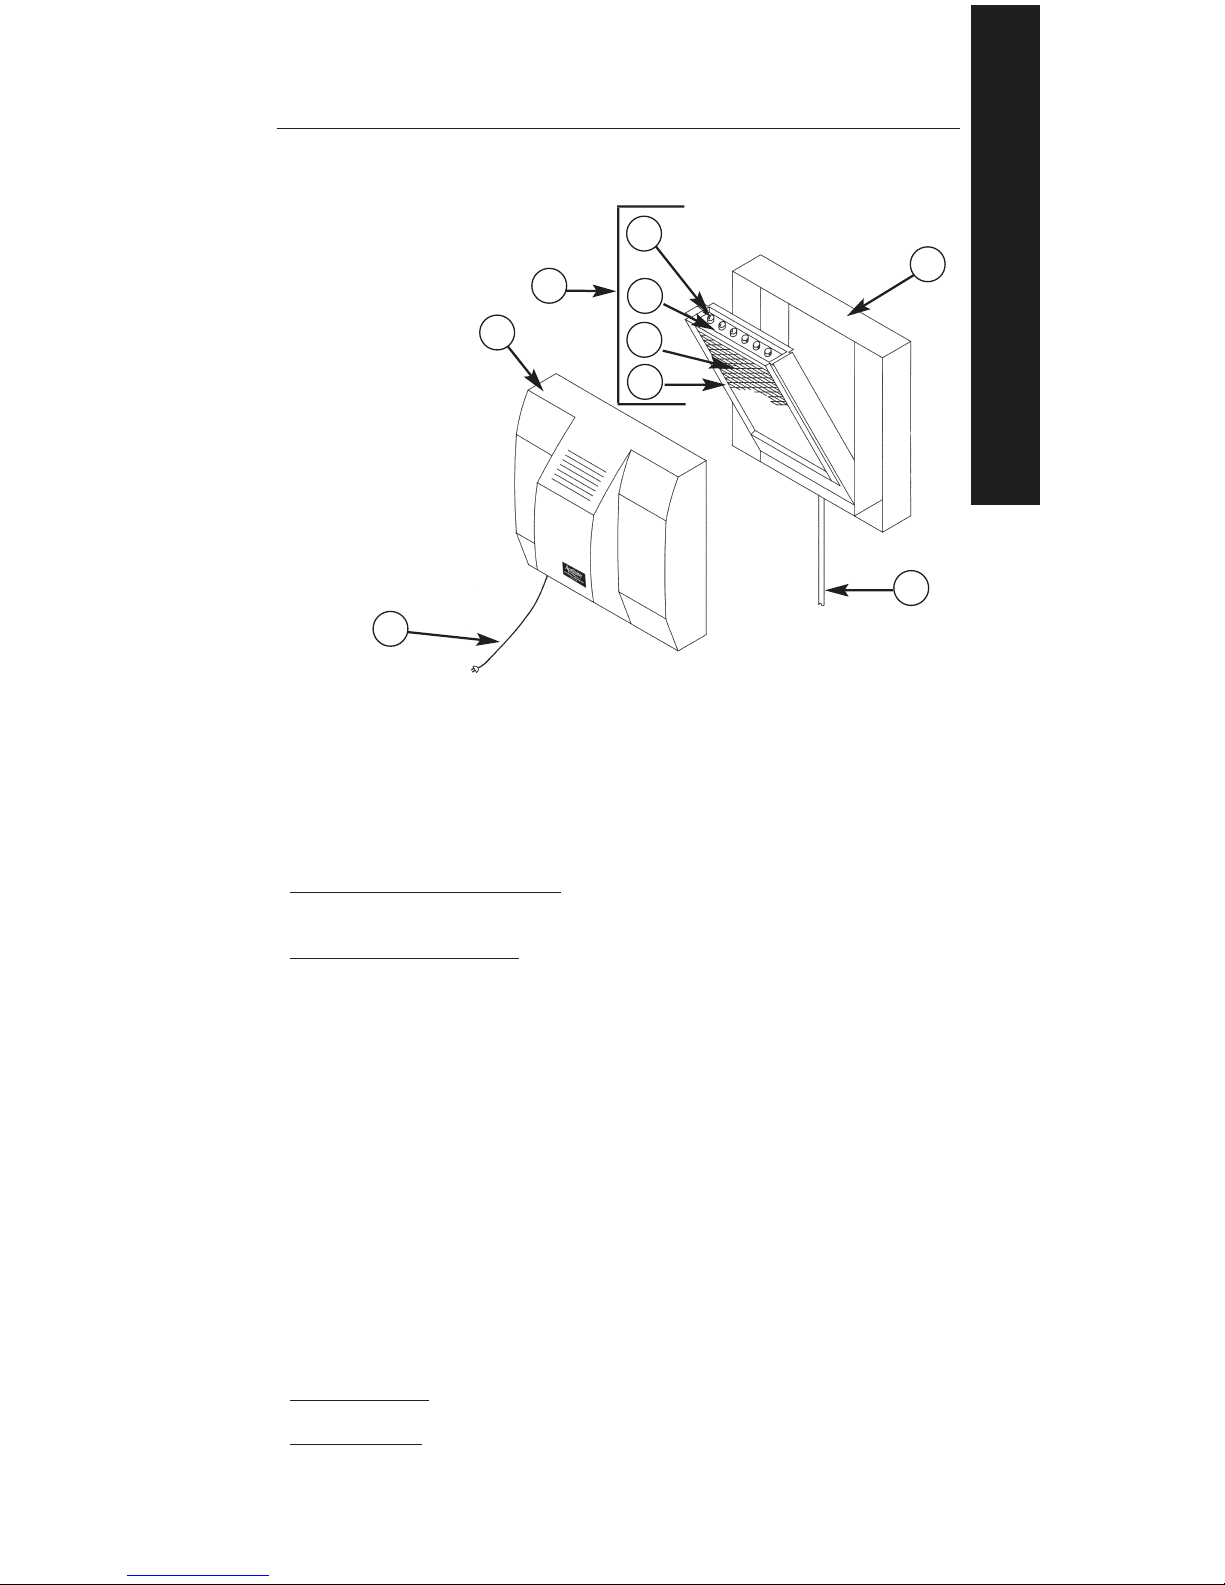
E. TO OIL MOTOR
1. Disconnect water line at valve inlet and
swing line free. Disconnect the
humidistat leads.
2. Remove the three screws from the
brown motor cover and remove.
3. Use two drops SAE 20 oil in the yellow
hole on top and inside the yellow mark
on the side of the motor.
F. TO REASSEMBLE
1. Replace motor cover.
2. To reinstall reservoir, hook back of
reservoir over lip of dark brown metal
frame and tighten knob.
3. Reconnect water at valve inlet.
4. To reinstall top cover, hook back under
lip of dark brown metal frame and tighten
two knobs.
5. Reconnect humidistat or control leads
and electrical power.
6. Turn on water supply and fill reservoir in
the fall.
7. Check unit operation.
8. Check system operation:
Manual Humidistat: Turn up humidistat to
highest setting and make sure the
furnace blower is operating. Humidifier
will operate if RH is less than 50%.
Humidifier Control: Check system
operation by setting the knob to “Test.”
With furnace blower operating and
furnace calling for heat, humidifier will
operate for one minute.
9. Set humidistat or Control to its original
position.
6
2
1
3
4
5
2
MODELS 445-448
MAINTENANCE INSTRUCTIONS for
MODELS 445-448 RESERVOIR PUMP SECTIONS
WARNING! 120 volts may cause serious injury from electrical shock.
Disconnect power and shut off water supply before servicing.
IMPORTANT: Clean and refill reservoir, hose, pump and float every
30 days during heating season.
1. Pump Impellor Cap
2. Cap Sides
3. Impellor
4. Cap Flow Control Opening
5. Float
6. Arm Mechanism