INSTRUCTION MANUAL
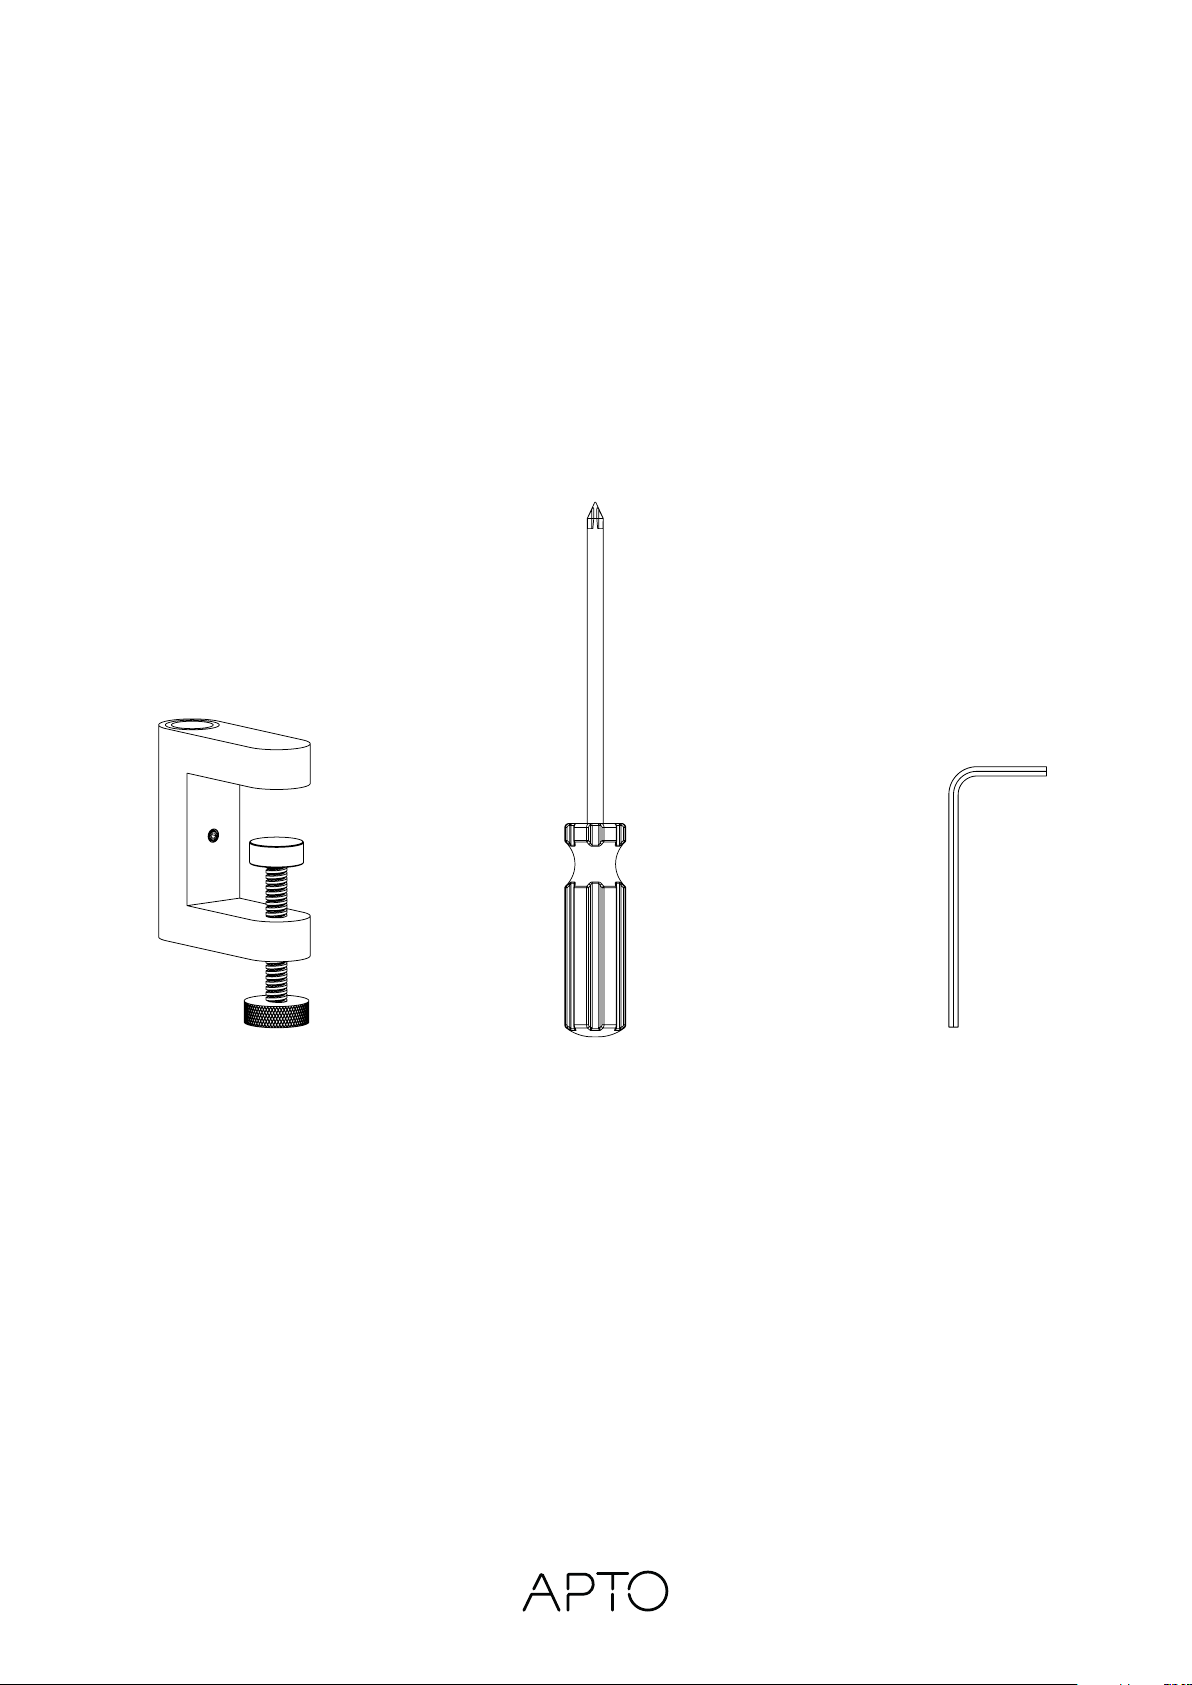
PARTS
Designed by PJ Production & Hans Thyge & Co // Hårup Skovvej 2, 8600 Silkeborg, Danmark // + 45 86 81 23 75 // www.aptocollection.dk
Copyright ©
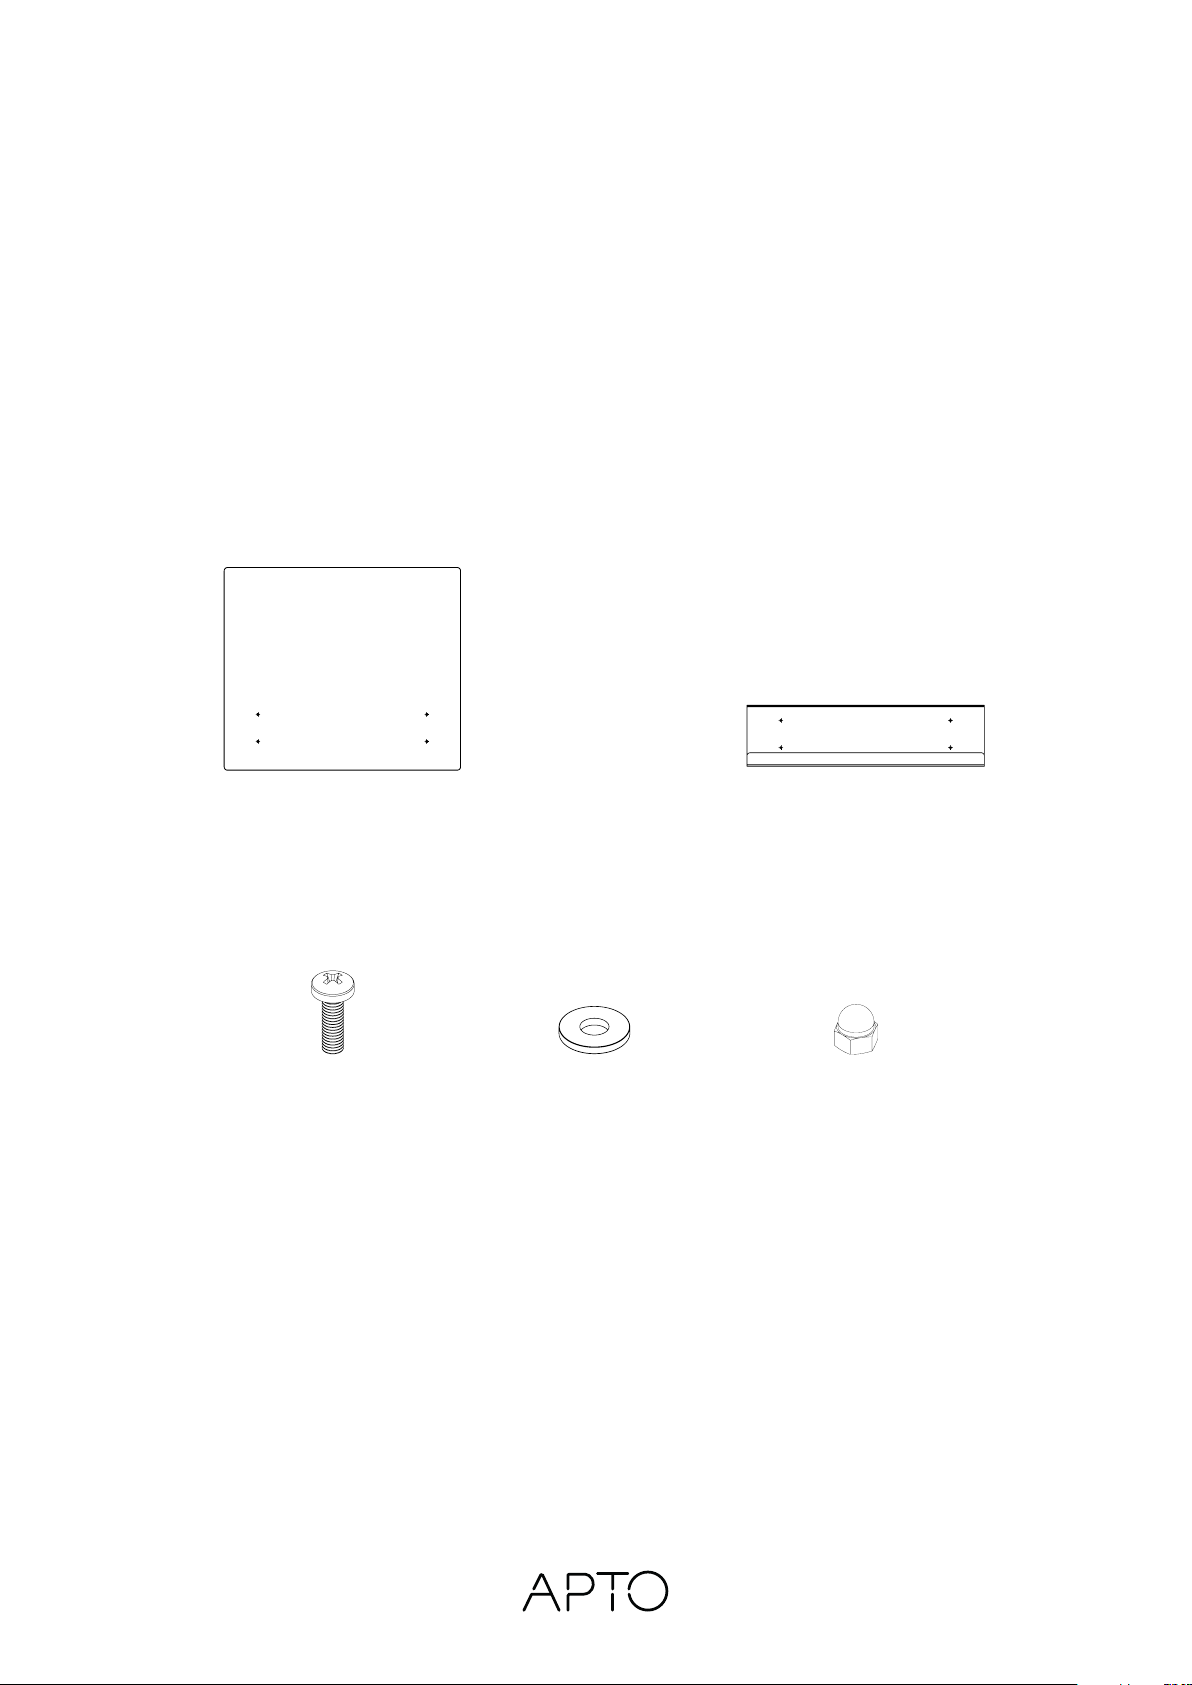
1 x felt wall - 1100 mm
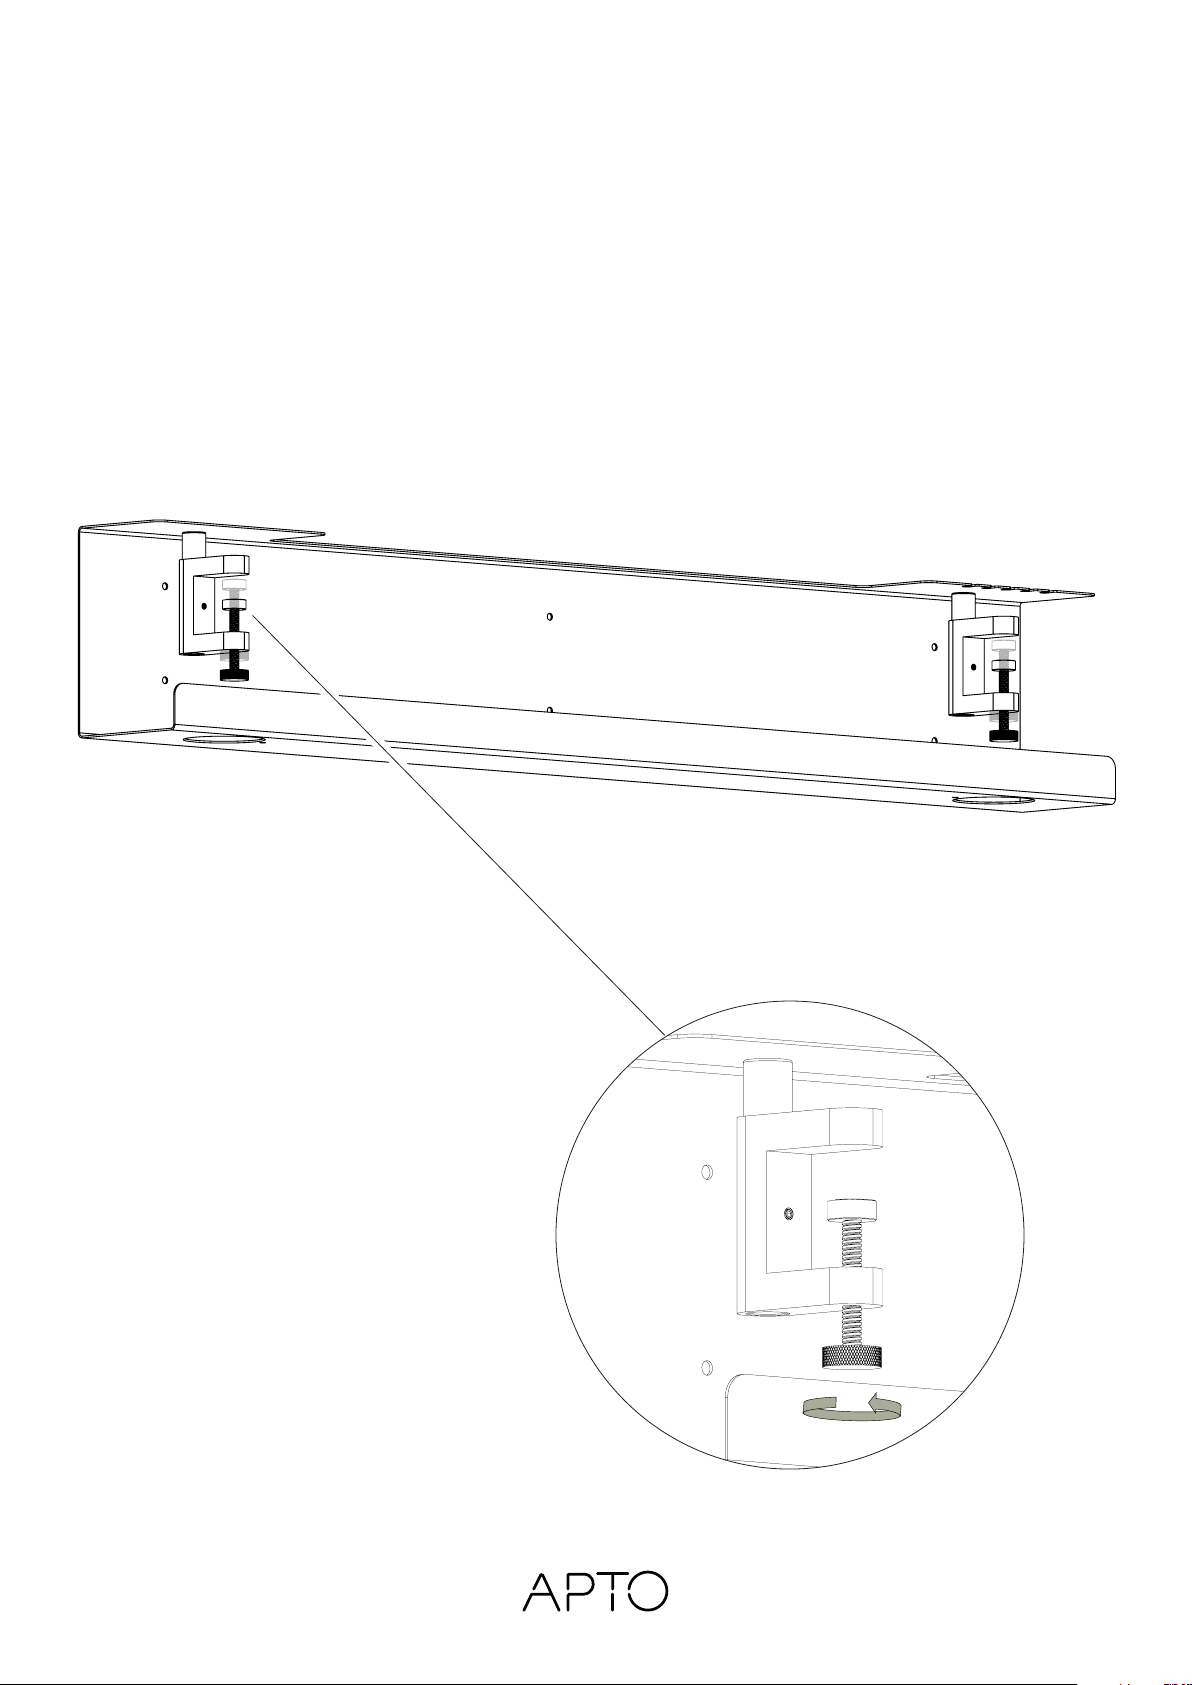
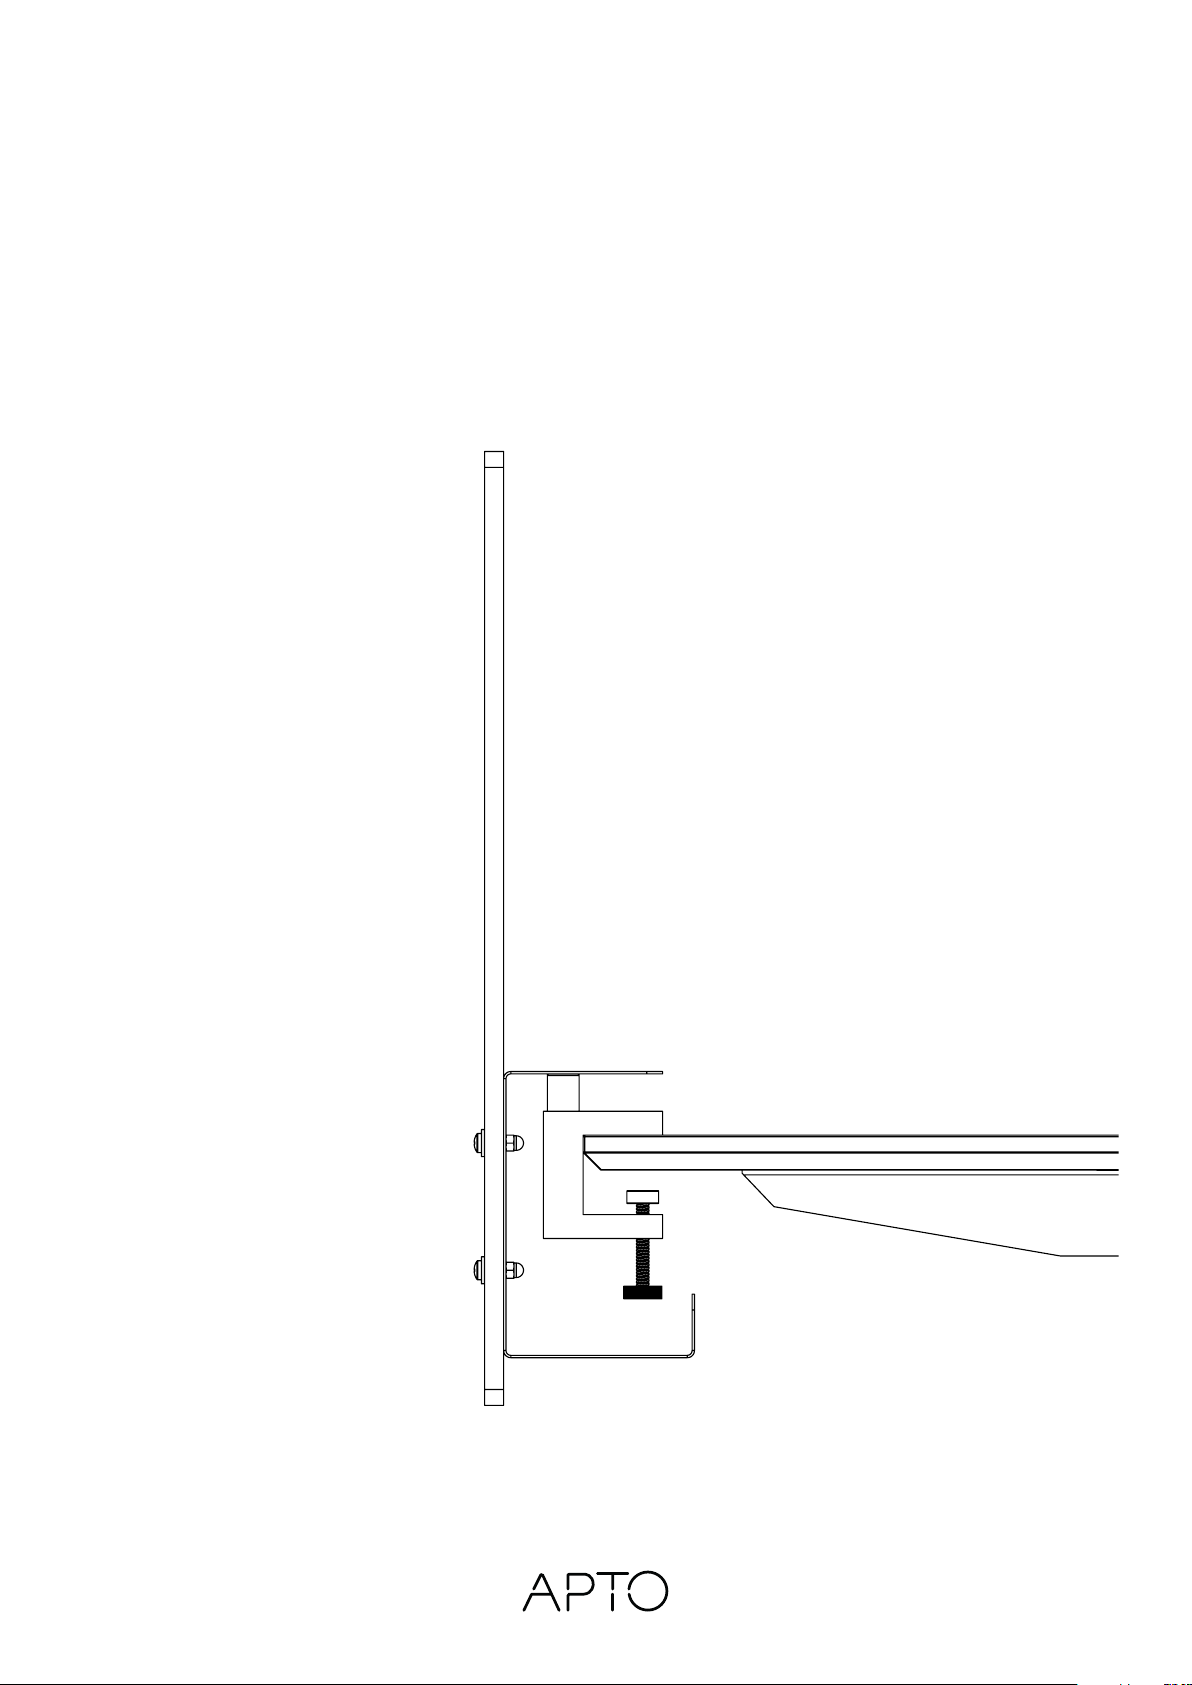
CABLE MANAGEMENT - 1100 MM
Nordic Dark Blue: 6000-0029-5008
Danish Dusty Green: 6000-0029-7033
Scandinavian Matte Black: 6000-0029-9000
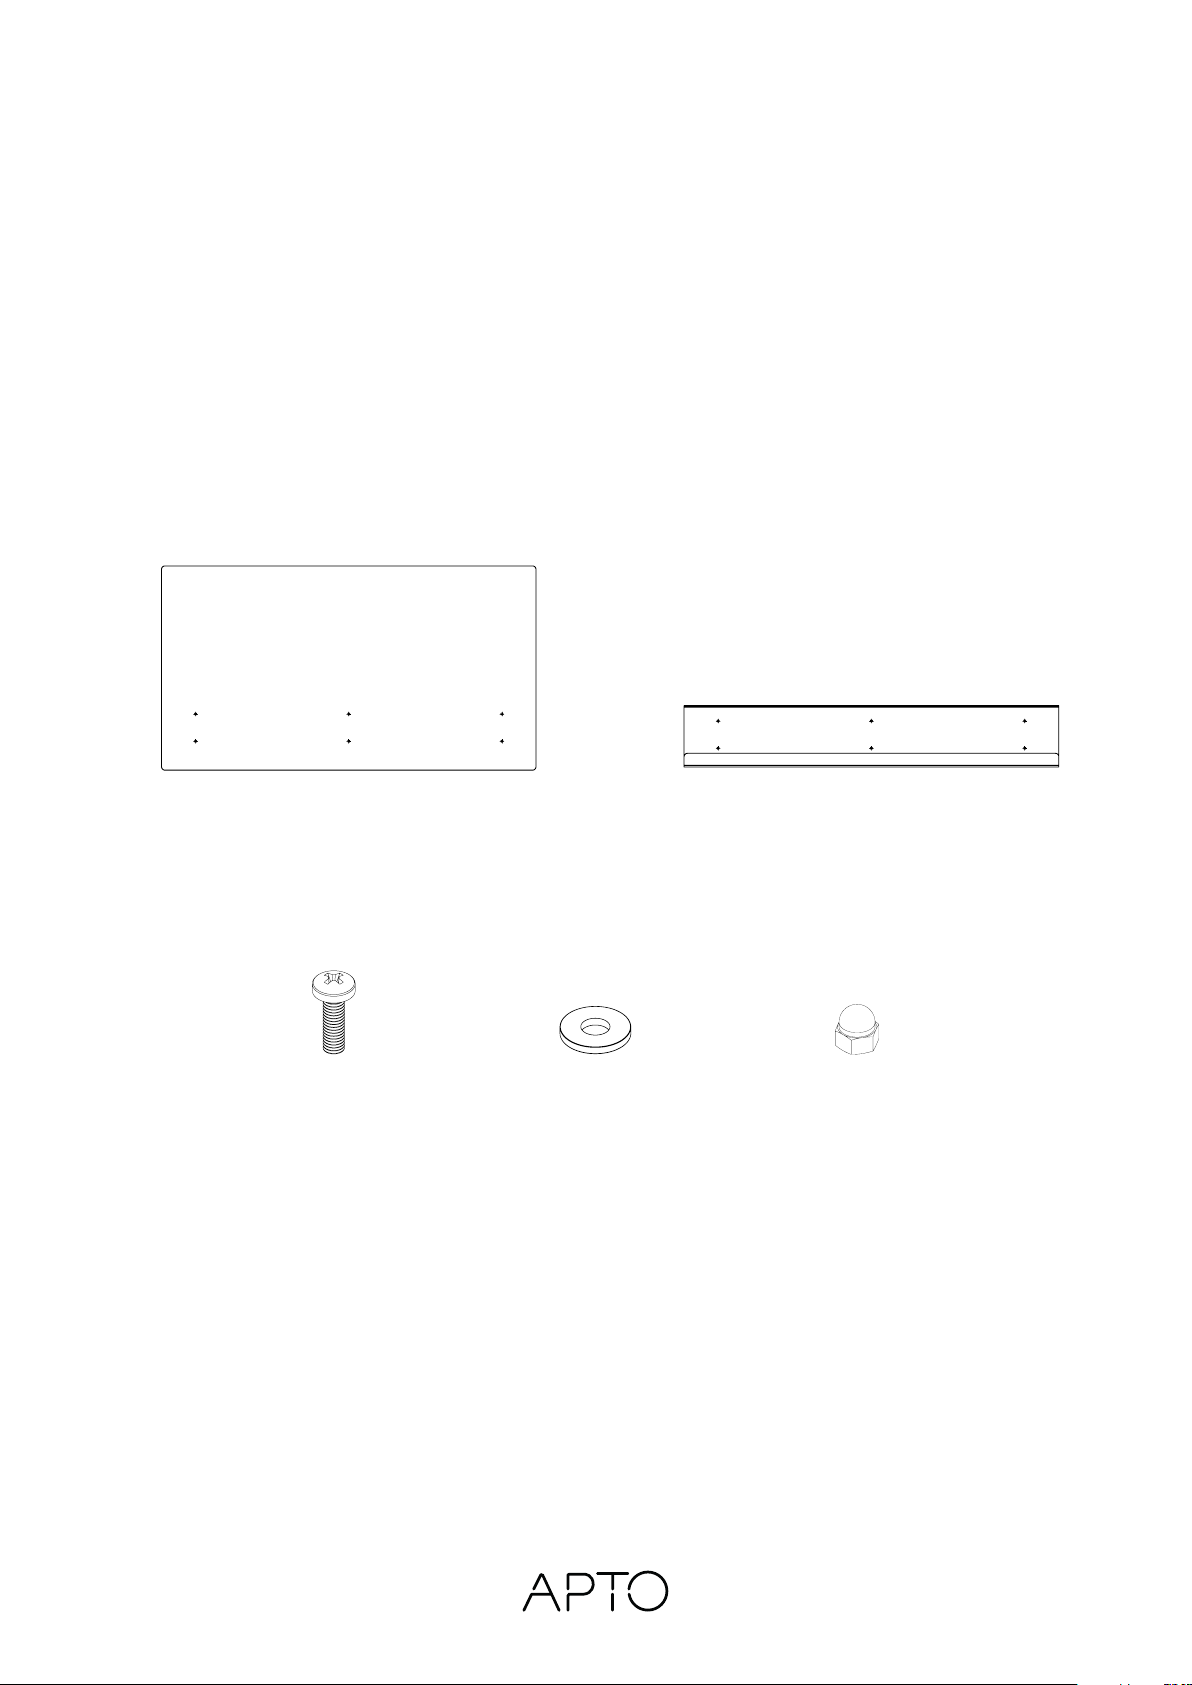
6 x screws 6 x spacers 6 x nuts
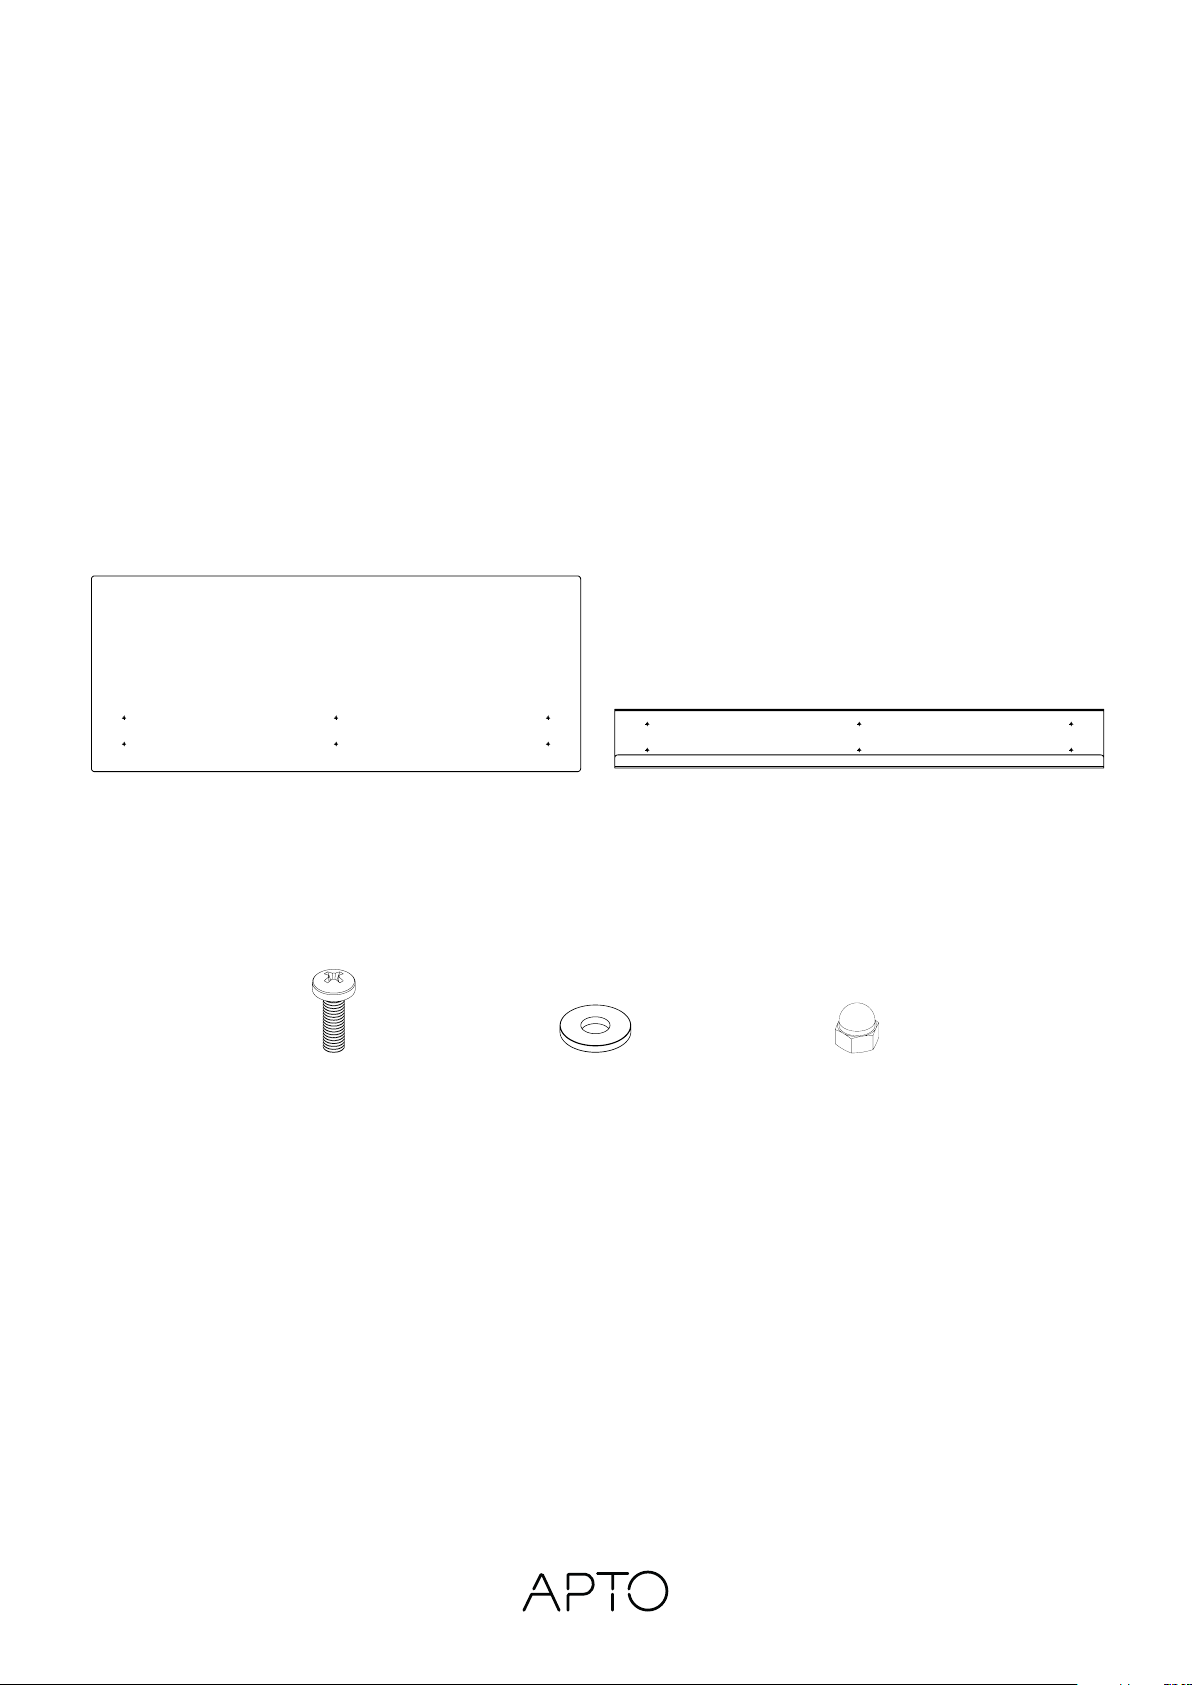
This instruction manual is equal for following: cable management - 700 mm, cable management - 1100 mm, and cable management
- 1500 mm. The different parts for cable management - 1100 mm is illuminated below. Note: the instruction manual is made with the
large version measuring 1500 mm.
1 x cable management - 1100 mm