manuals.online logo
Brands
  1. Home
  2. •
  3. Brands
  4. •
  5. APW Wyott
  6. •
  7. Grill
  8. •
  9. APW Wyott HR-20 User manual

APW Wyott HR-20 User manual

Other manuals for HR-20

2

This manual suits for next models

27

Other APW Wyott Grill manuals

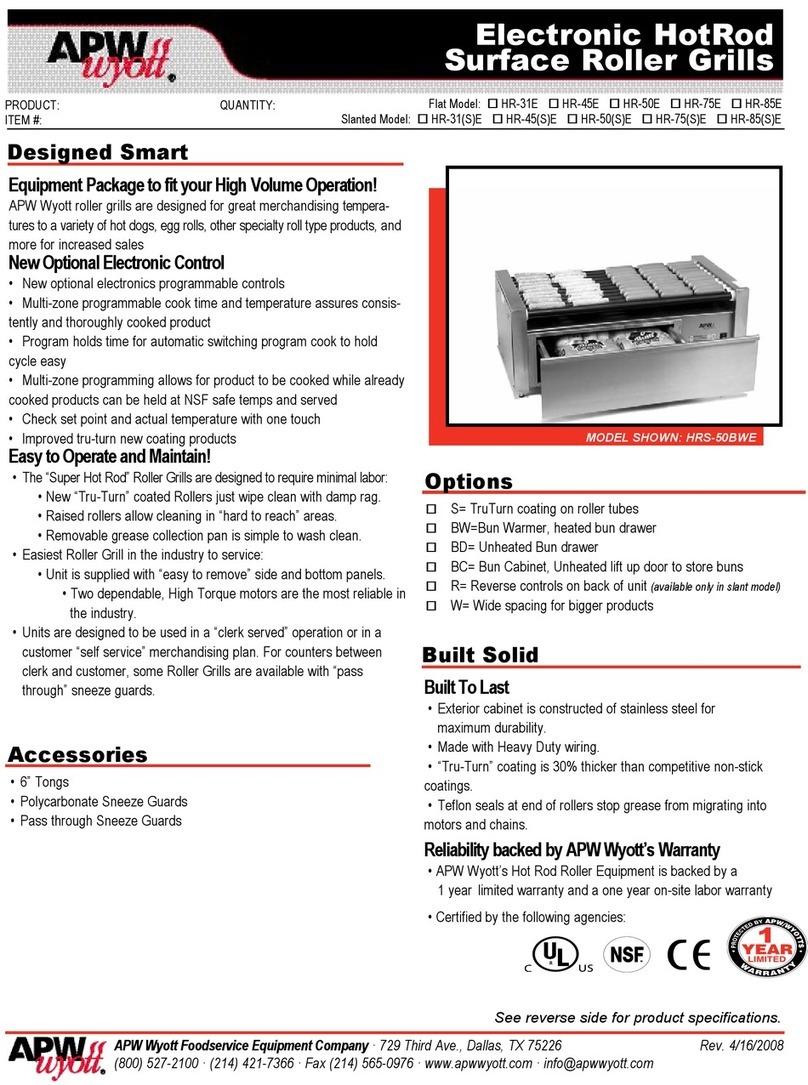
APW Wyott HOTROD User manual

APW Wyott

APW Wyott HOTROD User manual

APW Wyott Slanted HOTROD User manual

APW Wyott

APW Wyott Slanted HOTROD User manual

APW Wyott HR-31E User manual

APW Wyott

APW Wyott HR-31E User manual

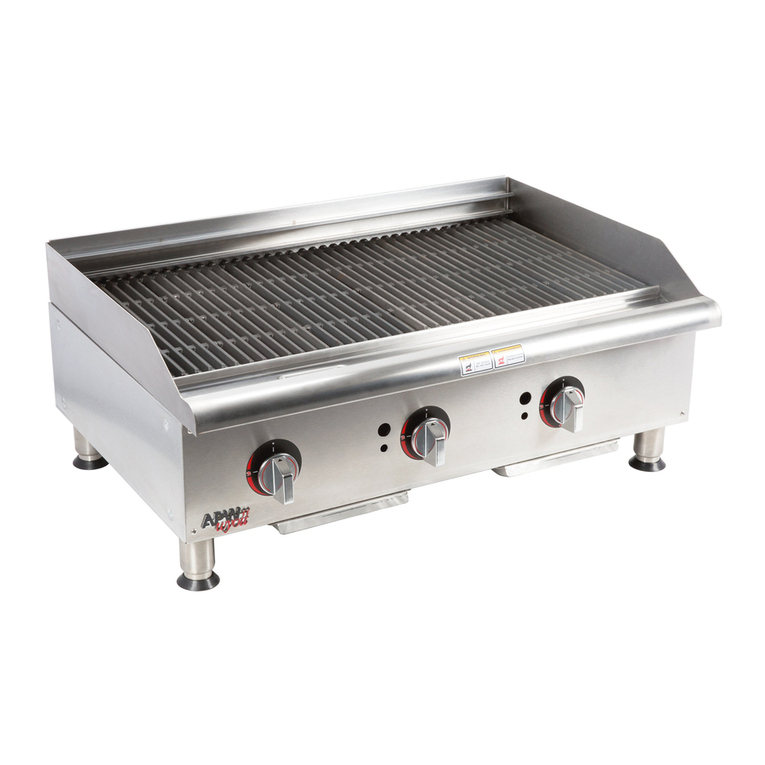
APW Wyott Champion GCB-18H User manual

APW Wyott

APW Wyott Champion GCB-18H User manual

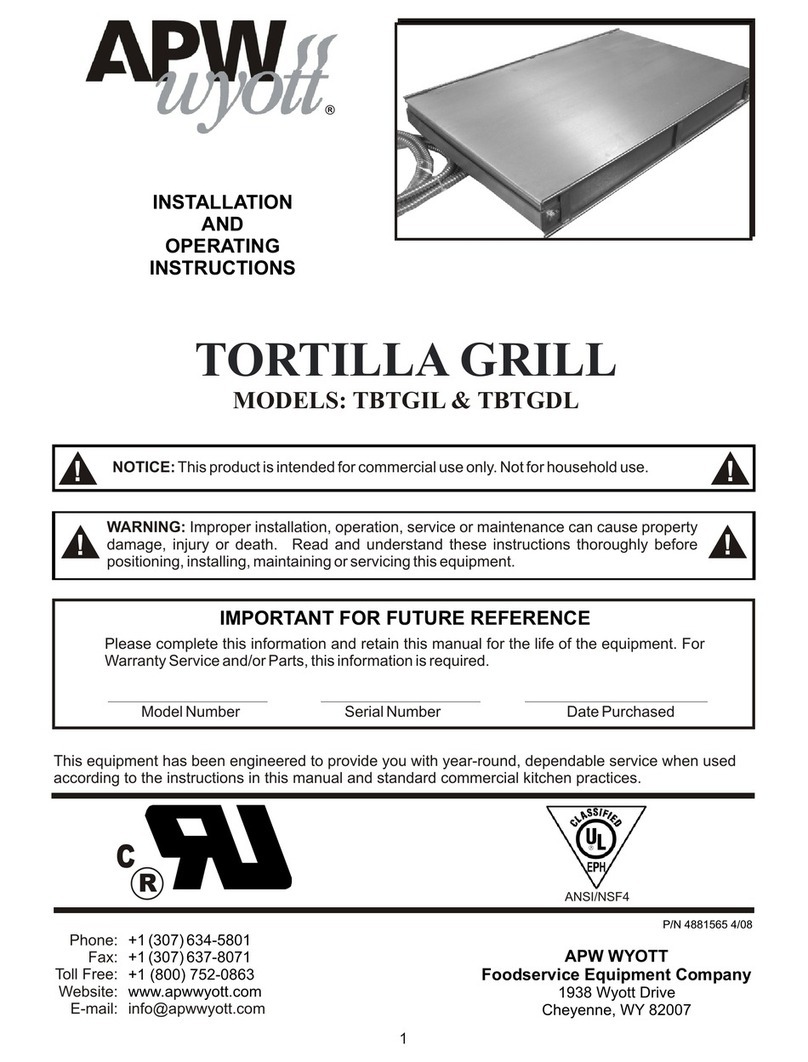
APW Wyott TBTGIL User manual

APW Wyott

APW Wyott TBTGIL User manual

APW Wyott HR-31E User manual

APW Wyott

APW Wyott HR-31E User manual

APW Wyott HRS-75 5T User manual

APW Wyott

APW Wyott HRS-75 5T User manual

APW Wyott HR-20 User manual

APW Wyott

APW Wyott HR-20 User manual

APW Wyott TBTGIL User manual

APW Wyott

APW Wyott TBTGIL User manual

APW Wyott HOTROD User manual

APW Wyott

APW Wyott HOTROD User manual

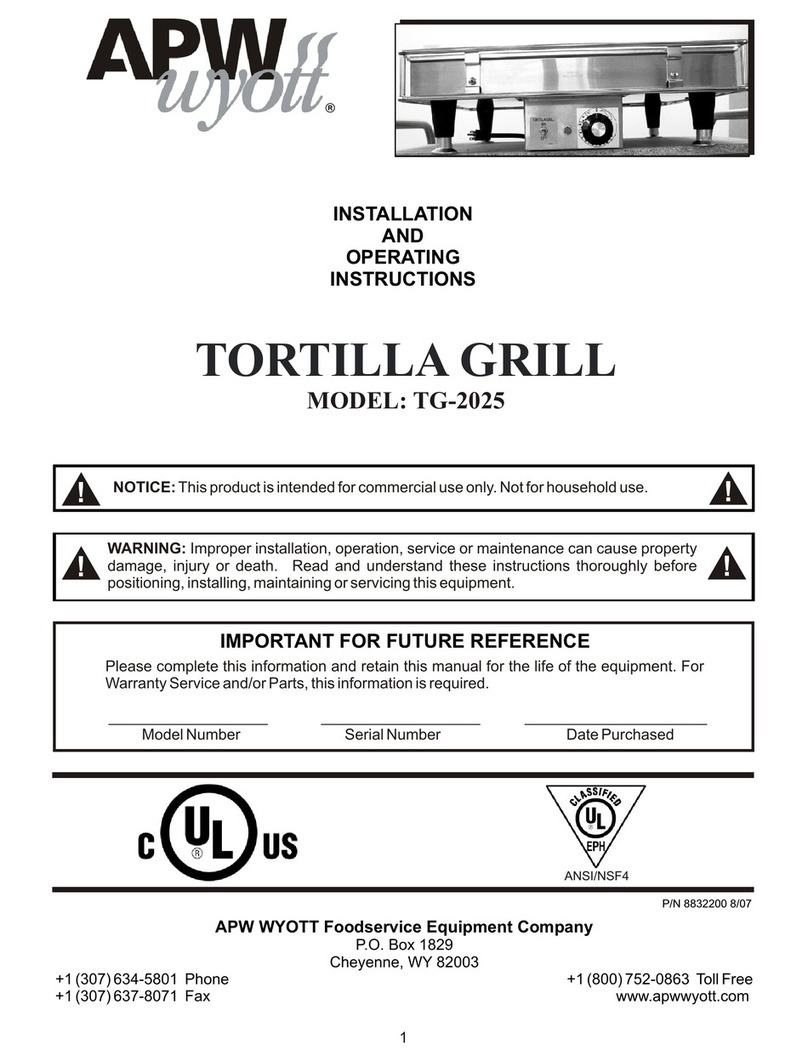
APW Wyott TG-2025 User manual

APW Wyott

APW Wyott TG-2025 User manual

APW Wyott HR-20S User manual

APW Wyott

APW Wyott HR-20S User manual

APW Wyott HR-20 User manual

APW Wyott

APW Wyott HR-20 User manual

APW Wyott HCB-2424 User manual

APW Wyott

APW Wyott HCB-2424 User manual

APW Wyott Champion GCB-18H User manual

APW Wyott

APW Wyott Champion GCB-18H User manual

APW Wyott HOTROD HR-45 User manual

APW Wyott

APW Wyott HOTROD HR-45 User manual

Popular Grill manuals by other brands

LMS BBQ08873P owner's manual

LMS

LMS BBQ08873P owner's manual

Cookworks LW-8010A Care & instruction manual

Cookworks

Cookworks LW-8010A Care & instruction manual

Campingaz CV Instructions for use

Campingaz

Campingaz CV Instructions for use

Metos XBL Series Installation and operation manual

Metos

Metos XBL Series Installation and operation manual

Fiesta ET34567 Use and care instructions

Fiesta

Fiesta ET34567 Use and care instructions

Mayer Barbecue BRENNA MKG-318A BASIC Assembly instructions

Mayer Barbecue

Mayer Barbecue BRENNA MKG-318A BASIC Assembly instructions

Landmann Avalon PTS Plus 5.1 Plus 12122 Assembly and operating manual

Landmann

Landmann Avalon PTS Plus 5.1 Plus 12122 Assembly and operating manual

Kenyon B70200 owner's manual

Kenyon

Kenyon B70200 owner's manual

Better Homes and Gardens GBC1486W owner's manual

Better Homes and Gardens

Better Homes and Gardens GBC1486W owner's manual

Orbegozo GR 2300 instruction manual

Orbegozo

Orbegozo GR 2300 instruction manual

bora PT11 Operating and installation instructions

bora

bora PT11 Operating and installation instructions

Klarstein 10031664 manual

Klarstein

Klarstein 10031664 manual

Garland MWE3W Installation and operation manual

Garland

Garland MWE3W Installation and operation manual

Char-Broil 463722714 Product guide

Char-Broil

Char-Broil 463722714 Product guide

MPM MOP-03 user manual

MPM

MPM MOP-03 user manual

Kenmore 415.16123800 Use and care guide

Kenmore

Kenmore 415.16123800 Use and care guide

Tucker Barbecues GTR Series Assembly, installation and operating instructions

Tucker Barbecues

Tucker Barbecues GTR Series Assembly, installation and operating instructions

Monogram ZGG540NCP1SS owner's manual

Monogram

Monogram ZGG540NCP1SS owner's manual

manuals.online logo
manuals.online logoBrands
  • About & Mission
  • Contact us
  • Privacy Policy
  • Terms and Conditions

Copyright 2025 Manuals.Online. All Rights Reserved.

Phone: +1 (307) 634-5801
Fax: +1 (307) 637-8071
Toll Free: +1 (800) 752-0863
Website: www.apwwyott.com
E-mail: [email protected]
INSTALLATION
AND
OPERATING
INSTRUCTIONS
INTENDED FOR OTHER THAN HOUSEHOLD USE
RETAIN THIS MANUAL FOR FUTURE REFERENCE
UNIT MUST BE KEPT CLEAR OF COMBUSTIBLES AT ALL TIMES
P/N 88939-20 11/06
1
APW WYOTT
P.O. Box 1829
Cheyenne, WY 82003
This equipment has been engineered to provide you with year-round dependable service when used
according to the instructions in this manual and standard commercial kitchen practices.
WARNING: Improper installation, adjustment, alteration, service or maintenance can
cause property damage, injury or death. Read the Installation, Operating and
Maintenance Instructions thoroughly before installing or servicing this equipment. !!
R
IMPORTANT FOR FUTURE REFERENCE
Please complete this information and retain this manual for the life of the equipment. For
Warranty Service and/or Parts, this information is required.
Model Number Serial Number Date Purchased
!
!WARNING: For your safety do not store or use gasoline or other flammable vapors or liquids in the
vicinity of this or any other appliance. Keep the area free and clear of combustibles. (See ANZI
Z83.14B, 1991)
HOTROD ROLLER GRILLS
SLANTED HOTROD ROLLER GRILLS
FULL MENU HOTROD ROLLER GRILLS
R
R
R
2
APW Wyott takes pride in the design and quality of our products. When used as intended and with proper
care and maintenance, you will experience years of reliable operation from this equipment. To ensure best
results, it is important that you read and follow the instructions in this manual carefully.
Installation and start-up should be performed by a qualified installer who thoroughly read, understands and
follows these instruction.
If you have questions concerning the installation, operation, maintenance or service of this product, write
Technical Service Department APW/Wyott Foodservice Equipment Company, P.O. Box 1829, Cheyenne,
WY 82003.
SAFETY PRECAUTIONS
Before installing and operating this equipment be sure everyone involved in its operation are fully trained
and are aware of all precautions. Accidents and problems can result by a failure to follow fundamental rules
and precautions.
The following words and symbols, found in this manual, alert you to hazards to the operator, service
personnel or the equipment. The words are defined as follows:
!WARNING: This symbol refers to a potential hazard or unsafe practice, which could result in
serious injury or death.
!
!
!DANGER: This symbol warns of imminent hazard which will result in serious injury or death.
!
!CAUTION: This symbol refers to a potential hazard or unsafe practice, which may result in minor or
moderate injury or product or property damage.
!
!NOTICE: This symbol refers to information that needs special attention or must be fully understood
even though not dangerous.
!
CAUTION: These models are designed, built, and sold for commercial use. If these models are
positioned so the general public can use the equipment make sure that cautions, warnings, and
operating instructions are clearly posted near each unit so that anyone using the equipment will
use it correctly and not injure themselves or harm the equipment.
!
!
!
WARNING: SHOCK HAZARD - Do not open any panels that require the use of tools.
WARNING: Improper installation, adjustment, alteration, service or maintenance can cause
property damage, injury or death. Read the Installation, Operating and Maintenance Instructions
thoroughly before installing or servicing this equipment. !!
!
!
NOTICE: The unit when installed, must be electrically grounded and comply with local codes, or in
the absence of local codes, with the national electrical code ANSI/NFPA70- latest edition.
Canadian installation must comply with CSA-STANDARD C.22.2 Number 0 M1982 General
Requirements-Canadian Electrical Code Part II, 109-M1981- Commercial Cooking Appliances.
!
!
NOTICE: Local codes regarding installation vary greatly from one area to another. The National
Fire Protection Association, Inc. states in its NFPA96 latest edition that local codes are “Authority
Having Jurisdiction” when it comes to requirement for installation of equipment. Therefore,
installation should comply with all local codes.
3
IMMEDIATELY INSPECT FOR SHIPPING DAMAGE
All containers should be examined for damage before and during unloading. The freight carrier has
assumed responsibility for its safe transit and delivery. If equipment is received damaged, either apparent
or concealed, a claim must be made with the delivering carrier.
A) Apparent damage or loss must be noted on the freight bill at the time of delivery. It must then be signed
by the carrier representative (Driver). If this is not done, the carrier may refuse the claim. The carrier can
supply the necessary forms.
B) Concealed damage or loss if not apparent until after equipment is uncrated, a request for inspection
must be made to the carrier within 15 days. The carrier should arrange an inspection. Be certain to hold all
contents and packaging material.
Installation and start-up should be performed by a qualified installer who thoroughly read, understands and
follows these instructions.
LOCATION OF DATA PLATE
The data plate for the Hot Rod is located on the back of the unit.
CONTENTS
Safety Precautions 2
Specifications 3
General Installation Instructions 3
Installation 5
Operation 6
Cleaning 6
Service 6
Wiring Diagrams 7
Parts List & Exploded View 8
Warranty 11
!
WARNING: Check the data plate on this unit before installation. Connect the unit only to the voltage
and frequency listed on the data plate. Connect only to 1 or 3 phase as listed on the data plate.
!
!
!WARNING: Disconnect device from electrical power supply and place a Tag Out-Lockout on the
power plug, indicating that you are working on the circuit.
!
!CAUTION: Maintenance & repair should be handled by a factory authorized agent. Before doing
any maintenance or repair, contact APW Wyott.
4
HR-20, HRS-20 120 60 6.4 8-1/2" 17-1/4" 18-5/8"
HR-20SW, HRS-20SW, HRS-20W 120 60 5.9 11-1/2" 17-1/4" 18-5/8"
HR-30, HRS-30 120 60 7.8 or
220 60 4.2 8-1/2" 22-3/4" 18-3/8"
HR-30S, HRS-30S 120 60 7.8 or
220 60 4.2 11-1/2" 22-3/4" 18-3/8"
HR-31, HRS-31 120 60 8.3 or
208/240 60 4.8/4.2 8-1/2" 23-3/4" 18-5/8"
HR-31SW, HRS-31SW, HR-31SRW, 120 60 7.5 or
HRS-31SRW, HRS-31W 208/240 60 4.4/3.8 11-1/2" 23-3/4" 18-5/8"
HR-45W, HRS-45W 120 60 12.2 or
208/240 60 7.1/6.2 10-1/4" 23-3/4" 29-9/16"
HR-50, HRS-50 120 60 12.0 or
208/240 60 7.0/6.1 8-1/2" 34-3/4" 18-5/8"
HR-50S, HRS-50S, HR-50SRW, 120 60 11.0 or
HRS-50SRW, HRS-50W 208/240 60 6.4/5.5 11-1/2" 34-3/4" 18-5/8"
HRS-75W 208/240 60 10.2/8.8 10-1/4" 34-3/4" 29-9/16"
HR-85, HRS-85 208/240 60 9.5/11.0 10-1/4" 34-3/4" 29-9/16"
MODEL Volts Hz AMPS HEIGHT WIDTH DEPTH
SPECIFICATIONS
!
WARNING: Check the data plate on this unit before installation. Connect the unit only to the voltage
and frequency listed on the data plate. Connect only to 1 or 3 phase as listed on the data plate.
!
WARNING: IMPROPER GROUNDING COULD RESULT IN ELECTRICAL SHOCK! This
appliance is equipped with a three prong (grounded) plug for your protection against electrical
shock hazard and should be plugged directly into a properly grounded three prong receptacle.
Do not cut or remove the grounding prong from this plug. !!
GENERAL INSTALLATION INSTRUCTIONS
This unit has been inspected and tested at the factory prior to shipment.
Unpack the unit and remove all packing materials. Place on a flat horizontal surface at the desired location.
!
!
CAUTION: Do not use ordinary steel wool as any particles left on the surface will rust.
NEVER USE a wire brush, steel or abrasive scouring pads (except stainless), scraper, file or other steel
tools. Surfaces which are marred collect dirt more rapidly and become more difficult to clean. Marring also
increases the possibility of corrosive attack.
NEVER use any corrosive cleaner. Use only cleaners approved for stainless steel.
NEVER use cleaning solvents with a hydrocarbon base.
5
GENERAL INSTALLATION:
1. Always clean equipment thoroughly before first use. (See general cleaning instructions)
2. Check ratings label for your model designation and electrical ratings.
3. For best results, use stainless steel countertops.
4. Attach legs to unit.
GENERAL OPERATION INSTRUCTIONS:
1. Trained personnel should operate all food service equipment.
2. Do not allow your customers to come into contact with any surface labeled "CAUTION
HOT".
3. Where applicable, never pour cold water into dry heated units.
4. Where applicable, do not cook, warm or hold food directly in liner/well pans. Always use
steam table pans/inserts, etc.
5. NEVER hold food below 140° F.
GENERAL CLEANING INSTRUCTIONS:
1. Never clean any electrical unit by immersing it in water. Turn the unit off and allow it to cool
before surface cleaning.
2. Always clean equipment thoroughly before first use. Clean unit daily. Except where noted on
charts: use warm, soapy water. Mild cleansers and plastic scouring pads may be used to
remove baked-on food and water scale on metal unit. NOTE: do not clean roller tubes with
abrasive cleaners or scouring pads. Follow instructions on page 6.
3. Unplug electrical unit before cleaning or servicing. All service should be performed by an
APW Wyott authorized service agency.
GENERAL TROUBLESHOOTING:
Always ask and check:
1. Is the unit connected to a live power source?
2. Check the circuit breaker.
3. Is power switch on and pilot light glowing?
4. Check the rating label. Are you operating unit on the proper voltage?
If the above checks out and you still have problems, call an APW Wyott authorized service agency.
INSTALLATION
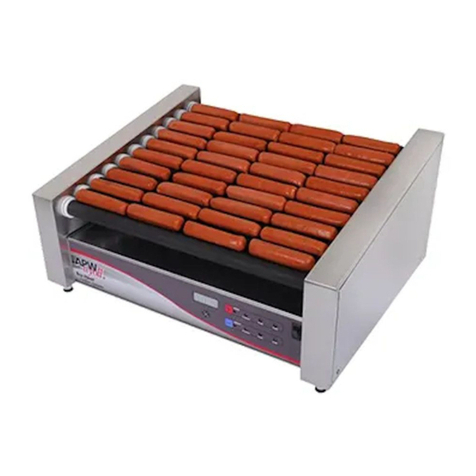
Place the HOTROD directly on a countertop or on a matching APW Wyott Bun Warmer or Bun Cabinet
(available separately). Place the unit close to an AC outlet, of the correct voltage, to avoid undue strain on
the power cord.
CAUTION: To avoid equipment damage, make certain that the nameplate voltage is the same as the outlet
voltage.
If the plug is to be removed and replaced with a plug more suitable for your area, the color code for the
power cable is:
Neutral (N) = White or Blue Live (l) = Black or Brown Safety Earth (E) = Green or Yellow/Green
After a suitable location has been chosen, wipe the rollers and the drip pan with a damp cloth. The unit is
ready for use.
R
OPERATION
There are three simple controls on the front of this unit: a switch, which controls the tube rotation, and two
adjustable heat controls, which activates the two banks of heating elements in the roller tubes. Both heat
controls have a light above them indicating either "Front' or "Back". The front heat control activates the first 5
or 6 (depending on if your unit has 1 0 or 11 tubes). The back Control activates the remaining 5 tubes. Each
bank of tubes can be heated independently of the others and at separate temperature settings. Variations in
voltage and ventilation make experimenting the best guide to power level adjustment.
When a preferred adjustment is found, and it is desired to return consistently to the same spot on the
controls, the controls can be fine-tuned by aligning with a mark on the knob. This adjustment does not
require a service visit.
CLEANING
DAILY CLEANING INSTRUCTIONS:
1. Heat the unit.
2. Using a moist cloth filled with crushed or flaked ice, wipe each tube. Wipe the tubes from
each end to the center. This will keep as much of the loosened particles out of the bearings
as possible. Extend the cloth as far as possible between the rollers.
3. With the heated rollers wiped with an ice filled cloth to loosen the particles, now, wipe clean
with another cloth. Continue to wipe from the end of the rollers to the center. This will reduce
the grease and partials getting into the bearings and drive mechanism. This will extend the
life of the unit and extend the period between routine maintenance of the drive mechanism.
CAUTION: NEVER use abrasive powders or pads; these cleaners may damage the roller finish. Also, the
particles may get into the drive mechanism shortening the unit life.
4. Remove the drip pan and wash it in hot, soapy water, then rinse.
5. If stains are still present, add a light detergent to the cloth and repeat.
6. Replace the pan and turn the unit off if the grill will not be immediately used.
NOTE: Cleanup will be faster if the product is specifically made for cooking on roller grills. Several meat
packers now offer this product.
For high-volume applications or for products that have a high sugar or fat content. the HOTROD may
require more frequent cleaning. For longer life of your HOTROD , follow instructions for periodic cleaning
throughout the day.
PERIODIC CLEANING THROUGHOUT THE DAY:
1. For high-volume applications or for product that has a high fat content clean the rollers
every 3-4 hours.
2. Clean by removing the product from the rollers and wiping with a damp cloth from outside end
of the rollers to the center. Replace the product and continue cooking. There should be no
need to turn off the heat when wiping down the rollers. But care should be taken not to bring
hands into direct contact with the rollers as a burn could result.
NOTE: THIS APPLIANCE SHALL NOT BE CLEANED WITH A WATER JET.
SERVICE
Service work should be performed only by a qualified technician who is experienced in and knowledgeable
with the operation of commercial gas, electric, steam cooking equipment. Contact the Authorized Service
Agency for reliable service, dependable advice or other assistance and for genuine factory parts.
IF THE SUPPLY CORD IS DAMAGED, IT MUST BE REPLACED BY THE MANUFACTURER OR ITS
SERVICE AGENT OR A SIMILARLY QUALIFIED PERSON IN ORDER TO AVOID A HAZARD.
!
!
WARNING: This unit is not intended to hold potentially hazardous foods such as un-cooked or un-
preserved meats and sausages.
R
R
6
WIRING DIAGRAMS
ELEVEN (11) TUBE UNIT
Pilot Pilot
L1 L1
H1 H1
H2 H2
L2 L2
Front Rear
Slip on wire
before crimping
terminals
Bundle wire to
stay clear of
motor fan
Black
Whie
t
Green
11 Elements
View with unit upside down
looking from back.
Motor
Coil
Front 6
Elements
Rear 5
Elements
10
4
2
9
10
10 8
6
37
1
10
9
5
8
5
1
6
7
TEN (10) TUBE UNIT
Pilot Pilot
L1 L1
H1 H1
H2 H2
L2 L2
Front Rear
Slip on wire
before crimping
terminals
Bundle wire to
stay clear of
motor fan
Black
Whi e
t
Green
10 Elements
View with unit upside down
looking from back.
Motor
Coil
Front 5
Elements
Rear 5
Elements
10
4
2
9
10
10 8
6
37
1
10
9
5
8
5
1
6
7
7
8
PARTS LIST & EXPLODED VIEW
EXPLODED VIEW
29
27
27
27
22
21
28
26
25
25
14
5
8
8
9
10
11
12
13
14
15
15
16
17
18
19
20
6
7
2
3
23
24
29
26
25
25
9
1 Power Switch 13318-00 All Units
2 Knob, Control 87056-00 All Units
3 Infinite Switch 13279-00 All 120 Volt Units
13282-00 All 208/240 Volt Units
4 Indicator Light 15139-03 All Units
5 Control Panel Decal 88065-23 For "-20" Units
88065-20 For "-30" Units
88065-31 For "-31& -45" Units
88065-21 For "-50, -75 & -85" Units
6 Power Cord,
Awg 18/3,5-15P 15325-01 For 120 Volt "-20 & -30" Units
Awg 14/3, 5-15P 15420-02 For 120 Volt "-20, -30, -31, -45 & -50" Units
Awg 14/3, 6-15P 15420-05 For 208/240 Volt "-30, -31, -45, -50 &-75’ Units
Awg 14/3, 6-15P 15319-00 For 208/240 Volt "-85" Units
7 Strain Relief 89674-00 For Power Cord 15325-01
89689-00 For Power Cords 15420-02 & 15420-05
89675-00 For Power Cord 15319-00
8 Heating Element 14315-20 For "-20" Units, 120 Volt
14315-30 For "-30" Units, 120 Volt
14314-30 For "-30" Units, 208/240 Volt
14315-32 For "-31, -45" Units, 120 Volt
14315-33 For "-31, -45" Units, 208/240 Volt
14315-50 For "-50" Units, 120 Volt
14314-50 For "-50, -75, -85" Units, 208/240 Volt
9 Chain Guide 217483-00 For Flat Units, "-20, -30, -31, -50"
217714-00 For "-45, -75, -85"
217494-00 For Slant Units, "-20, -30; -31, -50"
217714-28 For "-45 & -75" Units
217524-96 For "-85" Units
10 Chain, Drive 217485-05 Flat Units, "-20, -30, -31, -50"
217485-06 Slant Units, "-20, -30, -31, -50"
217485-09 For "-45 & -75" Units
217485-07 For "-85" Units
11 Bearing, Roller Tube 217489-00 All Units
12 Grease Seal, Tube 4223-00 All Units
13 Roller, Chrome Plated 217475-20 For "-20" Units
217475-30 For "-30" Units
217714-31 For "-31, -45" Units
Roller, Xylan Coated 217523-20 For "-20" Units
217523-30 For "-30" Units
217714-17 For "-31, -45" Units
217523-50 For "-50, -75, -85" Units
14 Motor, Roller Drive 12120-00 All Units At 120 Volt
12118-00 All Units At 208/240 Volt
12123-00 For "-45, -75, -85" Reversed 120 Volt
12117-00 For "-45, -75, -85" Reversed 240 Volt
15 Motor Gear 217485-10 All Units
16 Drive Motor Fan 12065-10 All Units
18 Tie Rod, Slant Units 217488-20 For "-20" Units
217488-30 For "-30" Units
217488-31 For "-31" Units
217488-50 For "-50" Units
19 Foot, Rubber 217014-61 All Units
Foot, 1" Adjustable 86621-00 All Units
Insert For Adj. Foot 84840-00 All Units
20 Drip Pan 217484-20 For "-20" Units
217484-30 For "-30" Units
217714-12 For "-31" Units
217484-50 For "-50" Units
217714-20 For "-45" Units
217524-88 For "-75 & -85" Units
21 Element Retainer 217481-00 All Flat "-20, -30, -31, -50"
217490-00 All Slant "-20, -30, -31, -50"
217714-22 For "-45 & -75" Units
217524-91 For "-85" Units
22 Element Support 217480-00 All Flat"-20, -30, -31, -50"
217491-00 All Slant "-20, -30, -31, -50"
217714-24 For "-45 & -75" Units
217524-90 For "-85" Units
23 Screw, #6-32 X 1-3/4 81139-00 Motor Hardware
24 #6 Lock Washer 85015-00 Motor Hardware
25 Flat Washer 85072-00 Motor Hardware
26 #6-32 Keps Nut 84001-00 Motor Hardware
27 #8-32 X 3/8 Hex Hd Screw 81531-00 For Element
28 #8-32 X 3/8 Pan Hd Screw 81300-00 For Bottom Panel
29 #10-32 Keps Nut 84171-00 For Element Supports
ITEM DESCRIPTION P/N USED ON ITEM DESCRIPTION P/N USED ON
Notes:
10