Aqua Select WEDDING CAKE STEP IN A BOX 900207 User manual

7872
INSTRUCTION MANUAL
• Phillips head screwdriver — included
TOOLS REQUIRED
900207/900208/900209
STEP IN A BOX
NOT Recommended
for POOLS with
Less Than
15' Diameter

2
AQUA SELECT® STEP IN A BOX COMPONENTS
AC 62057
AC 62022
AC 61565
AC 61573
AC 61867
AC 61875
AC 61972
AC 62014
AC 62049
•STEP ASSEMBLY — BAG A AC 88633HDA
•HAND RAIL — BAG B
•DECK BRACE — BAG C
HARDWARE
AC 88633HDC
AC 88633HDB

PARTS & HARDWARE FOR STEP
3
•STEP ASSEMBLY
BAG A
•HAND RAIL
•DECK BRACE
HARDWARE
•Everything you need to assemble your new Aqua Select® Pool Step is located inside the step box.
Simply remove the carton top an all the step components are revealed.
•The 4 square boxes inside the steps are empty and are for shipping purposes only.
•The long box packed inside the step is your parts carton. This box contains the
hardware and hand rail components. Open this box first.
Empty Box
Empty Box
Empty Box
Empty Box
PARTS
CARTON
BAG C
BAG B

STEP 1
•Remove (AC 61565) from the
carton and place it upside down
on the ground. This is your top
step.
STEP 2
•Remove the next step from the
carton — Step 3 (AC 61573)
and place it upside down over
the top step.
4

STEP 3
•Be sure to line up the
pre-drilled screw holes in
the 2 steps.
•Begin a�aching step 3 and 4
together using the stainless
steel screws and washers
from hardware Bag A.
•Use the screwdriver that is
packed in the Parts Carton
to secure the screws from
HARDWARE BAG A. to the
step.
DO NOT USE A DRILL
OR SCREW GUN — THIS WILL
DAMAGE THE STEP.
STEP 4
5
Line Up
Holes
Line Up
Holes

6
STEP 4 - CONT.
STEP 5
•Make sure you fasten step 4
to step 3 in all 4 points using
the stainless steel washers
with each screw.
Washer must be
between screw
head and step.
•Use the screwdriver provided
with your “Aqua Select®
Step in a Box”.
DO NOT USE A DRILL OR
SCREW GUN.
•Now you are ready to a�ach the
next step. Place step 2 (AC 61867)
upside down on top of the 2 steps
you have already assembled. Be
certain to line up the 6 screw holes
in step 3 with the corresponding
holes in step 2.

STEP 6
7
•Make sure you fasten step 3
to step 2 at all 6 points using
a stainless steel washer with
each screw.
•Be sure to use a stainless
steel washer on each and
every screw.
•Be sure to secure step 3
to the assembly using all 6
stainless steel screws and
washers.

8
STEP 7
•Once the 3 steps have been
assembled you are ready to
the base step - Step 1
(AC 61877) to the assembly.
To do this, turn the steps you
have assembled on its side
•Take the base step
— Step 1 and place it on its
side.
•Carefully inspect the Liner
gasket. Make sure
it is secure to the step at all
contact points.
If gasket is loose, it can be
re-secured using a small
amount of PVC cement.

9
STEP 8
•Align the screw holes in the base
step 1 with the screw holes at
the of step 3. Be sure to
line up the 9 screw holes in step
3 with the corresponding holes in
the base step
•Stand the step up in its upright
•Once the 9 holes are lined up
secure the base step to the step
all 9 screws are
in place along with the stainless
steel washers. Be sure to hand
using the screw
driver that with the step.

STEP 9
10
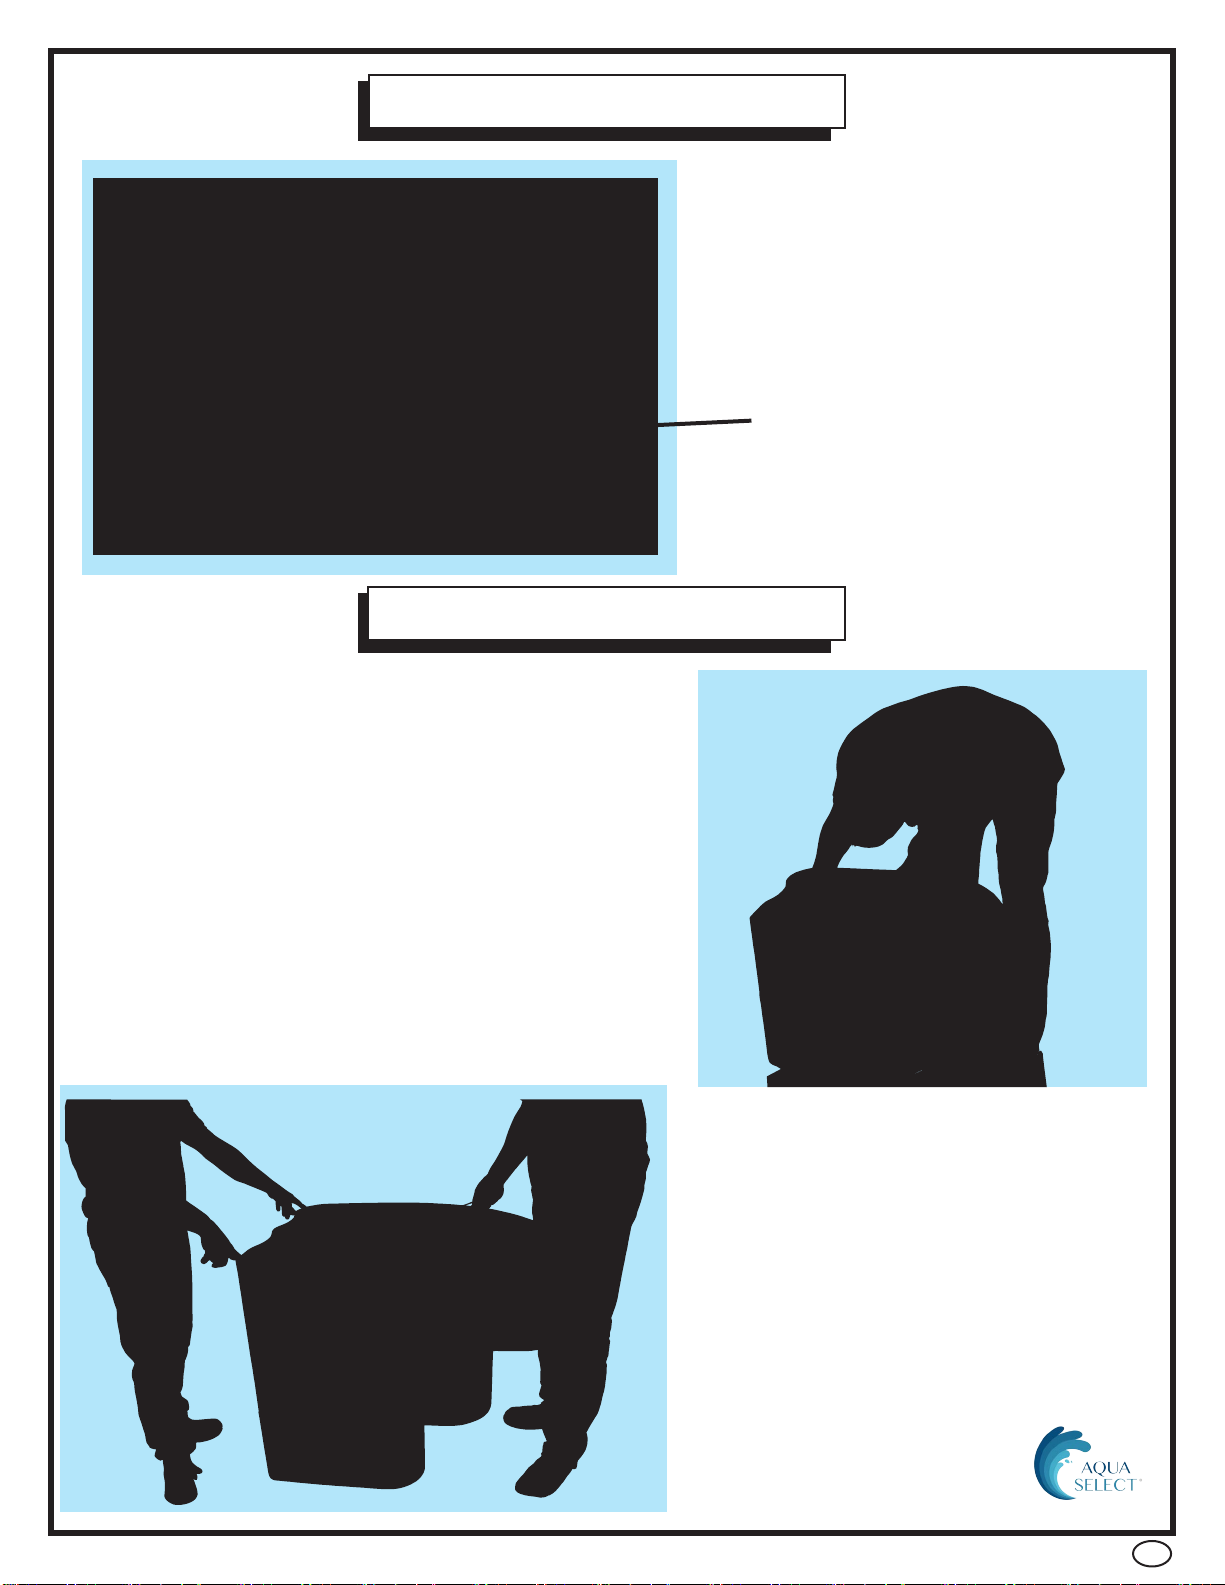
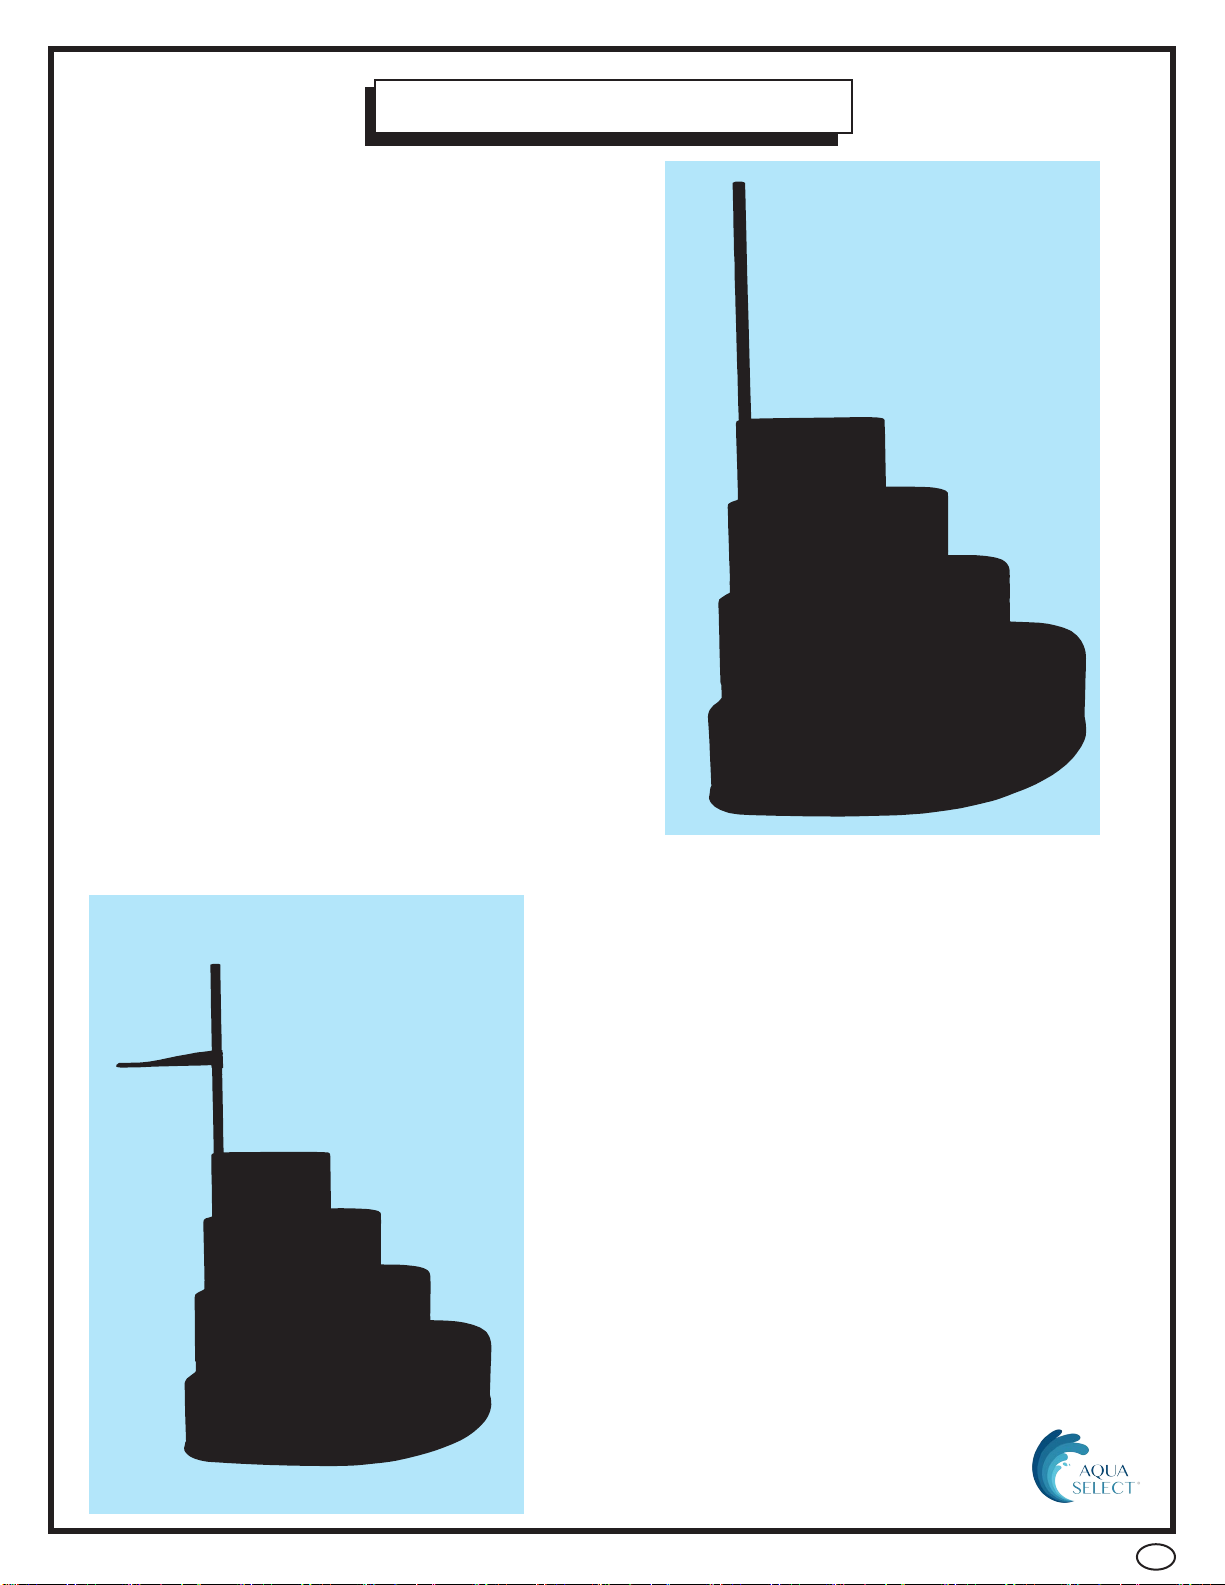
•You are now ready to a�ach the
hand rails. Locate the short post
(AC 62014) and slide it into the
post socket located on the top
step.
•Locate the deck flange (AC 62049)
and slide it onto the short post you just
a�ached to the top step.
•Using one of the stainless steel screws
from Hardware Bag B secure the short
post to the step. To do this first a�ach
the screw cap to the stainless steel
screw by sliding the screw thru the hole
in the cap assembly so the screw head
fits snugly inside the cap base. Then
secure the screw to the step and into
the post using the screw hole located
on the side of the top step buy the post
socket

STEP 10
11
•Locate the long post (AC 62022)
and slide it into the post socket
located in step 2.
•Locate the hand rail (AC 62057). The
hand rail has 2 sockets — one on either
end— to allow the post to slide into. The
shorter to the 2 handrail sockets slides
over the short post located at the top of
the step, the other handrail socket fits
over the top of the long post. Secure the
handrail to each post using the stainless
steel screws from Hardware bag B.
To do this first a�ach the screw cap to
the stainless steel screw by sliding the
screw thru the hole in the cap assembly
so the screw head fits snugly inside
to cap base. Then secure the screw to
the handrail and into the post using the
screw hole located on the handrail.
•Using one of the stainless steel
screws from Hardware Bag B
secure the long post to the step.
To do this first a�ach the screw
cap to the stainless steel screw
by sliding the screw thru the
hole in the cap assembly so the
screw head fits snugly inside
to cap base. Then secure the
screw to the step and into the
post using the screw hole
located on the side of step 3 by
the post socket.

12
INSTALLING YOUR STEP
Once you have completed the assembly of your step you are ready to place in your pool.
This will require 2 people to both carry the assembled step to the desired and to
the step over the pool wall and lower it in
Even though the Aqua Select®Step in a Box has built in liner it is recommended that
you use model AC 06043 Aqua Select® Step Liner Guard to protect your liner.
Select a in your pool for the step. Keep in mind the levelness of the pool is a
factor in of the step Choose an area that is level for best results.
With assistance bring the step to the where you want to install it. Face the step
towards the pool.
Clear the path to the step from all
STEP 1
STEP 2
STEP 3

1
Aqua Select® Step-in-a-Box Pool Installa�on Guide
Built in
Foam Cushion
Works
in Conjunc�on
with a Step Mat
Place your Step Mat(pool liner guard) where the Step-in-a-Box
will sit in your pool.
13

2
3
4
5
14

6
NOTE
If your decking is lower than the pool toprails you will need to secure an additional
piece of decking (wood) to raise the deck surface under the deck flange. Secure
the “shim” to the existing deck before attaching the deck flange to the shim.
15

16
SAFETY INFORMATION
•When li�ing heavy or awkward loads, it is suggested that two people li�
to avoid injury.
•DO NOT use the pool entry system for any purpose other than that for
which it is intended.
•Maximum weight on steps should NOTexceed 350 lbs.
WARNING
Exceeding the recommended weight limit may cause the
step to fail and may result in injury.
MAINTENANCE
•Step/ladder/bridges must be removed for winter, failure to do so can
cause the step to crack.
•When removing step/ladder/bridges for winter, it is recommended that you
spray down step with hose water to rinse off any chemical residual prior to
storing.
•When storing step/ladder/bridges for winter, it should be protected from
the elements and stored either in a shed or garage, or covered with a tarp.

US Patented
This manual suits for next models
2
Table of contents
Popular Lighting Equipment manuals by other brands

SWIT
SWIT PL-E60D user manual

PureEdge Lighting
PureEdge Lighting SS5C Commercial installation instructions

EuroLite
EuroLite Lighting Effect BS-40 user manual

Lightolier
Lightolier 6" Cloud specification

JB-Lighting
JB-Lighting Varyscan 4 1200HMI user manual

GLP
GLP impression X5 Quick Start and Safety Manual