manuals.online logo
Brands
  1. Home
  2. •
  3. Brands
  4. •
  5. AquaCraft
  6. •
  7. Lawn And Garden Equipment
  8. •
  9. AquaCraft 290050 User manual

AquaCraft 290050 User manual

290050
Battery Installation
Basic Setting
Programming
Install 2 AA Alkaline batteries by removing the battery holder from the back of the timer
and inserting the batteries as indicated. Replace the battery holder back.
1. Set Current Time
Pushing button to decrease / increase time to the current time
Pushing or button to confirm.
Recycle batteries after use.
Clock is set on 12-hour time. To change to 24-hour time, press for 10 seconds.
To return to 12-hour time, press for 10 seconds again.
Note: you must at least set one watering day to move to the next step.
Pushing or to next step.
Please change fresh batteries if the battery low indicator
appear on the LCD display.
2. Set Current Day
Pushing button to move the indicator to today’s day of week. (e.g. “TU” for
Tuesday). Pushing or to conrm
3. Select Water Day
There are 3 kinds of watering day setup for better selection.
A. Fixed weekday watering
Pushing to move the ashing tear drop to the desired watering day
of the week.
Pushing to conrm or cancel the watering day of the week.
Repeat the steps until “SA”.
B. Every other 2 days watering
Pushing to move the ashing tear drop to the position “2nd”.
Pushing to conrm. It will automatically set water day for every 2 days.
C. Every other 3 days watering
Pushing to move the ashing tear drop to the position “3rd”.
Pushing to conrm. It will automatically set water day for every 3 days.
1. Select Water Cycle 1
A. Pushing to move the indicator to “1”.
Pushing or to conrm to start setting up the 1st watering cycle .
B. Set Start Time
Pushing to decrease / increase time to the required watering start time.
Pushing or to conrm to next step.
C. Set How Long
Pushing to decrease / increase the duration (up to 240 minutes).
Pushing or to conrm to next step.
D. Activate Eco Function: simply set up WATER and PAUSE MIN.
a. Set up WATER MIN:
Pushing to decrease / increase the WATER duration
(the maximum interval is 19MIN).
b. Set up PAUSE MIN:
Pushing to decrease / increase the PAUSE duration
(the maximum interval is 19MIN).
The Eco Function creates a pause watering cycle, which provides absorption time
for the soil. It can also prevent water run-o.
WATER MIN and PAUSE MIN can be customized according to dierent applications
(e.g. irrigation or lawn & garden), landforms (e.g. at or mountain slope) and soil
density (e.g. high as soil or low as sand).
3 examples and suggestions as below:
a. Irrigation: WATER 5 MIN PAUSE 2 MIN
b. Lawn – at: WATER 4 MIN PAUSE 1 MIN
c. Lawn – slope: WATER 2 MIN PAUSE 2 MIN
Note: you can skip this setting if not needed.
TIME
TODAY
WATER DAY
ZONE
WATER CYCLE
START TIME
HOW LONG
ECO FUNCTION
PROGRAM
OK
Electronic Water Timer
1. Select Water Cycle 1
A. Pushing to move the indicator to “1”.
Pushing or to conrm to start setting up the 1st watering cycle .
B. Set Start Time
Pushing to decrease / increase time to the required watering start time.
Pushing or to conrm to next step.
C. Set How Long
Pushing to decrease / increase the duration (up to 240 minutes).
Pushing or to conrm to next step.
D. Activate Eco Function: simply set up WATER and PAUSE MIN.
a. Set up WATER MIN:
Pushing to decrease / increase the WATER duration
(the maximum interval is 19MIN).
b. Set up PAUSE MIN:
Pushing to decrease / increase the PAUSE duration
(the maximum interval is 19MIN).
The Eco Function creates a pause watering cycle, which provides absorption time
for the soil. It can also prevent water run-o.
WATER MIN and PAUSE MIN can be customized according to dierent applications
(e.g. irrigation or lawn & garden), landforms (e.g. at or mountain slope) and soil
density (e.g. high as soil or low as sand).
3 examples and suggestions as below:
a. Irrigation: WATER 5 MIN PAUSE 2 MIN
b. Lawn – at: WATER 4 MIN PAUSE 1 MIN
c. Lawn – slope: WATER 2 MIN PAUSE 2 MIN
Note: you can skip this setting if not needed.
2. Routine the set up of WATER CYCLE 2, 3 until 4.
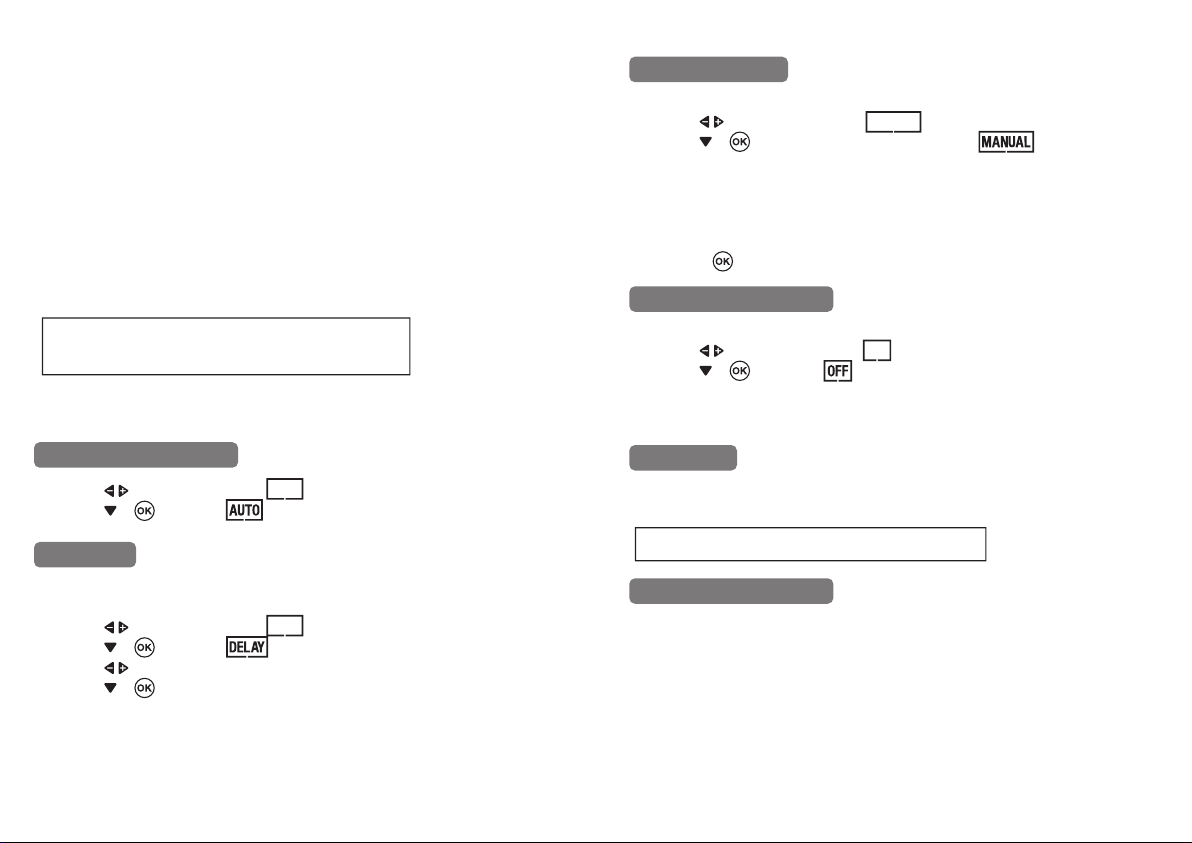
Activate Programming
Rain Delay
Manual Watering
Attach timer to faucet and hose. Open the faucet and leave it open. Water will come on
and shut-o at the selected time.
Disabling the Program
Installation
1. For outdoor use only.
2. Operating water pressure: under 120 PSI.
3. Operating water temperature: 32°F(0°C) ~ 100°F(38°C).
4. During non-watering season (e.g. winter)
A. Turn o the faucet and remove the timer from the faucet.
B. Manual on the timer to open the valve to drain out water.
C. Remove the batteries.
D. Dry the timer and store the timer in a dry place.
Care and Maintenance
Note: once the ECO function is activated,
the set interval is applied on all the set water cycles.
Note: this timer can be programmed before installation.
1. Pushing to move the indicator to “AUTO”.
2. Pushing or to conrm .
In the event of predicted rainfall, you can suspend set program for up to 6 days from the
time you set the “DELAY”.
1. Pushing to move the indicator to “DELAY”.
2. Pushing or to conrm .
3. Pushing to decrease / increase the “DELAY _ DAY”
4. Pushing or to conrm.
During non-watering time, you may activate this mode to start watering.
1. Pushing to move the indicator to “MANUAL”.
2. Pushing or to conrm to start the manual mode .
3. Programming: routine the programming steps as following:
A. Set How Long
B. Activate Eco Function: simply set up WATER and PAUSE MIN.
Note: you can skip this setting if not needed .
C. Set up zone B
Pushing to conrm completing the MANUAL setting.
In the case of suspending automatic watering for an extended period,
1. Pushing to move the indicator to “OFF”.
2. Pushing or to conrm .

Other AquaCraft Lawn And Garden Equipment manuals

AquaCraft TOP SPEED3 User manual

AquaCraft

AquaCraft TOP SPEED3 User manual

AquaCraft 290110 User manual

AquaCraft

AquaCraft 290110 User manual

AquaCraft 290100 User manual

AquaCraft

AquaCraft 290100 User manual

Popular Lawn And Garden Equipment manuals by other brands

Sunforce SOLAR user manual

Sunforce

Sunforce SOLAR user manual

GARDEN OF EDEN 55627 user manual

GARDEN OF EDEN

GARDEN OF EDEN 55627 user manual

Goizper Group MATABI POLMINOR instruction manual

Goizper Group

Goizper Group MATABI POLMINOR instruction manual

Rain Bird 11000 Series Operation & maintenance manual

Rain Bird

Rain Bird 11000 Series Operation & maintenance manual

Cub Cadet BB 230 brochure

Cub Cadet

Cub Cadet BB 230 brochure

EXTOL PREMIUM 8891590 Translation of the original user manual

EXTOL PREMIUM

EXTOL PREMIUM 8891590 Translation of the original user manual

Snapper 690179 installation instructions

Snapper

Snapper 690179 installation instructions

Exmark SAR481KA30 Operator's manual

Exmark

Exmark SAR481KA30 Operator's manual

Yazoo/Kees Z12 Operator's manual

Yazoo/Kees

Yazoo/Kees Z12 Operator's manual

Makita EM408MP Original instruction manual

Makita

Makita EM408MP Original instruction manual

Exmark Quest Bagger Setup instructions

Exmark

Exmark Quest Bagger Setup instructions

Manitou Systems AS960 Operator's manual

Manitou Systems

Manitou Systems AS960 Operator's manual

Vertex 1/3 HP Maintenance instructions

Vertex

Vertex 1/3 HP Maintenance instructions

GHE AeroFlo 80 manual

GHE

GHE AeroFlo 80 manual

Land Pride Post Hole Diggers HD25 Operator's manual

Land Pride

Land Pride Post Hole Diggers HD25 Operator's manual

Yazoo/Kees Z9 Commercial Collection System Z9A Operator's & parts manual

Yazoo/Kees

Yazoo/Kees Z9 Commercial Collection System Z9A Operator's & parts manual

Premier designs WindGarden 26829 Assembly instructions

Premier designs

Premier designs WindGarden 26829 Assembly instructions

Snapper 1691351 installation instructions

Snapper

Snapper 1691351 installation instructions

manuals.online logo
manuals.online logoBrands
  • About & Mission
  • Contact us
  • Privacy Policy
  • Terms and Conditions

Copyright 2025 Manuals.Online. All Rights Reserved.