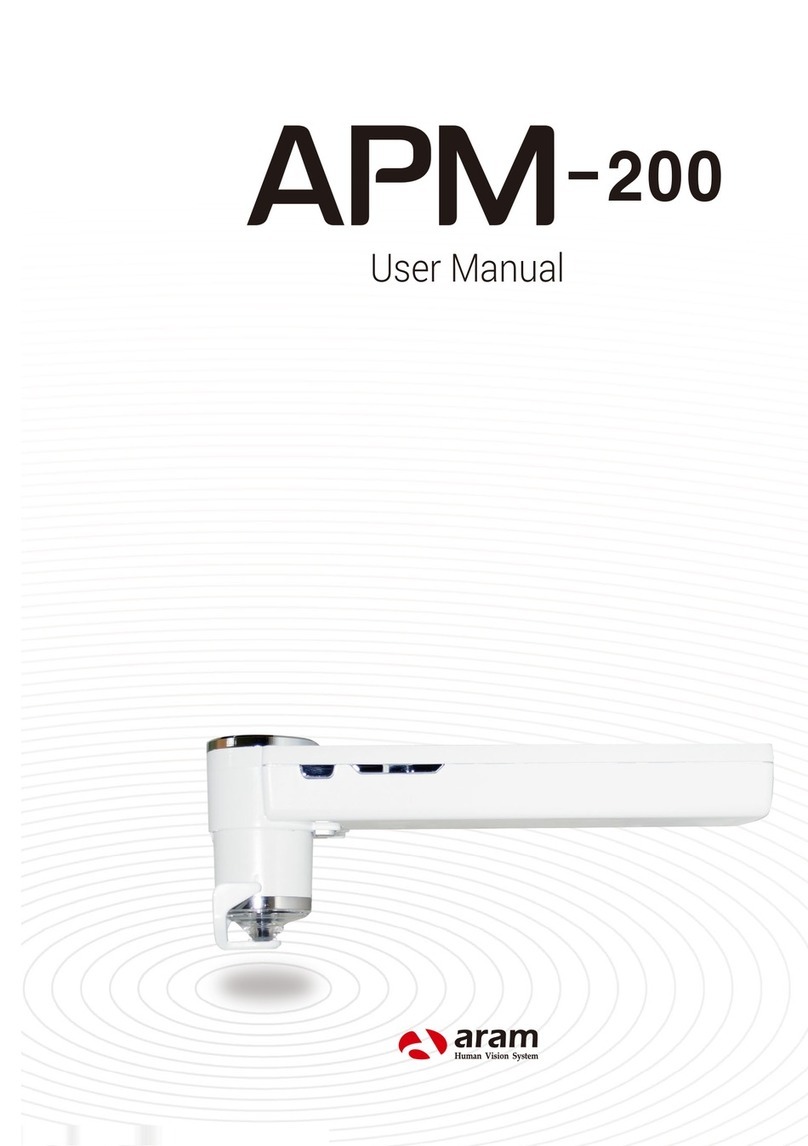
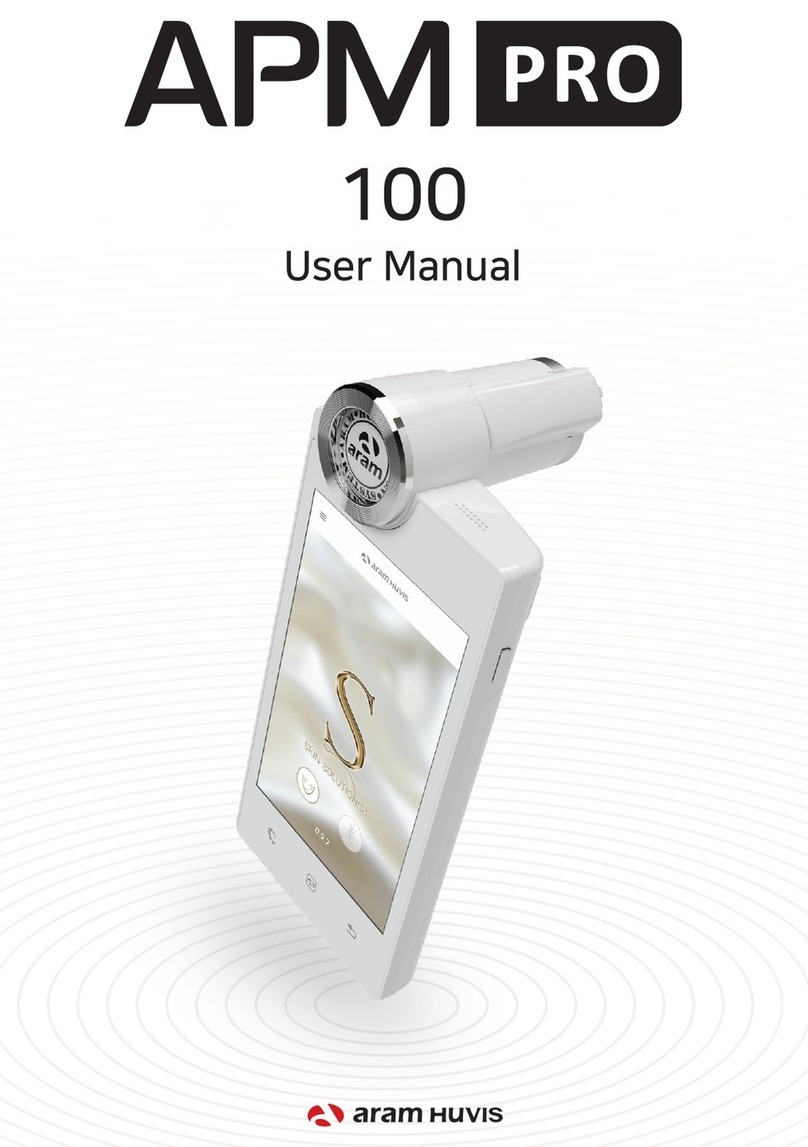
aram huvis ASM User manual

User Manual

Contents
ⅰ. Settings
ⅱ. Full Analysis
ⅲ.View Mode
Result
ⅰ. Email
ⅱ.Mirroring
CRM
Moisture
Sebum
Pore
Melanin
Acne
Wrinkle
Sensitivity
10
11
12
13
14
15
16
17
18
21
20
19
23
24
D. Application
E. Warranty
※Notes on use
· The images of this manual can be dierent with the actual things.
·
The information contained in this manual and future improvements are subject to
change without
notice.
· The latest version of the manual will be updated at the below link.
http://www.aramhuvis.com/downloads
B. H/W Parts
C. System Settings
ⅰ. Both Sides
ⅱ. Settings
ⅰ.Date &Time
ⅱ.Wi-Fi
ⅲ.Sleep
ⅳ.Language
1
2
3
5
7
8
9
A. Components

Components
A. Components 1
Main unit with skin lensSkin lens
Charger (5V/3A)
Cleaning cloth ManualUSB cable Air blower
Cradle Sebum paper
(100ea)

H/W Parts
Both Sides
2 B. H/W Parts - Both Sides
ASM lens
Indicate LED
Lens change button
USB slot(5v 3A)
On/o button
Flash
X1 lens
Volume up & down button

H/W Parts
Settings
How to turn on the power
Press and hold “Power” button.
Take your finger o from the button
aer "Indicate LED" turned on blue.
1
2
How to turn o on the power
Press and hold “Power” button.
Touch "Power o".
1
2
3B. H/W Parts - Settings
1
2

4
1
2
3
For European type, push down European plug to
American plug on the adaptor.
The default charger is American plug.
Plug can be added or changed for each country. (EU, UK, AU and etc)
Refer to the details as below how to change the plug type.
Pull out american type plug from adaptor.
Connect USB port with charger.
H/W Parts
Settings
B. H/W Parts - Settings
2
3
1

System Settings
5C. System Settings - Date &Time
Date &Time
Go to "Date & time"
3
Go to "Set date".
4
Check if the setting is
correctly applied.
6
Touch button.
1
Select the date and touch
“OK” button.
5
Touch button.
2

C. System Settings - Date &Time
Date &Time
System Settings
6
Touch “Select time zone”
7
Check if the setting is
correctly applied.
9
Touch “Set time”.
10
Select proper time zone.
8
Change into the current time
and touch “OK” button.
11
Check if the setting is
correctly applied.
12

C. System Settings - Wi-Fi 7
System Settings
Wi-Fi
Touch “Wi-Fi”.
1
Choose proper Wi-Fi signal.
3
Turn on Wi-Fi using
On/O button
2
Put Wi-Fi password.
4
Wait until the device is
connected to Wi-Fi.
5

C. System Settings - Wi-Fi / Sleep
System Settings
Wi-Fi
Once the device is connected to Wi-Fi,
you could see the Wi-Fi mark on upper side
of the screen.
Wi-Fi Usage
☞ Email
Wi-Fi connection is needed to send analysis
data by email.
*Reference : page 7 (Wi-Fi), page 20(Email).
7
☞Soware update
In order to update the soware version.
Touch “Display”.
1
Go to "Sleep".
2
Select the option you want
to apply.
3
8
Sleep

C. System Settings - Language
System Settings
Language
9
Touch “Language & input”.
1
Go to "Language".
2
Select preferred language.
3

Application
10 D. Application - Settings
Settings
Go to "General Settings".
2
Available to change Language,
Version and Email setting.
3
Touch button.
1

Application
CRM
Touch "Customer".
1
Input the information.
3
User's profile is created on the list.
Then touch user's profile to start
analyzing.
5
11D. Application - CRM
Touch to register
new customer.
2
Touch button to start
analyzing.
6
Aer putting all information,
touch .
4

Application
D. Application - Moisture12
Moisture
Check the result.
To move on next page, slide
the screen from right to le.
4
3Analyzing hydration
and elasticity...
Touch the button.
Please wait until vibration and sound.
* Never put the sensor on the skin before
the message "Touch to skin please".
1Aer checking the message "Touch to
skin please", push the sensor completely
to marked area of the face.
* All surface of the sensor should be pushed
completely.
2
1 2

Application
D. Application - Sebum 13
Sebum
Put the sebum paper on
U-zone of the cheek, then
press it for 2~3 seconds.
1
Take a picture of pink area of
the sebum paper.
2
Put the sebum paper on T-zone
of forehead, then press it for
2~3 seconds.
3
Sebum result will appear.
5
4
Take a picture of pink area of
the sebum paper.
Then, touch button to analyze.
U-zone T-zone

14 D. Application - Pore
Application
Pore
Touch button to analyze.
3
Result will appear.
4Touch button to compare
taken image with 3 sample
images.
- Good/Normal/Bad
5Touch button to convert
taken pore image in 3D.
6
Touch screen to bring
a camera into focus and then
touch to take a picture.
2
Touch to activate camera
and put the camera onto the
marked area of the face.
1
zoom out zoom in

15D. Application - Melanin
Application
Melanin
Touch button to analyze.
3
Result will appear.
4Touch button to compare
taken image with 3 sample
images.
- Good/Normal/Bad
5
Touch to activate camera
and put the camera onto the
marked area of the face.
1
Touch screen to bring
a camera into focus and then
touch to take a picture.
2
zoom out zoom in

16 D. Application - Acne
Application
Acne
Touch button to analyze.
3
Result will appear.
4Touch button to compare
taken image with 3 sample
images.
- Good/Normal/Bad
5
Touch to activate camera
and put the camera onto the
marked area of the face.
1
Touch screen to bring
a camera into focus and then
touch to take a picture.
2
zoom out zoom in

Touch button to analyze.
3
Touch screen to bring
a camera into focus and then
touch to take a picture.
* For wrinkle photo, take picture of
outer eye area in widthways to
check crow's feet.
2
Result will appear.
4Touch button to compare
taken image with 3 sample
images.
- Good/Normal/Bad
5Touch button to convert
taken pore image in 3D.
6
17D. Application - Wrinkle
Application
Wrinkle
Touch to activate camera
and put the camera onto the
marked area of the face.
1
zoom out zoom in

18 D. Application - Sensitivity
Application
Sensitivity
Touch button to analyze.
3
Result will appear.
4Touch button to compare
taken image with 3 sample
images.
- Good/Normal/Bad
5
Touch to activate camera
and put the camera onto the
marked area of the face.
1
zoom out zoom in
Touch screen to bring
a camera into focus and then
touch to take a picture.
2
Table of contents
Other aram huvis Personal Care Product manuals
