ARB CKMTA12 User manual

INSTALLATION GUIDE
Part No. 2102MTA12
Revision Date 28/02/2020
Copyright © 2013 by ARB Corporation Limited
CKMTA12 / 24
MAXIMUM PERFORMANCE
ON-BOARD AIR SUPPLY

No liability is assumed for damages resulting in the use of the information contained herein.
ARB Air Locker Air Operated Locking Differentials, ARB Air Locker Air Activation System
and Air Locker are trademarks of ARB Corporation Limited.
Other product names used herein are for identification purposes only and may be trademarks of their
respective owners.
EC Declaration of Conformity
This declaration of conformity is issued under the sole responsibility of the manufacturer.
This declaration relates to these products:
CKMTA12
CKMTA24
The products are in conformity with the following standards or standardized documents:
EN 55014-1 : 2003 (AS/NZS CISPR 14.1)
EN 55014-2 : 2003 (AS/NZS CISPR 14.2)
According to the provisions of the directives:
2004/108/EC (EMC directive).
Technical file at:
ARB Corporation Ltd, 42-44 Garden St, Kilsyth, Victoria, Australia.
Signed for and on behalf of ARB Corporation Ltd
Andrew Brown
Managing Director
Melbourne, March 2016
ARB 4x4 ACCESSORIES
Corporate Head Office
42-44 Garden St Tel: +61 (3) 9761 6622
Kilsyth, Victoria Fax: +61 (3) 9761 6807
AUSTRALIA
3137
www.arb.com.au

1
Table of Contents:
1 Introduction
2
1.1
Pre-Installation Preparation
2
1.2
Tool-Kit Recommendations
2
2 Installing the Compressor
3
2.1
Identifying the Best Mounting Position
3
2.2
Orientating the Compressor for Best Fit
4
2.3
Drilling & Mounting the Compressor
6
2.4
Assembling / Installing the Air Filter
8
2.5
Using an Air Filter Extension Tube (optional)
8
3 Connecting the Air System
10
3.1
Compressor Outlet Port Connections
10
4 Mounting & Connecting the Electrical System
12
4.1
Mounting the Actuator Switch(es)
12
4.2
Wiring the Actuator System
13
4.3
Connecting the Power Wires
16
5 Testing & Troubleshooting
18
5.1
Leak Testing
18
5.2
Testing the Air Locker Actuation (Air Locker Systems Only)
18
5.3
Electrical Fault Diagnosis
19
5.4
Post-Installation Check List
22
6 Parts List
24
6.1
Parts List
24

1 Introduction
2
IMPORTANT :
To assure the highest level of planning and reliability goes into this
installation, please read this guide in its entirety before attempting
any modifications to the vehicle.
1.1 Pre-Installation Preparation
Although your ARB Air Compressor comes complete with all the step by step instructions you
will need to install your new air source, ARB recommends that you have your ARB Air
Compressor installed by a trained professional. Many ARB distributors around the world
have been fully instructed in Air Compressor installations by ARB, and have gained a wealth
of experience and skill from years of performing similar installations.
Make sure your Air Compressor kit is the correct model for your application and that it
contains all of the parts listed on the back cover of this booklet. Also be sure you have
appropriately equipped yourself with all the necessary tools, parts, and materials to complete
this installation (see section 1.2 Tool-Kit Recommendations) and minimize vehicle down time.
Please refer to your ARB Air Locker Operating & Service Manual for information on
operating, servicing, driving technique, or trouble shooting your ARB Air Locker(s).
HINT : Place a mark inside each of the symbols as you complete each step.
It is very important NOT to miss any of the steps!
1.2 Tool-Kit Recommendations
Below is a list of tools and supplies you may need to complete this installation.
1.2.1 Tools
Standard automotive sizes (metric and/or imperial) of sockets, wrenches and drills.
A razor knife to cut the nylon tubing.
A leak test gauge (i.e., ARB# 0770005).
A multimeter or test light.
A soldering iron.
1.2.2 Supplies
Thread lubricant/sealant compound for pressure fittings (e.g., LOCTITE #567 Teflon
paste and/or plumbing supply Teflon tape)
A soap and water mixture to test for air leaks.
Solder and/or automotive crimp fittings for making electrical junctions.
Electrical tape and/or heat shrink tubing for insulating electrical junctions.

2 Installing the Compressor
3
2.1 Identifying the Best Mounting Position
Using the following points as guideline, identify a position on the vehicle or inside the
cabin where the compressor can be safely and conveniently mounted.
NOTE : The ideal position of the compressor should give consideration to all of the
following points:
1. The location should allow for quick and easy access to the compressor for attaching an
optional pump-up kit air hose for tire re-filling if desired.
2. Keep away from sources of heat (e.g., too close to exhaust system components or
directly behind the radiator, etc.).
3. The position should be safe from damage or abrasion caused by sand or gravel from
the road surface.
4. Avoid any extended exposure to direct sunlight.
5. Keep away from excessive moisture (e.g., directly exposed to road spray or rain runoff).
6. Mounting location should be above the highest possible waterline to avoid submerging
during water crossings.
7. The position must allow free flow of dry, cool air to the air filter assembly (unless an
intake extension tube is to be used, in which case it is the filter assembly and the
extension tube which must be located accordingly).
8. The position should allow access to the air filter assembly for filter disassembly and
cleaning (unless an intake extension tube is to be used).
9. If an intake extension tube is to be used then consideration should be given to the
intake position so that the distance (length of tube) between the compressor mounting
location and the actual air intake point can be kept to a minimum.
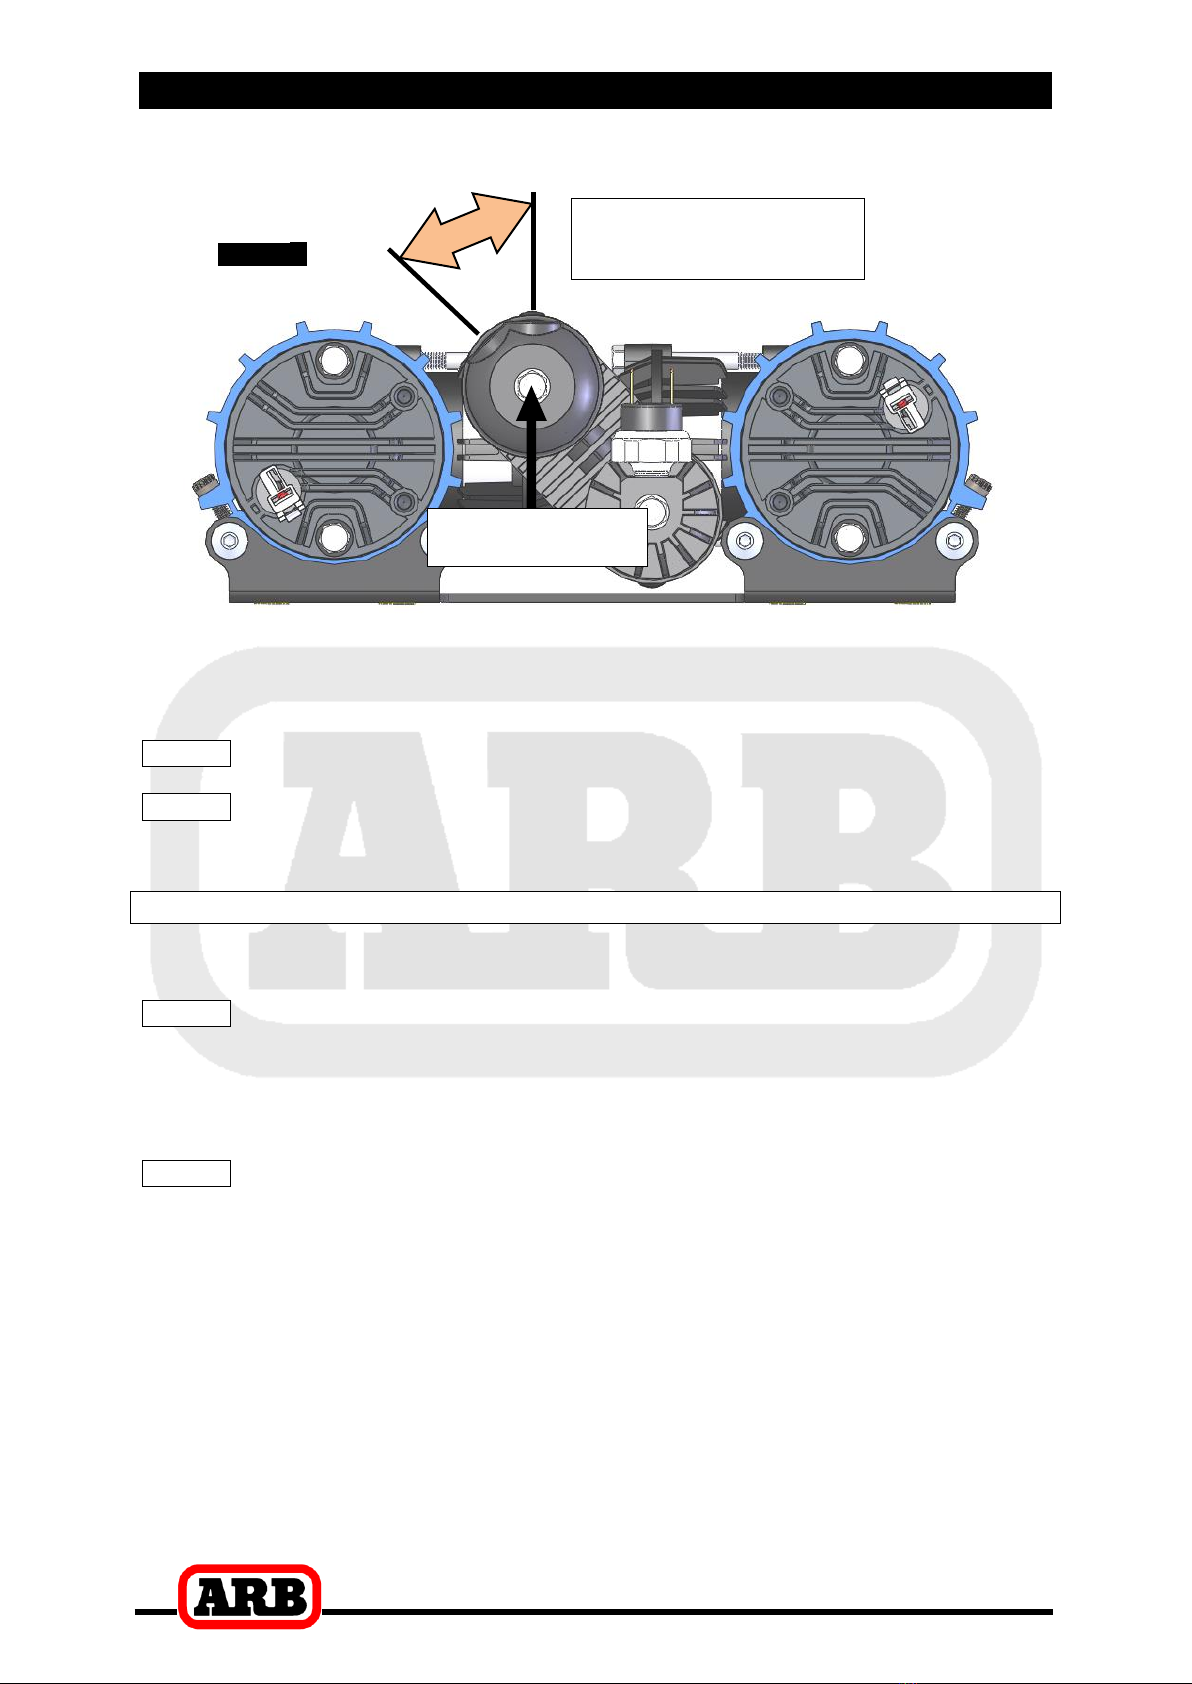
10. The position must allow the compressor motor mounting bracket to firmly secure the
compressor using all 4 bolts provided.
11. The position must allow access to the opposite side of the mounting location so that the
bolts and washers may be installed.
12. Parts of the compressor may get hot while running for long periods of time, and
therefore the compressor should be located away from where it could be touched by
children or pets.
13. The position should permit a short (close to the battery), protected and accessible route
for the wiring loom to follow.
LONGER POWER WIRES = MORE INLINE RESISTANCE = LESS AIR FLOW RATE
14. The compressor should not be mounted in a position where the running sound might be
considered startling or irritating for vehicle occupants.
15. The compressor should not be mounted in close proximity to devices that are sensitive
to the electromagnetic fields of DC motors (e.g., compasses, radio/GPS antennas,
engine management sensors, etc.).
16. Where possible, the compressor should be mounted close to the location of the Air
Locker equipped axle in a single Air Locker system, or halfway between both axles in a
dual Air Locker system.
17. Never mount the compressor in a position where it would be considered unsprung
mass (e.g., mounted directly to the axle or the engine block).

2 Installing the Compressor
4
2.2 Orientating the Compressor Outlet for Best Fit
The CKMTA series compressors allow for configuring the outlet port to best suit the
installation position and desired position of the outlet hose or coupling (see Fig 1). It is highly
recommended to spend some time experimenting with different configurations prior to drilling
the four mounting holes.
Figure
1.
The points and figures below outline how to remove the compressor cover in order to
orientate the outlet port.
Unplug the two motor connectors and remove the four cover bolts (10mm socket).
Figure
2.
REMOVE COVER BOLTS

2 Installing the Compressor
5
CLEARANCE BETWEEN COVER AND
COMPRESSOR MOTOR
LIFT THIS END OF THE COVER UNTIL
IT IS CLEAR OF THE MOTORS
SLIDE THE COVER TOWARD
THE AIR FILTER END
UNHOOK THIS TAB ON THE COVER
FROM THE RIBS ON THE COMPRESSOR
Gently lift the cover upward from under the fan until it is just above the compressor
motors.
Figure
3.
Slide the cover towards the intake filter end to unhook the cover from the compressor
head.
Unplug the connectors from the pressure switch and lift the cover away from the
compressor.
Figure
4.

2 Installing the Compressor
6
Loosen the manifold bolt (10mm socket) and rotate the outlet port to the desired position.
Figure
5.
Retighten the manifold bolt (10mm socket) to approximately 9 Nm [6.6 ft-lb].
Refit the cover reversing the above operations.
NOTE : Polarity isn't important when reconnecting the pressure switch connectors.
NOTE : Retighten the four cover bolts (10mm socket) to 6 Nm [4.4 ft-lb].
2.3 Drilling & Mounting the Compressor
Establish the mounting hole locations for the compressor from the mounting bracket drill
template Fig. 6.
NOTE : For greater mounting flexibility eight mounting nuts are provided in the
mounting bracket but only four must be used. Choose one hole from each
pair (A, B, C, D) shown in Fig. 6, to best suit your installation location. This
will ensure that the weight of the compressor is well distributed.
Drill four mounting holes at a diameter of 8mm [5/16 inch].
NOTE : Try to drill mounting holes accurately. Holes should never be drilled open to
more than 10mm [3/8 inch] in size to compensate for misalignment.
Assemble the hex bolts and washers from the opposite side, through the newly drilled
hole in the panel and into the nuts in the mounting bracket.
Tighten to a torque of approximately 6 Nm [4.4 ft-lb].
ROTATE THE MANIFOLD
CAP INTO THE DESIRED
POSITION
LOOSEN
MANIFOLD BOLT

2 Installing the Compressor
7
Figure
6.
A
B
C
D
CHECK SCALE BEFORE
USING AS A TEMPLATE

2 Installing the Compressor
8
2.4 Assembling / Installing the Air Filter
Screw the air filter assembly into the threaded hole in the front of the compressor by
hand.
NOTE : If an intake extension tube is to be used to relocate the air intake then the
extension tube will be screwed into the front of the compressor and the air
filter will be screwed into the extension tube (See section 2.7).
HINT : If extra tightening force is required, the air filter can be tightened by
disassembling the cover, removing the filter disk, and using an 8mm [5/16”]
hex key on the center of the port.
The cover logo may be rotated by hand as desired.
2.5 Using an Air Filter Extension Tube (optional)
The air filters of the CKMTA were designed so that they could be relocated to a more
suitable location (if required) using an extension tube.
IMPORTANT :
The length and inside diameter of the extension tube can restrict the intake flow
and negatively affect the performance of the compressor. In severe cases this could
result in overheating and/or damage to compressor components. Use the following
chart to make sure that the extension tube will not restrict the intake flow.
Measure the intended length of the extension tube along the path between the
compressor mounting location to where the air filter will be mounted.
Consult the chart above for the recommended minimum inside diameter of the tube.
NOTE : If intending to join the two intakes into one extension tube then halve the
values in the 'Maximum Length of Tube' column above.
NOTE : ARB does not recommend connecting the compressor intake to the air
supply in a ‘snorkel’ or other part of the air ducting for engine aspiration.
However, if an extension tube is used to relocate the compressor intake to
the engine intake supply then it must be understood that the negative
pressure (vacuum) created by the engine when it is running will adversely
affect compressor performance.
NOTE : Do not run the tube through areas where it will be exposed to elevated
temperatures while the compressor is running as this will pre-heat the air
intake and reduce compressor performance.
Maximum Length of Tube
Minimum Inside Diameter of Tube
150mm [5.9”]
=
8mm [0.32”]
400mm [15.7”]
=
10mm [0.39”]
885mm [34.8”]
=
12mm [0.47”]
1715mm [67.5”]
=
14mm [0.55”]
3065mm [120.7”]
=
16mm [0.63”]
NOTE : There is no minimum length or maximum inside diameter for extension tubes.

2 Installing the Compressor
9
Assemble an extension tube with a ¼” NPT male fitting at one end and a ¼” NPT female
end at the other.
Install the tube inline with the air filter.
NOTE : If the extension tube is being used due to the possibility of the compressor
being exposed to water then Teflon tape or thread sealant should be used
on the threads of the extension tube at the compressor end.
Secure loose sections of the tube and the air filter.
HINT : The air filter assembly may be easily panel mounted if desired by securing
the air filter base using the 2 bosses located on the inside of the filter base
for countersunk screws.

3 Connecting the Air System
10
3.1 Compressor Outlet Port Connections
The CKMTA series compressors can be used for a vast number of compressed air
applications including, Air Locker activation, tire inflation and hand air tool operation. Each of
these compressed air applications has different requirements of the outlet port connections
and some of these setups are outlined below:
3.1.1 Connection for Air Locker Activation
Air Locker Manifold Kit ARB #171503 is available as an optional accessory to enable the
installation of Air Locker solenoids. The Air Locker Manifold Kit is shown in Fig. 7 and
includes:
- Manifold body with mounting bracket
- 2 x 1/8"BSPP ports for installation of up to 2 x Air Locker solenoids
- 2 x 1/4" NPT ports, one to be used as an input and the second could be used for
installation of a pump up kit
- 1 x high temperature resistant Teflon stainless steel braided hose with heavy duty JIC4
fittings
- 2 x JIC4 - 1/4NPT nipples to connect the included hose to the compressor outlet and
manifold kit input
- 2 x M6 hex head bolt and nylon lock-nuts for securing the manifold kit
NOTE : The Air Locker solenoids (ARB #180103) and hose coupling (ARB #171402)
shown in Fig 7. are not included in the Air Locker Manifold Kit.
Figure
7.

3 Connecting the Air System
11
3.1.2 Connection for Tire Inflation
If the CKMTA12/24 compressor is to be used for prolonged periods then it is recommended
that the compressor be connected using suitable fittings to a separate air tank. This will
dissipate the heat from the compressed air and also allow the compressor to run more
efficiently.
If the compressor is to be used for Air Locker activation and inflating several tires then
fitment of the Air Locker Manifold kit mentioned in section 3.1.1 would be suitable. This
allows for fitment of a hose coupling ARB #171402 as shown in Fig. 7 (which is available
separately in Pump Up Kit ARB #171302).
If the compressor is only to be used for inflating a few tires rapidly then a hose coupling can
be screwed directly into the compressor outlet port.
IMPORTANT :
Due to the fact that compressing air at a high rate produces a lot of heat, if the
compressor is used for a prolonged period to inflate more than a few tires, a hose or
coupling fitted directly to the compressor outlet will get hot.
3.1.3 Connection for Hand Air Tool Operation
For prolonged compressor use and the effective operation of hand air tools then it is
recommended that the compressor be connected using suitable fittings to a separate air
tank. Air tools with air flow requirements higher than 85LPM [3CFM] @ 6Bar [90PSI] will
require the use of an air tank suitable for the run time requirements.

4 Mounting & Connecting the Electrical System
12
4.1 Mounting the Actuator Switch(es)
The ARB compressor switch (supplied) and Air Locker actuator switch(es) can be easily
panel mounted inside the vehicle in a 21mm x 36.5mm [0.83” x 1.44”] rectangular cutout.
NOTE : Air Locker actuator switches described here are supplied with each ARB Air
Locker kit and NOT with the ARB compressor kit. If you require switches to
complete the installation then contact your ARB Air Locker distributor.
HINT : Only attach the cover plate to the face of the switch once the switch has
been mounted and wired correctly as the cover plates are designed to be
difficult to remove.
For reasons of safety and for ease of operation, the Air Locker actuator switch(es) should be
mounted in a location picked to best suit the operator. Make sure you have taken the
following points into consideration:
Switch(es) MUST be mounted and should never be allowed to simply dangle from the
wiring loom during vehicle use.
Switch(es) should be within easy reach of the driver. Ideally, any Air Locker switch
should be able to be operated without physical effort or distraction to the driver.
(compressor switch location is not critical)
Switch(es) should be mounted within the line of sight of the driver so that switch position
(‘ON’ or ‘OFF’) can be visually determined by the rocker position and the illumination
state.
The position of the switch(es) should best eliminate any possibility of accidental operation
by the driver or one of the passengers.
Switch cutout position(s) must be located in an area with a minimum of 50mm [2”] of
clearance behind the face of the cutout.
Switch(es) should not be mounted where they will be exposed to water (e.g., in the lower
section of an inner door panel).
ARB recommends that you apply the Air Locker Warning Sticker (ARB part # 210101
supplied with Air Locker kit) within close visual proximity of the switch location.
NOTE : If no adequate position can be found on existing dashboard panels, a
surface mounted bracket (Fig. 8.) may be purchased from your ARB Air
Locker distributor to suit 1, 2, or 3 switches.
Figure
8.

4 Mounting & Connecting the Electrical System
13
4.2 Wiring the Actuator System
Figure
9.

4 Mounting & Connecting the Electrical System
14
When wiring an ARB compressor switch, Air Locker actuator switch(es) and Air Locker
solenoid(s), all connections can easily be set up using only the supplied wiring looms (ARB
#180414 and 180415 shown in Fig. 9.)
Consulting the wiring diagram (Fig.9.) for wire colors, and the switch terminal illustration
(Fig.10.), plug each of the female spade terminals onto their appropriate switch terminal.
IMPORTANT (AIR SYSTEMS LOCKER ONLY) :
As a safety precaution, the ‘SWITCH 2’ position in the wiring loom will not
activate unless ‘SWITCH 1’ is already activated. Therefore, if both front and rear
Air Lockers are installed then the rear MUST be controlled by ‘SWITCH 1’, and
the front by ’SWITCH 2’. This is a safety feature that serves to reduce the risk of
accidental / unintended engagement of the front Air Locker.
If only one Air Locker is installed then it should be wired using the terminals for
‘SWITCH 1’, regardless of whether the Air Locker is mounted in the front or rear axle.
Figure
10.
Using a multimeter or an automotive test light, locate an accessory outlet or cigarette
lighter port in the vehicle.
NOTE : The desired outlet should supply positive 12VDC for a CKMAT12 or 24VDC
for a CKMTA24, be fused at a minimum of 8 amps, and be live only when the
vehicle ignition key is in either the ‘ACC’ position or in the ‘ON’ position.
Using a soldering iron or automotive quality crimp connectors, splice the red wire with a
yellow stripe (RED-YEL) found on the separate short section of loom onto the positive (+)
wire of the accessory outlet pair.
NOTE : If shortening the RED-YEL wire, make sure not to remove the heat shrinked
inline diode that protects sensitive electronics from current leakage.
Insulate the junction area well with electrical tape.
Using a multimeter or an automotive test light, locate an active dash light supply wire.
NOTE : The desired wire should supply 12VDC for a CKMTA12 or 24VDC for a
CKMTA24 (less if dimmed) and react to the illumination level of the
instrumentation / dash light dimmer.
Using a soldering iron or automotive quality crimp connectors, splice the blue wire with a
white stripe (BLU-WHT) found on the separate short section of loom onto the active
illumination supply wire.
COMMON BACK
OF SWITCHES
FRONT OF SWITCHES

4 Mounting & Connecting the Electrical System
15
NOTE : If shortening the BLU-WHT wire, make sure not to remove the heat shrinked
inline diode that protects sensitive electronics from current leakage.
Insulate the junction area well with electrical tape.
Route the 4 loose male spade terminals of the long section of loom through any panel
work that separates the compressor mount position from the switches (e.g., the firewall
separating the cabin from the engine compartment).
NOTE : This connection has been supplied disassembled to assist in the routing of
the compressor loom through a minimum 8mm [5/16”] drilled hole in panels
if necessary (e.g., through the firewall).
NOTE : If routing through a drilled hole in steel panels then a rubber insulating
grommet should ALWAYS be used to protect the loom.
Assemble the 4 spade connectors into the supplied plastic connector housing so that red
wire matches up with the purple wire and each of the other wire colors matches up with
the same colors on the matching connector housing of the short loom section when the 2
halves of the connector are plugged together.
Route the remainder of the loom to the compressor mounting position.
Plug the sealed connector to the compressor connector.
Plug the female solenoid connector with a yellow wire (YEL) into the solenoid to be
controlled by SWITCH 1.
Plug the female solenoid connector with a green wire into the solenoid to be controlled by
SWITCH 2.
NOTE : If no second solenoid is to be used then simply secure the remaining
solenoid connector on the loom with a cable tie.

4 Mounting & Connecting the Electrical System
16
4.3 Connecting The Power Wires
IMPORTANT :
Although the wiring loom in this kit was designed to work with either a
12 volt or 24 volt system, the DC motor of the compressor has been designed
ONLY for use on one specific voltage system.
Make sure you have the CKMTA12 compressor kit for 12V systems or the
CKMTA24 for 24V systems.
Connecting a compressor to an incorrect voltage level will cause extensive
damage to the compressor’s DC motor, so carefully follow the power connection
instructions below that apply to the vehicle.
IMPORTANT :
Never connect the power to the compressor while the vehicle key
is in the ACC position, as this may result in accidental compressor start-up.
Plug the sealed connector on the supply loom #180414 to the compressor.
Carefully route the supply loom from the compressor mount position to the battery
position.
4.3.1 Power Connection To A 12V Vehicle / System
Trim all 4 wires to the correct length for connection to the battery.
NOTE : If any of the wires require extra length to reach the battery then splice in an
extension using ONLY wire that is of the same gage or bigger than the wire
being lengthened.
NOTE : The inline fuse should be located as close to the battery connection as
possible. Never eliminate any fuses when shortening the RED wire, and
only ever lengthen the RED wire on the opposite side of the fuses from the
battery.
Crimp suitable gage automotive eye terminals (not supplied) onto each of the heavy gage
(5mm2[10AWG]) RED wires.
Crimp a suitable gage automotive eye terminal (not supplied) onto the heavy gage (8mm2
[8AWG]) black wire that is marked with a white stripe (BLK-WHT).
NOTE : In a 12V system the 2 black wires (BLK and BLK-WHT) will be joined
together, so they may be crimped together into the same eye terminal if
desired. Refer to wiring diagram in Fig 9.
Crimp a suitable gage automotive eye terminal (not supplied) onto the lighter gage solid
black wire with no stripe (BLK).
Connect the RED wire to the positive (+) terminal of the battery by securing the eye
terminal under the nut of the battery terminal clamping bolt.
Connect both of the black wires (BLK and BLK-WHT) to the negative (-) terminal of the
battery in the same way.
Secure all loom wiring with cable ties along its entire path, as vibration could cause wear
to the insulation over time which could result in a dangerous electrical short.

4 Mounting & Connecting the Electrical System
17
4.3.2 Power Connection To A 24V Vehicle / System
NOTE : Vehicles equipped with aftermarket ‘dual battery kits’ are not classified as
24V systems. They require the 12 volt compressor kit, and connection to
the primary battery only according to section 4.3.1.
Identify which battery in the system will be used as the 24V negative (-) terminal
(i.e., Battery #1 in the wiring diagram Fig. 9.) by connecting a multimeter across the
positive (+) terminal of one battery to the negative (-) terminal of the other battery. If you
have tested the correct negative (-) terminal then you will read approximately 24 volts on
the multimeter, and this battery will be battery #1, and the other battery with the positive
(+) terminal you have just tested will be battery #2 (refer to wiring diagram Fig. 9.).
NOTE : If you have tested the wrong negative (-) terminal then you will read
approximately 0 volts. Re-test using the opposite batteries.
Trim the heavy gage black wire that is marked with a white stripe (BLK-WHT) for
connection to battery #1 (identified above).
NOTE : If any of the wires require extra length to reach the battery then splice in an
extension using ONLY wire that is of the same gage or bigger than the wire
being lengthened.
Trim the RED wire and the lighter gage solid black wire with no stripe (BLK) for
connection to battery #2.
NOTE : The inline fuses should be located as close to the battery connection as
possible. Never eliminate any fuses when shortening the red wire, and only
ever lengthen the red wire on the opposite side of the fuse to the battery.
Crimp suitable gage automotive eye terminals (not supplied) onto each of the heavy gage
(5mm2[10AWG]) RED wires.
Crimp a suitable gage automotive eye terminal (not supplied) onto the heavy gage (8mm2
[8AWG]) BLK-WHT wire.
Crimp the red eye terminal (supplied) onto one end of the mini-blade fuse holder
(supplied). Then crimp the red insulated cable joiner (supplied) onto the other end.
Now join the mini-blade fuse holder onto the lighter gage black wire (BLK) by crimping
the other end of the insulated cable joiner.
Connect the BLK-WHT wire to the negative (-) terminal of battery #1 by securing the eye
terminal under the nut of the clamping bolt.
Connect the mini-blade fuse holder to the negative (-) terminal of the battery #2 in the
same way.
Connect the RED wire to the positive (+) terminal of the battery #2 in the same way.
NOTE : Double check that the connections match the wiring diagram (Fig 9.).
Accidentally reversing the 2 black wires will cause damage to the
compressor kit.
Secure all loom wiring with cable ties along its entire path, as vibration could cause wear
to the insulation over time which could result in a dangerous electrical short.

5 Testing & Troubleshooting
18
5.1 Leak Testing
With the vehicle parked and the engine off, turn the compressor on and wait until the air
system is fully charged.
The compressor should not come on again for a period of at least 15min. Air system
recharging within that time period would indicate that a leak is present in the system.
If a leak is found to be present, spray a soap and water mixture onto all air fittings in the
system while the compressor is fully charged. Bubbles should appear at any leak points.
Check that leaky fittings have been adequately tightened.
If leaking persists then disassemble fittings, clean threads, and reapply thread sealant /
tape.
5.2 Testing the Air Locker Actuation (Air Locker Systems Only)
To test that the air system, electrical system, and the Air Locker differential is functioning
correctly:
Support the vehicle such that the wheels are free to rotate (e.g., on axle stands, a
chassis hoist, etc.)
Leave the parking brake off, the transmission in neutral, and the Air Locker switch ‘OFF’.
Turn the ignition to the ‘ON’ position (leaving the motor off). The large symbol on the Air
Locker switch cover should not be illuminated.
Turn the compressor on to charge the air supply to maximum pressure.
While supporting the drive shaft flange, rotate one wheel by hand.
The wheel should rotate freely and the opposite wheel should be turning in the opposite
direction without any resistance or mechanical noise from within the differential.
Turn the Air Locker switch to the ‘ON’ position. The symbol on the switch cover should
light up.
Rotate the same wheel again and check that both wheel rotate together.
Turn the switch off again.
Rotate the same wheel again.
The wheels should again rotate in opposite directions.
This manual suits for next models
1
Table of contents
Other ARB Air Compressor manuals
Popular Air Compressor manuals by other brands

Rupert Neve Designs
Rupert Neve Designs Shelford 5051 Operation manual

BE
BE AC5161B user manual

Technaxx
Technaxx TX-157 user manual

Metabo HPT
Metabo HPT EC 36DA Instruction manual and safety instructions

Craftsman
Craftsman 218.10012 Operator's manual

Black & Decker
Black & Decker BD 220/50-2M instruction manual

Würth
Würth COMPACT 20 Translation of the original operating instructions

Stanley
Stanley WD210/8/24 Instruction manual for owner's use

Husky
Husky C302H Use and care guide

FISCHER
FISCHER JUN-AIR 3 motor operating manual

Secoh
Secoh SLL-20 instruction manual

California Air Tools
California Air Tools 8010AD owner's manual