A65/A75/P75
6
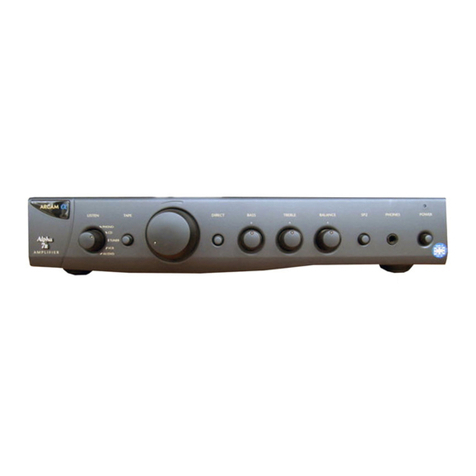
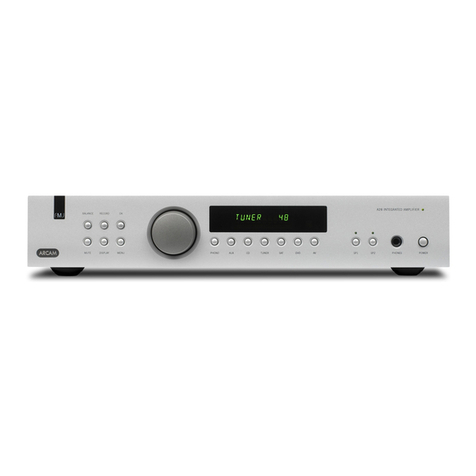
Listen selector bq
Selects the input you wish to listen to. The selected input signal
is also sent to the TAPE RECORD OUT 6sockets to allow
the signal to be recorded, assuming you have a tape deck
connected. It is also sent to the PRE-AMP OUT sockets 5.
TAPE br
Push this switch in to listen to playback from a cassette deck
connected to the amplifier’s TAPE PLAY IN sockets 7.
It also enables you to monitor the recording being made on a
3 head cassette deck.
Note: If the tape switch is in you will be unable to listen to a
source selected by the LISTEN SELECTOR bq.
VOLUME bs
Adjusts the volume level of the loudspeakers, headphone and
pre-amplifier out sockets.
The volume control is motorised and can be controlled
remotely with the use of a suitable remote control handset,
such as the CR-389 supplied (see the section ‘Using the
remote control’for details).
DIRECT bt
Push this switch in to bypass the bass, treble and balance
controls. This switches these controls out of the circuit
(minimising the signal path) and will generally give a small
improvement in sound quality.
BASS ck
Rotate clockwise to boost the bass response and anti-
clockwise to cut the bass response. For a flat response leave
in the central ‘click’position.
TREBLE cl
Rotate clockwise to boost the treble response and anti-
clockwise to cut the treble response. For a flat response leave
in the central ‘click’position.
The range of the tone controls has been deliberately limited
to approximately plus or minus 6dB (decibels) at the frequency
extremes. This is usually sufficient to correct small deficiencies
in recordings or speakers.
BALANCE cm
Rotate clockwise or anti-clockwise to move the position of the
stereo image. This may be necessary if it is not possible to
sit centrally between the speakers. In normal use leave in the
central ‘click’position.
SP2 cn
Push the button in to select the loudspeakers connected to
the SP2 4speaker terminals. To disconnect the speakers
release the switch again.
HEADPHONE socket co
Accepts headphones rated between 8Ωand 2kΩfitted with
a 6.3mm stereo jack plug. If your headphones are fitted with
a different plug, contact your dealer for a suitable adaptor.
Inserting a headphone jack plug automatically mutes (i.e. cuts
off) the loudspeakers, but does not mute the PRE-AMP OUT
sockets 5.
POWER cp
Switches the amplifier on and off.
Power indicator cq
When the amplifier is switched on, this will initially glow orange.
After a few seconds it will glow green and a slight click may
be heard (as the output muting relay disengages). When the
indicator glows orange, the speakers are disconnected and an
internal protection circuit is working.
If the indicator glows orange during normal use it may be due
to an amplifier output overload. Switch the amplifier off and wait
for 2 to 3 minutes before switching on again.
If the indicator continues to glow orange, switch the unit
off, remove all the speaker cables and switch on again.
If the indicator then goes to green when switched on this
indicates a problem with the speakers or speaker cables.
Check the speakers and speaker cables for short circuits
before reconnecting them. If the indicator continues to glow
orange with no speakers connected, contact your Arcam dealer.
Note that the power indicator glows orange when the amplifier is
muted from the remote control.
Remote control receiver cr
Make sure nothing is standing in front of the remote control
receiver, otherwise messages from the remote control handset
cannot be received and it will appear not to work!
Recording onto tape
To record from another piece of hi-fiequipment (an input
source), e.g. CD, to a tape deck connected to the amplifier,
first select the CD input with the input selector bq. Set your
tape deck into its record mode. Press PLAY on your CD player.
The CD signal will now be recorded onto your cassette deck.
If your cassette deck is a 3-head type it is possible to monitor
the actual recording on the tape. To do this push the TAPE
button br in. Switching this button in/out enables you to do
an A/B comparison between the source signal and the recorded
signal.
Using a remote control
The A65 and A75 offer remote control of the input selection,
volume control and mute via the CR-389 remote handset
supplied. It may also be possible to operate these functions
with other remote control handsets that use the Philips RC-5
protocol.
If the amplifiers are muted via remote control, the power
indicator glows orange. To cancel the mute function, press
MUTE again or either of the volume up/down buttons on the
remote control handset. If you mislay the handset after muting
the amplifier, turn it off with the POWER switch cp for 20
seconds, then switch it back on again to allow the internal mute
system to reset.
Using the amplifiers
