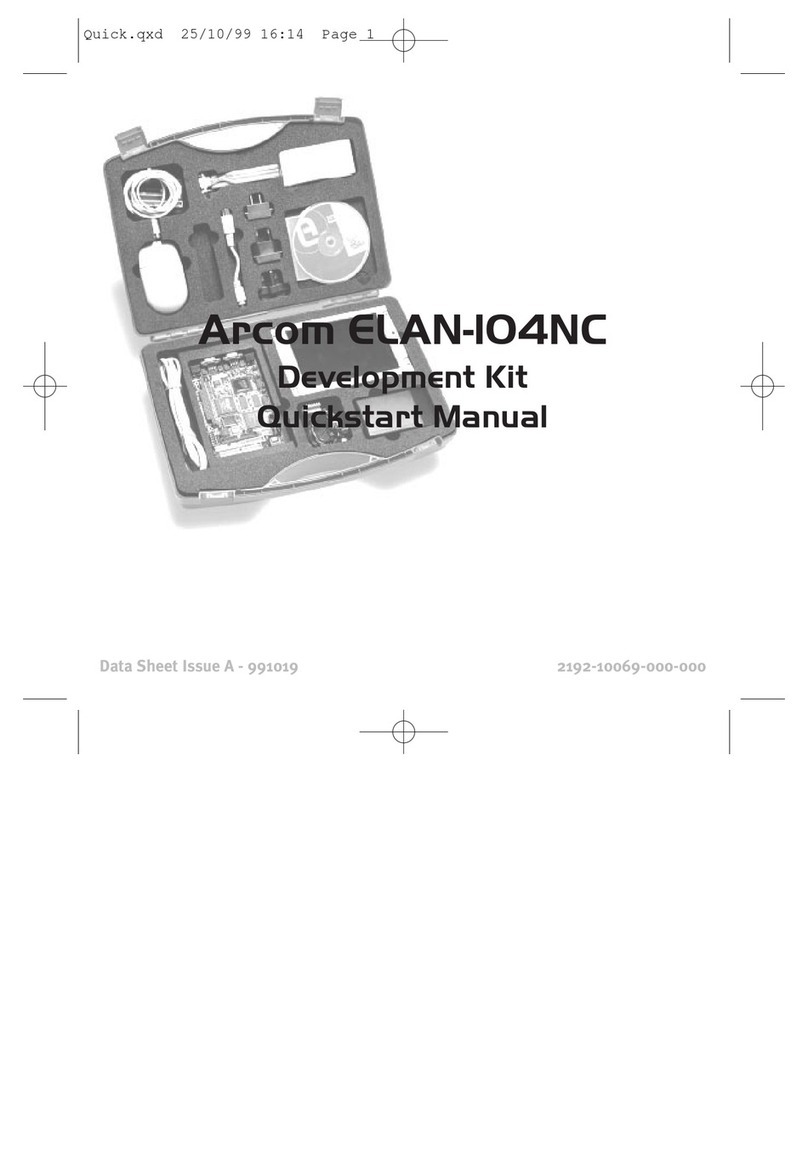
Arcom SBC-MediaGX Instruction manual

Arcom SBC-MediaGX
QNX Development Kit
Quickstart Manual
Data Sheet Issue A - 000330 2192-10287-000-000

Page 1
Disclaimer
The information in this manual has been carefully checked and is believed
to be accurate. Arcom Control Systems assumes no responsibility for any
infringement of patents or other rights of third parties that may result from
its use.
Arcom Control Systems assumes no responsibility for any inaccuracies
that may be contained in this document. Arcom Control Systems makes no
commitment to update or keep current the information contained in this
manual.
Arcom Control Systems reserves the right to make improvements to this
document and/or product at any time and without notice.
Important Notice
Arcom Control Systems supplies an evaluation copy of QNX 4.25, Photon
microGUI and Voyager Browser with our QNX Development Kit product.
This is time limited for a minimum of 30 days. After this time you must
contact your local QNX sales office to purchase a fully licensed version of
QNX Development software. Please also contact the QNX sales office for
all enquiries concerning run time license costs.

Page 2
Anti-Static Handling
This board contains CMOS devices that could be damaged in the event of
static electricity discharged through them. At all times, please observe
anti-static precautions when handling the board. This includes storing the
board in appropriate anti-static packaging and wearing a wrist strap when
handling the board.
Packaging
Please ensure that should a board need to be returned to Arcom Control
Systems, it is adequately packed, preferably in the original packing
material.
Support
Arcom Control Systems has a team of Technical Support Engineers who
will be able to provide assistance if you have any problems with using
[email protected] (US/Canada)
Acknowledgments
QNX and Photon microGUI and Voyager are trademarks of QNX Software
Systems Ltd.
All other trademarks are recognised.

Page 3
Contents
Preface . . . . . . . . . . . . . . . . . . . . . . . . . . . . . . . . . . . . . . .4
What’s in the Kit? . . . . . . . . . . . . . . . . . . . . . . . . . . . . . . .5
What else do I need? . . . . . . . . . . . . . . . . . . . . . . . . . . . .6
Getting Started . . . . . . . . . . . . . . . . . . . . . . . . . . . . . . . . .6
Setup Diagram . . . . . . . . . . . . . . . . . . . . . . . . . . . . . . . . .7
Task Analysis . . . . . . . . . . . . . . . . . . . . . . . . . . . . . . . . . .8
Task 1: Powering up the SBC-MediaGX . . . . . . . . . . . . . .9
Task 2: Establishing a QNX Network . . . . . . . . . . . . . . . .11
Task 3: Configuring the SBC-MediaGX board for TCP/IP .14
Reinstalling the QNX Image . . . . . . . . . . . . . . . . . . . . . .15
Reinstalling using a network boot disk & QNX Host Machine 16
Production Image Loading . . . . . . . . . . . . . . . . . . . . . . . . . . .19
Reinstalling the expiring licenses . . . . . . . . . . . . . . . . . . . . . .21
Using the SBC-MediaGX . . . . . . . . . . . . . . . . . . . . . . . . .22
Memory Upgrade . . . . . . . . . . . . . . . . . . . . . . . . . . . . . .23
Power Supply . . . . . . . . . . . . . . . . . . . . . . . . . . . . . . . . .24
Flat Panel Display . . . . . . . . . . . . . . . . . . . . . . . . . . . . . .25
Unsupported Hardware . . . . . . . . . . . . . . . . . . . . . . . . . .26

Page 4
Preface
The SBC-MediaGX is a highly integrated Pentium class Single Board
Computer. It incorporates all the features found in a standard PC/AT
system and has extra support for embedded applications, including
additional serial ports, general purpose I/O, flat panel display interface,
touch screen interface, silicon disk, Ethernet, and on board audio support.
The development kit has been produced to help customers become
familiar with the board very quickly and provide them with the support
needed to start developing an application right away.
This manual is intended as a guide to enable users to get the
SBC-MediaGX configured and running as soon as possible. The board
supplied in this development kit contains 16Mbytes of flash memory, which
has been pre-configured with the QNX operating system. Once power is
applied to the board it will automatically boot from the on board flash disk
and you will be able to start development.
A comprehensive manual is supplied on the support CD-ROM. This
provides information about the board to enable you to add other
peripherals as required, and provides detailed information on all features
of the board.

Page 5
Whats in the Kit?
Arcom's SBC-MediaGX basic kit for QNX v4.25 comprises of the following
items:-
A SBC-MediaGX-233-M32-F16 Single Board Computer loaded with a
QNX V4.25 image
A power supply with US, UK and EURO style plugs, and power
connectors for the SBC-MediaGX board
A power supply adapter cable
A PS/2 mouse
An RJ45 cross-over network cable
A PS/2 to AT keyboard adapter
A VGA adapter cable
An IDE disk drive cable
A floppy drive cable
A SBC-MediaGX QNX V4.25 development kit CD-ROM
A floppy disk containing a set of QNX expiring licenses
This set of instructions
•
•
•
•
•
•
•
•
•
•
•
•

Page 6
What else do I need?
PS/2 or AT keyboard
A VGA monitor (If the kit did not include a flat panel)
A PC running QNX version 4.XX (for task 2) with 3Gbyte hard drive disk
space; 32Mbyte RAM; CD-ROM drive and floppy drive
A floppy drive
You will need to obtain the Realtek Ethernet Beta driver from QNX,
If you require audio, you will also need to obtain the Beta audio driver
for the National LM4548 CODEC
•
•
•
•
•
•
Getting Started
This section guides you though the step by step process of connecting up
the SBC-MediaGX board for the first time and powering the system to
display the 'Photon microGUI' on the display. The SBC-MediaGX is
delivered ready to run and there are no link settings or configuration
switches that need adjusting to ensure the board will operate. If you follow
the steps detailed in the Quickstart Manual the board will automatically
power and load the QNX operating system from flash memory.

Page 7
Monitor
Keyboard
Power Supply
unit
Flat Panel
Backlight inverter
FPIF-Cable
Backlight
cable
SBC-MediaGX-
FPIF
SDRAM Socket
SBC-MediaGX
Board
Flat Panel cable
PL7
PL12
PL21 PL28
Mouse
PL9
Setup Diagram

Page 8
Task Analysis
The following section include three tasks, which take the user through the
process of :-
1. Powering up the SBC-MediaGX board
2. Connecting the SBC-MediaGX to a QNX network PC
3. Configuring the SBC-MediaGX board for TCP/IP

Page 9
Task 1: Powering up the SBC-MediaGX
Plug the supplied mouse cable into the socket labelled 'PL9 MSE'
Plug your keyboard cable into the socket labelled 'PL7 KBD'
If using a CRT monitor:
Plug the video monitor into the supplied VGA adapter cable, plug the
cable into the socket labelled 'VGA PL21'
If using a flat panel instead of a CRT monitor:
Check the SBC-MediaGX board links are in the correct position for
the LCD being used. (See the SBC-MediaGX Technical Manual,
supplied on the support CD-ROM for further information.) For the
NEC 6.5" flat panel supplied in the kit, these links should be set as
'LK10 A', 'LK11 B'
Plug the interface cable between the SBC-MediaGX board socket
labelled 'Flat Panel PL28', and the FPIF board socket 'PL1'
Plug the interface cable between the flat panel and the FPIF board
socket 'PL2'
Plug the backlight power cable between the FPIF board 'PL3' and the
backlight inverter board
1.
2.
3.
4.
•
•
•
•
•
Note:
The default BIOS for the SBC-MediaGX sets the output to ‘CRT only’ mode.
If a CRT monitor is detected when the board is switched on. Therefore, to use
a flat panel, make sure that a CRT monitor is NOT connected.

Page 10
Fit the appropriate US, UK or Euro plug onto the power supply unit
Plug the power supply cable into the socket marker 'PL12 Power'
Plug the power supply unit into a 100-240V AC power supply
If required, press <DEL> to enter the BIOS setup when booting (Refer
to the BIOS section in the SBC-MediaGX Technical Manual, supplied on
the support CD-ROM for further information.)
The system will boot to Photon V1.13 and run Voyager V2.00
5.
6.
7.
8.
9.
Y
You
have
now
completed
Task
1.

Page 11
Task 2: Establishing a QNX Network
Connect SBC-MediaGX board and host with network cable(s) - If you
are connecting through an Ethernet LAN, you will use an RJ45 straight
cable for each machine. If you are connecting directly between the host
PC and the SBC-MediaGX board, an RJ45 twisted cable has been
provided in the development kit
On the SBC-MediaGX board, Exit Voyager - Left-click the X in the top
right hand corner of the Voyager window
On the SBC-MediaGX board, Exit Photon - Left-click the QNX symbol in
the bottom left hand corner of the window. Left-click 'Shutdown'. When
the window appears, left-click 'Shutdown'
Get the physical ethernet address - You must obtain the Realtek 8139
Beta Ethernet driver from QNX (see What else do I need?) and place it
in the /bin directory. The following commands will start the ethernet
driver and print out the physical ethernet address for the SBC-MediaGX:
Net &
Net.rtl -vvv &
Note:
Consult your Systems Administrator before attempting to connect the
SBC-MediaGX board to your existing QNX network. This board is configured
to boot as node 2 on a network at initial start-up. There is further instruction
on editing the build file to configure the board as a different node number
included in the help file on the QNX demonstration CD-ROM.
1.
2.
3.
4.

Page 12
Edit the host PC's netmap file - On the host PC you will find the netmap
file in the '/etc/config' directory. You must enter the node id, the network
id and the address of the ethernet card here. It should be configured as
follows:
Update the hosts network table - After saving and exiting the netmap file
type: netmap -f
On the SBC-MediaGX board, create a backup copy of the '.licenses' file
cp .licenses .licenses.old
From your host PC, insert the licenses on the host PC and refresh
licensing file as follows:
cat //2/.licenses >> /.licenses
license -r
5.
6.
#Logical LAN Physical
host_node_# net_id Physical_address_host_node
2
net_id Physical_address_SBC-MediaGX
Note:
You should be able to establish a connection to the SBC-MediaGX board.
Type 'ls //2' from your host PC. If you receive any error messages, retrace
the first 5 steps.
7.
8.

Page 13
From your SBC-MediaGX board, copy the licensing information from
the host PC and refresh licensing file:
cp //host_node/.licenses //2/.licenses
license -r
Installing old style licenses on the SBC-MediaGX board - If there are
licenses listed in the '/etc/licenses' directory of your host PC, you must
follow these instructions. Otherwise, skip to step 11. Insert license disk
into floppy drive on the SBC-MediaGX board, then follow these steps:
Fsys.floppy &
license
license -r
Run nameloc on your host PC - You may use the sin command to
check if nameloc is already running:
nameloc &
Reboot shutdown
9.
10.
11.
12.
You
have
now
completed
Task
2.

Page 14
Task 3: Configuring the SBC-MediaGX board for
TCP/IP
Exit Voyager and Photon (See steps 2 and 3 of Task 2 above)
Enter the IP address - The 'X' is the number of logical QNX LANs
running the hardware protocol
ifconfig enX ip_address
Enter the netmask - The 'X' is the number of logical QNX LANs running
the hardware protocol
ifconfig enX netmask net_mask
Enter the default gateway address
route add default gateway_address
You may now use the TCP/IP services listed in the '/usr/ucb' directory.
If you'd like to use the Voyager Web Browser type
ph
Note:
Your system administrator will be able to tell you which IP address,
netmask, and gateway address you can use. Please consult this person
before proceeding. You may also edit the /etc/netstart file to configure
TCP/IP during the boot process.
1.
2.
3.
4.
5.
You
have
now
completed
Task
3.

Reinstalling with a bootable CD-ROM
Attach CD-ROM drive to SBC-MediaGX board, plug CD-ROM drive
cable into socket labelled 'IDE PL22'
Insert CD into CD-ROM drive and boot SBC-MediaGX board. Check
that the BIOS is set to boot to the CD-ROM first.
Once prompt appears, type install. After you are asked if you would like
to format the flash drive, installation of the files will take approximately
7 minutes
Reboot SBC-MediaGX board
Page 15
Reinstalling the QNX Image
You can reinstall Arcom’s QNX Image from a QNX Host Machine by
creating a network boot disk for the SBC-MediaGX board, or with the
bootable support CD.
1.
2.
3.
4.

Page 16
Check with your Systems Administrator before using this method of
installation. The disk created will begin network services for the on board
Ethernet. The disk will be configured to boot as node 2 on a QNX network.
Also, the files will take up at least 8 Meg of available space on the host
QNX machine.
Creating the network boot disk from Windows Machine:
Put Arcom's QNX CD into CD-ROM drive on Windows machine
Goto /DOS/DiskImages directory
Insert Dos formatted disk into a: drive
Double click qnx_net_boot.exe
Put Arcom's QNX CD into CD_ROM drive on QNX machine
Copy the flash image file to your root directory:
cp mediagx.img /
Edit the /etc/config/netmap file to include node 2 with the Ethernet
address of the on board Ethernet and update network mapping by:
netmap -f
1.
2.
3.
4.
5.
6.
7.
Reinstalling using a network boot disk & QNX Host
Machine

Page 17
Creating the network boot disk from QNX Machine and copying files
to Host Machine:
Insert floppy disk into QNX host machine
Put Arcom's QNX CD into CD-ROM drive on QNX machine
Copy the flash image file to your root directory:
cp mediagx.img /
Goto /bin directory on CD
cd /bin
Type: ./netboot
(This script file will format and check the disk, before copying the disk
image)
Edit the /etc/config/netmap file to include node 2 with the Ethernet
address of the on board Ethernet and update network mapping:
netmap -f
Reinstalling Arcom's QNX Image:
Attach floppy drive to SBC-MediaGX board. Plug floppy drive cable into
socket labelled 'PL9' and apply power
Boot SBC-MediaGX board to floppy disk, make sure the BIOS is set to
boot to a: drive
Make sure you have a connection to your SBC-MediaGX board. From
your host QNX machine, type:
ls //2
1.
2.
3.
4.
5.
6.
1.
2.
3.

Page 18
You will receive and error if there is no connection, check with your network
administrator that your netmap file in the host machine is set up properly,
and you have proper cabling.
On the SBC-MediaGX board, at the prompt type:
finit
From your SBC-MediaGX board copy the image to the SBC-MediaGX
board by typing:
fxwrimg /dev/rfd0 //host_node/mediagx.img
(It will take approximately 8 minutes to load the image)
Reboot SBC-MediaGX board, set BIOS to boot to c: drive
4.
5.
6.

Page 19
When your development is complete, we suggest setting up your boards
for production is as follows.
Configure a hard drive with minimal QNX operating system files (see
FAQ) and place the following utilities found on the support CD in the /bin
directory, to the /bin directory on the hard drive.
Fsys.MediaGX
dinit
fxfmt
fxwrimg
fxrdimg
Connect the hard drive to the development processor board's IDE
interface.
Boot the development board from the hard drive.
Start the Flash Disk Driver:
Fsys.MediaGX &
Create an image of the flash on the hard drive:
fxrdimg /dev/rfd0
Image.img
Power down the development board and attach the hard drive to the
production board's IDE interface.
Boot the production board to the hard drive
Start the Flash Disk Driver:
Fsys.MediaGX &
Production Image Loading
1.
2.
3.
4.
5.
6.
7.
8.
Table of contents
Other Arcom Microcontroller manuals
Popular Microcontroller manuals by other brands
Nuvoton
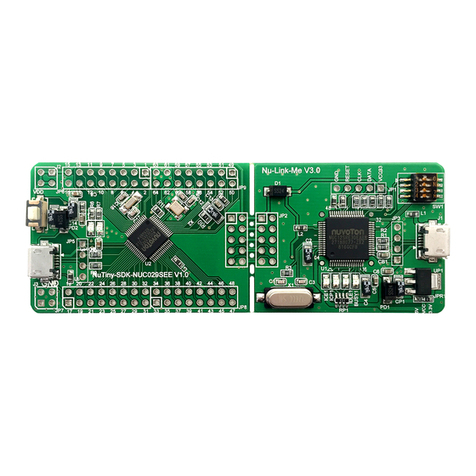
Nuvoton NuMicro NUC029 Series Technical reference manual

Sino Wealth
Sino Wealth SH79F3281A manual
Congatec
Congatec conga-SKIT/APL quick start guide
Abov
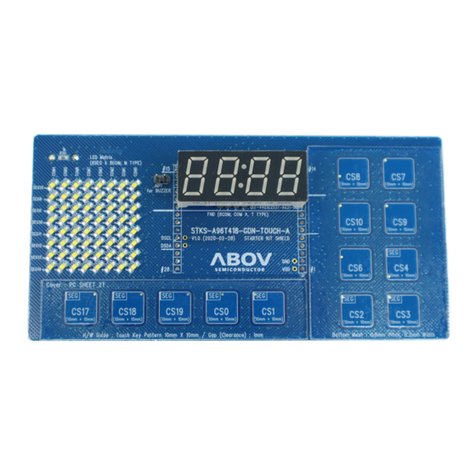
Abov A96T418GDN quick guide
Uctronics
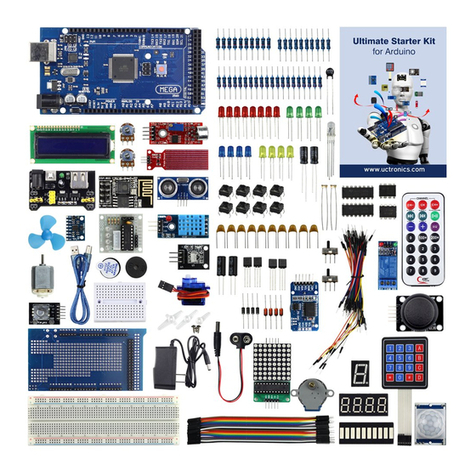
Uctronics Ultimate Starter Kit for Arduino manual
Apex Digital
Apex Digital Unismart Uni Brother OEM Chip Reset operation instruction
