Arcora BLANCUS 45 Mounting instructions

BLANCUS 45 Manual Use
Please read this manual carefully before using the product .

1.0 OVERVIEW
ATTENTION:Please read this manual carefully before
using BLANCUS 45.
INTRODUCTION
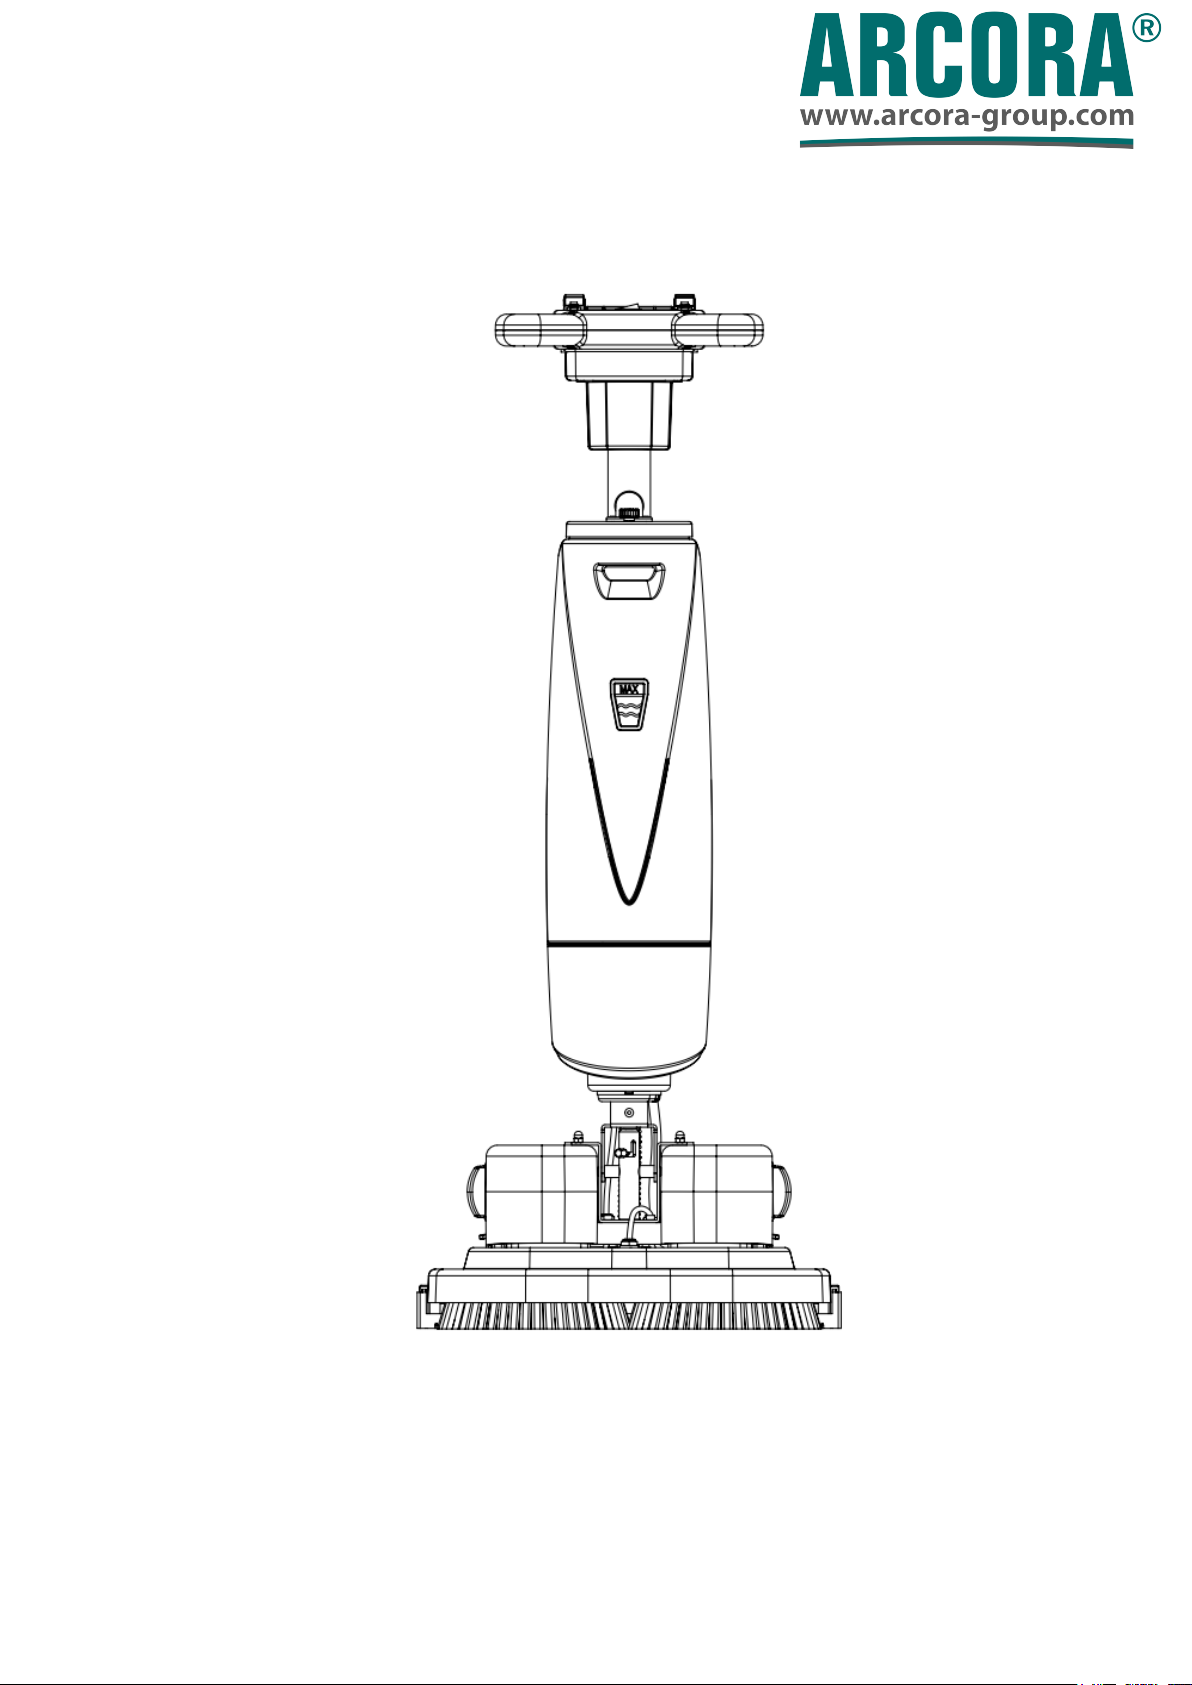
BLANCUS 45 Micro Automatic Floor Scrubber is a machine which uses the
mechanical movement of the disc brush and the chemical action of water and
detergent solution to clean the hard floor with various stains and at the same
time it can collect both the removed stains and the detergent solution not absorbed
by the floor
RANGE OF APPLICATION
This machine is suitable for quick mechanized floor cleaning of small
office buildings, hotels, restaurants and workshops, which makes cleaning
operations more efficient and faster.
This device is not suitable for using in the rain or under a water gun. It is strictly
forbidden to use this equipment to collect dangerous dust or flammable liquid in
a flammable and explosive environment. In addition, the device is not suitable
for using as a transport vehicle.
2.0 SUMMARY OF SAFETY MATTERS
ATTENTION:The operator should read this manual carefully.
●Be familiar with all the design, control methods, and functions of the scrubber
before starting any work.
●When using the scrubber for the first time, the operator should place it in an
open area to understand its various functions.
●Before starting any operation, check the status of the scrubber and its
components under normal conditions and during operation.
●If the scrubber is not working properly, the device cannot be used.

●The operator must use it in the appropriate application area (cleaning the hard
floor) when operating the scrubber.
●Pay attention to obstacles in the workplace, such as stairs, shelves, etc.,and pay
attention to the surrounding people, especially children.
● Use a suitable cleaning agent (When cleaning the scrubber, use the cleaning
agent only in accordance with the manufacturer's instructions for use, and use
the cleaning agent at the appropriate dosage and limit.
●This scrubber should only be maintained and serviced by suitably trained
personnel using appropriate tools.
●Turn off the power or remove the battery when cleaning or maintaining the
scrubber.
●Do not use high pressure water or steam equipment to clean the scrubber.
●Prevent electrical components from entering the water.
ATTENTION:▲ Do not use this scrubber to clean flammable liquids, solvents,
fuel oil, reactive metal water vapor or flammable dust.
▲Risk of electric shock. Do not use damaged wires. Unplug the cord
before servicing.
▲For safety reasons: Using an incompatible battery charger may
result in battery damage or fire.
3.0 TECHNICAL PARAMETERS FOR THE PRODUCT
Item
Parameters
Rated voltage
DC24V
Working width
45.5cm
Water absorption width
50cm
Work efficiency
600 /h

Disc brush diameter
22.8cm
Disc brush rotation rate
200rpm
Disc brush motor
2*200W
Disc brush pressure
20kg
Water absorption motor
200W
Vacuum degree
120mbar
Turning radius
30cm
Clean water tank capacity
3.5L
Sewage tank capacity
4L
Noise level
75dB
Battery pack
2*8.8Ah-24V (Lithium battery)
Battery weight
1.9*2kg
Total weight of the machine
22kg
Gross weight
34kg
Package dimensions
127.5*60*45(CM)

4.0 THE PACKAGE OF THE MACHINE
Packing size is as follows:
length:1275mm
width: 600mm
height: 450mm

5.0 STRUCTURE
1.Water suction switch 2.battery indicator 3.Disc brush switch
4.Overload reset button 5.Power switch 6.Screw
7. Sewage tank cover 8. Sewage tank 9.Right battery
10.Right battery 11.Upright trigger lock 12.Water valve switch
13. Charging socket 14. Clean water tank lock 15. Threaded tank cover
16. Sewage tank swing buckle 17.Clean water tank 18. Machine lock button
19. Parabolic squeegee wheels 20. Battery pull buckle 21.Rubber strip
22. Disc brush

6-1
6-2
6.0INSTRUCTIONS FOR USE
6-1 The description picture of disc
brush installation:picture 6-1
1. According to step 1 in the picture,
press the disc brush to the
positive drive buckle to the end.
2. Rotate the two disc brushes in
the direction of step 2 in the
picture to fasten the disc brush .
6-2.battery installation
instructions:
See picture 6-2.
1. Distinguish the left and right
direction of the battery.
2. As shown in the arrow, align
the mounting slots of the
battery.
3. Push the battery to the end
along the slot and tighten the
battery.

6-3-(1) 6-3-(2) 6-3-(3)
ATTENTION:When refilling the clean water tank, it is necessary to
empty the sewage tank.
ATTENTION:Do not fill the water in the sewage tank or dirty water into
the clean water tank, which will result in blockage of the pipeline
6-3 The description
picture of filling the
water :
Picture 6-3-(1)~ (3)
1. As shown in step 1 of
Figure 6-3-(1), push
the lock of the clean
water tank to the
inside.
2. Lift the clean water
tank up as shown in
step 2 of Figure
6-3-(1).
3. Twist the water tank
cover as shown in
Figure 6-3-(2).
4. Inject water into the。
water tank as shown in
Figure 6-3-(3).。

6-4-(1) 6-4-(2)
6-4The description picture of
disassembling sewage tank :
Picture 6-4-(1)-(2)
1. Move the sewage tank swing
buckle up as shown in Figure
6-4-(1).
2. As shown in Figure 6-4-(2),
the upper end of the sewage
tank is opened outwards,and
then remove the tank from the
joint.
6-5The description picture of taking
apart of the machine:picture6-5
1. Press the machine locking buckle。
2.Move the handle away from the
lock。
3. Turn the head down.

6-6
6-6 The description picture of control
panel:picture 6-6
1.Disc brush motor overload protection
button
2.Power switch
3.Water suction motor overload
protection button
4.Disc brush switch
5.Battery indicator (red, yellow, green)
Description:When the red, yellow, and
green indicators are on, it indicates that
the battery is fully charged. When the
green indicator is off, the red and yellow
indicators are on, it indicates that the
power consumption has exceeded
half.When only the red indicator is on and
flashing, it indicates that the battery is
low, and should be charged in time.
6.Clean water switch
7.Water suction switch
6-7 Battery disassembly:picture 6-7
1. Pull the battery puller in the 1 direction
to the end as shown in Figure 6-7.
2. Pull the battery in the direction of 2 as
shown in Figure 6-7.。

6-7
图6-6
6-8 Battery charging:
ATTENTION:A battery charger approved
and supplied by the company must be used
(picture 6-8).Using an incompatible charger may
result in damage to the battery and may result in
fire. Two batteries must be charged together
during charging.
Correct charging step:
1.Transport the machine to a well ventilated area.
2.Park the machine at a dry and level place and turn off
the main power.
3.Plug the charger DC cable plug into the charging socket
of the machine.
4.Connect AC power cord of the charger to a properly
grounded outlet.

6-8
7.0 MAINTENANCE
1、Daily maintenance
(1)Remove the needle holder/Disc brush and wipe clean with a specific detergent。
(2)Drain the water from the sewage tank and the clean water tank and rinse them
with clean water. Check for any debris in the recovery tank. If it is, please remove it
immediately.
(3)Lift the water scraper component off the floor and wipe the scraper with a wet
towel.
(4)Wipe the machine clean with a specific detergent.
(5)Charge the battery.
(6) Check if the edge of the scraper is sharp. If it is damaged, please switch to the
other side or replace it.。
2、Monthly maintenance
(1)Check for loose or corroded battery connections.
(2)Use a specific lubricant to lubricate all lubrication points and shafts.
(3)Check if the machine fasteners are loose.
(4)Check the water tank for leaks. Check the seal of the sewage tank cover. If it is
damaged, please replace it.
3、How to store the machine
(1)Store the machine in a dry place indoors.
(2)Store the machine upright.
(3)If the storage location is extremely cold, it is necessary to keep the machine
completely dry before storing the machine to avoid damage caused by low
temperature.
5.The charger will automatically start charging, charging
time is about 1 hour and 40 minutes.
6.After the end of the charging cycle, unplug the AC
power cord from the outlet first and then unplug the DC
charging plug from the machine.

(4)Please drain the sewage tank and the clean water tank before storing the
machine.
8.0 Common faults and solutions
Faults
Cause Analysis
Solutions
The machine can't run
Did not turn on the power switch
Please turn on the power
switch
The battery is low and needs to be
charged
Please charge the battery
Battery damage
Replace the battery
The power switch is damaged
Contact the manufacturer
Disc brush motor cannot
run
The battery is low and needs to be
charged
Please charge the battery
Damage to the disc brush motor or
damage to its circuit
Contact the manufacturer
Electromagnetic switch damage
Contact the manufacturer
Controller damage
Contact the manufacturer
Drive motor or its circuit is
damaged
Contact the manufacturer
Disc brush motor overload
protection
Manual reset after waiting
for cooling
Water suction motor can
not run
Water suction motor or its circuit is
damaged
Contact the manufacturer
Water suction motor overload
protection
Manual reset after waiting
for cooling
Poor water suction
performance
The drain pipe plug is loose
Tighten the drain plug
Water scraper component blocked
Clean the Water scraper
component
Water scraper abrasion
Switch to the other side or
replace it.。

Poor water suction
performance
The suction pipe is not reliably
connected to the water scraper
component
Reliably connect the suction
pipe
Water suction pipe blocked
Clear the blockage
Suction pipe damage
Replace the suction pipe
The sewage tank cover is not
covered
Cover the sewage tank cover
Sewage tank cover seal is damaged
Replace the seal
Water suction motor damage
Contact the manufacturer
The battery is low and needs to be
charged
Please charge the battery
Short running time
Battery damage
Replace the battery
Battery charger is damaged
Repair or replace the charger

Num
ber
Name
Num
ber
Name
101
Button switch
102
Upper handle case
103
M3 nuts
104
Charging plug
105
M3X20 Pan head
screws
106
Lower handle case
107
4X30 Pan head tapping
screws
108
M6X20 Cylindrical
head screws

109
Handle connector
(back)
110
Handle connector
(front)
111
M6X20Cylindrical head
screws
112
4X10 Pan head tapping
screw
113
Relay
114
4X10 Pan head tapping
screws
115
Circuit board
116
Overload protector
117
Power switch
118
Water valve switch

Num
ber
Name
Numb
er
Name
Numb
er
Name
201
Aluminum tube
sealing part
202
50X3Aluminum tube
handle
203
Joint rear plate
204
M6X16 Cylindrical
head screw
205
Clean water tank
lock
206
Suction pipe upper
joint
207
4X20 Countersunk
head tapping screws
208
Water tank pallet
209
Silicone Case
210
Conversion quick
211
Aluminum pipe
212
M6X16 Cylindrical

connector
connector
head screws
213
Water pipe
214
Water suction motor
cover
215
4X20 Pan head
tapping screws
216
Silencer Sponge
Cover
216
Silencer Sponge
218
Motor air guiding
shell
219
4X16 pan head
tapping screw
220
Water suction motor
221
Water suction motor
exhaust hood
222
Motor air guide cover
223
3X12 pan head
tapping screw
224
Circuit board cooling
box
225
Motor exhaust
connector
226
Board heat sink
227
Fan circuit board
228
M3X8 pan head screw
229
Suction pipe lower
join
230
Hose clamp
231
Suction pipe
232
Suction pipe joint
jacket
233
Joint front plate
234
M6X16 cylindrical
head screw
235
Sewage tank suction
connector
236
cable

Number
Name
Number
Name
Number
Name
301
Water tank cover
lug screw A
302
Water tank cover
hanger
301
Water tank cover lug
screw A
303
Threaded tank
cover
304
Clean water tank
303
Threaded tank cover
307
Water tank spool
308
O-ring 11X3
309
O-ring 28X3
310
Water tank valve
311
Water tank valve
312
4X20 Countersunk

housing
outer seal
head tapping screws
313
Tank swing buckle
screw
314
Tank swing buckle
spring
315
Tank swing buckle
•
316
Suction elbow for
sewage tank
317
3X12 countersunk
head tapping screw
318
Bottom cover of
float ball cover
319
Floating ball cap
320
Sewage tank cover
seal strip
321
Sewage tank cover
322
Sewage tank
exhaust jacket
323
3X12 countersunk
head tapping screw
324
screws
325
O-ring 8X1.8
326
floating ball
327
Sewage tank
Table of contents