ARCTIC WIND ATMSL212E User manual

For your own records, please attach a copy of your sales receipt to this manual and complete the following:
Model Number: _____________________________________ Serial Number: _______________________________________
Purchase Date: ____________________________________ Store Purchased: _____________________________________
Installation Date: ___________________________________ Installation Co.: _______________________________________
Installer Name: _____________________________________ Installer Phone No.: ___________________________________
CONSUMER PRODUCT INFORMATION

1. SAFETY WARNINGS
1.1 Warning ........................................................................................................................ 1
1.2 Meanings of safety warning symbols............................................................................ 2
1.3 Electricity related warnings ........................................................................................... 2
1.4 Warnings for use .......................................................................................................... 3
1.5 Warnings for placement ................................................................................................ 3
1.6 Warnings for energy ..................................................................................................... 4
1.7 Warnings for disposal ................................................................................................... 4
2. PROPER USE OF THE REFRIGERATOR
2.1 Placement..................................................................................................................... 5
2.2 Door handle installation ................................................................................................ 6
2.3 Leveling feet ................................................................................................................. 7
2.4 Door right-left change .............................................................................................. 8 – 9
2.5 Changing the light....................................................................................................... 10
2.6 Starting ....................................................................................................................... 10
2.7 Energy saving tips ...................................................................................................... 10
3. STRUCTURE AND FUNCTIONS
3.1 Key components ..........................................................................................................11
3.2 Functions ..............................................................................................................12 – 13
4. MAINTENANCE AND CARE OF THE UNIT
4.1 Overall cleaning .......................................................................................................... 14
4.2 Defrosting ................................................................................................................... 14
4.3 Out of operation .......................................................................................................... 14
5. TROUBLESHOOTING
5.1 Troubleshooting .......................................................................................................... 15
CONTENTS
This manual provides the information needed for proper use and mainte-
nance of this refrigerator. Basic preventative care can help extend the life of
this unit. The “Troubleshooting” section in this manual contains a chart with
solutions to the most common problems. Referring to this section may save
time and prevent the need for a service call in the event of a problem.

1
RECOMMENDATIONS:
This appliance is intended to be used in household and similar applications such as staff kitchen areas in shops, offi ces
and other working environments; farm houses and by clients in hotels, motels and other residential type environments;
bed and breakfast type environments; catering and similar non-retail applications.
Children should be supervised to ensure that they do not play with the appliance.
If the supply cord is damaged, it must be replaced by the manufacturer, its service agent or similarly qualifi ed persons
in order to avoid a hazard.
DO NOT store explosive substances such as aerosol cans with a fl ammable propellant in this appliance.
The appliance has to be unplugged after use and before carrying out user maintenance on the appliance.
WARNING: Risk of fi re / fl ammable materials.
WARNING: Keep ventilation openings, in the appliance enclosure or in the built-in structure, clear of obstruction.
WARNING: DO NOT use mechanical devices or other means to accelerate the defrosting process, other than those
recommended by the manufacturer.
WARNING: DO NOT damage the refrigerant circuit.
WARNING: DO NOT use electrical appliances inside the food storage compartments of the appliance, unless they are the
type recommended by the manufacturer.
WARNING: Please dispose of the refrigerator according to local regulators as it uses fl ammable blowing gas
and refrigerant.
DO NOT use extension cords or ungrounded (two prong) adapters.
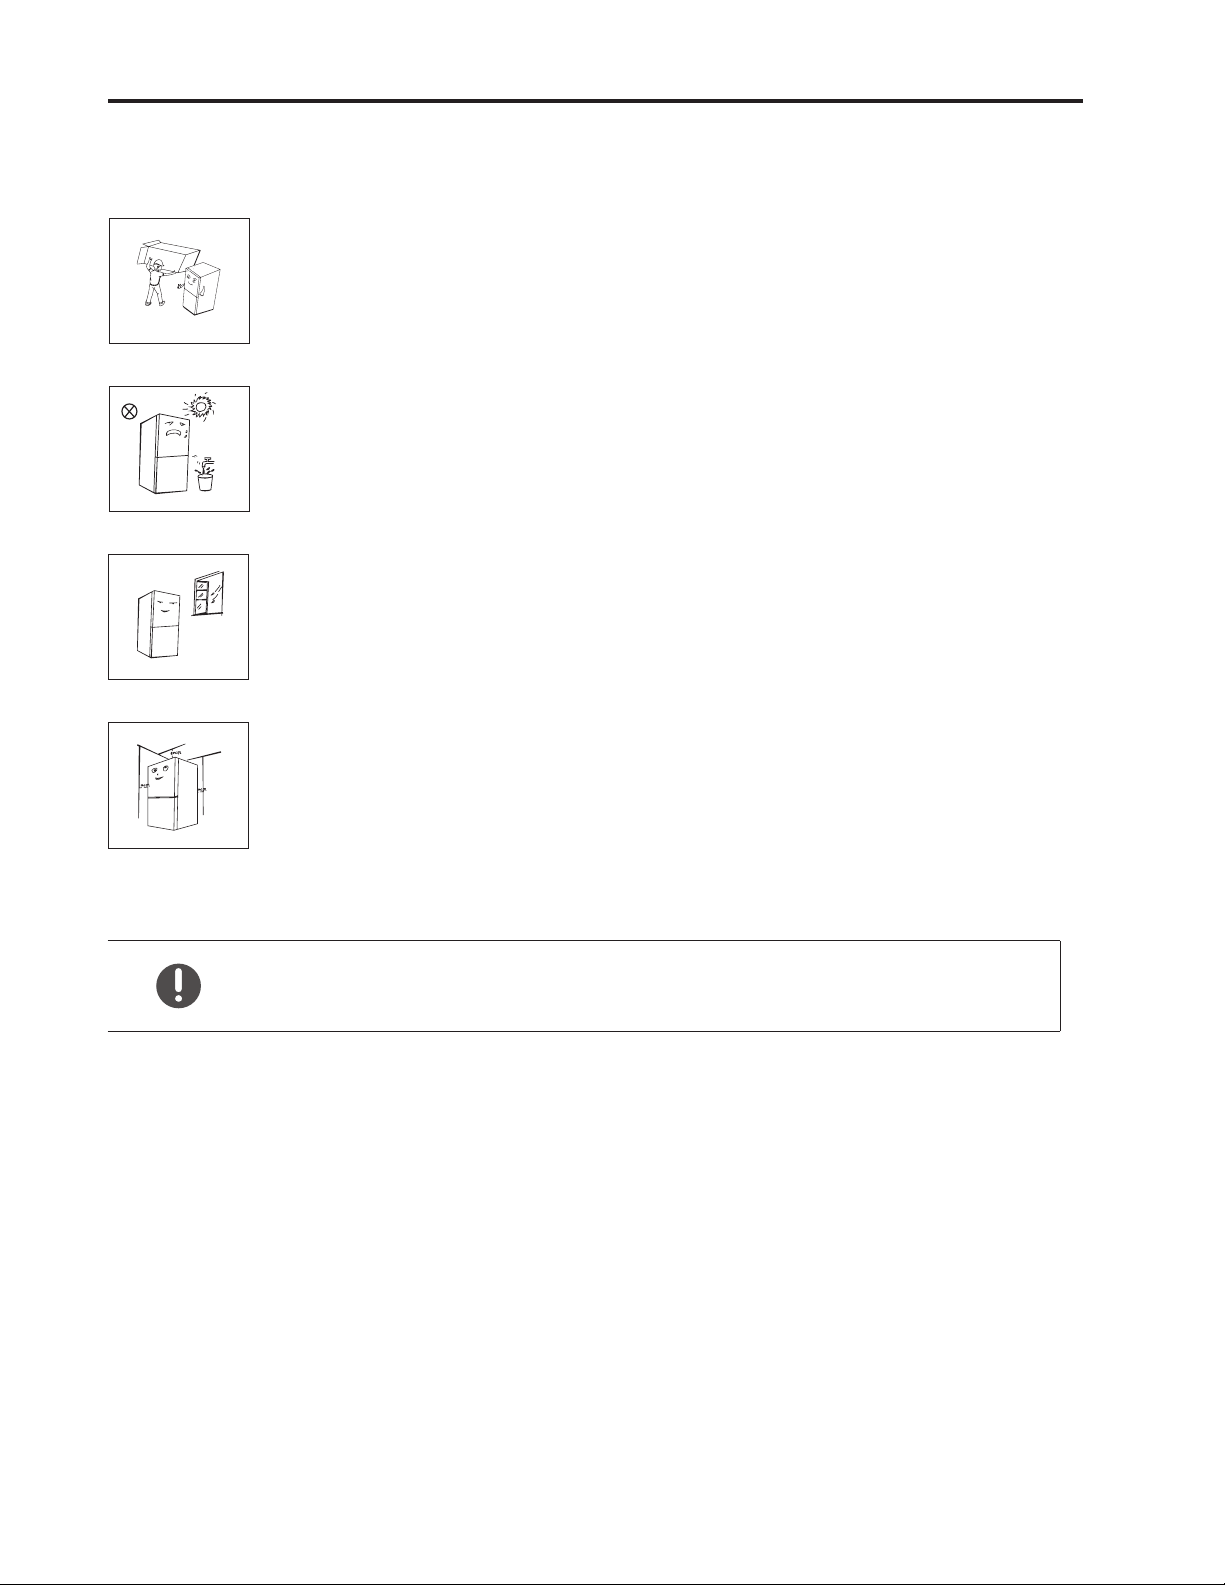
DANGER: Risk of child entrapment. Before you throw away your old refrigerator or freezer:
-Remove the doors
-Leave the shelves in place so that children may not easily climb inside
The refrigerator must be disconnected from the electrical supply source before attempting accessory installation.
Refrigerant and cyclopentane foaming material used for the refrigerator are fl ammable. Therefore, when the refrigerator
is scraped, it shall be kept away from any fi re source and be recovered by a special recovering company with
corresponding qualifi cation other than be disposed by combustion, so as to prevent damage to the environment or any
other harm.
READ SAFETY PRECAUTIONS BEFORE INSTALLATION
To prevent injury to the user or other people and property damage, the following instructions must be followed.
Incorrect operation due to ignoring of instructions may cause harm or damage.
1.1 WARNING
WARNING: Risk of fi re / fl ammable materials
1. SAFET Y WARNINGS

2
1.2 MEANING OF SAFETY WARNING SYMBOL S
Prohibition Symbol
This is a prohibition symbol.
Any noncompliance with instructions marked with this symbol may
result in damage to the product or endanger the personal safety of
the user.
Warning Symbol
This is a warning symbol.
It is required to operate in strict observance of instructions marked
with this symbol; or otherwise damage to the product or personal
injury may occur.
Note Symbol
This is a cautioning symbol.
Instructions marked with this symbol require special caution. Insuf-
fi cient caution may result in slight or moderate injury, or damage to
the product.
1.3 ELECTRICIT Y RELATED WARNINGS
DO NOT pull the power cord when pulling the power plug of the refrigerator. Please fi rmly grasp
the plug and pull it out from the socket directly.
To ensure safe use, do not damage the power cord or use the power cord when it is damaged
or worn.
Please use a dedicated power socket and the power socket shall not be shared with other
electrical appliances. The power plug should be fi rmly pressed into the socket to prevent the
risk of fi re.
Please ensure that the grounding electrode of the power socket is equipped with a reliable
grounding line.
Please turn off the gas valve and open the doors and windows in case of gas leakage
and other fl ammable gases. DO NOT unplug the refrigerator and other electrical appliances
considering that sparks may cause a fi re.
DO NOT use electrical appliances on top of the appliance unless they are the type recommended
by the manufacturer.

3
1.4 WARNINGS FOR USE
1.5 WARNINGS FOR PLACEMENT
DO NOT arbitrarily disassemble or reconstruct the refrigerator, nor damage the refrigerant circuit;
maintenance of the appliance must be conducted by a specialist.
A damaged power cord must be replaced by the manufacturer, its maintenance department or
related professionals in order to avoid danger.
The gaps between refrigerator doors and between doors and refrigerator body are small; to
avoid possible injury to hands, DO NOT put your hand in these areas. Please be gentle when
closing the refrigerator door to avoid falling articles.
DO NOT grab foods or containers with wet hands in the freezing chamber when the refrigerator is
running, especially metal containers in order to avoid frostbite.
DO NOT place heavy objects on top of the refrigerator considering that objects may fall when
closing or opening the door and cause accidental injuries.
Please pull out the plug in case of power failure or cleaning. DO NOT connect the refrigerator
to power supply within fi ve minutes to prevent damages to the compressor due to
successive starts.
DO NOT allow children to get into or climb the refrigerator; suff ocation, falling or other injury
may occur.
DO NOT put fl ammable, explosive, volatile and highly corrosive items in the refrigerator to pre-
vent damages to the product or fi re accidents.
DO NOT place fl ammable items near the refrigerator to avoid fi res.
The refrigerator is intended for household use only, such as storage of foods; it shall not be
used for other purposes, such as the storage of blood, drugs or biological products, etc.
DO NOT store beer, beverages or other fl uids contained in bottles or enclosed containers in the
freezing chamber of the refrigerator; otherwise the bottles or enclosed containers may freeze
and pop, causing damages.
Freezing chambe r

4
1.6 WARNINGS FOR ENERGY
1) Refrigerating appliances might not operate consistently (possibility of defrosting of contents or temperature becoming
too warm in the frozen food compartment) when sited for an extended period of time below the cold end of the range
of temperatures for which the refrigerating appliance is designed.
2) Carbonated drinks should not be stored in food freezer compartments or cabinets or in low-temperature
compartments or cabinets, and that some products such as ice should not be consumed too cold;
3) DO NOT exceed the storage time(s) recommended by the food manufacturers for any kind of food and particularly for
commercially quick-frozen food in food-freezer and frozen-food storage compartments or cabinets;
4) Take necessary precautions to prevent an undue rise in the temperature of frozen food while defrosting the
refrigerating appliance, such as wrapping the frozen food in several layers of newspaper.
5) A rise in temperature of frozen foods during manual defrosting, maintenance or cleaning could shorten the storage life.
6) For doors or lids fi tted with locks and keys, keys should be kept out of the reach of children and not in the vicinity of
the refrigerating appliance, in order to prevent children from being locked inside
Correct Disposal of this product:
This marking indicates that this product should not be disposed with other household wastes
throughout the US. To prevent possible harm to the environment or human health from uncontrolled
waste disposal, recycle it responsibly to promote the sustainable reuse of material resources. To
return your used device, please use the return and collection systems or contact the retailer where
the product was purchased. They can take this product for environmental safe recycling.
1.7 WARNINGS FOR DISPOSAL
Refrigerant and cyclopentane foaming material used in the refrigerator are fl ammable. Therefore,
when the refrigerator is scraped, it shall be kept away from any fi re source and be recovered by a
special recovering company with corresponding qualifi cation other than be disposed by combustion,
so as to prevent damage to the environment or cause other harm.
When the refrigerator is scraped, disassemble the doors, and remove gasket of door and shelves; put
the doors and shelves in a proper place, so as to prevent trapping of any child.

5
2.1 PLACEMENT
2. PROPER USE OF REFRIGERATORS
Before use, remove all packing materials, including bottom cushions, foam pads and tape
inside of the refrigerator; tear off the protective fi lm on the doors and the refrigerator body.
Keep away from heat and avoid direct sunlight. DO NOT place the freezer in moist or watery
places to prevent rust or reduction of insulating eff ect.
DO NOT spray or wash the refrigerator; do not put the refrigerator in moist places easy to be
splashed with water so as not to aff ect the electrical insulation properties of the refrigerator.
Place the refrigerator in a well-ventilated indoor location; the ground should be fl at and sturdy
(rotate left or right to adjust the wheel for leveling if unstable).
There should be a minimum of 1 ft (30 cm) of space above the refrigerator, and the refrigerator
should be placed against a wall with a free distance more than 4 inches (10cm) to facilitate
heat dissipation.
Precautions before installation:
Information in the Instruction Manual is for reference only. The physical product may diff er. Before
installation and adjusting of accessories, ensure that the refrigerator is disconnected from power.

6
2.2 DOOR HANDLE INSTALLATION
Precautions shall be taken to prevent the handle from falling and causing any personal injury.
PARTS DIAGRAM:
c Bolt d Bolt hole e Handle screw f Screw hole cap
INSTALLATION PROCEDURES:
1. Take out bolt c from accessory bag, use the cross screwdriver to put the bolt c into the bolt hole d of
refrigerator door.
2. Put the handle on the door onto the bolt c and make sure the handle makes close contact with the door surface.
3. Secure the handle by rotating the screw e to the end, then shake the handle to verify that it is fi xed tightly
4. Put the cap f on the screw hole to complete the installation.
LIST OF TOOLS TO BE PROVIDED BY THE USER:
Cross Screwdriver
À
À
The hole
The screw
(The picture above is for reference only. The actual confi guration will depend on the physical product or statement by the distributor.)

7
2.3 LEVELING FEET
Schematic diagram of the leveling feet
(The picture above is for reference only. The actual confi guration will depend on the physical product or statement by the distributor.)
ADJUSTING PROCEDURES
• Turn the feet clockwise to raise the refrigerator.
• Turn the feet counter-clockwise to lower the refrigerator
• Adjust the right and left feet based on the procedures above to a horizontal level.

8
2.4 DOOR RIGHT-LEFT CHANGE
LIST OF TOOLS TO BE PROVIDED BY THE USER:
Cross Screwdriver Putty knife
Thin-blade screwdriver
5/16 in. socket
and ratchet Masking tape
1. Unplug your refrigerator and remove all food from
the door shelves. Remove all food from the inner
door liner. Secure the door with tape.
2. Remove the left cover plate and the right top
hinge cover, then unscrew screws to remove the
right top hinge. Keep the screws in a safe location
to reuse.
3. Lift the freezer door up and away from your
refrigerator.
4. Unscrew the screws from the middle hinge,
remove the hinge and keep it available for
reassembly. Lift the refrigerator door up and away
from your refrigerator and set aside. Keep the
screws in a safe location to reuse.
5. Remove the bottom hinge screws, then remove
the bottom hinge from the bottom right side of
the refrigerator.
6. Unscrew the hinge shaft from the right side of the
bottom hinge and move it to the left side, then
secure the bottom hinge to the bottom left side
of the refrigerator, using the screws you
removed previously.
7. Remove the hole cap from the top left of the
refrigerator door and install it on the other side.
Hinge Cover
Plate
Hinge
Shaft
Hinge
Cover
Top Hinge
Cover
Top
Hinge
Middle
Hinge
The Hole
Cap

9
(The picture above is for reference only. The actual confi guration will depend on the physical product or statement by the distributor.)
8. Remove the door stopper from the bottom right side of the freezer and refrigerator door and install them on the
other side.
9. Remove the two hole caps from the left side of middle beam and install them on the other side.
10. Place the refrigerator door on the bottom hinge vertically. Then install the middle hinge on left side of middle beam.
11. Take out the top hinge and top hinge cover from the accessory bag in the refrigerator. Place the freezer door on
middle hinge vertically, then install the top hinge and hinge cover. Install the cover plate you previously removed.
For the assembly of handle, please refer to section 2.2 on page 6.
Door
Stopper
Middle
Hinge
Hinge
Cover
Top
Hinge
Door
Stopper

10
2.5 CHANGING THE LIGHT
2.7 ENERGY SAVING TIPS
2.6 STARTING
Any replacement or maintenance of the LED lamps is intended to be made by the manufacturer, its service agent or
similar qualifi ed person.
• The appliance should be located in the coolest area of the room, away from heat producing appliances or heating
ducts, and out of direct sunlight.
• Let hot foods cool to room temperature before storing in the appliance. Overloading the appliance forces the
compressor to run longer. Foods that freeze too slowly may lose quality, or spoil.
• Be sure to wrap foods properly, and wipe containers dry before placing them in the appliance. This cuts down on frost
build-up inside the appliance.
• Refrigerator storage bin should not be lined with aluminum foil, wax paper, or paper toweling. Liners interfere with cold
air circulation, making the appliance less effi cient.
• Organize and label food to reduce door opening and extended searches. Remove as many items as needed at one
time, and close the door as soon as possible.
• Before initial start, keep the refrigerator still for 1/2 hour before connecting it to power supply.
• Let the refrigerator run for 2 – 3 hours, or more than 4 hours in summer when the ambient temperature is high, before
putting any fresh or frozen foods inside the refrigerator.
• Provide enough space to conveniently open the refrigerator doors and drawers.
32 in.
56 in.
57 in.
29 in.
135°

11
3. STRUCTURE AND FUNCTIONS
3.1 KEY COMPONENTS
REFRIGERATING CHAMBER
• The Refrigerating Chamber is suitable for storing a variety of fruits, vegetables, beverages and other food consumed in
the short term.
• Cooked foods shall not be put in the refrigerating chamber until cooled to room temperature.
• Foods are recommended to be sealed up before putting into the refrigerator.
• The glass shelves can be adjusted up or down for a reasonable amount of storage space and easy use.
FREEZING CHAMBER
• The low temperature freezing chamber may keep food fresh for a long time and is mainly used to store frozen foods
and make ice.
• The freezing chamber is suitable for storing meat, fi sh, poultry and other foods not to be consumed in short term.
• Meat should be divided into small pieces for easy access. Please be noted food shall be consumed within the
shelf time.
Note: Storage of too much food during operation after the initial connection to power may adversely aff ect the freezing
eff ect of the refrigerator. Foods stored shall not block the air outlet; or otherwise the freezing eff ect will also be
adversely aff ected.
(The picture above is for reference only. The actual confi guration will depend on the physical product or statement by the distributor.)
FREEZING
CHAMBER
Door tray
Door tray
Flip cover
Shelf
Shelf
LED lighting
Temperature
control
Fruits and
vegetables box
REFRIGERATING
CHAMBER

12
3.2 FUNCTIONS
(The picture above is for reference only. The actual confi guration will depend on the physical product or statement by the distributor.)
KEY
A - Temperature setting button
DISPLAY SCREEN
Indicator Light 1 = Setting 1
Indicator Light 2 = Setting 2
Indicator Light 3 = Setting 3
Indicator Light 4 = Setting 4
Indicator Light 5 = Setting 5
Indicator Light 6 = Standby Mode
DISPLAY
When initially powered ON, the display screen (including the key light) is on full display for 3 seconds, then the refrigerator
runs according to temperature setting 3.
NORMAL OPERATION DISPLAY
In case of a failure, the appropriate LED light combination will determine the error code (in recycling display). In case of
no failures, it shows the actual temperature setting.
ERROR CODES
The following warnings appearing on the display indicate corresponding error codes. Though the refrigerator may still be
refrigerating and freezing with the following errors, the user needs to contact a maintenance specialist for maintenance
so as to ensure normal use of the refrigerator.
ERROR CODE MEANING
Indicator light 1 & Indicator light 2 Refrigerator temperature sensor circuit
Indicator light 1 & Indicator light 3 Freezer defrost sensor
Indicator light 1 & Indicator light 4 Ambient temperature sensor

13
TEMPERATURE SETTING
Each time the temperature setting button, A, is pressed once, the temperature setting changes one time. After the
temperature setting has been completed, the refrigerator will run according to the set value after 5 seconds. From left to
right, the temperature is lower and lower. The shift regulation is:
Setting 1
Setting 2 Setting 3 Setting 4 Setting 5
STANDBY MODE
When the refrigerator is running, press and hold the temperature setting button for 3 seconds. The refrigerator enters into
standby mode, the standby indicator illuminates and the refrigerator stops running.
When the refrigerator is in standby mode, press the temperature setting button once. The refrigerator resumes normal
operation and the standby indicator light goes out.

14
4.1 OVERALL CLEANING
4.2 DEFROSTING
4.3 OUT OF OPERATION
4. MAINTENANCE & CARE OF THE UNIT
• Dust behind the refrigerator and the ground shall be cleaned once a month to improve the cooling eff ect and save
energy. The interior of the refrigerator should be cleaned regularly to avoid odor. Soft towels or sponge dipped in water
and non-corrosive neutral detergents are suggested for cleaning. The freezer should be cleaned with clean water and
a dry cloth. Open the door to air dry before the power is turned on.
• Do not use hard brushes, clean steel balls, wire brushes, abrasives, such as toothpastes, organic solvents (such as
alcohol, acetone, banana oil, etc.), boiling water, acid or alkaline items clean refrigerator considering that this may
damage the fridge surface and interior.
• Do not rinse with water so as not to aff ect the electrical insulation properties.
The refrigerator is made based on the air-cooling principle and thus has an automatic defrosting function. Frost formed
due to change of season or temperature may also be manually removed by disconnection of the appliance from the
power supply or by wiping down with a dry towel.
• POWER FAILURE: In case of power failure, even if it is in summer, foods inside the appliance can be kept for several
hours; during a power failure, avoid opening the door unless necessary. During this time, do not add additional food to
the refrigerator.
• LONG-TIME NON-USE: The appliance shall be unplugged and then cleaned per the instructions listed above, and the
doors are to be left open to prevent odor.
• MOVING: Before the refrigerator is moved, take all objects inside out, secure the glass shelves, vegetable holder,
freezing chamber drawers and etc. with tape, and tighten the leveling feet; close the doors and seal them with tape.
When moving, the appliance shall not be laid upside down or horizontally, or be vibrated; the inclination during
movement shall be no more than 45°.
The appliance shall run continuously once it is started. Generally, the operation of
the appliance shall not be interrupted; otherwise, the service life may be impaired.
PLEASE UNPLUG THE REFRIGERATOR FOR DEFROSTING AND CLEANING.

15
5. TROUBLESHOOTING
For further assistance, contact Consumer Services at 855-663-WIND (855-663-9463).
BEFORE CALLING FOR SERVICE, PLEASE REVIEW THE CHART BELOW
ISSUE POSSIBLE CAUSES
FAILED OPERATION
• Check that the appliance is connected to power and that the plug is making
proper contact
• Check whether or not the voltage is too low
• Check whether or not there is a power failure or partial circuits have tripped
ODOR
• Odorous foods shall be tightly wrapped
• Check whether there is any rotten food
• Clean the inside of the refrigerator
• Keep an open box of baking soda inside the refrigerator to help eliminate odors
LONG-TIME OPERATION OF
THE COMPRESSOR
• Long operation of the refrigerator is normal in summer when the ambient
temperature is high
• It is not suggested to store too much food in the appliance at the same time
• Let food cool before storing in the refrigerator
• The doors are opened too frequently
LIGHT FAILS TO ILLUMINATE
• Check whether the refrigerator is connected to power supply and whether the
illuminating light is damaged
• Have the light replaced by a specialist
DOORS CANNOT BE PROPERLY
CLOSED
• Make sure nothing is preventing the door from closing
• Too much food is placed in the refrigerator
• The refrigerator is tilted
LOUD NOISE • Check that the fl oor is level and stable
• Check that accessories are properly placed
DOOR SEAL FAILS TO BE TIGHT
• Remove foreign matters from the door seal
• Heat the door seal and then cool it for restoration (or blow it with an electrical drier
or use a hot towel for heating)
WATER PAN OVERFLOWS
• There is too much food in the chamber or stored food contains too much water,
resulting in heavy defrosting
• The doors are not closed properly, resulting in frosting due to entry of air and
increased water due to defrosting
HOT HOUSING
• Heat dissipation of the built-in condenser via the housing is normal
• When housing becomes hot due to high ambient temperature, storage of too
much food or shutdown of the compressor is shut down, provide sound ventilation
to facilitate heat dissipation
SURFACE CONDENSATION • Condensation on the exterior surface and door seals of the refrigerator is normal
when the ambient humidity is too high. Wipe the condensation with a clean towel.
ABNORMAL NOISE
• Buzz: The compressor may produce buzzing during operation and the buzzing
noise is particularly loud upon s tart or stop. This is normal.
• Creak: Refrigerant fl owing inside of the appliance may produce creaking, which is
normal.
The design and specifications are subject to change without prior notice for
product improvement. Consult with the sales agency or manufacturer for details.
Factory Version No.: 2016V5


Distributed by:
Perfect Aire, LLC
5401 Dansher Rd.
Countryside, IL 60525
855-663-WIND | 855-663-9463
www.arcticwindac.com
Specification and performance data is subject to change without notice.
Printed in China
AW/User_ATMW212E_ATMSL212E/05082018
This manual suits for next models
1
Table of contents
Other ARCTIC WIND Refrigerator manuals

ARCTIC WIND
ARCTIC WIND ATMSL181 User manual

ARCTIC WIND
ARCTIC WIND 2AW1BF33A User manual

ARCTIC WIND
ARCTIC WIND 2AW1BF26A User manual

ARCTIC WIND
ARCTIC WIND ABMW141E User manual

ARCTIC WIND
ARCTIC WIND 1AW2BF33A User manual

ARCTIC WIND
ARCTIC WIND 1AW1BF33A User manual

ARCTIC WIND
ARCTIC WIND 2AW1SLF44A User manual