LS-200 User Manual
8www.arec.com
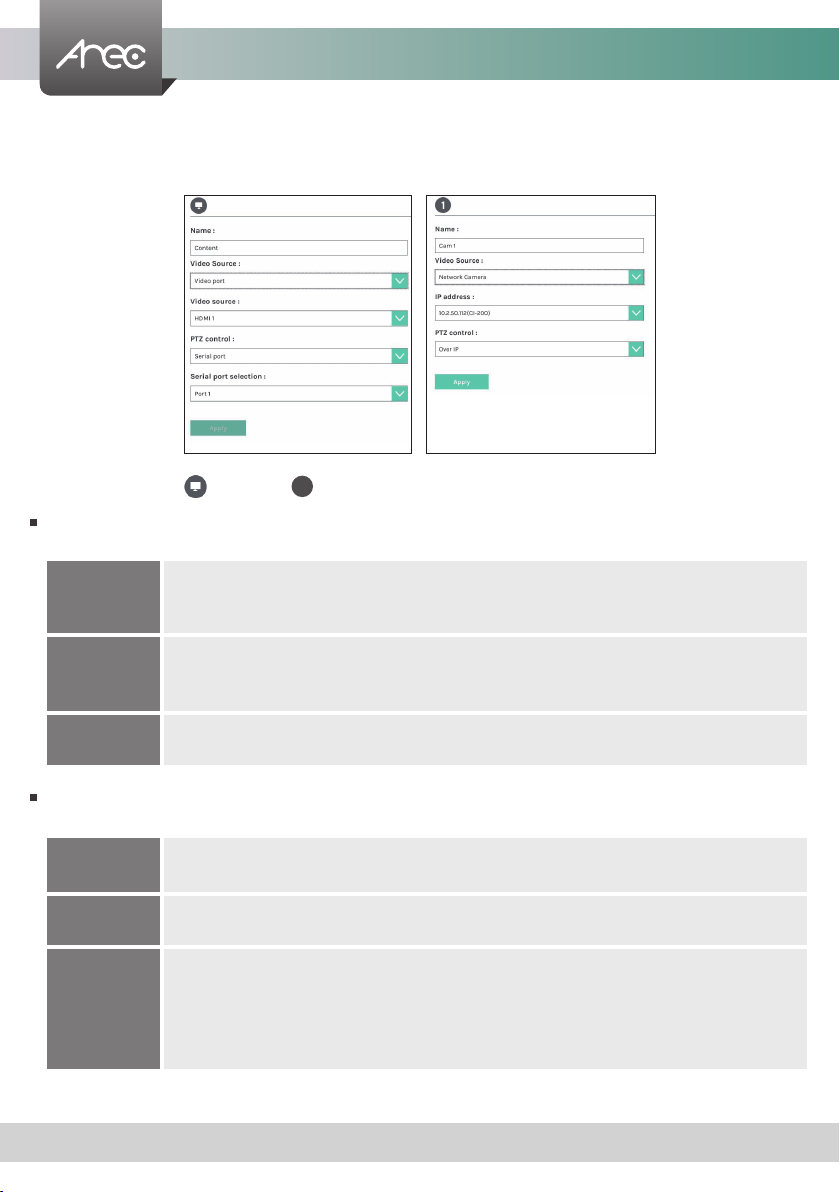
Overview of the Web Interface
LS-200 web interface has three user types, which are described in detail in the following chapters :
Online Director
For quick start recording, log in Online director from the initial login page with default
username director and password director. This user also has access to Video Manager
web pages.Log in with Administrator account, can switch to Administrator page.
Administrator
To setup the device, log in Administrator with default username admin and password
admin, then entering System Administrator webpages. The admin account provides the
user all three type of privileges.
Video Manager
If you only need to access to the recordings, log in Video Manager with default username
video and password video.Log in with Administrator account, can switch to Administrator
page.
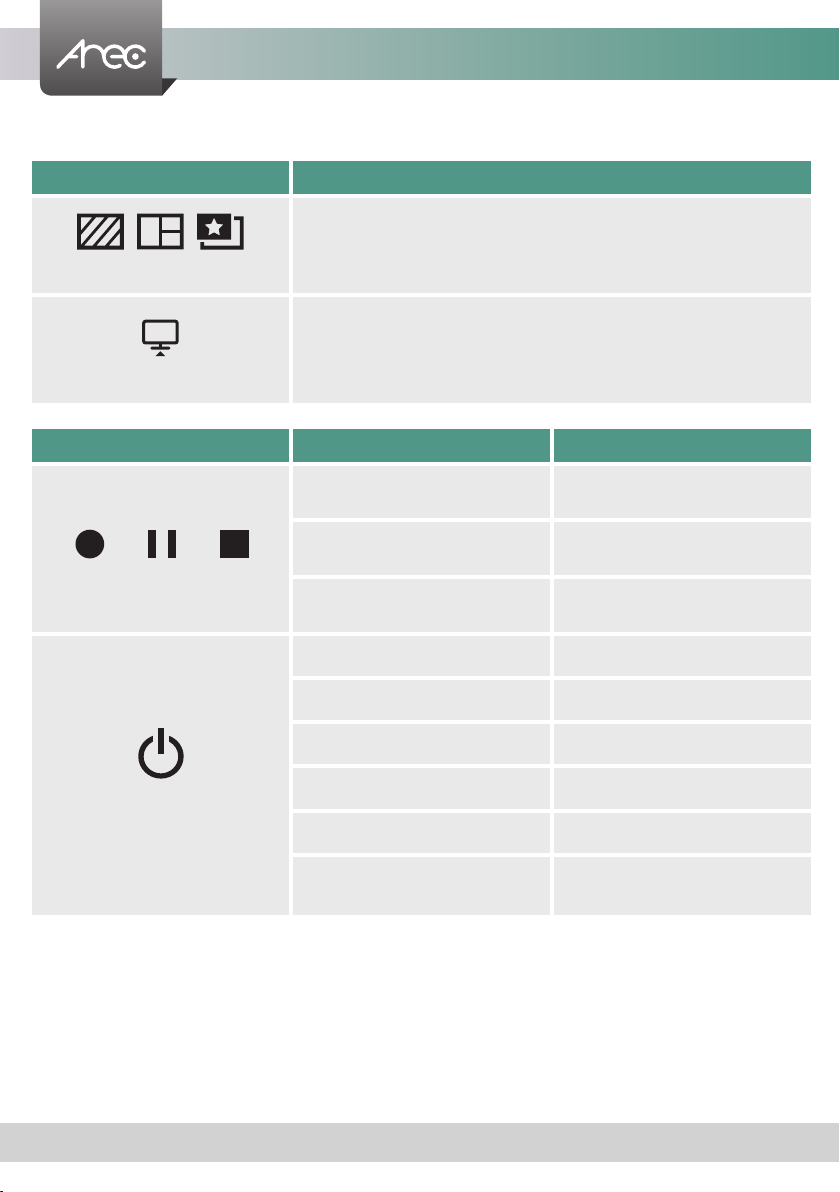
External Control via USB Keypad
Insert the keyboard into the Media Station's USB hole, let USB numeric keypad as function keys to control the Media Station.
Button Brief introduction Button Brief introduction
1Theme 1 Backspace All input volume mute/unmute
2Theme 2 -All input volume down
3Theme 3 +All input volume up
4Theme 4 Enter Record
5Theme 5 ESC Power off
6Theme 6 Z • z Change Background
7Theme 7 X • x Change Layout
8Theme 8 C • c Change Overlay
9Theme 9 V • v Live streaming on/off
/Pause B • b Playback last record video
*Stop A • a All output volume up
0Change Display S • s All output volume down
.Snapshot D • d All output volume mute/unmute
Getting start
Connect PC to the setting port of Media Station with standard network cable. Open up the browser, and input 192.168.11.254
in the browser page. Log in Administrator with default username admin and password admin, then entering the LS-200
system Administrator webpages.