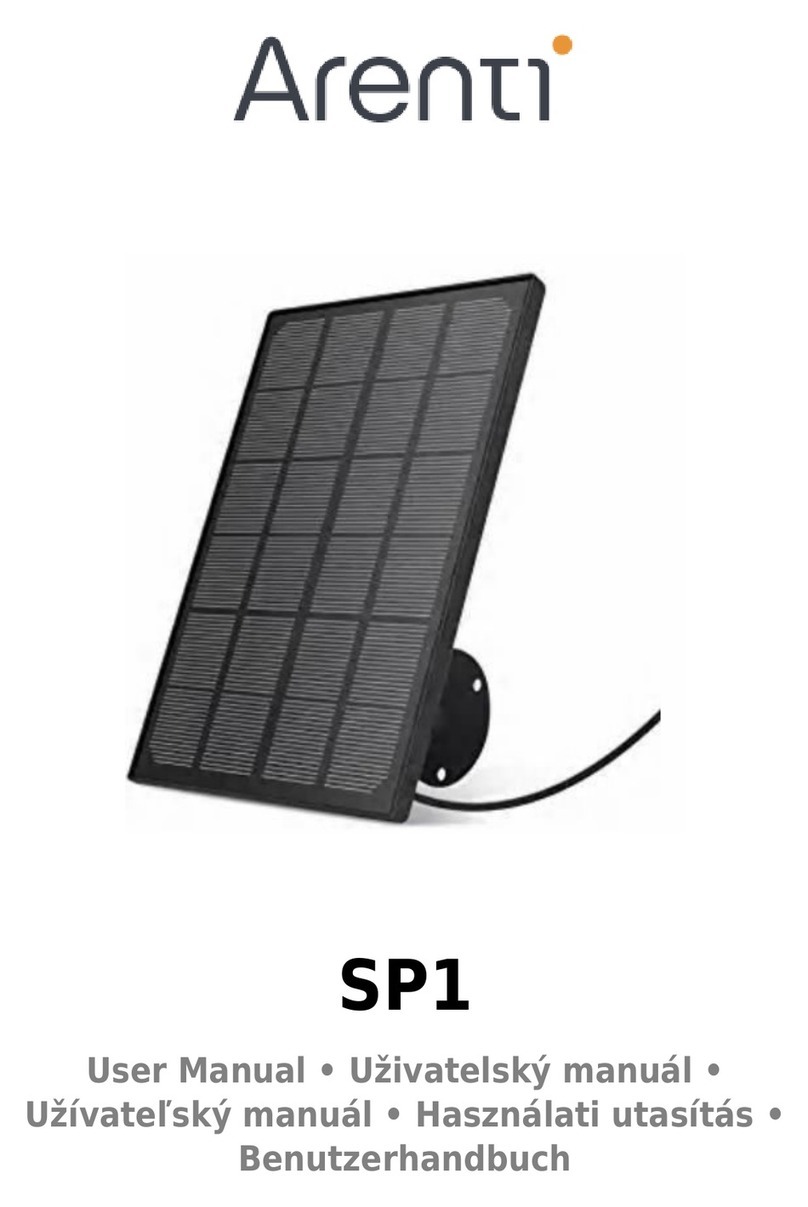
Arenti SP1 User manual

EN Outdoor Solar Panel
FR Panneau solaire extérieur
NL Outdoor zonnepaneel
ES Panel solar al aire libre
PT Painel Solar Externo
DE Solarpanel für den Außenbereich
IT Pannello solare esterno
RU Наружная солнечная панель
TU Açık Güneş Paneli
JP 屋外ソーラーパネル
QUICK GUIDE
SP1


EN
Quick start guide
1. Packing list
2. Product description
3. Installation
4. Specifications
5. Legal notice
1. Packing list
EN
Panel X1 Bracket X1 Quick guide X1
2. Product description
1. Panel
2. Micro USB connector

3. Installation
EN
EN
Sun
1. Select a position with the most sunlight throughout the
year for your solar panel.
The Ideal Angle=The Local Latitude + 5°
The solar panel only needs a few hours of direct sunlight
to sufficiently power your camera daily.
12
34
2. Mount the bracket with the mounting template and the
screws provided in the package.
4. Loosen the adjusting control on the bracket and adjust
the angle of the solar panel to make it receive direct
sunlight, and then retighten the adjusting control to
secure your setting.
5
3. Slot the solar panel into the bracket and make sure the
security.
5. Connect the solar panel to the Camera with the micro
USB connector.

EN
EN
Support
5. Legal notice
www.arenti.com
Symbols
Direct current (DC)
Don't throw batteries or out of order products with
the household waste (garbage). The dangerous
substances that they are likely to include may harm
health or the environment. Make your retailer take
back these products or use the selective collect of
garbage proposed by your city.
Hereby, Arenti, declares that the radio equipment
type ‘SP1' is in compliance with the
Directive 2014/53/EU
The full test of the EU declaration of conformity is
available at the following Internet address:
www.arenti.com
Pmax
Tolerance
Vmp
Imp
Cable
Working condition
Dimension (mm)
5W
±3%
5.3Vmax
0.83Amax
3M
-20℃ ~ 50℃
224 x 174x 12
4. Specifications

Guide de démarrage rapide
1. Liste de colisage
2. Description du produit
3. Installation
4. Caractéristiques
5. Mention légale
Adaptateur
secteur X1
2. Description du produit
1. Liste de colisag
EN
FR
Panneau X1 Support X1
1. Panneau
2. Connecteur micro USB

EN
FR
3. Installation
Soleil
1. Sélectionnez une position avec le plus de lumière solaire
tout au long de l'année pour votre panneau solaire.
L'angle idéal = la latitude locale + 5 °
Le panneau solaire n'a besoin que de quelques heures
de lumière directe du soleil pour alimenter suffisamment
votre caméra quotidiennement.
2. Montez le support avec le gabarit de montage et les vis
fournies dans l'emballage.
3. Insérez le panneau solaire dans le support et assurez-
vous de la sécurité.
4. Desserrez la commande de réglage sur le support et
ajustez l'angle du panneau solaire pour qu'il reçoive la
lumière directe du soleil, puis resserrez la commande de
réglage pour sécuriser votre réglage.
5. Connectez le panneau solaire à la caméra avec le
connecteur micro USB.
12
34
5

EN
FR
4. Caractéristiques
Soutien
5. Mention légale
www.arenti.com
Symboles
Courant continu (DC)
Ne jetez pas les piles ou les produits en panne avec
les déchets ménagers ( g arba g e). Les substances
dangereuses qu'elles sont susceptibles d'inclure
peuvent nuire à la santé ou à l'environnement.
Faites reprendre ces produits à votre revendeur ou
utilisez la collecte sélective des déchets proposée
par votre ville.
Par la présente, Arenti, déclare que le type
d'équipement radio 'SP1' is in savoir
la conformité h la Directive 2014/53 / UE
Le test complet de la déclaration de conformité
UE est disponible à l'adresse Internet suivante :
www.arenti.com
Pmax
Tolérance
Vmp
Lutin
Câble
Condition de travail
Dimension (millimètre)
5W
±3%
5,3Vmax
0,83Amax
3M
-20℃ ~ 50℃
224 x 174x 12

EN
Snelstartgids
1. Paklijst
2. Productbeschrijving
3. Installatie
4. Specificaties
5. Juridische kennisgeving
1. Packing list
NL
Beknopte
handleiding X1
2. Productbeschrijving
Paneel X1 Beugel X1
1. Paneel
2. Micro USB-aansluiting

3. Installatie
EN
NL
Zon
1. Kies voor uw zonnepaneel het hele jaar door een
standplaats met het meeste zonlicht.
De ideale hoek = de lokale breedtegraad + 5 °
Het zonnepaneel heeft slechts enkele uren direct
zonlicht nodig om uw camera dagelijks voldoende van
stroom te voorzien.
2. Monteer de beugel met het montagesjabloon en de
schroeven die in de verpakking zijn meegeleverd.
3. Schuif het zonnepaneel in de beugel en zorg voor de
beveiliging.
4. Maak de afstelknop op de beugel los en pas de hoek
van het zonnepaneel aan zodat het direct zonlicht
ontvangt, en draai vervolgens de afstelknop weer vast
om uw instelling te beveiligen.
5. Verbind het zonnepaneel met de camera met de micro
USB connector.
12
34
5

EN
NL
Ondersteuning
5. Juridische kennisgeving
www.arenti.com
Symbolen
Gelijkstroom (DC)
Gooi geen batterijen of niet-toegestane producten
bij het huisvuil (vuilnis). De gevaarlijke stoffen die
ze waarschijnlijk bevatten, kunnen de gezondheid
of het milieu schaden. Laat uw verkoper deze
producten terugnemen of gebruik de selectieve
inzameling van afval die door uw stad wordt
voorgesteld.
Hierbij verklaart Arenti dat het type
radioapparatuur ‘SP1 'in overeenstemming is
met de richtlijn 2014/53 / EU
De volledige test van de EU-conformiteitsverklaring
is beschikbaar op het volgende internetadres:
www.arenti.com
4. Specificaties
Pmax
Tolerantie
Vmp
Imp
Kabel
Werk omstandigheden
Afmeting (mm)
5W
±3%
5,3Vmax
0,83Amax
3M
-20℃ ~ 50℃
224 x 174x 12

Guía de inicio rápido
1. Contenido de la caja
2. Descripción del producto
3. Instalación
4. Especificaciones
5. Avisos Legales
1. Contenido de la caja
Guía de inicio
rápido X1
2. Product description
EN
ES
Soporte X1
1. Panel
2. Conector micro USB
Panel X1

EN
ES
3. Instalación
sol
1. Seleccione una posición con la mayor cantidad de luz
solar durante todo el año para su panel solar.
El ángulo ideal = la latitud local + 5 °
El panel solar solo necesita unas pocas horas de luz
solar directa para alimentar suficientemente su cámara
a diario.
2. Monte el soporte con la plantilla de montaje y los
tornillos incluidos en el paquete.
3. Coloque el panel solar en el soporte y asegúrese de
que la seguridad.
4. Afloje el control de ajuste en el soporte y ajuste el
ángulo del panel solar para que reciba la luz solar
directa, y luego vuelva a apretar el control de ajuste
para asegurar su configuración.
5. Conecte el panel solar a la cámara con el conector
micro USB.
12
34
5

EN
ES
4. Specificaties
Soporte
5. Avisos Legales
www.arenti.com
Símbolos
Corriente continua (DC)
No tire las pilas ni los productos fuera de servicio
con la basura doméstica (basura). Las sustancias
peligrosas que probablemente incluyan pueden
dañar la salud o el medio ambiente. Haga que su
minorista retire estos productos o utilice la
recogida selectiva de basura propuesta por su
ciudad.
Por la presente, Arenti, declara que el tipo de
equipo de radio 'SP1' cumple con la
Directiva 2014/53/UE
La prueba completa de la declaración UE de
conformidad está disponible en la siguiente
dirección de Internet :
www.arenti.com
Pmax
Tolerancia
Vmp
Diablillo
Cable
Condiciones de trabajo
Dimensión (mm)
5W
±3%
5,3Vmax
0,83Amax
3M
-20℃ ~ 50℃
224 x 174x 12

EN
Guia rápido
1. Lista de embalagem
2. Descrição do produto
3. Instalação
4. Especificações
5. Aviso legal
1. Lista de embalagem
PT
Guia rápido X1
2. Descrição do produto
Suporte X1
1. Painel
2. Conector micro USB
Painel X1

3. Instalação
EN
PT
sol
1. Selecione uma posição com mais luz solar ao longo do
ano para o seu painel solar.
O ângulo ideal = a latitude local + 5 °
O painel solar precisa apenas de algumas horas de luz
solar direta para alimentar sua câmera diariamente.
2. Monte o suporte com o modelo de montagem e os
parafusos fornecidos na embalagem.
3. Encaixe o painel solar no suporte e verifique a
segurança.
4. Afrouxe o controle de ajuste no suporte e ajuste o
ângulo do painel solar para que receba luz solar direta
e, em seguida, reaperte o controle de ajuste para
proteger sua configuração.
5. Conecte o painel solar à câmera com o conector micro
USB.
12
34
5

EN
PT
Suporte
5. Aviso legal
www.arenti.com
Símbolos
Corrente contínua (DC)
Não jogue baterias ou produtos estragados no lixo
doméstico (lixo). As substâncias perigosas que
podem incluir podem causar danos à saúde ou ao
meio ambiente. Faça com que o seu varejista retire
esses produtos ou utilize a coleta seletiva de lixo
proposta pela sua cidade.
Por meio deste, Arenti, declara que o tipo de
equipamento de rádio 'SP1' está em
conformidade com a Diretiva 2014/53 / UE
O teste completo da declaração de conformidade
da UE está disponível no seguinte endereço da
Internet:
www.arenti.com
4. Especificações
Pmax
Tolerância
Vmp
Criança levada
Cabo
Condição de trabalho
Dimensão (mm)
5W
±3%
5,3Vmax
0,83Amax
3M
-20℃ ~ 50℃
224 x 174x 12

EN
DE
Kurzanleitung
1. Lieferumfang
2. Produktbeschreibung
3. Installation
4. Spezifikationen
5. Rechtlicher Hinweis
1. Lieferumfang
Benutzerhandbuch X1
2. Product description
Halterung X1
1. Panel
2. Micro-USB-Anschluss
Panel X1

EN
DE
3. Installation
Sonne
1. Wählen Sie eine Position mit dem meisten Sonnenlicht
während des ganzen Jahres für Ihr Solarpanel.
Der ideale Winkel = der lokale Breitengrad + 5 °
Das Solarpanel benötigt nur wenige Stunden direktes
Sonnenlicht, um Ihre Kamera täglich ausreichend mit
Strom zu versorgen.
2. Montieren Sie die Halterung mit der Montageschablone
und den im Lieferumfang enthaltenen Schrauben.
3. Stecken Sie das Solarpanel in die Halterung und stellen
Sie die Sicherheit sicher.
4. Lösen Sie die Einstellsteuerung an der Halterung und
stellen Sie den Winkel des Solarmoduls so ein, dass es
direktem Sonnenlicht ausgesetzt wird. Ziehen Sie dann
die Einstellsteuerung wieder fest, um Ihre Einstellung
zu sichern.
5. Schließen Sie das Solarpanel mit dem Micro-USB-
Anschluss an die Kamera an.
12
34
5

EN
DE
4. Spezifikationen
Unterstützung
5. Rechtlicher Hinweis
www.arenti.com
Symbole
Gleichstrom (DC)
atterien/Akkus oder defekte Produkte nicht im
Hausm Hausmüll entsorgen. Die möglicherweise
enthalten gefährlichen Substanzen können für
die Gesundheit oder die Umwelt schädigen sien.
Geben Sie die Produkte beim Händler zurück oder
genben Sie dei an einer Sammelstelle oder bei
einem Recyclinghof ab.
Arenti erklärt hiermit, dass der Funkgeräte Typ
„SP1“ mit der Richtlinie 2014/53/EG
konform ist.
Der vollständige Test der EU-Konformitätserklärung
steht unter der folgenden Internetadresse zur
Verfügung: www.arenti.com
Pmax
Toleranz
Vmp
Imp
Kabel
Arbeitsbedingung
Abmessung (mm)
5W
±3%
5,3Vmax
0,83Amax
3M
-20℃ ~ 50℃
224 x 174x 12
Other manuals for SP1
1
Table of contents
Languages:
Other Arenti Solar Panel manuals
Popular Solar Panel manuals by other brands

McShine
McShine 1480-004 instruction manual

PowerTech
PowerTech ZM9124 user manual

Heckert Solar
Heckert Solar NeMo 4.1 80 M Installation and operating manual

Clenergy
Clenergy PV-ezRack SolarTripod installation guide

solarwatt
solarwatt EasyIn 60M Series installation instructions

BenQ
BenQ PM245P01 Series installation guide

Viessmann
Viessmann Vitosol 300-T installation instructions

Beretta
Beretta SCV-25 installation manual

EGING PV
EGING PV EG-P72-HC-DG Series General installation manual

PLX
PLX Legion Solar Installation and operation manual

Ten-Haaft
Ten-Haaft SunMover installation instructions

Daikin
Daikin EKSV21P installation manual